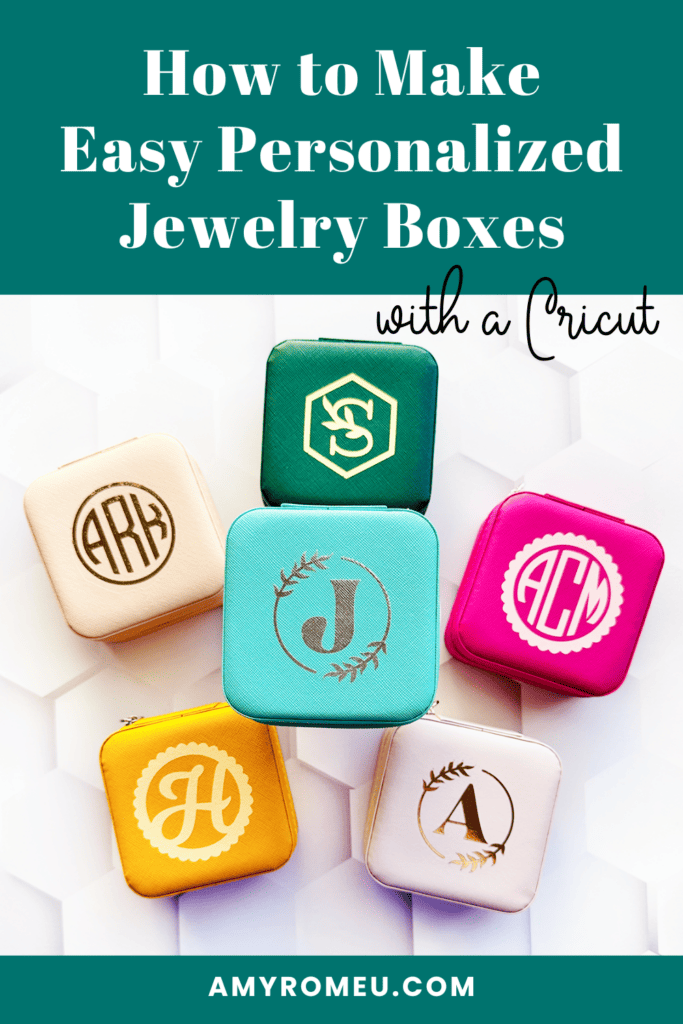
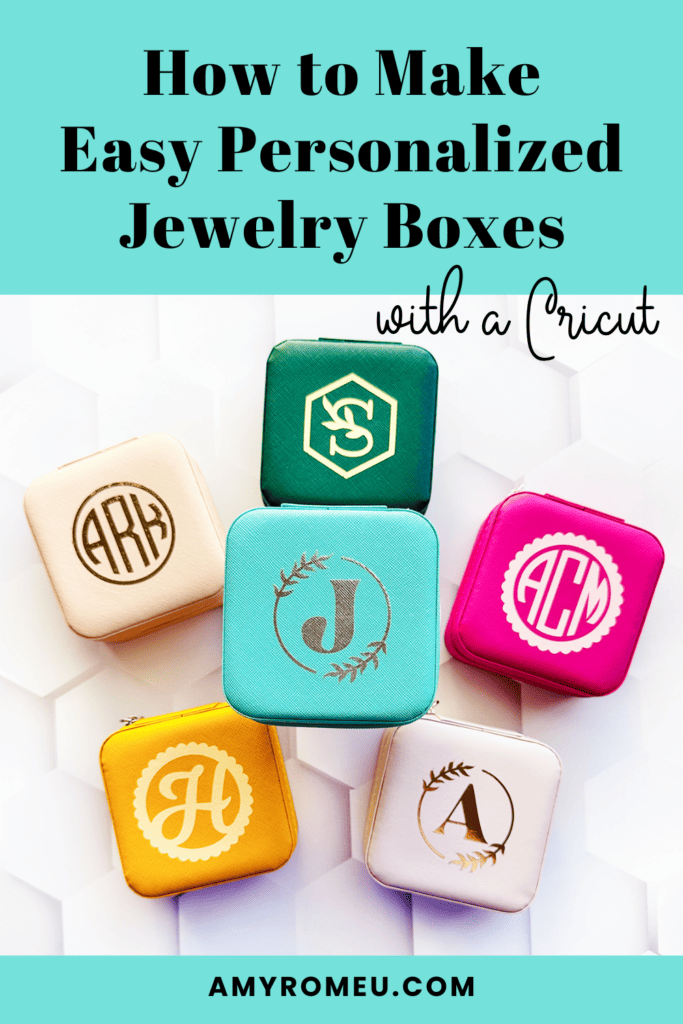
Make Personalized Travel Jewelry Boxes with a Cricut
Learn how to personalize these trendy faux leather travel jewelry boxes using initial and monogram SVGs, heat transfer vinyl, and a Cricut. You can make this project with the Cricut Maker, Maker 3, Explore Air 2, Explore 3, the Cricut Joy or the Joy Xtra – or any cutting machine that cuts heat transfer (iron on) vinyl.
Learn how to make Personalized Jewelry Boxes with a Cricut
Everyone loves a personalize gift, and it’s so easy to customize these faux leather jewelry boxes using heat transfer (iron-on) vinyl on faux leather with my Cricut.
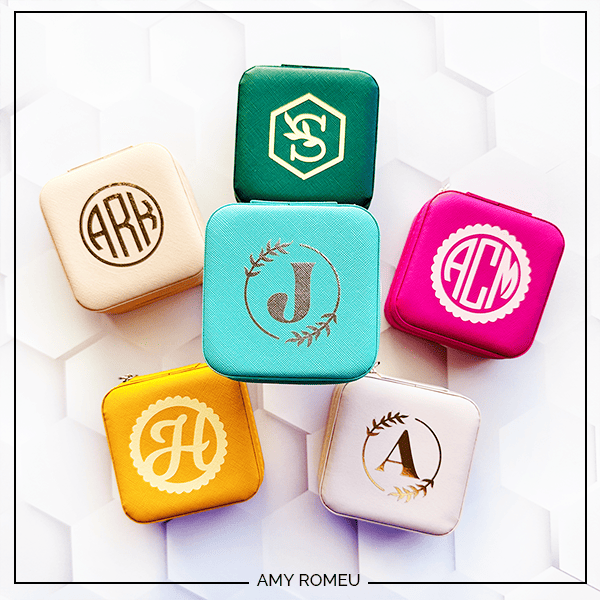
These Faux Leather Personalized Jewelry Boxes make great gifts for bridesmaids, teenagers, and anyone who appreciates a custom gift!
You can make this project with a Cricut Maker, Maker 3, Explore Air 2 or Explore 3, the Cricut Joy, or the Cricut Joy Xtra. You can also use a Silhouette or Siser Romeo or Juliet or any cutting machine that cuts heat transfer or iron on vinyl.
I’ve created three initial SVG templates and one monogram SVG template for this project. The SVG templates are available for free on my blog. To get the SVG templates emailed to you instantly, click here.
Or you can get the SVGs in my Free SVG library. They are Design #211. Get the password below:
Want to watch a video tutorial instead? Click here to watch or click on the image below.

How to make Cricut Personalized Jewelry Boxes Step by Step
This page contains some affiliate links (which means if you make a purchase after clicking a link, I will earn a small commission at no additional cost to you). Read my full disclosure policy here.
Step 1 : Gather the Materials to Make Personalized Jewelry Boxes with a Cricut
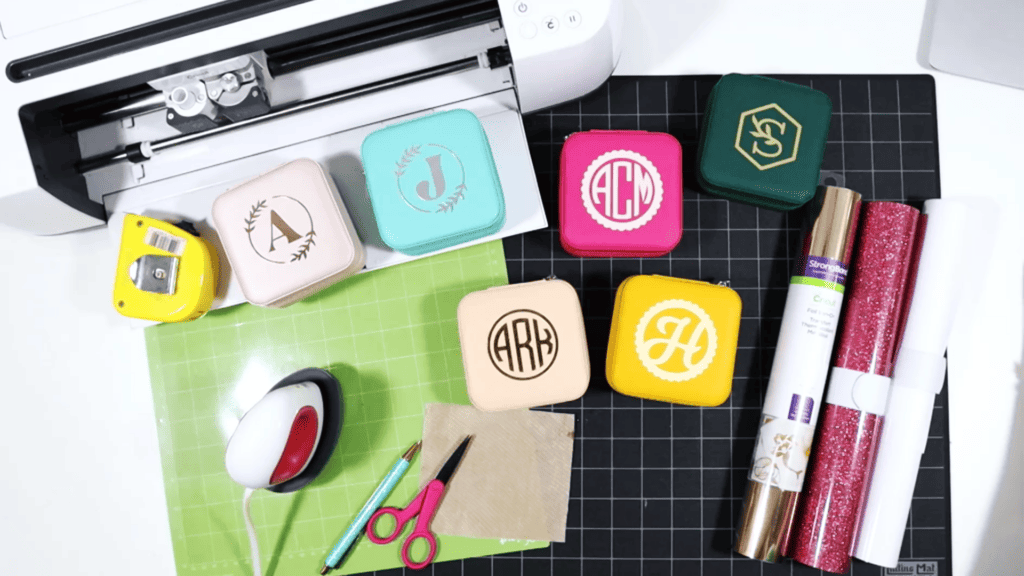
- Cricut cutting machine of your choice.
- Travel sized jewelry boxes. I bought these with mirrors and these without mirrors on Amazon.
- Heat Transfer (Iron-On) Vinyl of your choice. I use Cricut Foil-Iron On in Light Gold.
- Green standard grip cutting mat
- Blue painter’s tape
- Easy Press Mini
- EasyPress Mat, 8×10
- Weeding tool or Pin Pen
- Teflon sheet
🛒You can also shop the supplies above in my Amazon Storefront here.
Step 2: Prepare the Vinyl Design in Cricut Design Space
Get the free SVGs for this project emailed to you instantly here. Unzip the download folder so you can access the SVG files.
Open Cricut Design Space and click on “Upload,” then “Upload Image.”
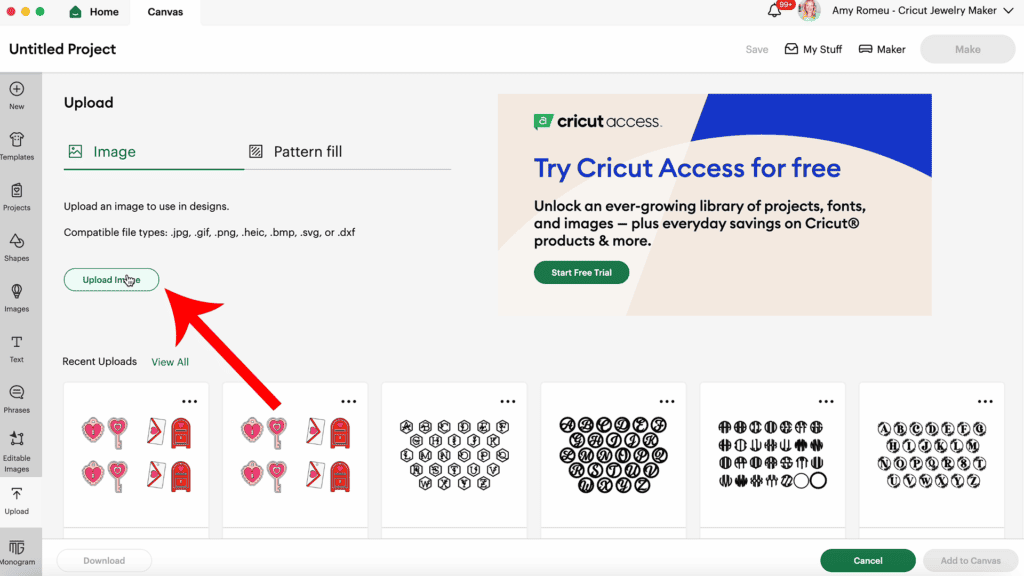
Browse to the unzipped SVG files you downloaded and select the desired design (monogram or initial).
Click “Upload” to add it to your canvas.
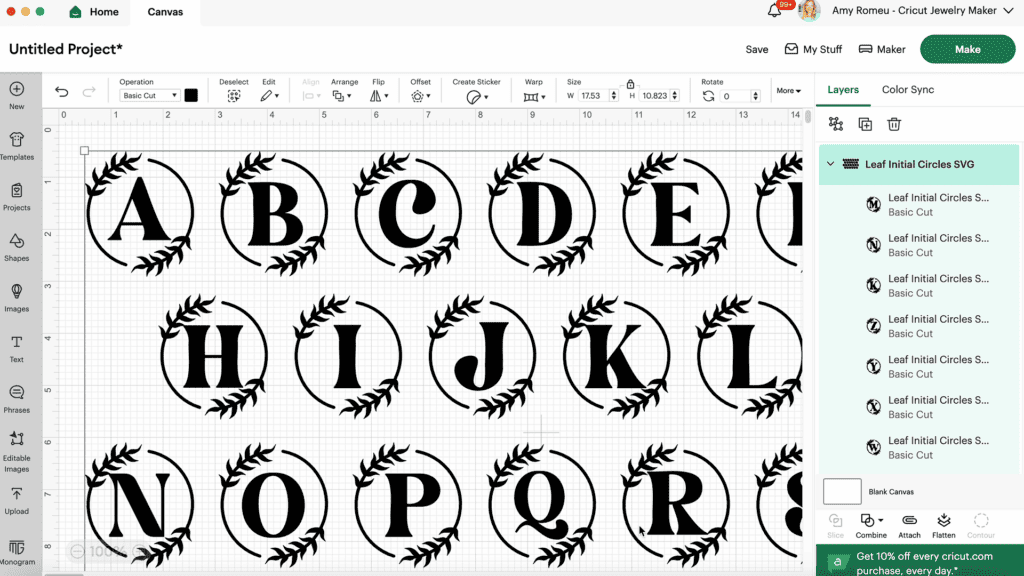
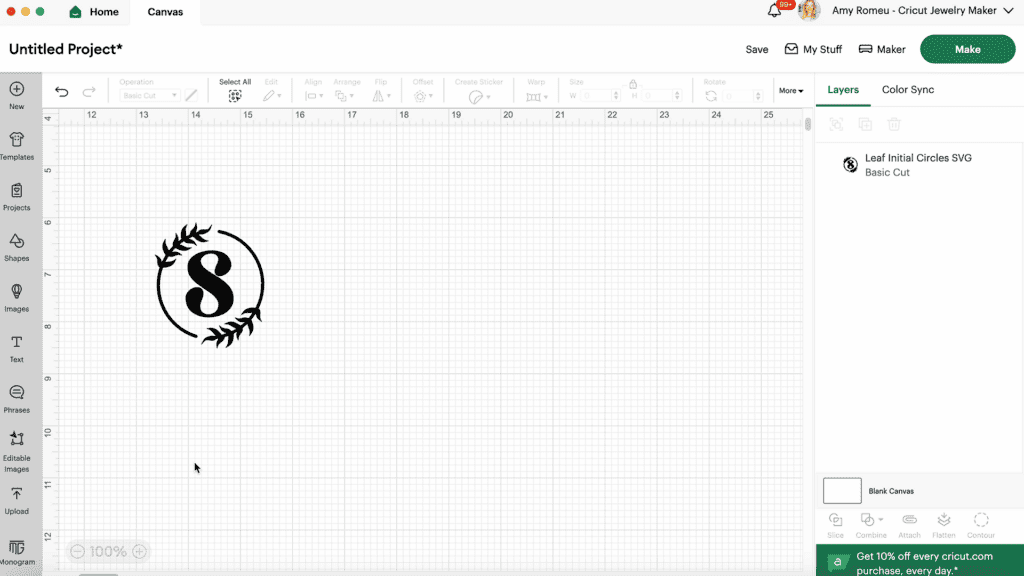
If you’re using an initial design, ungroup the letters and delete the ones you won’t use.
These designs are already perfectly sized for the 4×4 inch jewelry boxes, but you can make the design smaller or larger if desired.
If you do adjust the size of your design to fit the jewelry box, I recommend making sure it doesn’t exceed 3 inches in height or width. This allows for a half inch of space on all sides.
For the monogram design, ungroup all of the letters.
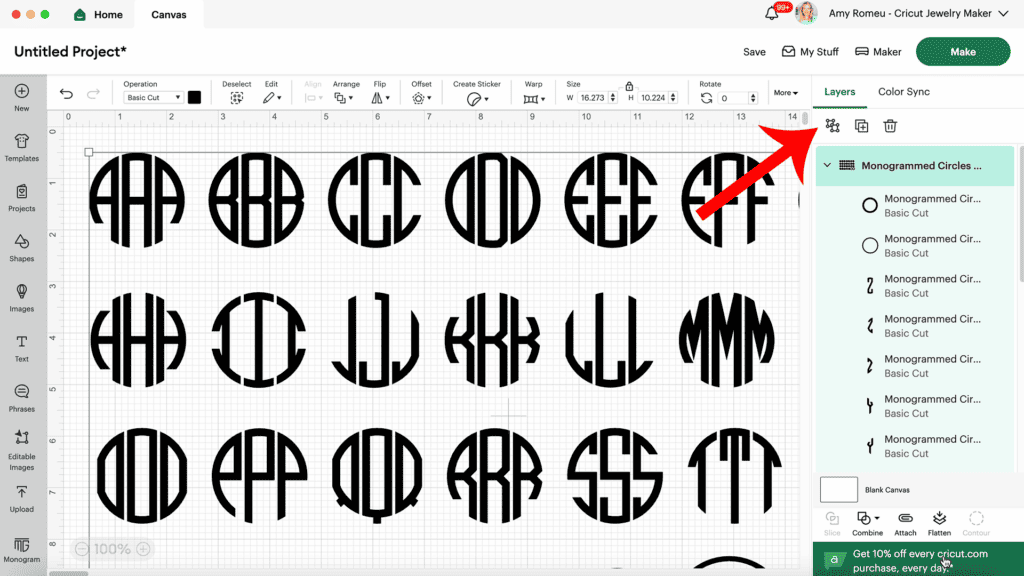
Then delete all of the unwanted letters.
Center the remaining letters within the circle border. Then select all three letters and click “Align” then “Alight Vertically.”
With all three letters still selected, click “Attach” to group them together.
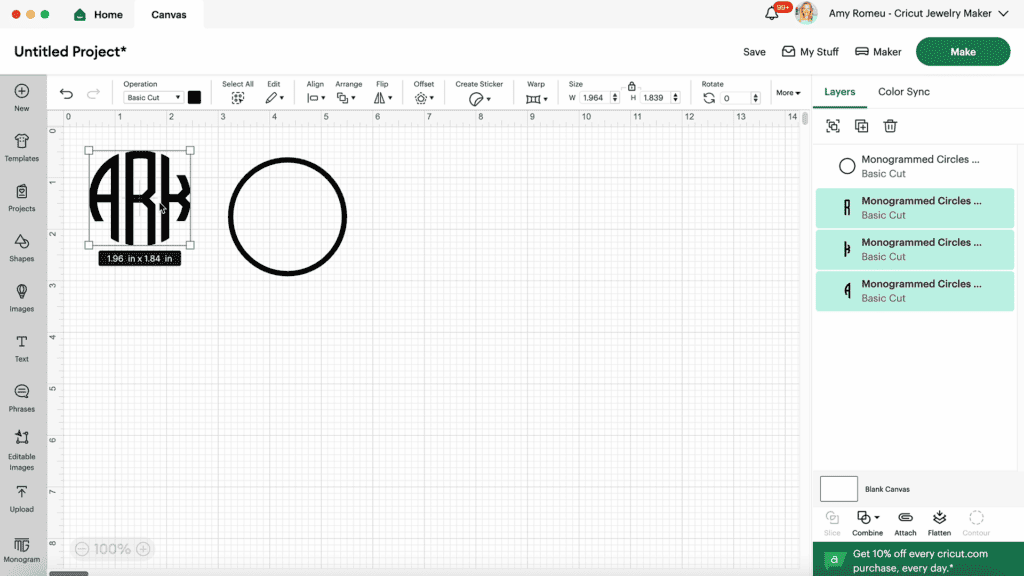
Drag the border onto the monogram. Select the monogram and the border, then click “Align” and then “Alight Vertically” and “Align Horizontally.”
Once the border and monogram are perfectly centered, select both elements and click “Attach.” This will keep the letters and border together and aligned.

Click “Make It.”
Step 3: Prepare the Design to Cut
Whether you are using an initial design or the monogram, the steps below are the same.
In the mat preview, click the “Mirror” toggle to reverse the design since heat transfer vinyl cuts in reverse.
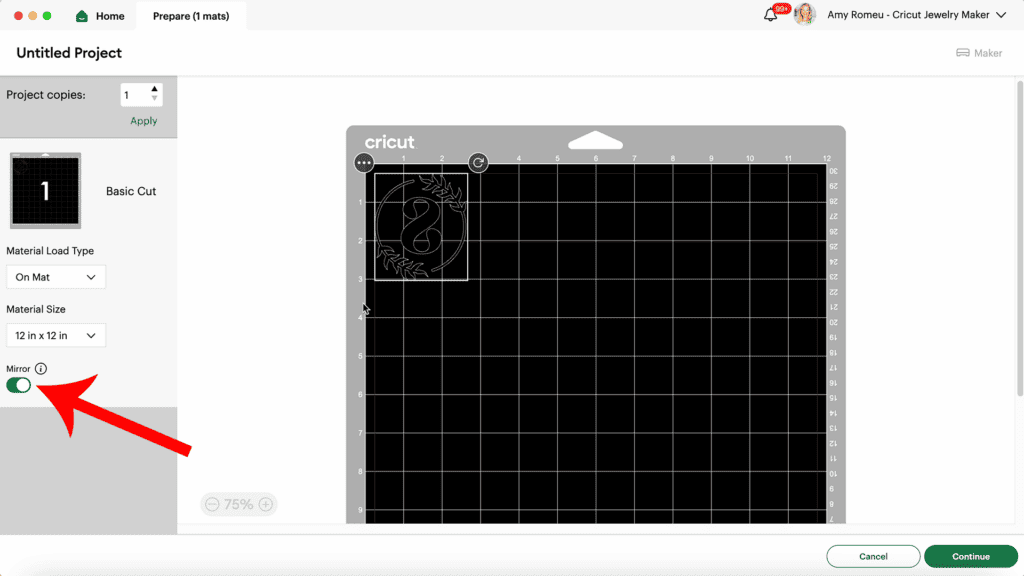
Drag your design to the center of the 4×4 grid as seen in the mat preview.

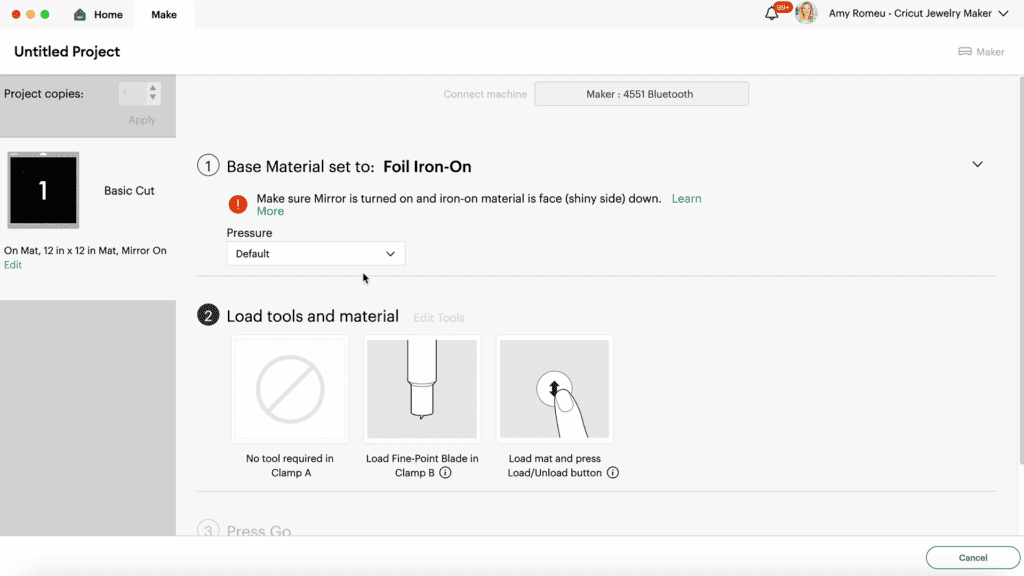
Click “Continue” and choose the material setting that corresponds to the heat transfer vinyl you’re using (e.g., foil iron-on, glitter vinyl).
Step 4: Cut the Vinyl Mat
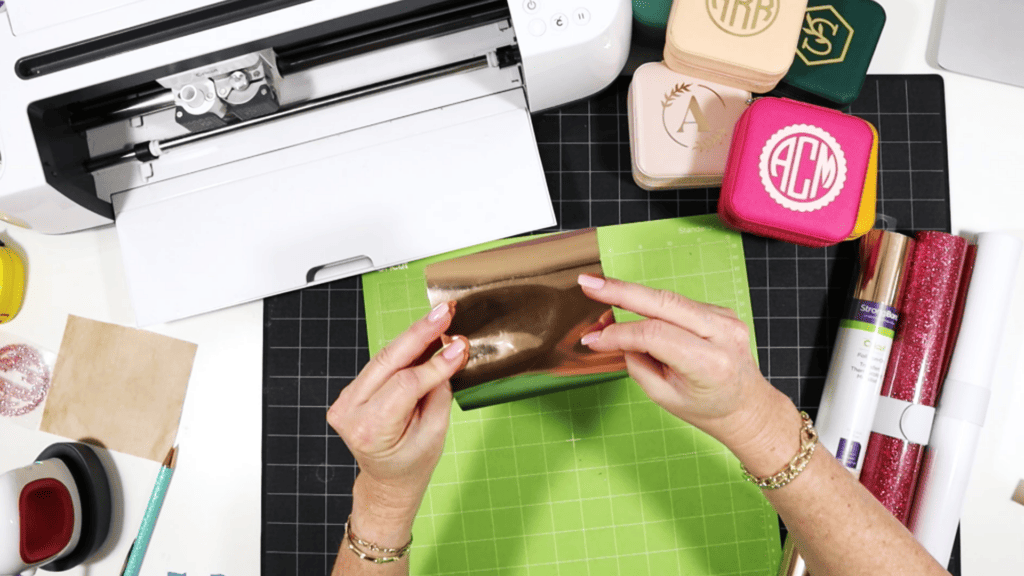
Cut a piece of 4×4 inch heat transfer vinyl. Place it shiny side down on your green mat in the location as shown in the mat preview screen.
Insert the mat into your cutting machine and click “Go” to start the cutting process.
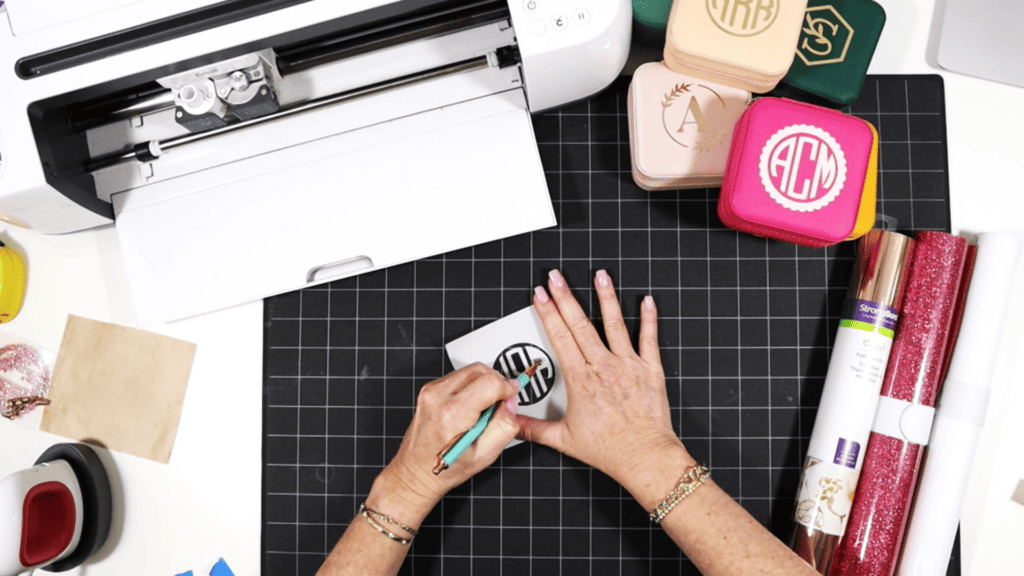
Unload the cutting mat and carefully weed away the excess vinyl using a weeding tool.
Important! Do not trim away any of the excess clear cover sheet from around the vinyl design.
Step 5: Pressing the Design onto the Jewelry Box
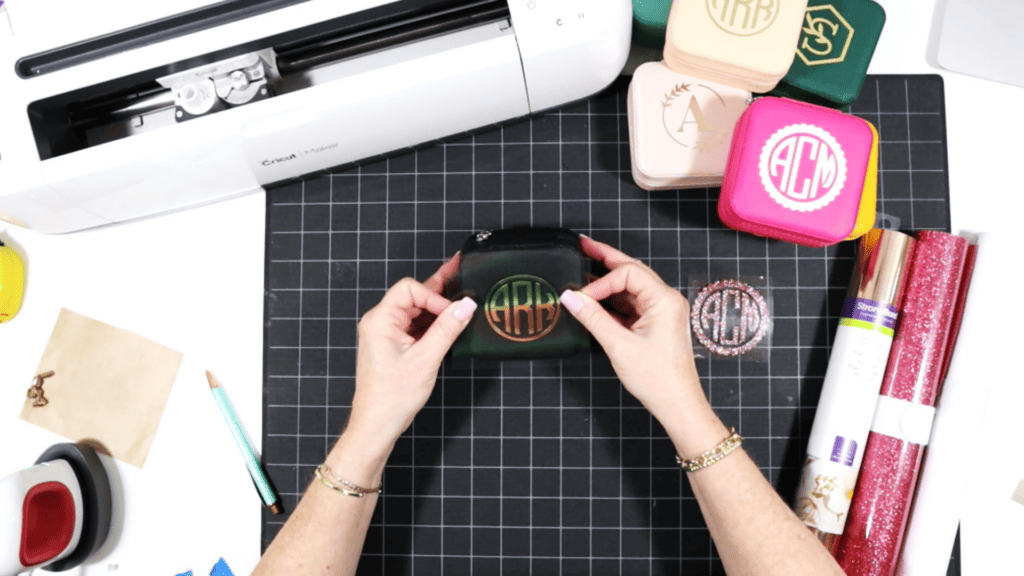
Place your 4×4 heat transfer vinyl design on the faux leather jewelry box, making sure it’s centered both vertically and horizontally.
Cover it with a cover sheet (Teflon sheet, butcher paper, or parchment paper).
Set your EasyPress Mini to the low setting or a regular EasyPress to about 265 degrees Fahrenheit.
Apply light and even pressure to the design, moving the heat source around to cover the entire design.
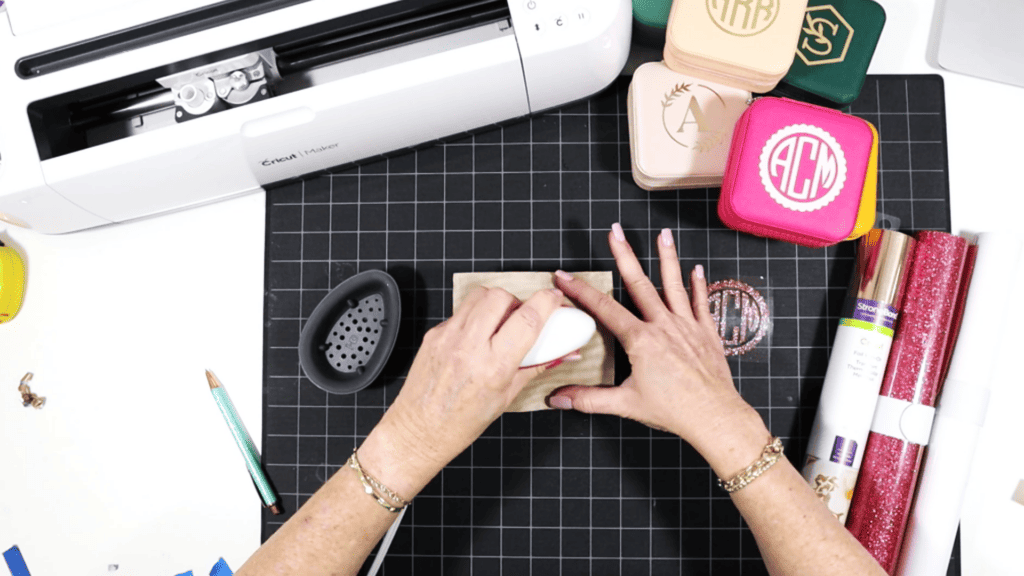
Press for approximately 10 seconds, making sure not to press on the box’s edges to avoid flattening or melting.
Carefully peel away the clear transfer sheet. If the vinyl lifts, gently reapply and press again.
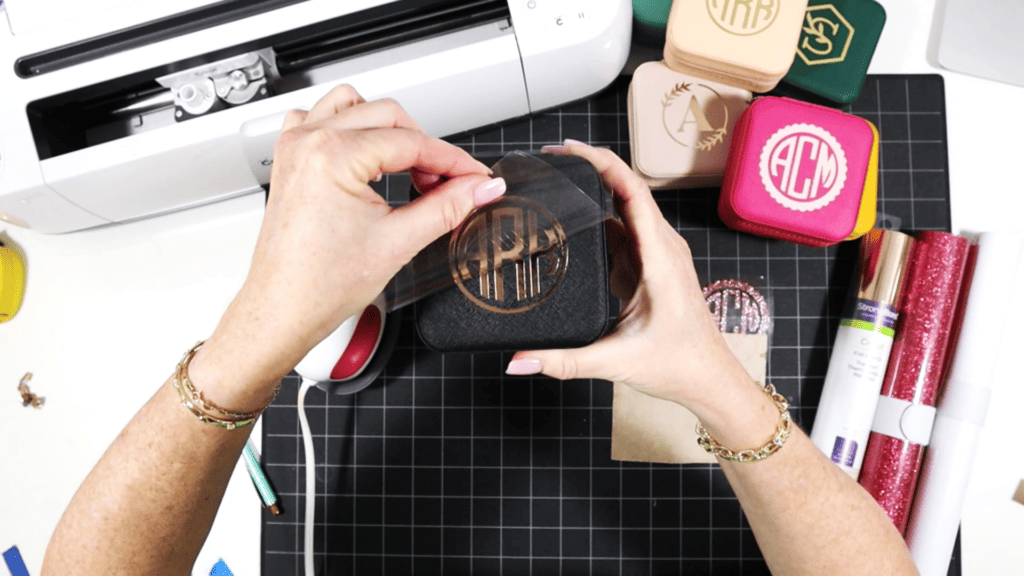
To ensure a secure bond, cover the design with your cover sheet and press for an additional 4-5 seconds.
I hope you’ll enjoy creating different variations of these Personalized Faux Leather Jewelry Boxes with your Cricut. Let me know in the comments which SVG design (Initials or Monogram) you like best!
Answers to your questions about making Personalized Jewelry Boxes with a Cricut
Q: How do I get the monogram or initial designs to decorate the jewelry box?
A: I’ve created three sets of initial designs and one monogram design with two border options that are perfectly sized for these jewelry boxes. The SVGs are free on my blog and will be emailed to you instantly when you fill out the quick form here.
Q: Where do you get the jewelry boxes for this project?
A: I bought the faux leather jewelry boxes for this project on Amazon. They are linked above in the Materials section of this post, or you can shop my Amazon storefront supply list for this project here.
Q: How do I avoid getting press lines on the top of the jewelry box?
A: You can avoid getting press lines on the top of the jewelry box when you heat press the iron-on vinyl initial or monogram by sizing your vinyl design so there’s enough clear cover sheet to hang off the sides of the jewelry box. Be sure to watch my YouTube video on this project for a full demonstration of this key tip!
Want instant access to my Free Resource Library full of SVG files?
Just Enter your name and email Below!
By signing up, you’ll get instant access to my FREE SVG Library with hundreds of crafting SVG templates! You’ll also get my weekly newsletter full of crafting ideas, tutorials, and inspiration! Unsubscribe anytime.
If you loved this project, you’ll love these projects too:


Will you make this project?
I would love to see what you have created! Please join my free faux leather crafting Facebook group and share your creations with me and all of my crafting friends!
Until next time… and happy creating!

Want to remember this project? Save this tutorial to your favorite Pinterest board!