
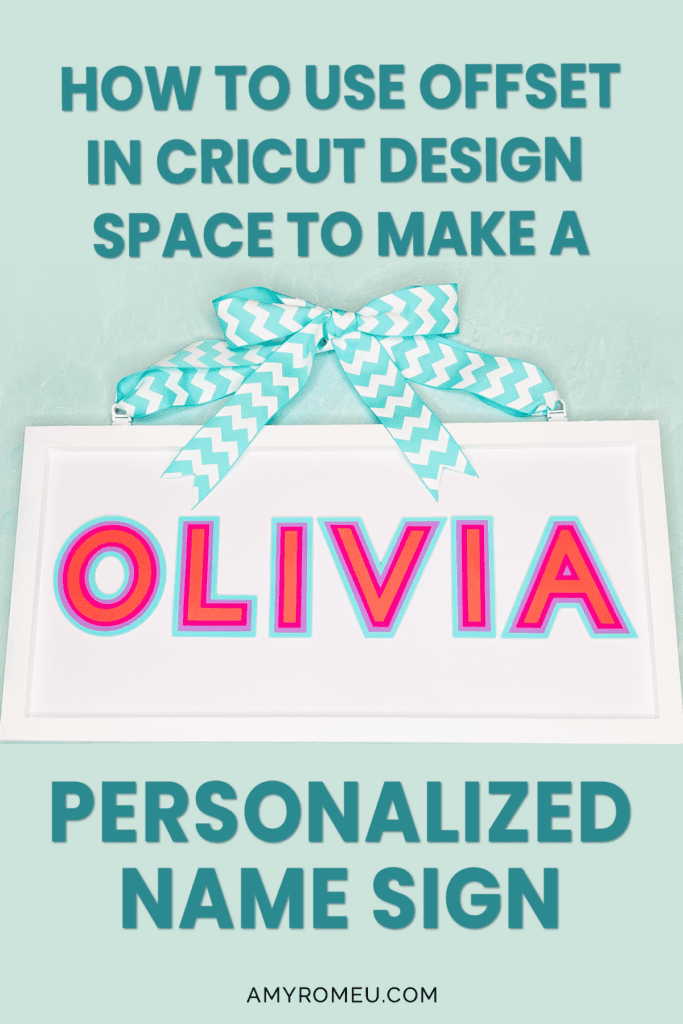
How to Use Offset in Cricut Design Space to Make a Personalized Name Sign
At the time I’m writing this, the offset feature is relatively new in Cricut Design Space. If you don’t know what offset is, it’s the ability to create an outline of a shape easily. Think of a sticker that has a white border… the white outline is an offset. I love using offset so much, and I know you will too. So today I’ll be showing you how to to use offset in Cricut Design Space to make a personalized name sign.
Even if you aren’t making stickers, offset is such a handy feature to use when making layered paper designs, cake toppers, and so many more projects. (In fact, offset is what I use to create the faux leather “bottom layer” in my earring designs.)
I’ll be using the Cricut Maker, but you can absolutely make this project with the Maker 3, the Explore Air 2, or the Explore 3 as well. You can even use the Cricut Joy, just keep in mind your letter size will limited to the size of the Joy mat.
Offset is currently available for desktop and ios users (Apple iPhones and iPads) but not Android devices – but that may change in the future so be on the lookout for official updates from Cricut.
For the official Cricut Offset page for Desktop users, click here.
For the official Cricut Offset page for ios users, click here.
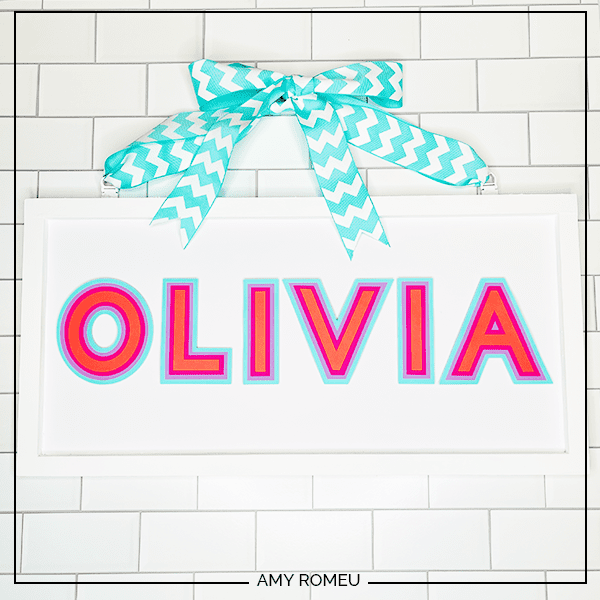
This Personalized Name Sign is made from a wood blank and cardstock. It’s a great kid’s room project or DIY home decor project. I can’t wait to show you how easy this personalized name sign is to make! I have all the supplies and materials I used linked in the Materials section below.
So if you’re ready to learn how to use offset in Cricut Design Space to make a personalized name sign of your own, let’s get started! If you’d rather watch a video tutorial, which has ALL the step by step clicks and additional bonus offset tutorial content, click here.
This page contains some affiliate links (which means if you make a purchase after clicking a link, I will earn a small commission at no additional cost to you). Read my full disclosure policy here.
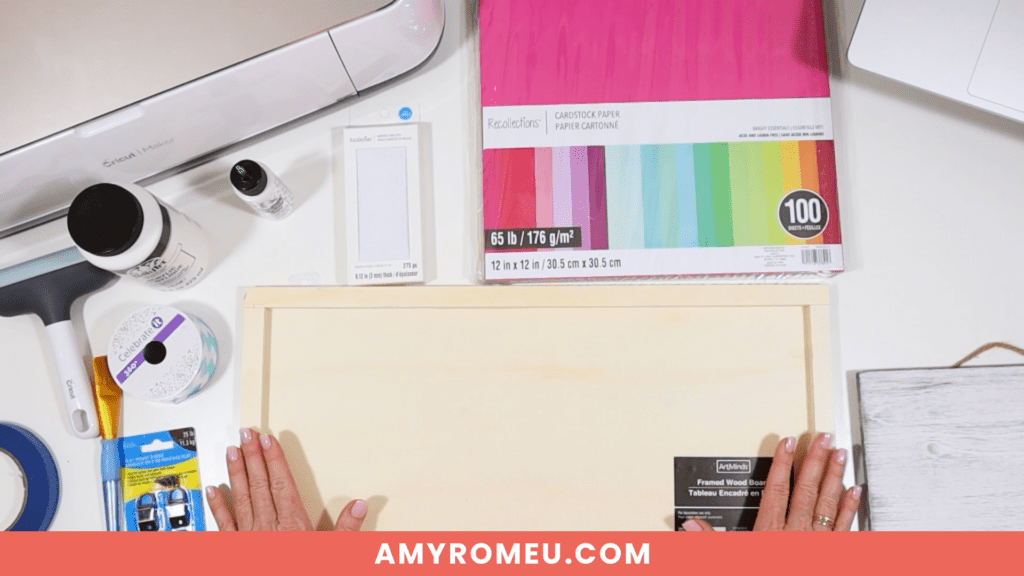
PERSONALIZED NAME SIGN MATERIALS
- A Cricut cutting machine (or the cutting machine of your choice). I’m using the Cricut Maker for this project, but you can use the Cricut Maker 3, the Cricut Explore Air 2, or Cricut Explore 3. (You can also use the Cricut Joy, but your letters will be smaller.)
- Cricut Light Grip Blue Cutting Mat. Available in 12×12 size here or 12×24 size here.
- Blank wood sign. I used this one from Michaels. You might also like this sign or this sign. The size will depend on the length of your name. See the video for more information.
- Colored cardstock. I used this assortment of 65 lb. colored cardstock.
- Glue with a fine tip. I used Bearly Art Precision Glue.
- Blue Painter’s Tape.
- Adhesive Foam Dots. I used these 3mm dots from Michael’s.
- Craft Paint.
- Ribbon.
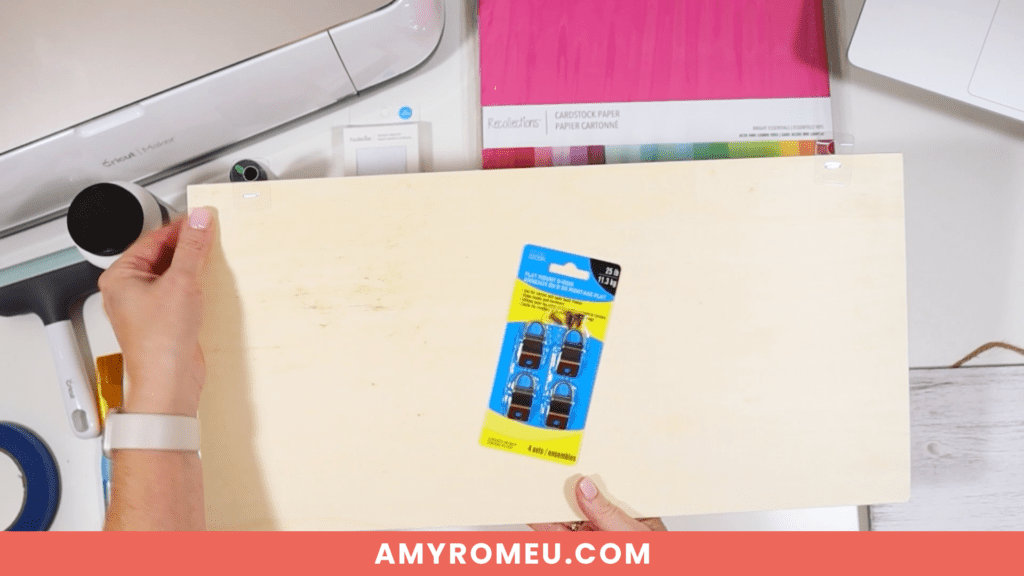
- D-Ring hanging hardware. (Your wood blank may already have hanging hardware.)
- Wide paintbrush.
- Cricut brayer.
- Pacifico, the cursive font I demonstrate in the YouTube video, can be found for free on dafont.com here.
How to Make a Personalized Name Sign using Offset with Cricut Design Space
STEP 1 – Prepare Your Sign Blank
To get started on this project, you’ll need to paint your wood sign with the acrylic paint of your choice.
First, see if the wood sign blank includes hanging hardware. If it doesn’t, buy picture frame D-ring hooks or sawtooth hangers and attach them to the sign.
Next, measure out what area of the sign is available for placing your letters. This will help you layout and size your letters correctly.
My sign has a frame, so the usable area inside is 18.5 inches wide and 8.5 inches tall. Make a note of this size.
Then paint your sign with your paint and let dry. You may need to paint two or three more coats. Let the sign dry thoroughly. It’s best to paint the sign first so you can let it dry while you are cutting out the cardstock letters.
STEP 2 – Create the Name Art with Offset in Cricut Design Space
Start with a blank canvas in Design Space. Create a shape in the size of the “usable” area of your sign blank that you measured in the previous step.
My sign blanks usable area is 18.5 inches wide and 8.5 inches tall, so I used the Shapes tool to select a square and add it to my canvas. Then I clicked the lock icon above the measurements in the toolbar so I could adjust each measurement individually.
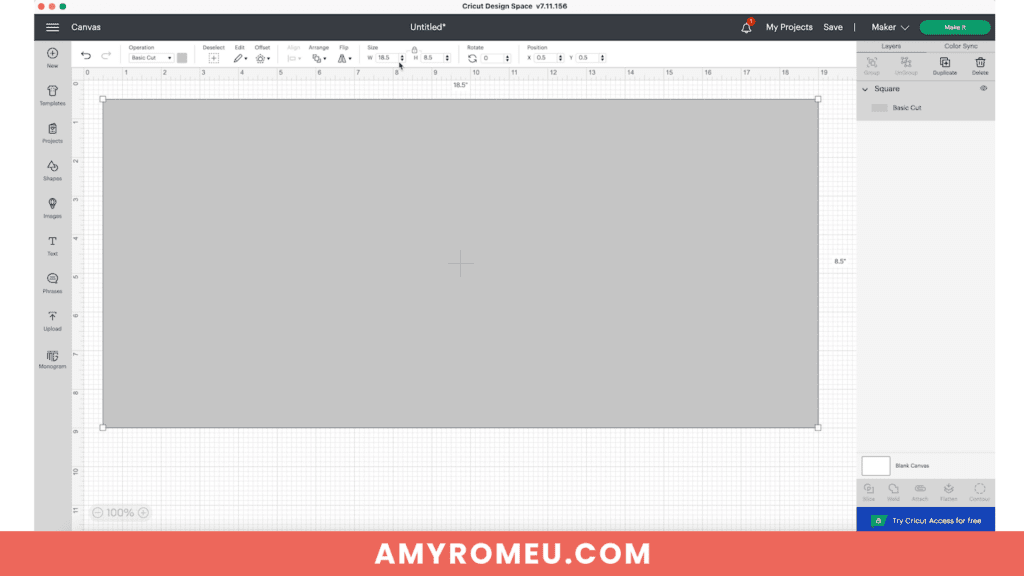
Then I created my rectangle and clicked the lock icon again to keep my new rectangle measurements.
We won’t need the sign shape yet, so click the eye icon on the layers panel for the rectangle layer to hide it.
Next type out your text in your desired font.
I used “Cricut Sans” which is free and the default text in Cricut Design Space.
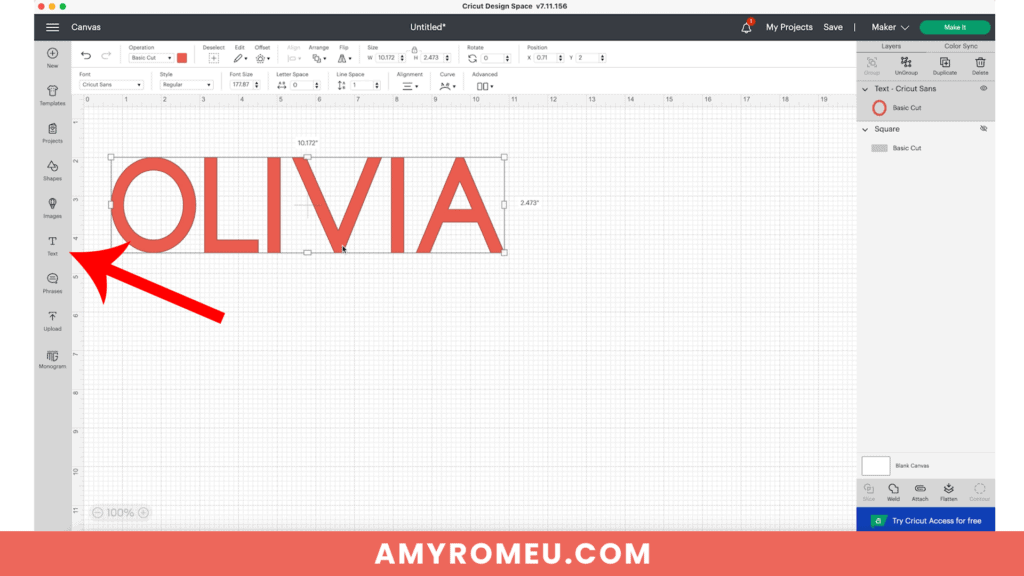
Next, UNGROUP the letters so you can manipulate each layer individually.
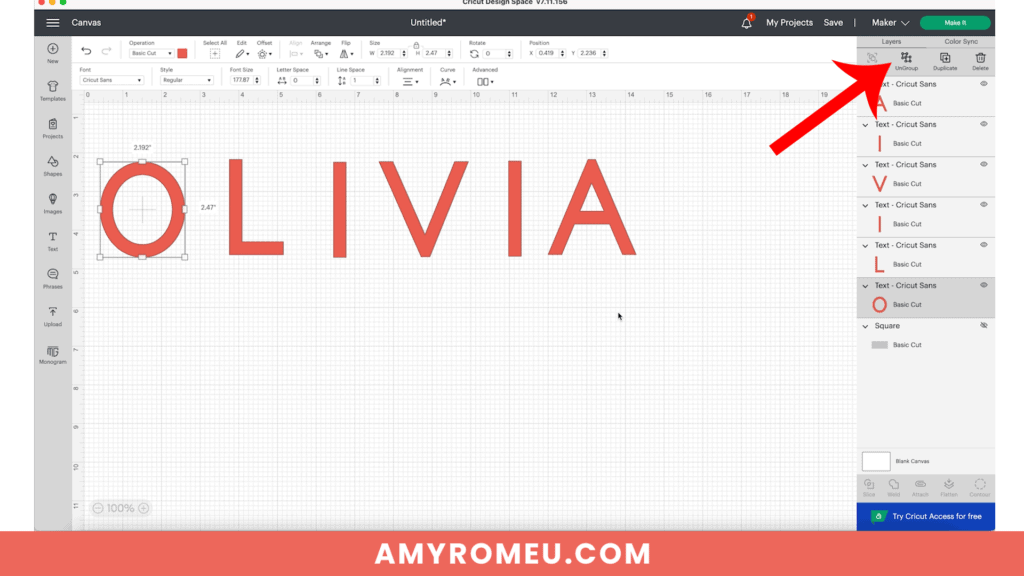
Now your text is ready to start applying the offset.
NOTE: If you want to use a cursive font and the offset feature, be sure to watch my YouTube video for this project. It covers additional considerations to keep in mind when using cursive and offset.
STEP 3 – Use Offset in Cricut Design Space
Click on the first letter in your text. Then click the OFFSET icon in the top menu bar. Select your distance, or size, of the offset by either sliding the slider to the right or typing a number in the box.
I want all of my offset layers to be the same distance, so I typed .125 in the box. You’ll see a preview of the offset size on your canvas as you adjust the slider or change the numbers.
Then decide if you want rounded corners or square corners on your offset.
For block text, I like squared corners and for cursive text I like rounded corners.
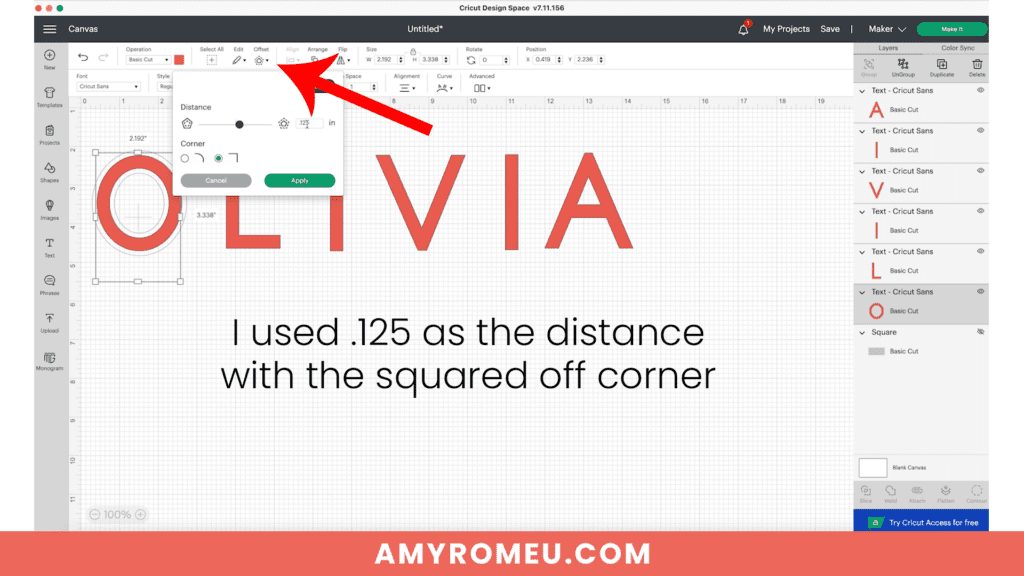
Click APPLY and you’ll see your new offset layer. You can click on it to change the color if desired.
Then click on the offset you just created and repeat the process of adding an offset to your new offset layer.
Repeat this process once more for a three layer offset surrounding your original letter layer.
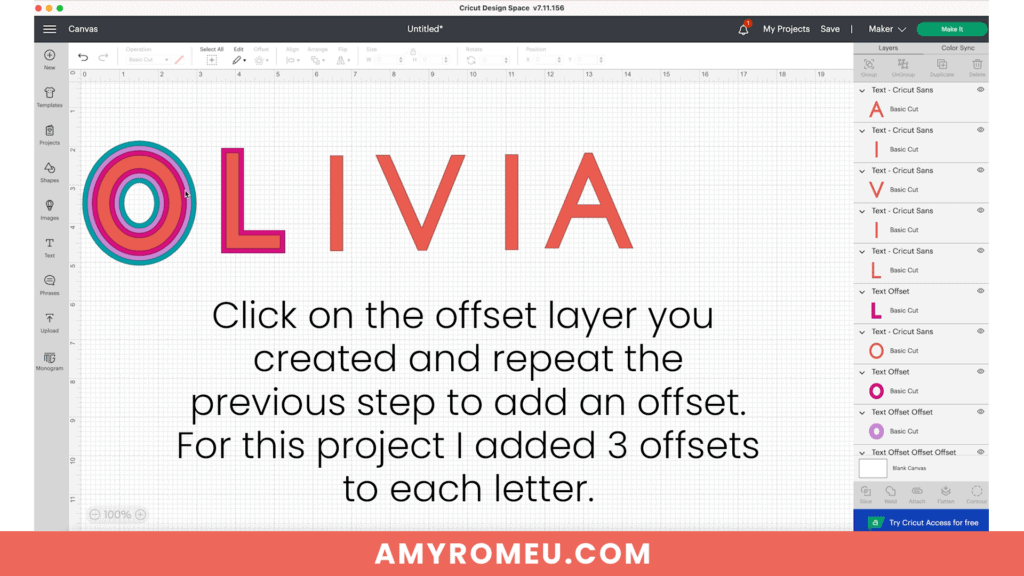
Then continue this process for each additional letter in your name sign. Be sure to choose the same color for each offset layer so your different layers will cut correctly.
NOTE: For a way to apply the offset to all the letters at once (and an important step you don’t want to miss!) watch the YouTube video for this project here.
Once all of your letters have 3 offsets applied, unhide your rectangle sign layer.

Select your letters as a group and resize them using the corner handles so the letters fill up the usable space on your sign. Once you are happy with how your letters look in relation to the sign blank, your letters are ready to cut out.
STEP 4 – Cut & Glue the Letters
When your letters are sized and colored correctly, click the MAKE IT BUTTON.
Select “ON MAT” as the method you’ll load your materials. If you are cutting a large sign and using a 12×24 mat, be sure to choose the different mat size. Click CONTINUE.

You’ll see a preview of the letters that will cut out on each different cardstock color mat.

Don’t MIRROR the letters for this project. Click CONTINUE.
Make your material selection according to the cardstock you are using. I chose MEDIUM CARDTOCK with DEFAULT PRESSURE.

Place the first color of cardstock on a light blue Cricut cutting mat. Use a brayer and roll over the cardstock to be sure it is well adhered to the mat.
Load the mat into the Cricut and begin the cut. I didn’t need to repeat the cut at all and unloaded the mat after the first cut. If your cardstock weight is heavy, like 110 lb, you may need to use MORE pressure or repeat the cut.
Unload the mat. Flip it over and peel away the excess cardstock. Then carefully remove each letter from the mat.
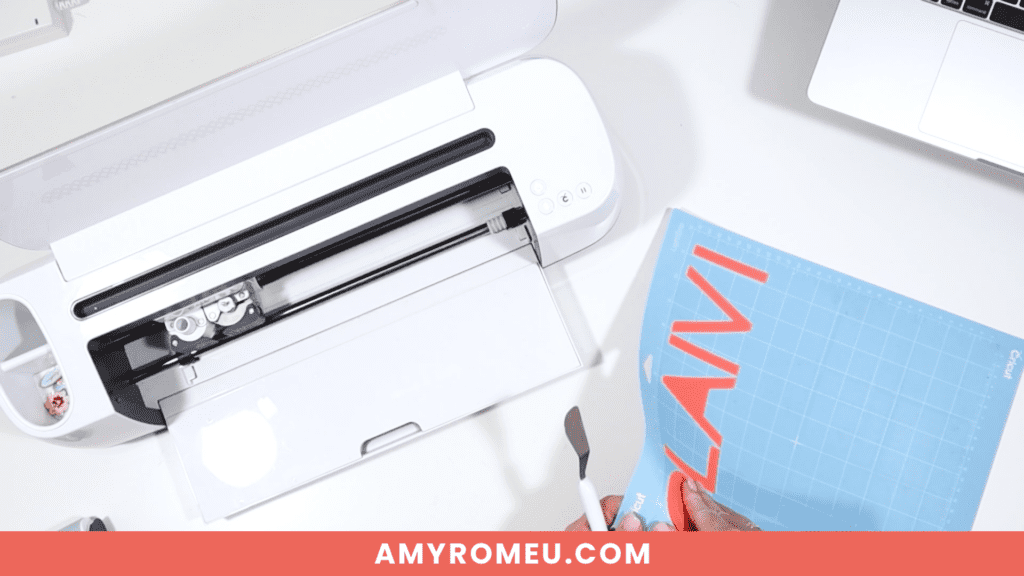
Repeat with the other three cardstock mats.
Layer all your letters on top of each other so they are in order and ready to glue.
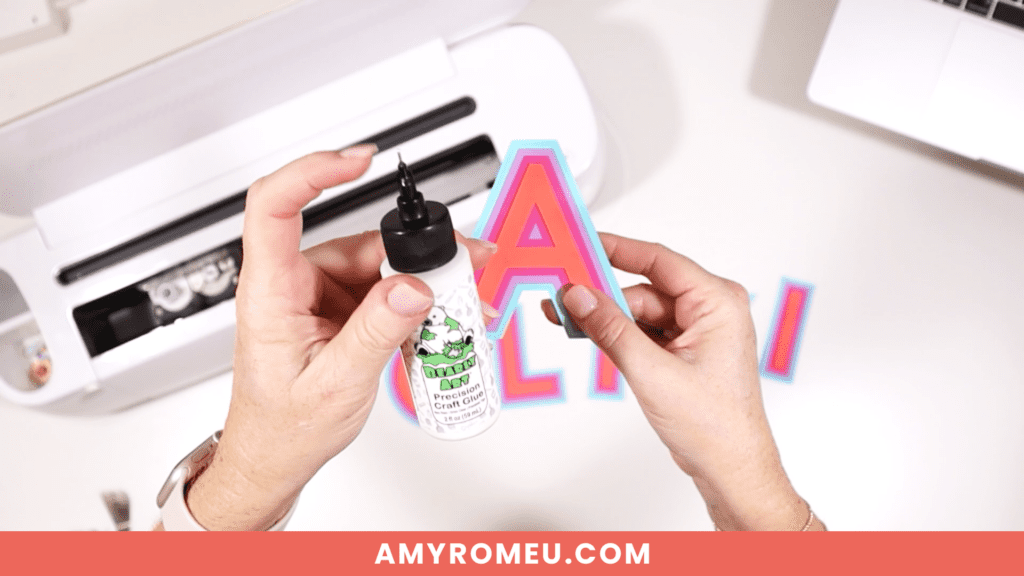
Use a glue with a fine tip nozzle like this Bearly Art Precision Glue (LOVE!) and glue the letter layers together.
Then place all the glued letters underneath something heavy for a few hours (I used the cardstock package) so they dry flat.
STEP 5 – Assemble the Name Sign
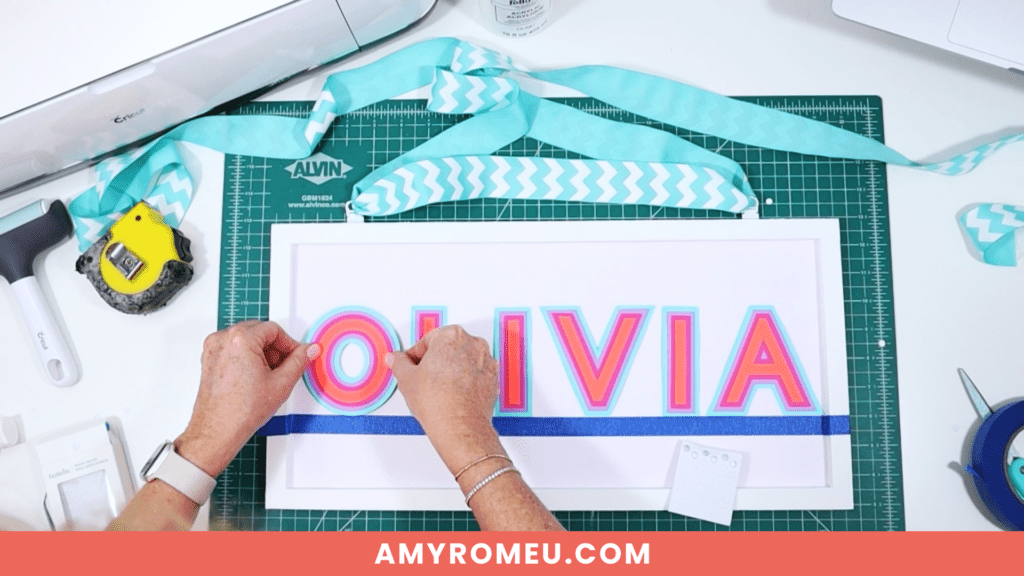
To assemble the personalized name sign, you’ll need your painted sign, some ribbon if desired, blue painter’s tape, and some adhesive foam dots.
If you are using ribbon to hang your sign, you can attach it to the hanging hardware now.
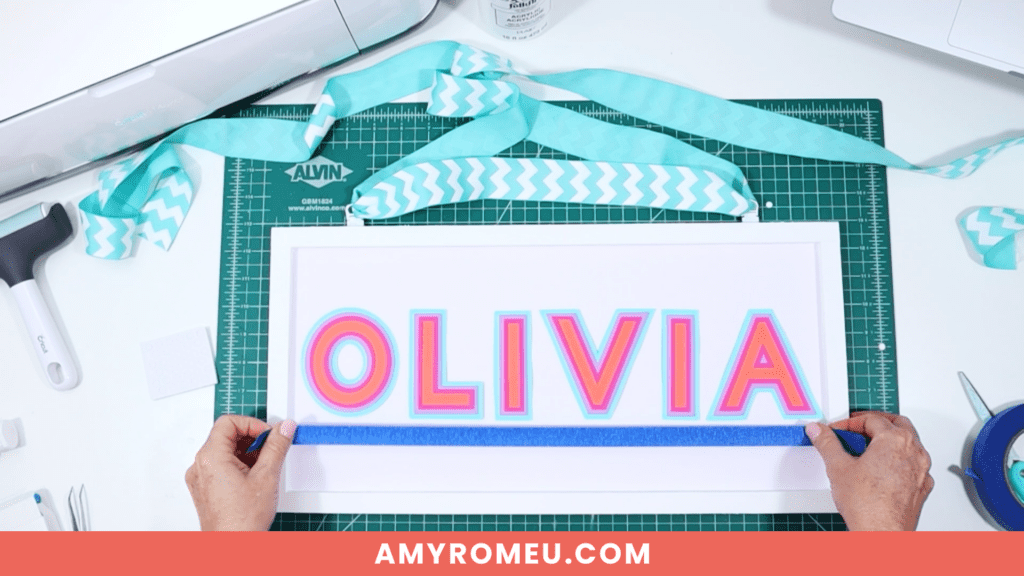
Then lay the glued letters out on your sign – without securing them down yet! – to arrange them in a pleasing manner.
Then use blue painter’s tape to create a guideline you can use to be sure your letters go on the board straight.
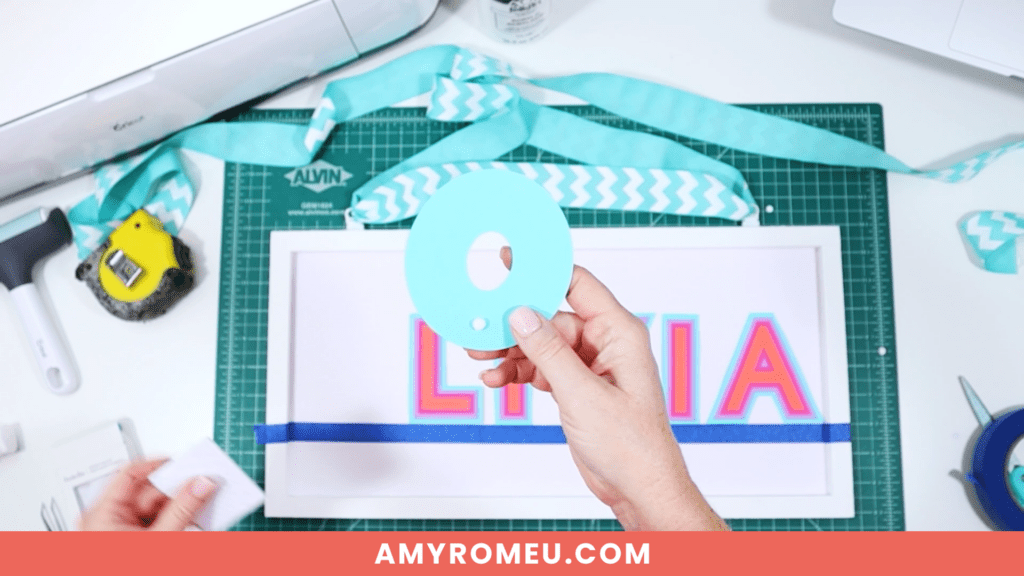
Begin applying glue or foam dots to the back of the first letter and place it on the board. I used 3mm adhesive foam dots to give some dimension and pop to the letters on the board.
Place the dots in several places on the back of each letter so the letters are evenly supported with the foam dots. I ended up using about 8 foam dots for the letter O.
Press the first layer down onto the board, using the blue tape as your guideline.
Repeat with the remaining letters.
Then carefully remove the blue painter’s tape guideline and tie a bow in your hanging ribbon (if you are using one).
That’s it! Your Personalized Name Sign Made with Offset in Cricut Design Space is complete!
Remember, for click-by-click instructions on this project, as well as additional bonus instructions for applying the offset in a few different ways, including with cursive text, be sure to check out my YouTube video here.
I would love to see your finished offset name signs! If you do make this project, please share a photo of them in my free crafting Facebook Group, or tag me on Instagram: @amyromeucrafts
Did you like this project? Do you want to see more projects like this one where I teach you how to design things inside of Design Space? If so, let me know in the comments!

Want to remember this? Post this PERSONALIZED NAME SIGN MADE WITH OFFSET IN CRICUT DESIGN SPACE project to your favorite Pinterest board!
Hi Amy,
This was such a great tutorial you made. I had no idea what “Offset” was until today & I can see so many useful ideas when making gifts for a Babies room or for young ones.
Thank you for taking the time to bring us along, while creating a beautiful piece of special decor for your daughter Olivia’s room. I’m sure she loved it!
jojo
Hi, JoJo! Thank you so much for your kind note. I’m glad you enjoyed this project! I enjoyed branching out and making a video about something different! Thanks again for watching.
Amy