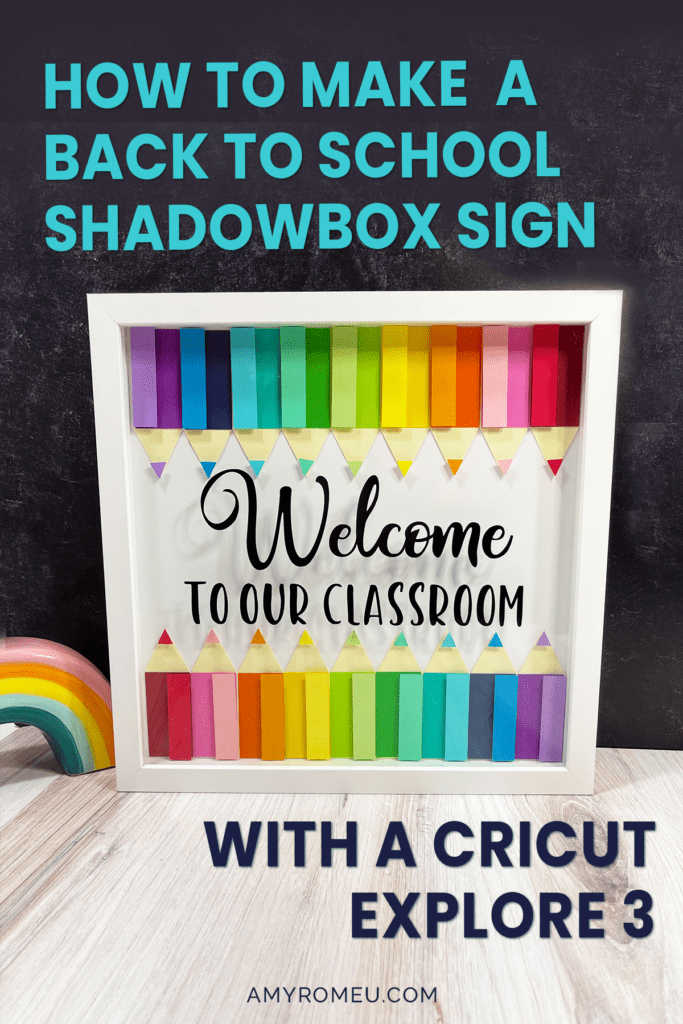
How to Make A Back to School Shadowbox Sign with a Cricut Explore 3
It’s Back to School time already! Where did the summer go? If you’re like me, the end of summer turns into “Back to School crafting time” real quick. I love making teacher classroom crafts and gifts with my Cricut! It was so much fun to design this Colored Pencil Back to School Shadow Box using layered cardstock and my Cricut Explore 3. If you’re looking for fun shadow box ideas for teachers or teacher shadowbox gifts or a teacher shadow box SVG, then this project is for you!
I’ll be using the Cricut Explore 3 to make this classroom shadow box paper craft, but you can absolutely make this project with the Cricut Explore Air 2, the Cricut Maker, or the Cricut Maker 3.
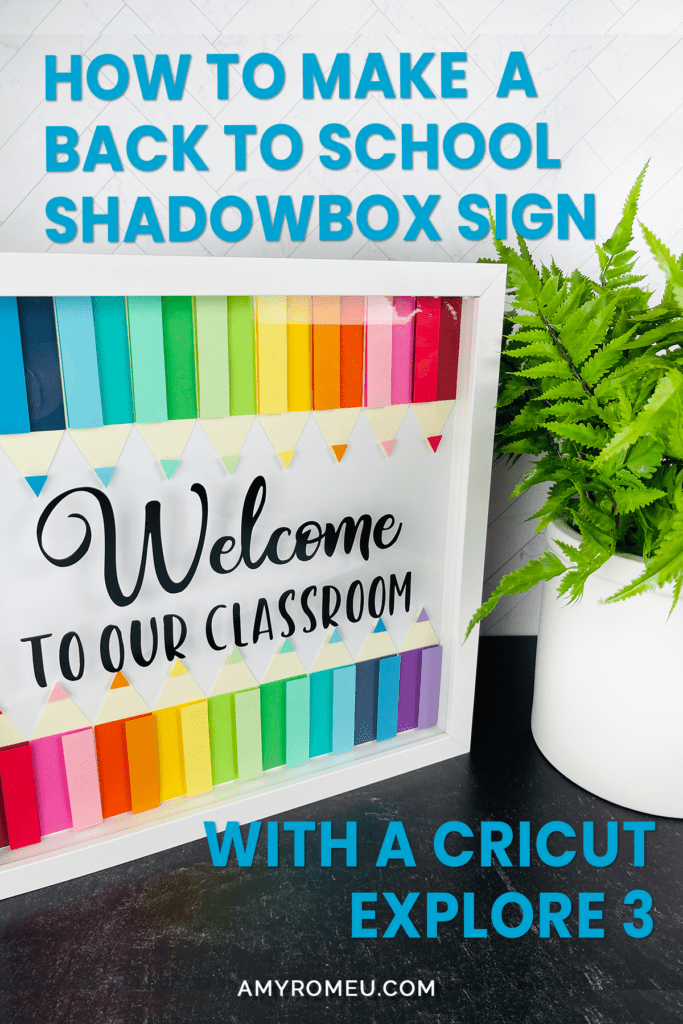
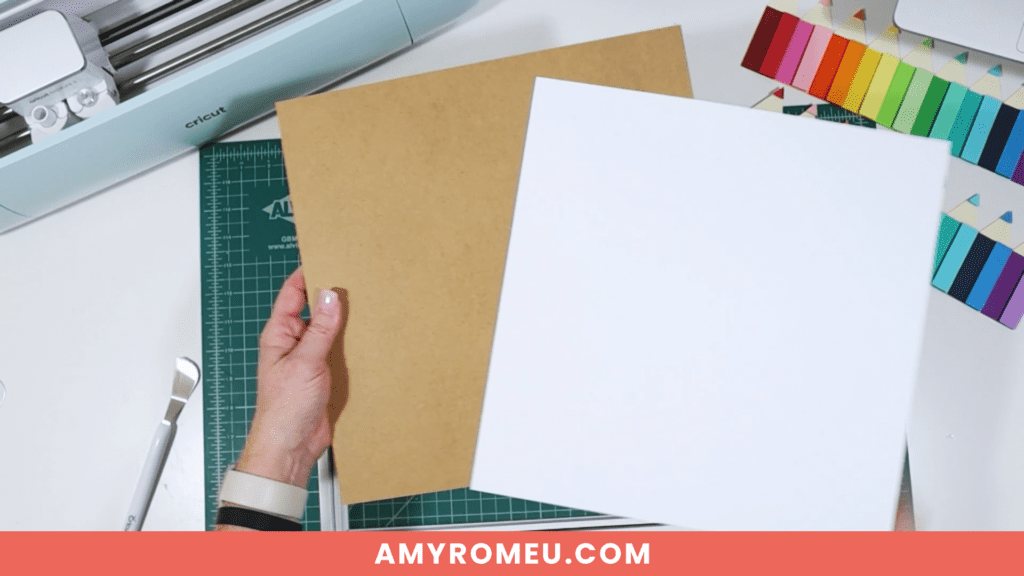
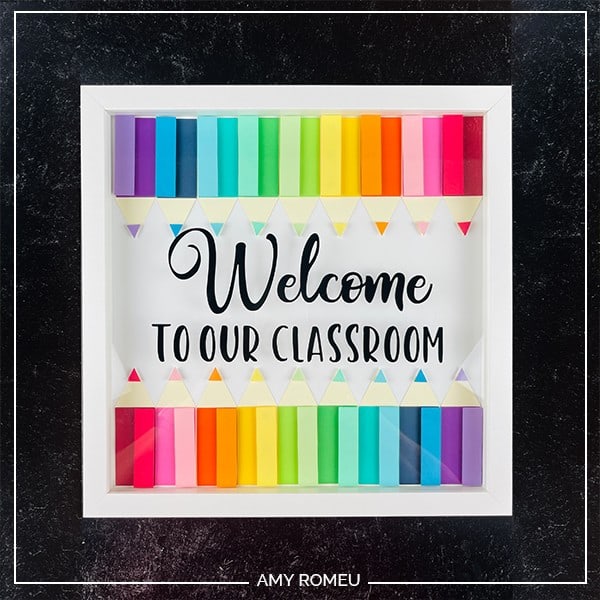
This Back to School Shadowbox is made from a 12×12 shadowbox, colored cardstock, adhesive squares and tape, and permanent vinyl. The rainbow of colored pencils makes this the perfect teacher shadow box gift!. I can’t wait to show you how easy this DIY Back to School Shadow Box sign is to make! I have all the supplies and materials I used linked in the Materials section below.
So if you’re ready to learn how to create this shadow box project with a Cricut, let’s get started! If you’d rather watch a video tutorial, which has ALL the step by step clicks and additional tutorial content about recoloring and resizing this project, click here or on the video below.
This page contains some affiliate links (which means if you make a purchase after clicking a link, I will earn a small commission at no additional cost to you). Read my full disclosure policy here.
BACK TO SCHOOL SHADOW BOX MATERIALS
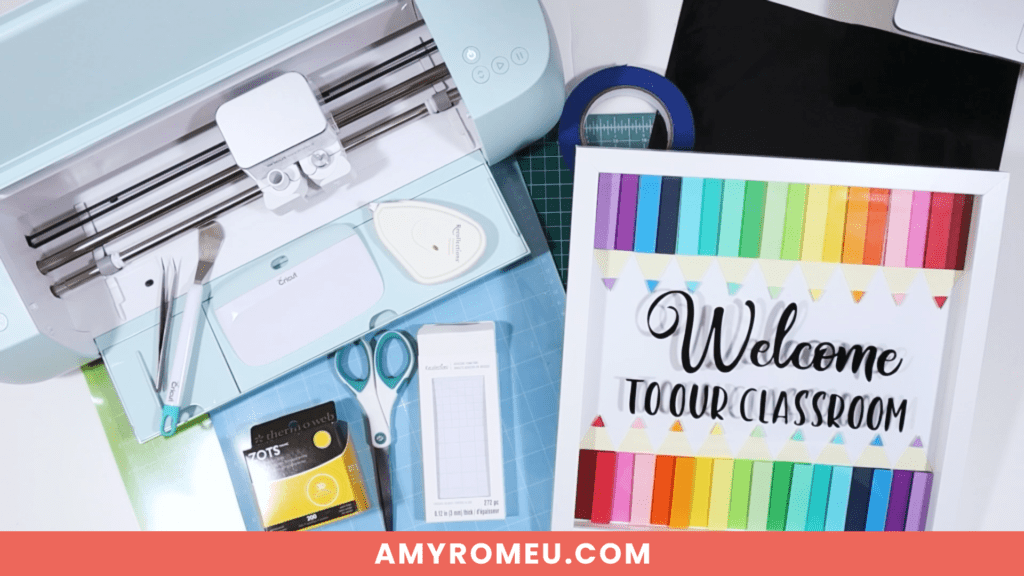
- A Cricut cutting machine (or the cutting machine of your choice). I’m using the Cricut Explore 3 for this project, but you can use the Cricut Maker 3, the Cricut Explore Air 2, or the Cricut Maker .
- Cricut Light Grip Blue Cutting Mat. Available in 12×12 size here or 12×24 size here.
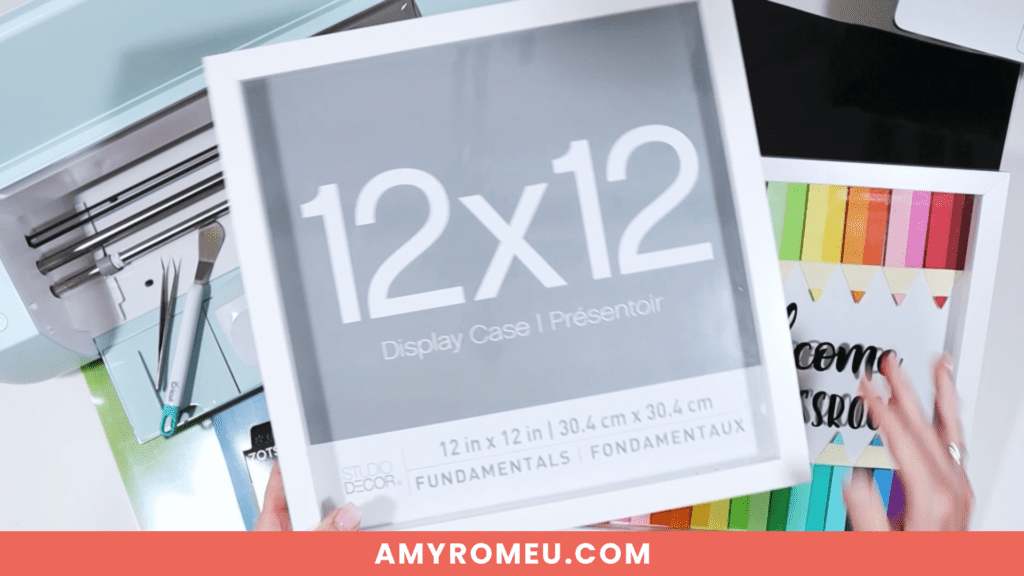
- 12×12 Shadow Box Frame. I used this one from Michaels.
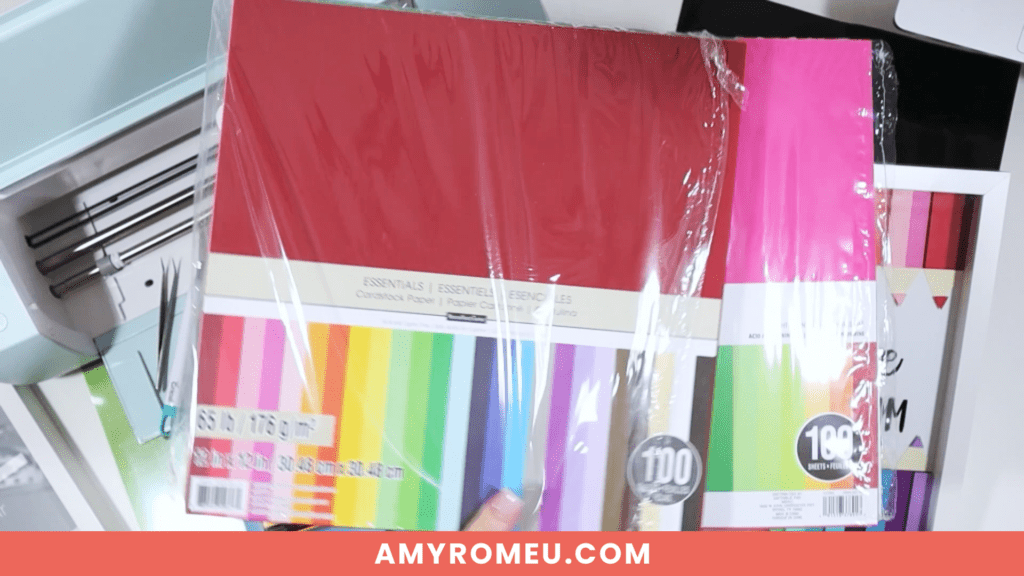
- Colored cardstock. I used this assortment and this assortment of 65 lb. colored cardstock.
- Adhesive Foam Tabs. I used these adhesive squares from Michaels.
- Adhesive Tape Runner. I used this one from Michaels.
- Black Permanent Vinyl I used Oracal 651, also available from Michaels here.
- Transfer Tape
- Cricut XL Scraper
- The Welcome To Our Classroom SVG – Design #199 in my blog’s free resource library. Get the library link and password emailed to you instantly after filling out the form below.
- Font (Optional) – I have the Welcome text already created for you as part of the SVG in my library. But if you want to type your own text using the same font I did, it’s called Amastery. You can get it here.
How to Make a Back to School Shadow Box
STEP 1 – Download the Free SVG
To get started on this project, you’ll need to download the free SVG from my blog’s resource library.
Fill out the form above with your name and email address to have the library link and password emailed to you. Click on the link to log in to the library and look for Design #199.
Click on the Download button to download the zipped SVG file to your device. You’ll need to unzip the folder before you can upload the SVG to Cricut Design Space.
STEP 2 – Upload the SVG to Cricut Design Space
Start a new project in Cricut Design Space.
Click on UPLOAD from the toolbar. Then browse to the location on your device where you unzipped SVG file is located. Click on it to upload it.
You’ll see a preview of the file in Design Space. Click the green UPLOAD button.
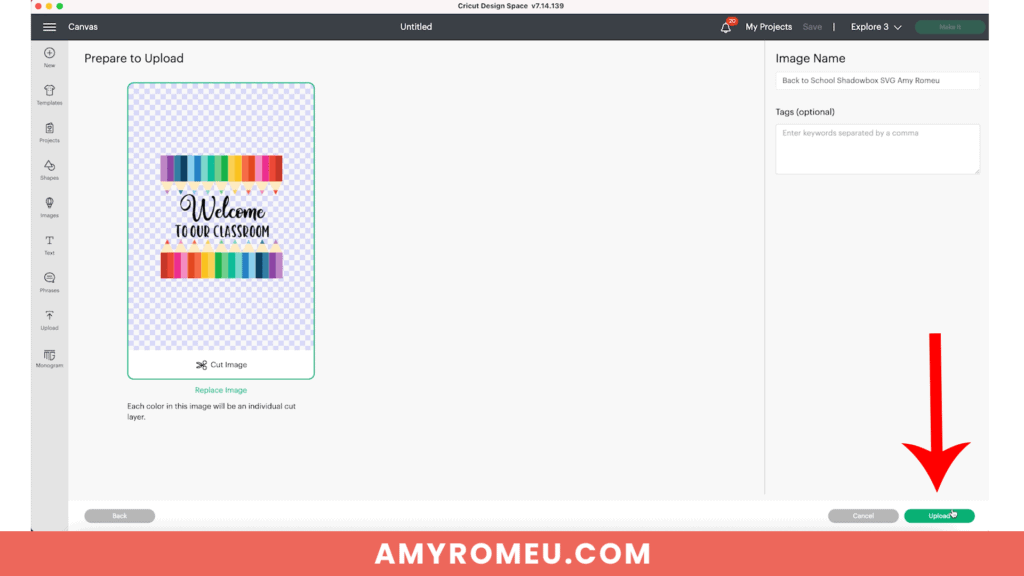
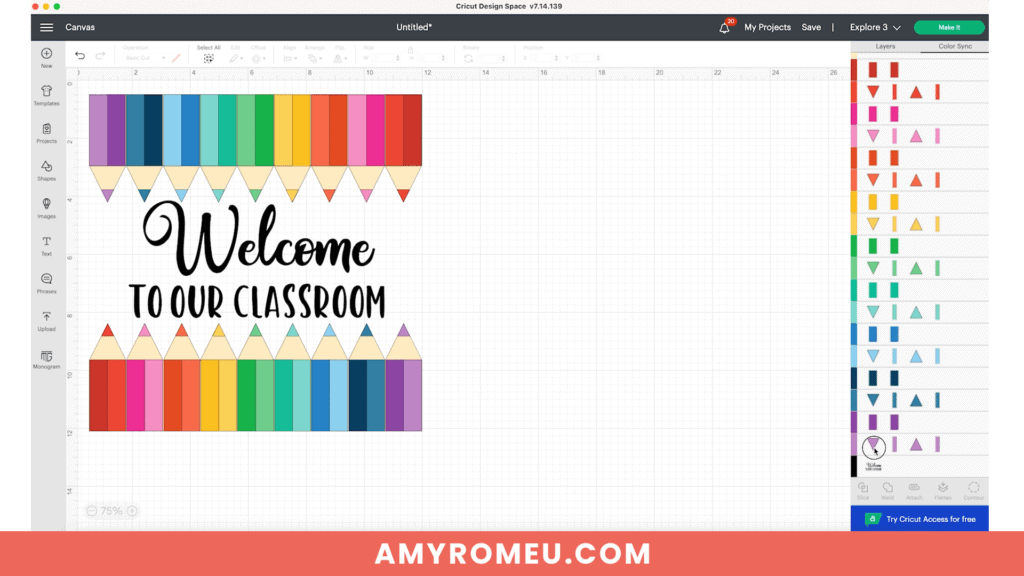
This will bring the SVG onto your canvas in Cricut Design Space.
The SVG is already perfectly sized for the 12×12 Shadowbox I used from Michaels. If you are using a different size or kind of shadowbox, you will need to resize the art in Design Space before cutting.
To resize the design, be sure ALL the layers in this project are selected before adjusting the size. Check out my YouTube video for this project for more information.
The text layer that says “Welcome to Our Classroom” will cut from black permanent vinyl and will be pressed onto the shadowbox frame glass. This text isn’t editable, so if you want to add your own text, hide or delete the text layer.
Then use the text tool to create your own text.
NOTE: This design uses 18 colors of cardstock for the colored pencils – one dark and light shade for each of 9 colored pencils. For instructions on how to cut the number of cardstock colors in half and create each colored pencil from one color instead of two, please watch my YouTube video on this project here.
Once the project is ready to go, click on the green MAKE IT button.
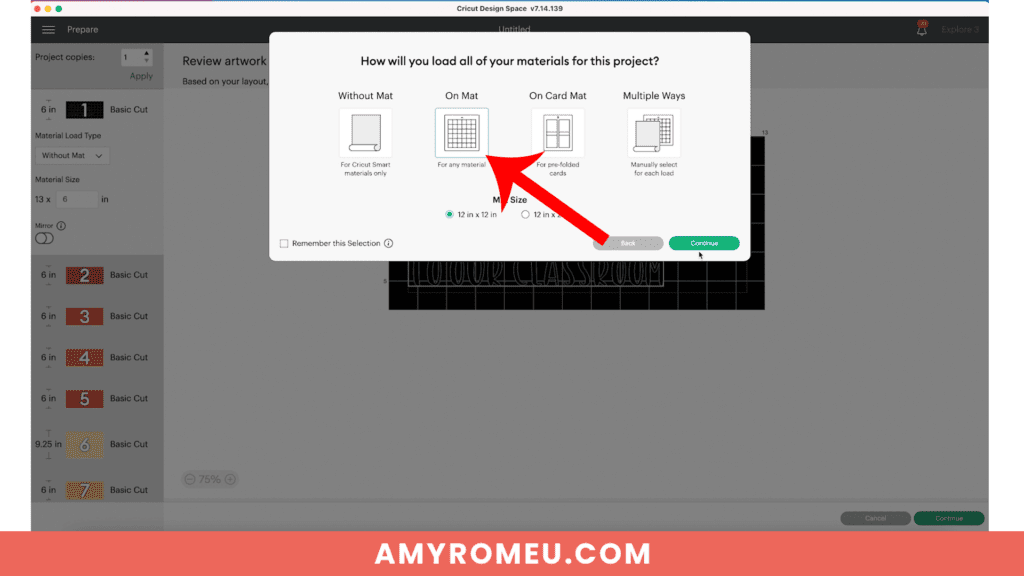
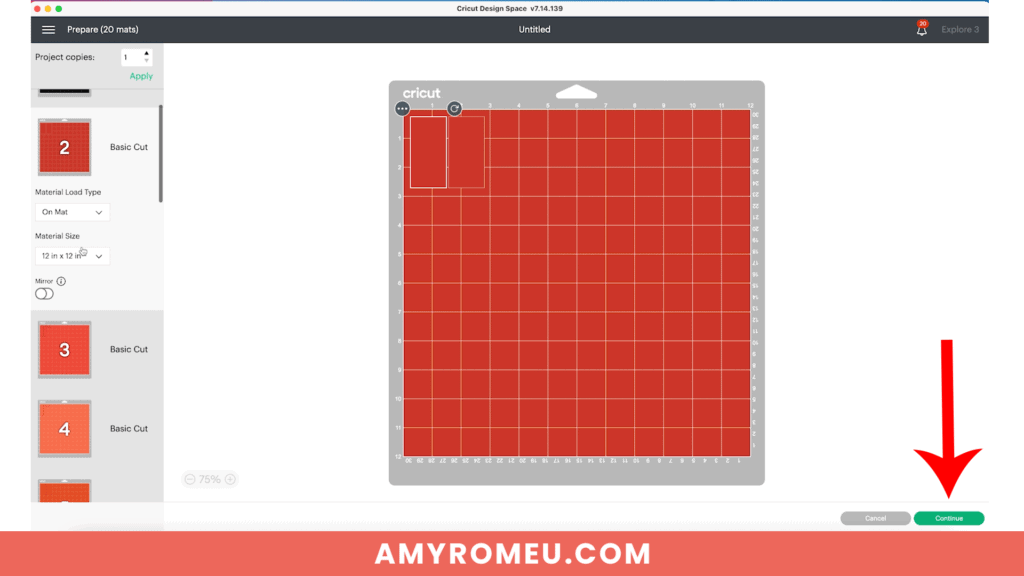
Choose “On Mat” for how you will load your materials and change your mat size if necessary.
STEP 3 – Cut the Cardstock Layers
Now it’s time to start cutting the cardstock layers for this Cricut Back to School Shadow Box project.
This design has twenty mats to cut, but it’s a quick and easy project, I promise! Eighteen layers are the colored pencils, one is the tan colored pencil “lead” color, and one is the vinyl text for the glass.
I recommend cutting the tan layer first and checking that this layer fits inside your shadowbox. That way, if you need to make size adjustments, you aren’t wasting time cutting all of the colored pencil layers.
Scroll through the mats in the preview and locate the tan layer. It is the foundation for all the colored pencils so it’s the most important layer!
This is what the tan layer will look like on your 12×12 cutting mat.
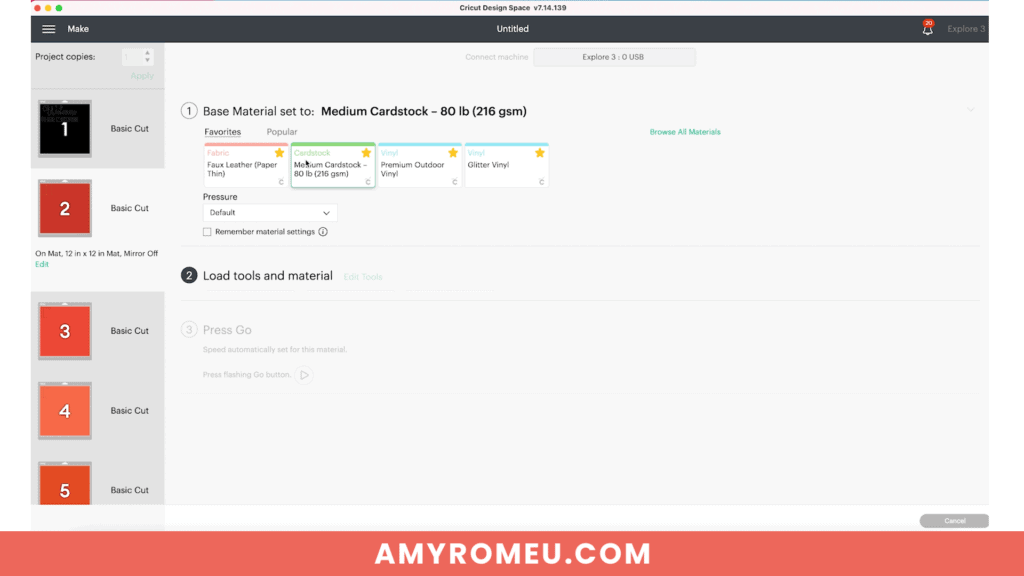
It is not necessary to mirror any of the mats in this project. Just click CONTINUE.

I chose the MEDIUM CARDSTOCK setting with Default pressure.
Press the tan cardstock sheet down to a light blue cutting mat. Roll over the mat with a brayer if you have one.
Load the mat into the Cricut and press the Go button to begin the cut.
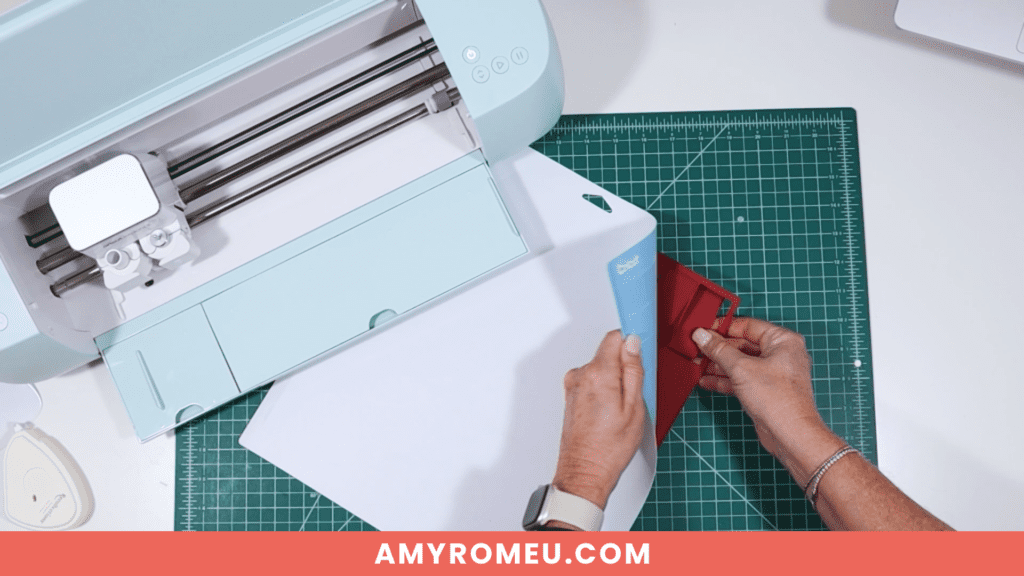
When the cut is complete, flip the mat over on your work surface and peel the mat away from the cardstock. This keeps the cardstock as flat as possible.
Set the tan layers aside and return to Design Space.
Begin cutting the colored pencil layers one by one.
After each layer cuts, flip the mat over and remove the cardstock shapes.
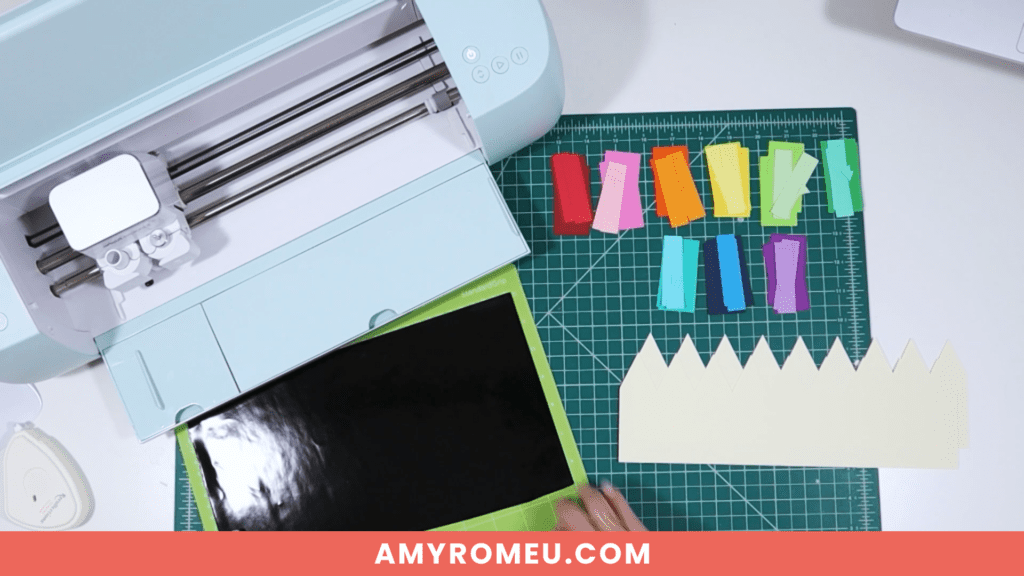
I made piles of each pencil’s layers as I cut. Cut all of the remaining pencil layers and set the blue mat aside.
STEP 4 – Cut the Vinyl Text Layer
When the colored pencil layers are all cut, it’s time to cut the vinyl layer.
Place your permanent vinyl onto a green cutting mat. Roll over the vinyl with a brayer if you have one.
I used the Premium Vinyl material setting with Default for this layer, but you can use whatever setting you prefer or what is recommended by your vinyl manufacturer.
Load the mat into the Cricut and press the GO button to begin the cut.
When the cut is complete, use a sharp weeding tool to remove the excess vinyl so only the text remains.
(I recommend removing the vinyl from the mat before weeding and applying the transfer tape, but I forgot to do this, so I’m weeding on the mat in the photo below.)
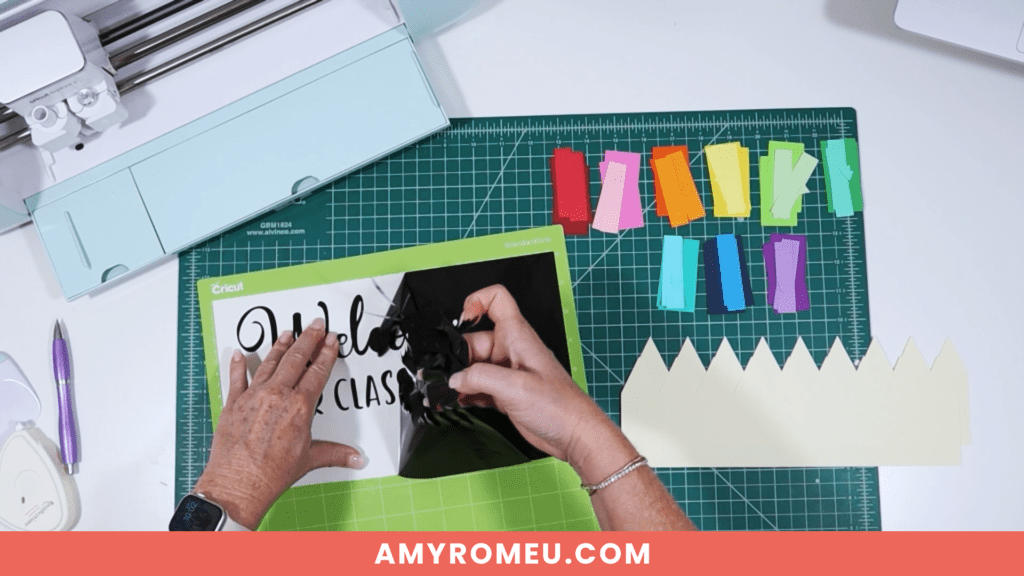
Then a piece of transfer tape over the weeded vinyl. Use a squeegee or a large scraper to press the transfer tape down firmly to the surface.
Set the vinyl aside for now and move on to the next step.
Set the cut vinyl layer covered with transfer tape aside. It’s time to assemble the shadow box interior.
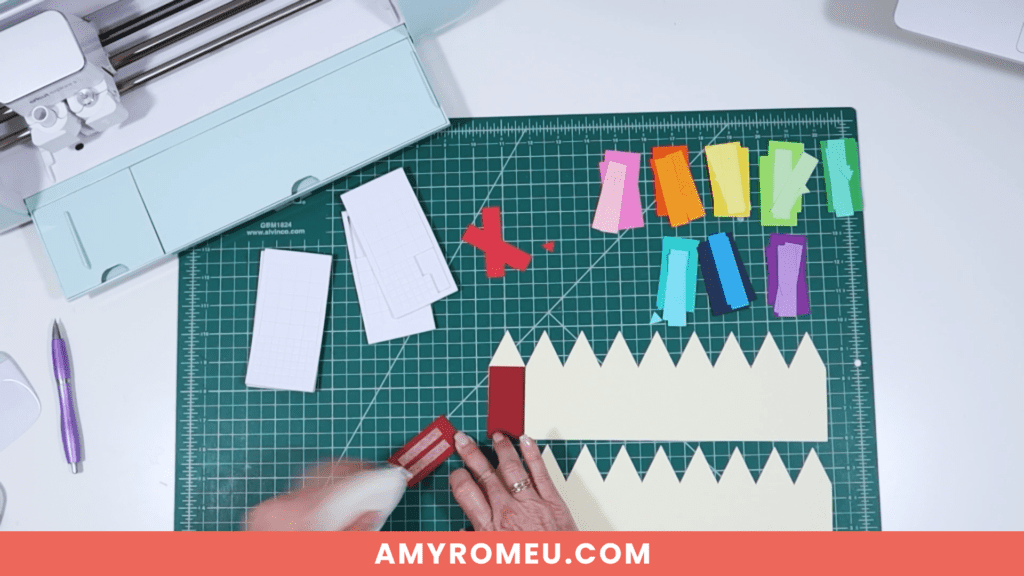
STEP 5 – Assembling the Colored Pencil Layers
Start with the first colored pencil layers. Use the tape runner to apply tape strips to the back of the larger rectangle shapes. Then press the first shape down onto the tan cardstock layer.
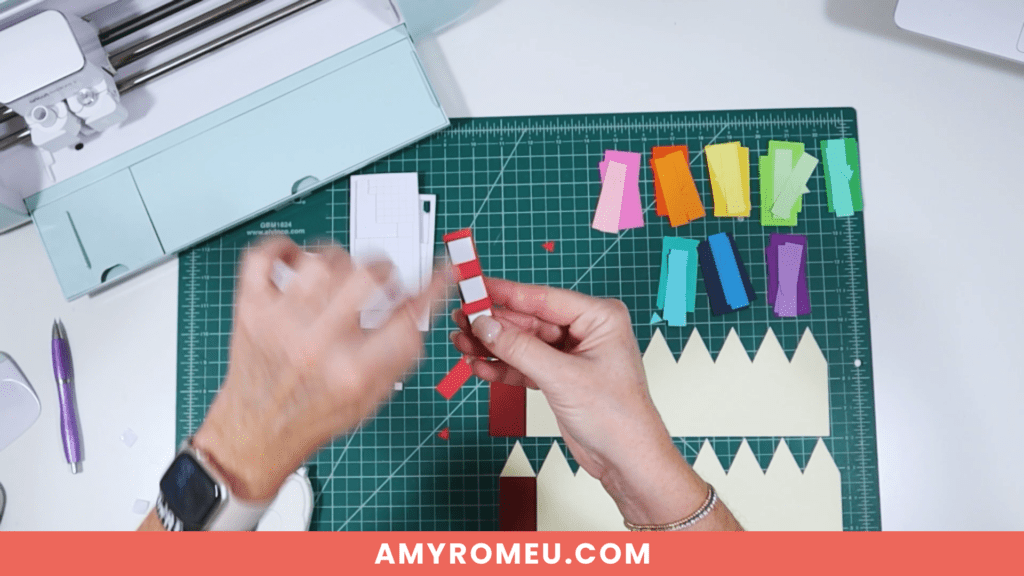
For the more narrow pencil layer, I used adhesive foam squares to add some dimension to the colored pencils.
Apply a few foam dots or squares to the back of the colored pencil accent color, then press the shape down onto the bottom layer.
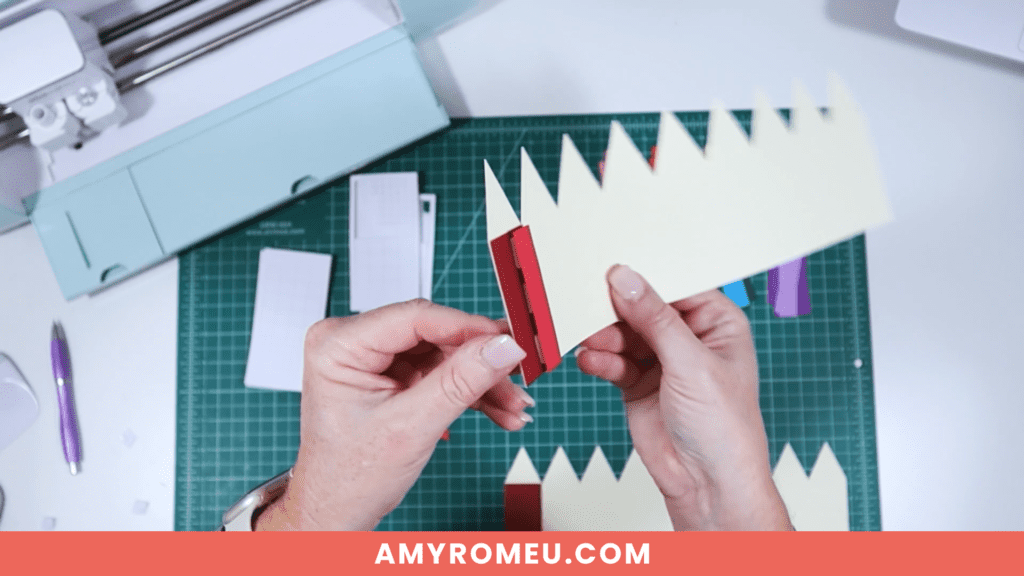
Repeat for the tiny pencil point. For this shape, I cut one of the smallest adhesive foam squares in half at a diagonal.
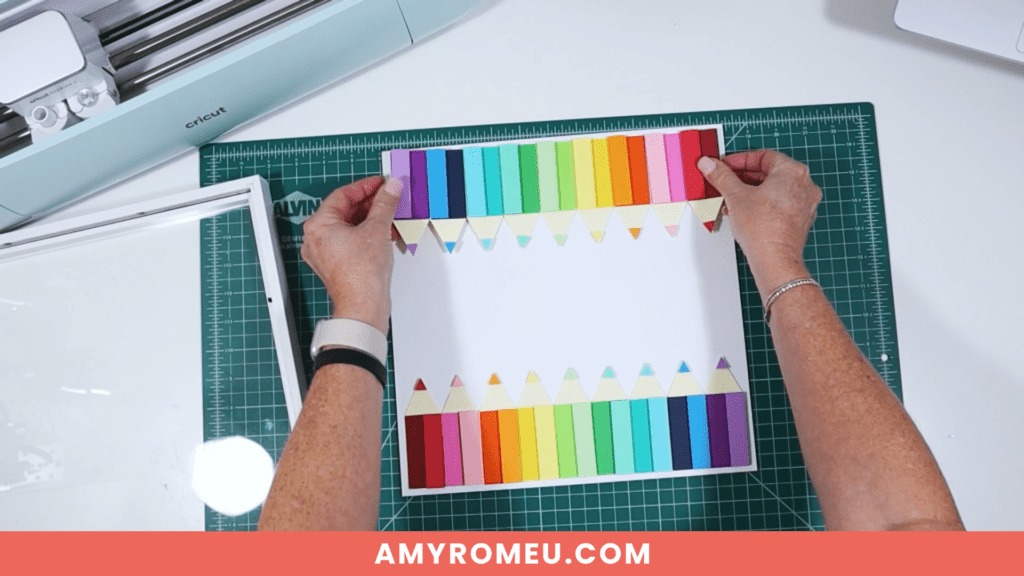
Continue using the tape runner and the foam squares to finish adding all of the colored pencil layers to the tan base layer.
Step 6 – Assembling the Inside of the Shadowbox
Once the colored pencil layers are complete, it’s time to put together the inside of the shadow box.
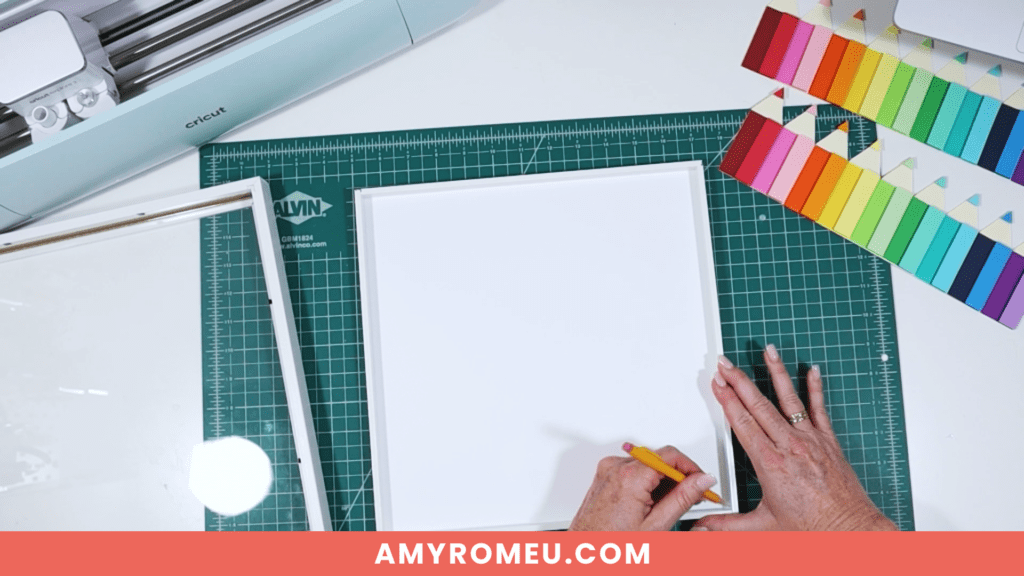
Flip the shadow box frame over and remove the back. If your frame doesn’t have a pretty backing on the inside, you can use a 12×12 piece of cardstock.
I used a white piece of cardstock and used my tape runner to attach it to the back of the inside of the shadow box frame.
If your frame has an inner shape like mine does, take it out and place it over the cardstock back. Mark where the frame edges are and where to place your cardstock shapes so they are inside of that frame edge.
Then use a tape runner to secure the colored pencil sections down to the backing paper.
Reassemble the frame by putting the glass back on and securing the frame back. Be sure to clean the front and the back of the glass before you do this!
Step 7 – Placing the Vinyl on the Front of the Shadow Box
Carefully peel the backing layer away from the vinyl and transfer tape so the letters stick to the transfer sheet. I find it helps to flip the vinyl face down and peel the backing away from the transfer tape.
Do this slowly and use the squeegee or scraper as needed to make sure the letters come off the backing sheet and stick to the transfer tape.
Once the backing is removed, it’s time to place the vinyl onto the glass.
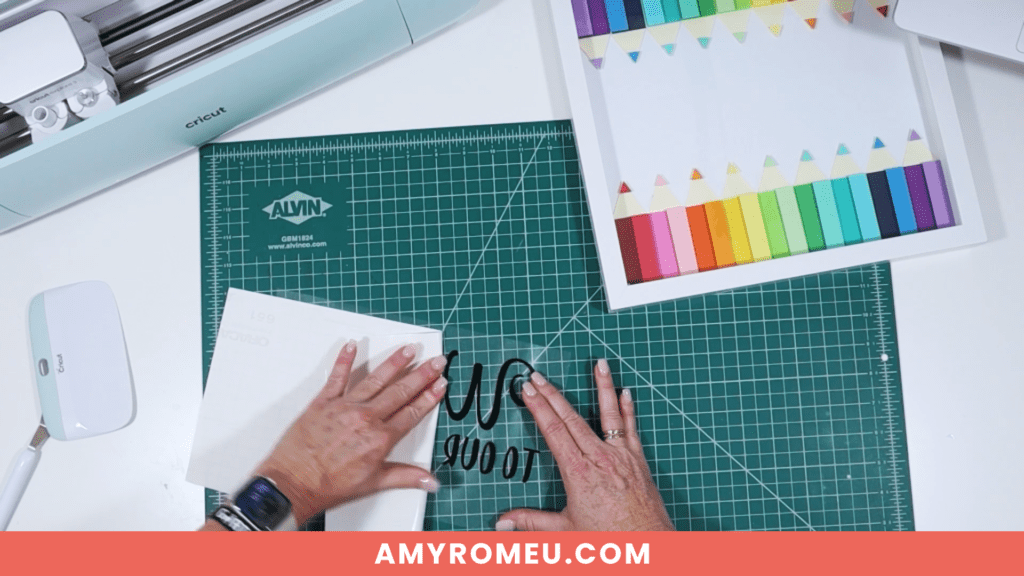
Since this is permanent vinyl, I don’t want it to stick in the wrong place until I’m sure the text is centered and level. So I’ll use some parchment paper to help me position the vinyl layer first before I stick it down.
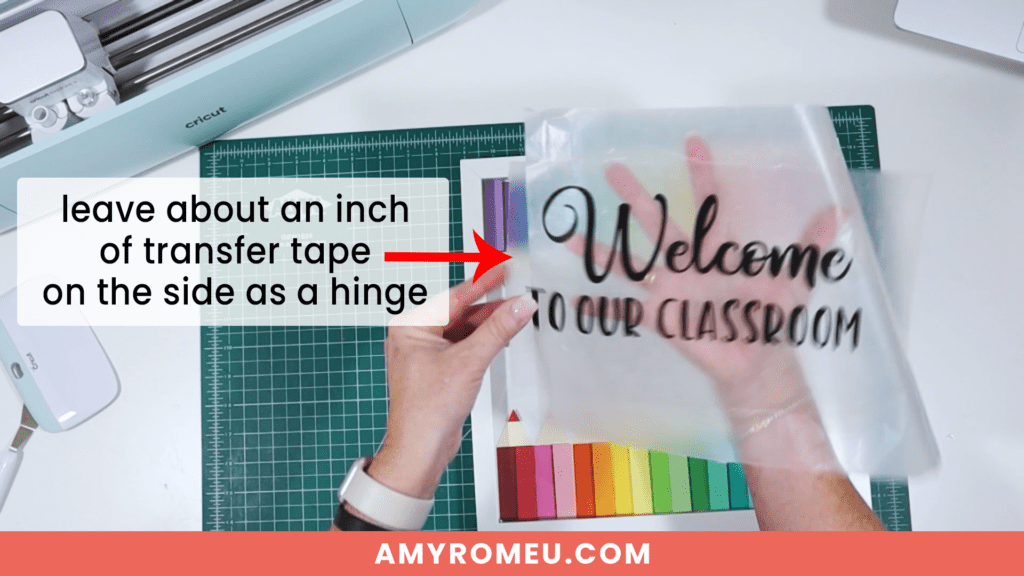
Using a piece of regular kitchen parchment paper, place the transfer tape onto the parchment paper, leaving an inch on the left or right of the transfer tape off of the parchment paper, as shown in the photo below.
This exposed inch of transfer tape will act as a hinge as we line up our vinyl layer onto the glass.
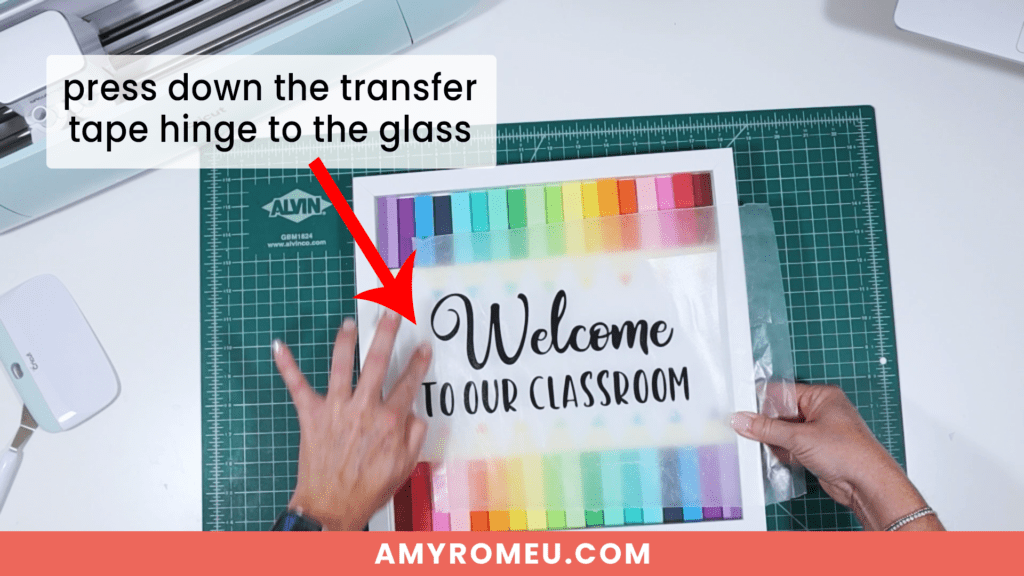
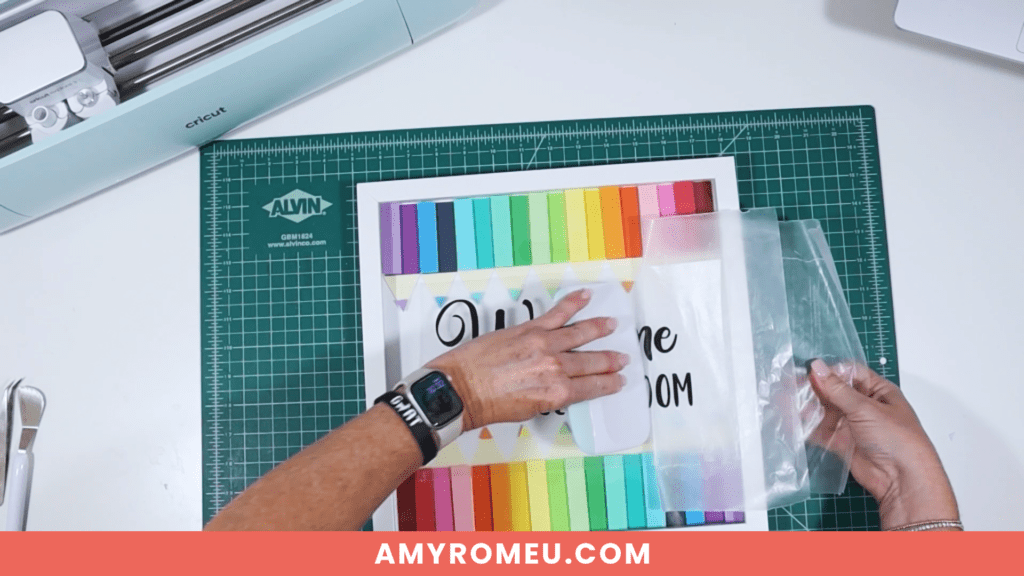
To do this, place the parchment paper/vinyl/transfer tape layer onto the shadow box frame glass.
Position the text as desired so it looks centered and straight on the frame.
Then use your finger to press down the transfer tape “hinge” onto the glass so it sticks.
Carefully fold this layer over at the hinge so the parchment paper side is facing up. Peel away an inch or two of parchment paper away from the hinge.
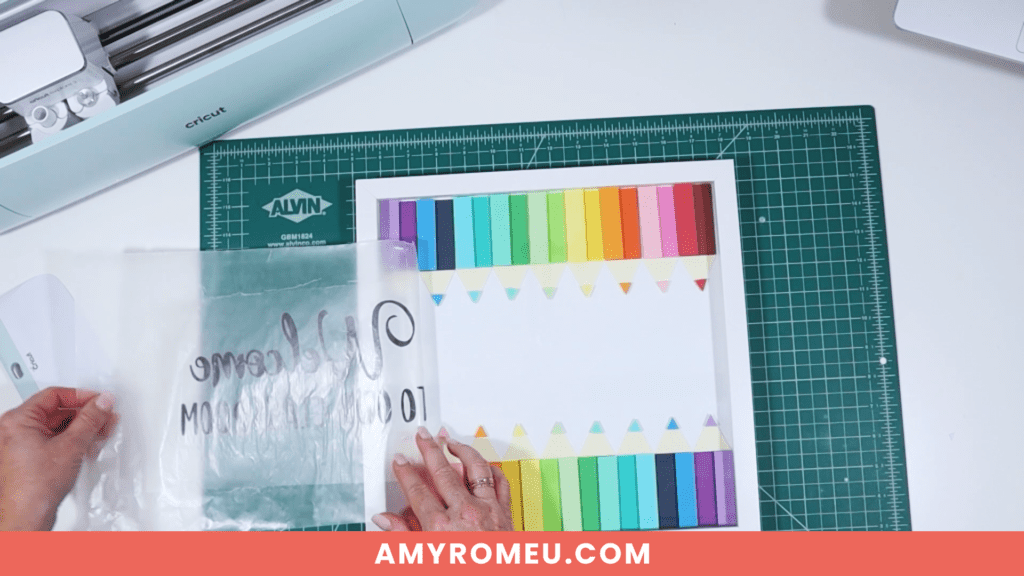
Keep one hand on the lifted parchment paper edge. Flip the parchment paper and vinyl layer back into place on the glass.
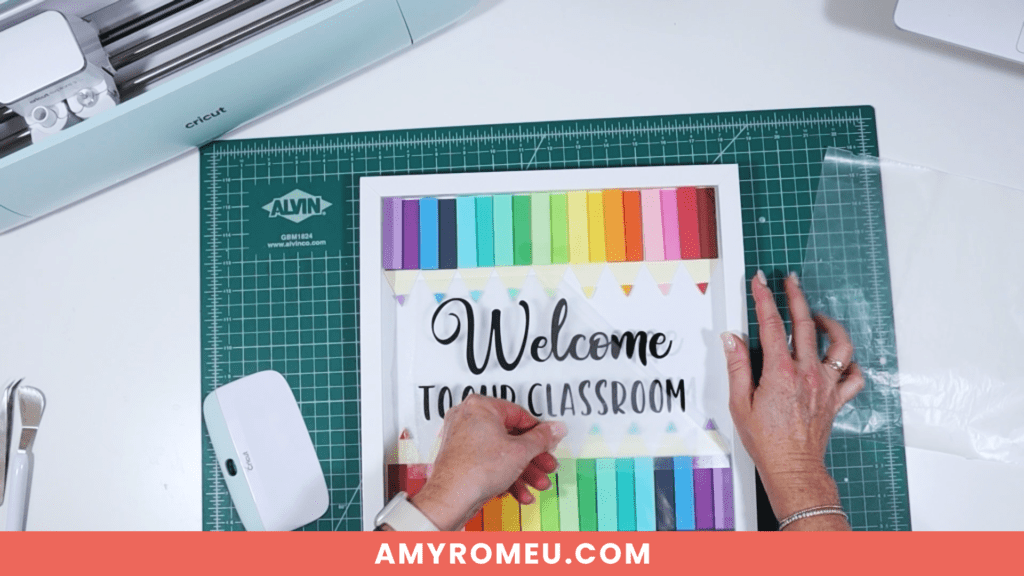
Use one hand to slowly begin to peel the parchment paper away from the hinge side while also using a squeegee or scraper to begin pressing the vinyl closest to the hinge onto the glass.
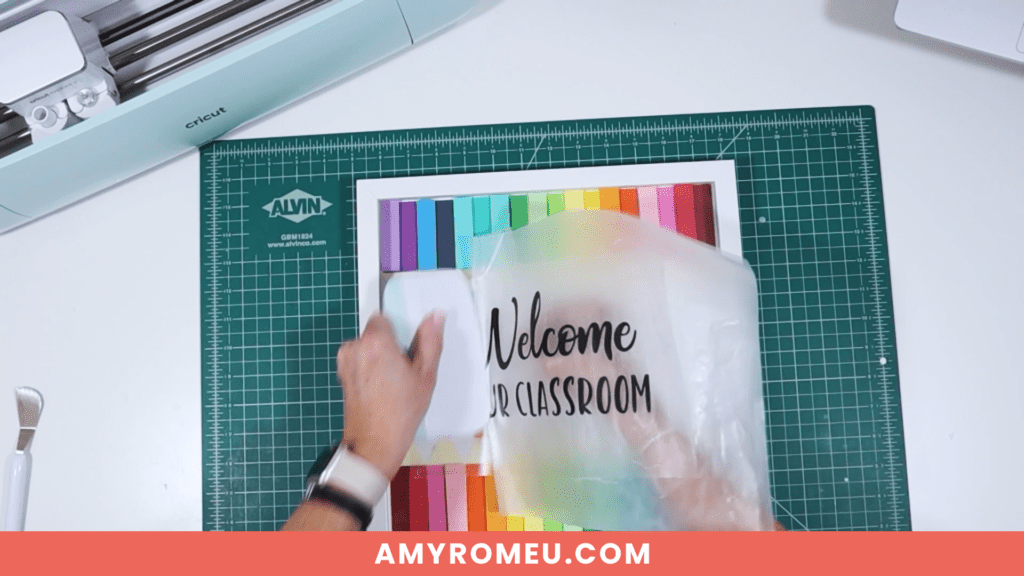
Continue peeling and pressing slowly. If necessary, pause to adjust a vinyl letter as needed.
Press the vinyl layer down until the parchment paper peels off the vinyl backing.
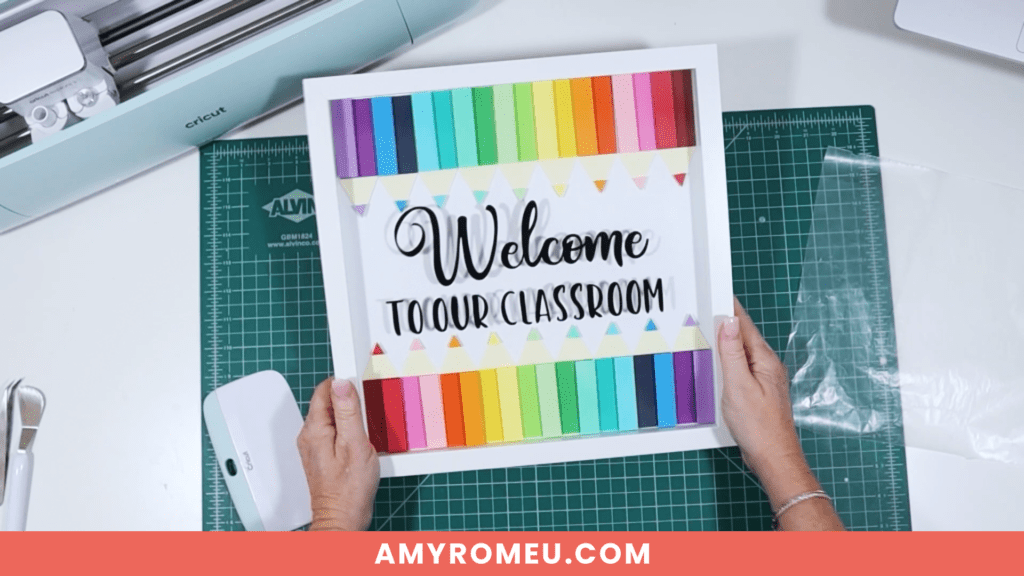
Use the squeegee or brayer to press the vinyl firmly onto the glass. Then carefully peel the transfer sheet away from the vinyl layer.
That’s it! Your Back to School Shadowbox is complete!

Remember, for click-by-click instructions on this project, as well as additional bonus instructions for resizing and recoloring the SVG, be sure to check out my YouTube video here.
I would love to see your finished Back to School Shadow Box! If you do make this project, please share a photo in my free crafting Facebook Group, or tag me on Instagram: @amyromeucrafts
Did you like this project? Do you want to see more layered cardstock projects like this one? If so, let me know in the comments!

Want to make this project yourself? Get the SVG from my free Resource Library by filling out the form below:
Want to remember this? Post this CRICUT BACK TO SCHOOL SHADOWBOX SIGN project to your favorite Pinterest board!