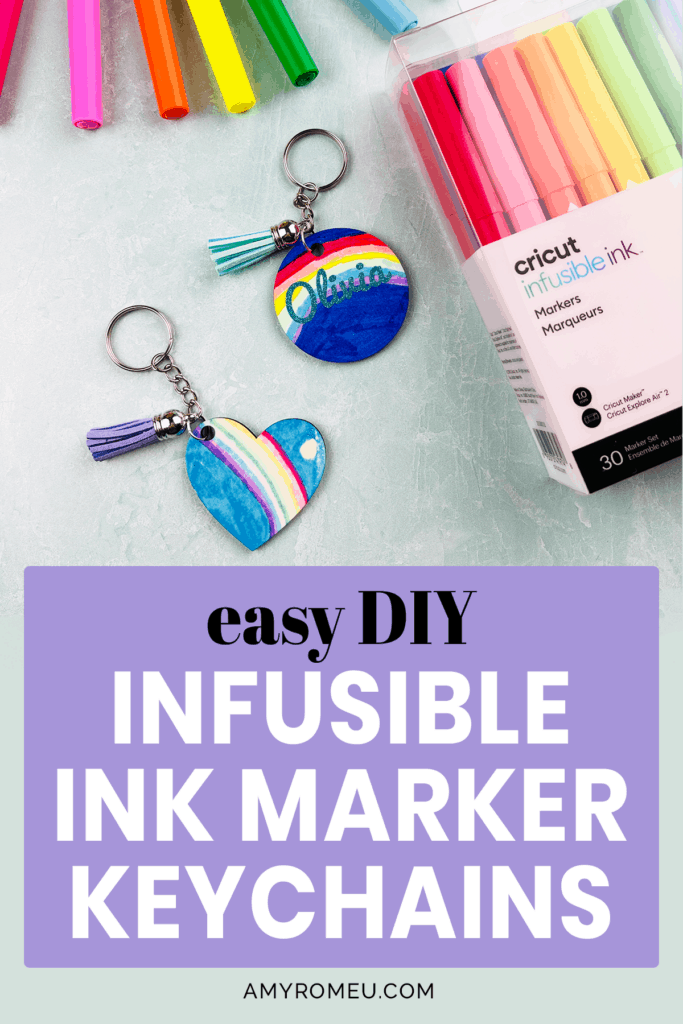
How to Use Cricut Infusible Ink Markers to Make A Keychain
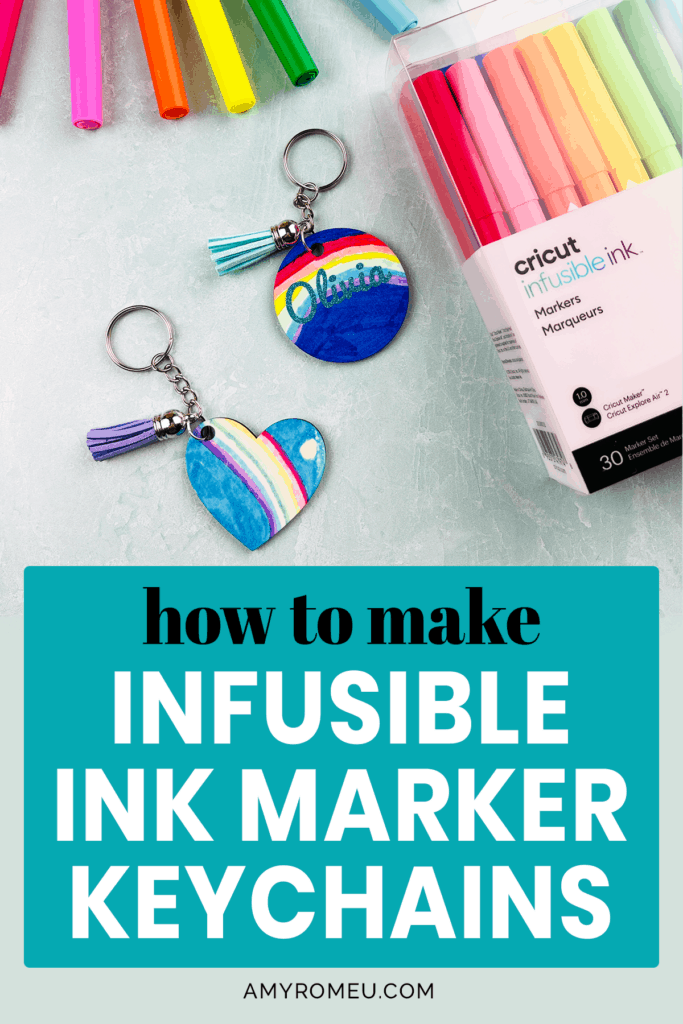
DIY Kids Keychain Project with Cricut Infusible Ink Markers
Do you have Cricut Infusible Ink Markers and Cricut Infusible Ink Pens, but you wonder how to use infusible ink markers? Or do you have questions like what paper do you use for infusible ink markers? If you’re always looking for new infusible ink projects, then this post is for you… and your kids!
My post and video about making Personalized Keychains with Cricut Infusible Ink Transfer Sheets was so popular, which was exciting! However, my daughter reminded me that she’s been making her own keychains with Cricut Infusible Ink Markers for a long time. She offered to show you how she made a DIY keychain for kids with Cricut Infusible Ink Markers and Pens so I could share it with you.
I thought that was a great idea!
If you aren’t familiar with Cricut Infusible Ink Markers and Pens, they color like regular markers but use a special ink that transfers brightly pigmented color with heat to blanks that are designed to receive the ink transfer. One of the benefits of infusible ink is it permanently bonds with the surface of the blank (unlike vinyl, which is a raised layer on the blank’s surface).
The result is rich, vibrant color that won’t peel off, bubble, or scratch. Cricut Infusible Ink Markers and Pens really are a wonderful introduction to the process of sublimation. Once you get started with sublimation, believe me, you won’t want to to stop!
You may be thinking you need a special paper for this to work, but you don’t. I’ll let you know exactly what paper you use for Infusible Ink Markers, too.
Ready to learn how to make Cricut Infusible Ink Marker Keychains? Let’s get started!
Want to see all of my Cricut Keychain projects? CLICK HERE
This post contains some affiliate links (which means if you make a purchase after clicking a link, I will earn a small commission at no additional cost to you). Read my full disclosure policy here.
Cricut Infusible Ink Marker Keychains – Materials List
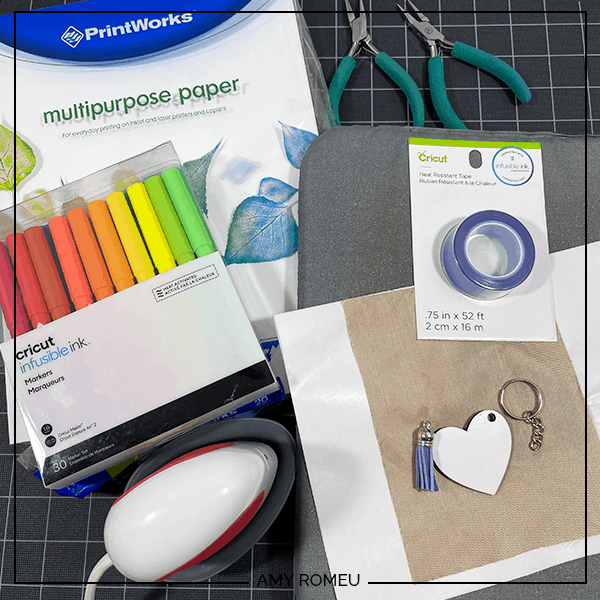
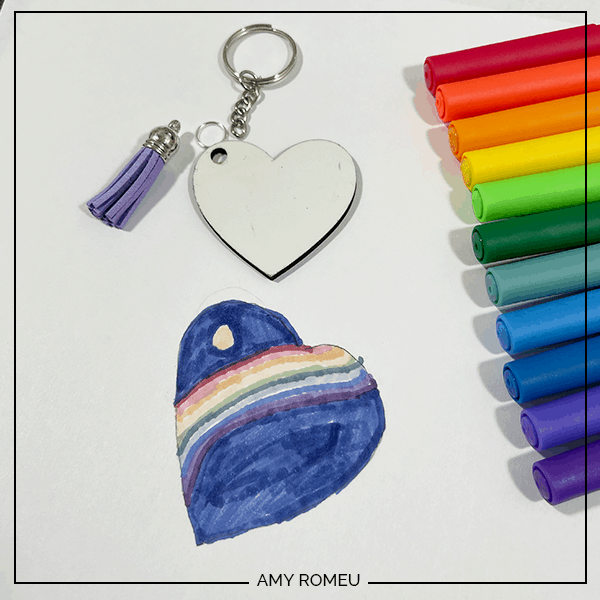
- Sublimation keychain blanks. We used these double sided keychain blanks with tiny tassels from Amazon. You could also use these glitter backed blanks or these faux leather backed blanks or these double sided keychain blanks in shapes from Amazon.
- Cricut Easy Press or a traditional heat press. You could also use a Cricut Easy Press Mini for smaller keychain blanks.
- EasyPress Mat to press your items without damaging your work surface. We used the 12×12 size mat, available on Amazon here.
- Plain old copy paper. Yep. That’s right. Not for lasers, not for inkjet, not photo paper, nothing fancy. I know it sounds crazy, but it’s true. This is the exact one we used with great results.
- Parchment Paper. Be sure the parchment paper you use can withstand at least 400 degrees of heat. I like Reynolds Wrap brand from Amazon here. You can also use a Teflon sheet or butcher paper.
- Two pairs of flat nose pliers – My favorites are Wubbers brand in the “Baby” size. The pliers I use daily are the Baby Wubbers Chain Nose Pliers and the Baby Wubbers Flat Nose Pliers.
OPTIONAL – Adding a Name or Other Text
- If you want to add text cut from vinyl (optional) you’ll need a Cricut cutting machine (or other cutting machine like a Silhouette). We used the Cricut Maker, but you can use the Cricut Maker 3, the Explore Air 2 or Explore 3, or the Cricut Joy.
- The Cricut Maker 3 is available on Amazon here or the Cricut website here.
- The Cricut Maker is available on Amazon here or the Cricut website here.
- The Cricut Explore 3 is available on Amazon here or the Cricut website here.
- The Cricut Explore Air 2 is available on Amazon here or the Cricut website here.
- The Cricut Joy is available on Amazon here or the Cricut website here.
- Permanent Vinyl in the colors of your choice. We used this Sparkling Aqua Blue Glitter Vinyl.
- Transfer Tape (Standard Grip, not Strong Grip).
- Small Measuring Tape or Ruler.
- A weeding tool, a scraper, and scissors. I love the weeding tools in my Cricut tool set, which I got from Amazon here. You can get also get the basic Cricut tool set at Michael’s here.
PROJECT INSTRUCTIONS
STEP 1 – Color Design with Infusible Ink Markers onto the Keychain Blank
Trace out the keychain blank shape onto a piece of copy paper. Be sure to place another piece of copy paper underneath to protect your surface from maker bleeding.
Have your child color in the outlined keychain shape however they would like. If you want to apply a design to the back side of the keychain, have them trace and color a second outline.
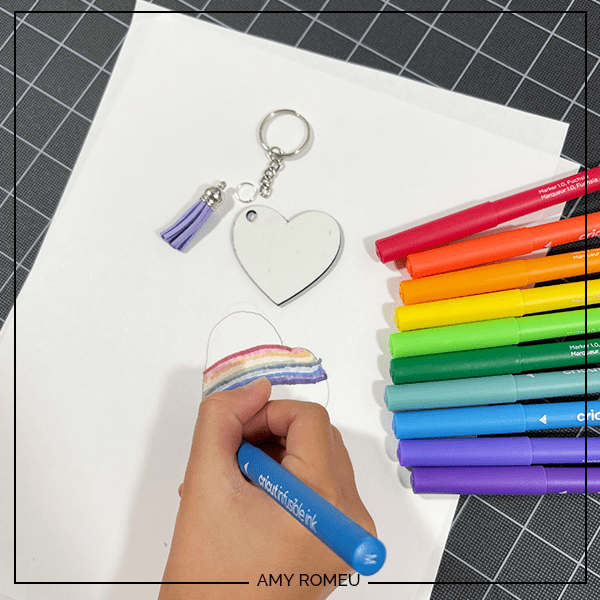
You’ll notice the colors seem faded or muted – that’s normal. The colors will be much more vibrant after pressing.
Cut the drawing out of the copy paper, leaving at least a 1/4 inch border all around the edge.

Note: If you have a lot of Cricut Infusible Ink Transfer Sheets on hand, you can also cut a small piece to press onto the backside of the keychain after you apply the hand colored design to the front.
STEP 2 – Press the Colored Art onto the Blank
Infusible ink requires 400 degree heat to transfer the Infusible Ink Markers or Pens ink into the keychain blank. We used my Easy Press Mini at the highest setting (which is 400 degrees) for 60 seconds. You can also use the Easy Press at 400 degrees.
Only use the Easy Press Mini if you can cover the entire surface of the blank with heat. If not, use the Easy Press or a traditional heat press.
For other blank materials, consult Cricut’s Heat Guide for the recommended time and temperature.
While the Easy Press is pre-heating, place an Easy Press Mat on your work surface. Cover the mat with a layer of butcher paper or parchment paper or a Teflon sheet.
Check the blank carefully for a thin plastic coating. If you find one, peel it off.
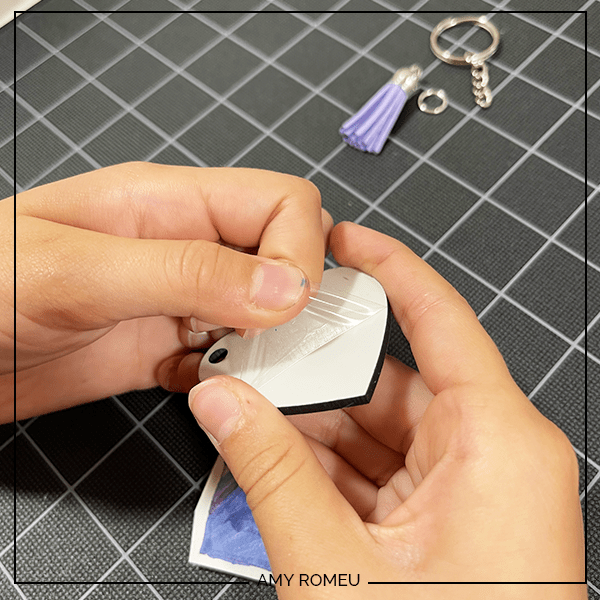
Note: Many sublimation blanks – like the one we used in this project – are covered with a protective plastic coating. It may be clear, or blue. You must peel off the protective coating before pressing. If pressing double sided blanks, keep the protective coating on the back side until you are ready to press that side.
Using heat resistant tape, tape the colored drawing side down in place on the keychain blank. The drawing sheet should be taped securely to the blank so it doesn’t wiggle or move.
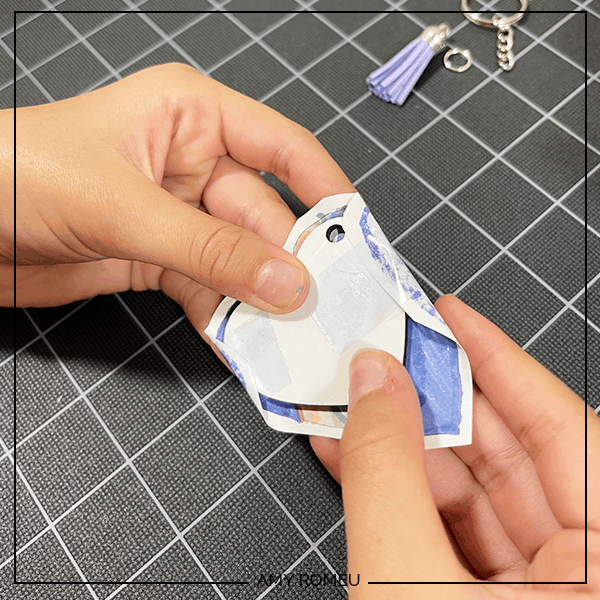
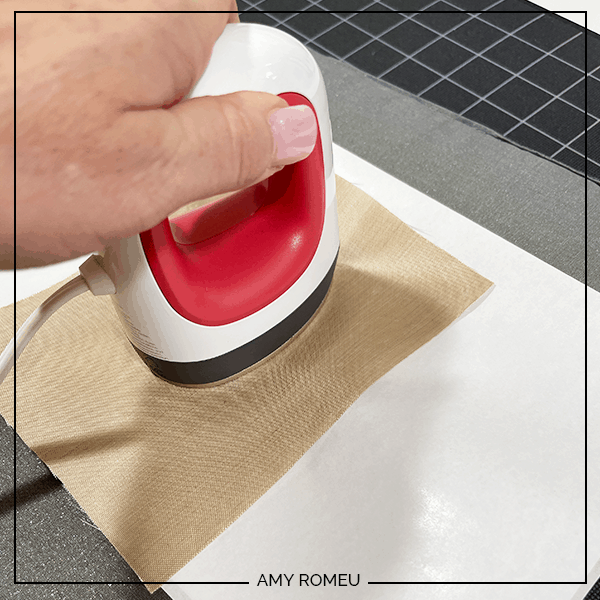
Place the keychain blank down on the mat, with the taped drawing side facing up. Cover with another piece of parchment paper or butcher paper.
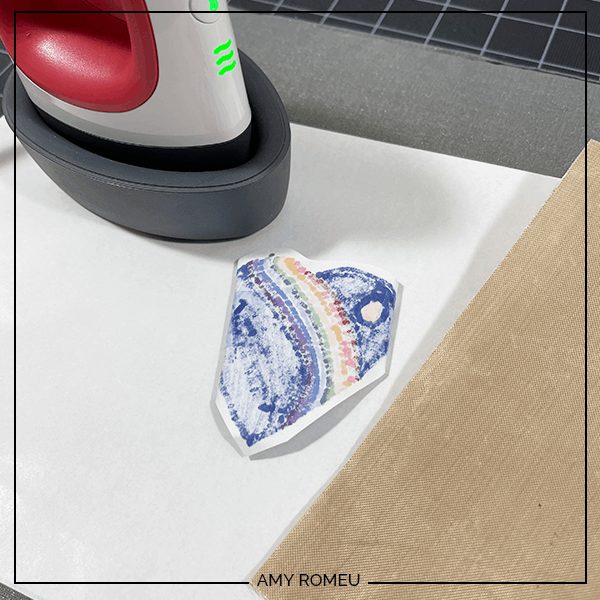
Carefully press the Easy Press Mini or Easy Press onto the covered keychain blank. Press for 60 seconds.
When the timer is up, carefully remove the cover sheet and allow the keychain to cool for approximately 5 minutes.
When the keychain has cooled, use small scissors to cut away the heat resistant tape and reveal the pressed keychain.
You can see how much more vibrant the colors are as compared to the infusible ink transfer sheet.
If you are using a double sided blank, repeat the steps above to press infusible ink onto the reverse side.
STEP 3 – OPTIONAL – Adding Vinyl Text
If you want to add text like a name to your keychain, you can do that using permanent vinyl.
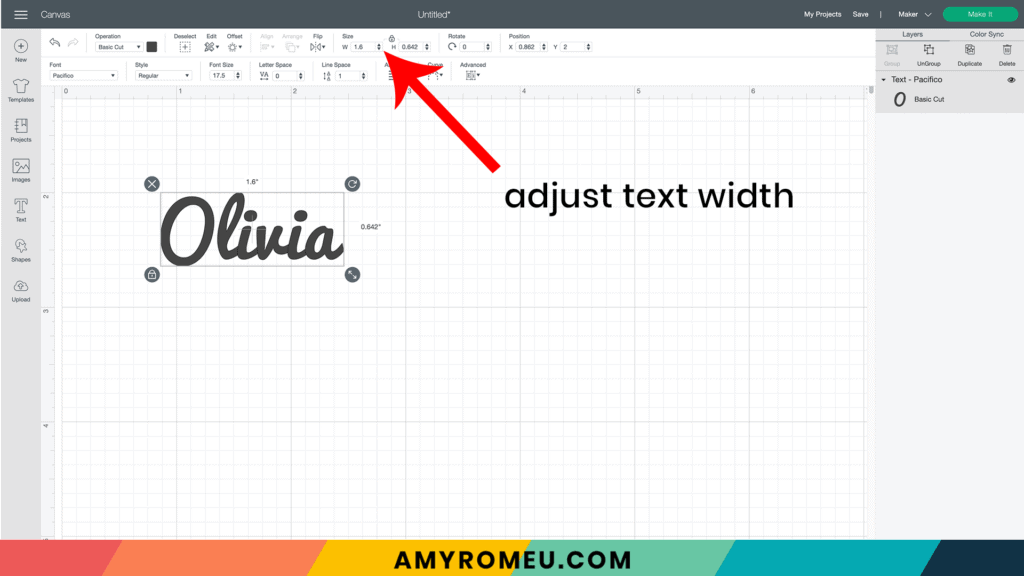
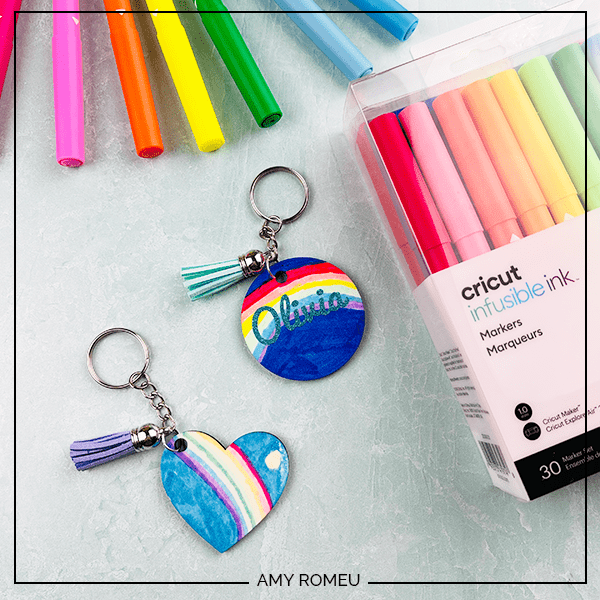
To begin, measure the space your text will go in, being sure to leave room around the edges and not cross over any stitching. Make a note of the maximum text size measurement to use in the next step. For the circle keychain Olivia made with her name, we made the text 1.6 inches wide.
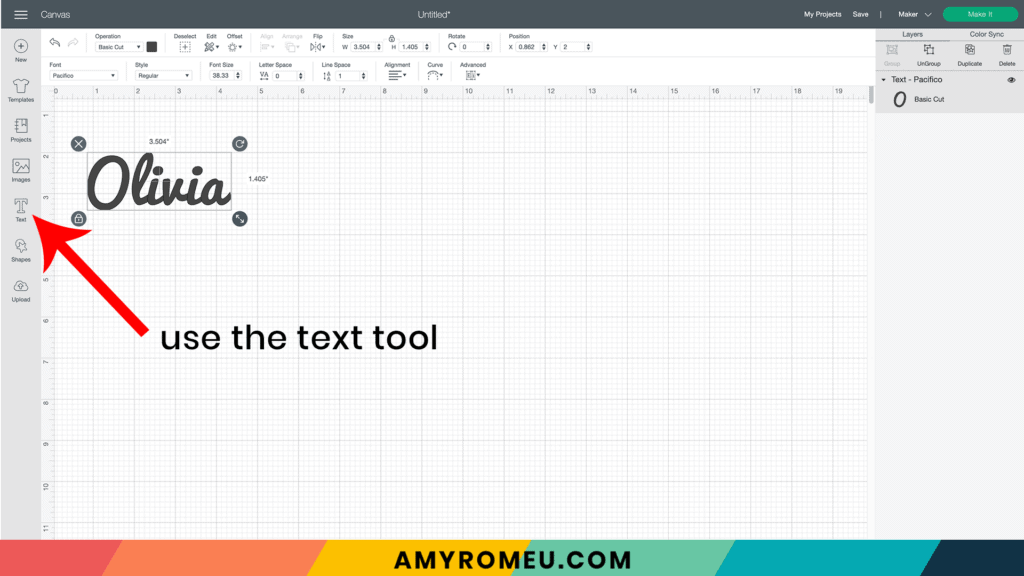
In a new canvas in Cricut Design Space, type out your desired text. Use a thicker font if possible. We used Pacifico, a free font at dafont.com.
Resize your text width to fit within the measurements you noted earlier. We sized our text to 1.6 inches wide.
If you are using a double sided blank, make a DUPLICATE of your text for the back side.
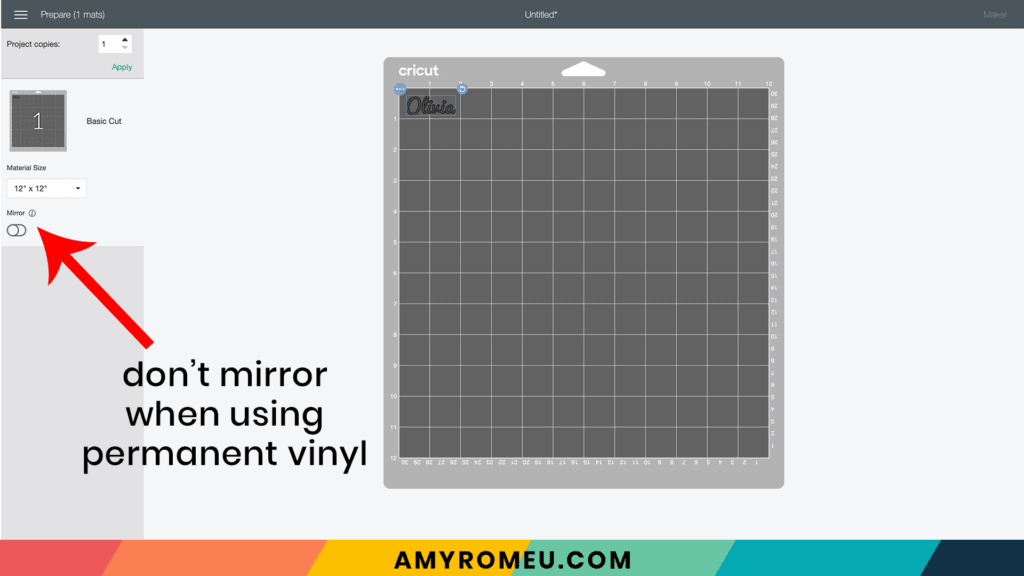
Once you are happy with the text, click MAKE IT.
Don’t MIRROR your text if you will be cutting the text from permanent vinyl like we did.
Choose your desired material setting based on your chosen material. I like using the Washi Sheet setting with “default” pressure, and then I repeat the cut.
Place your permanent vinyl pretty side up on a green cutting mat.
Load the mat into the Cricut and press the C button to begin the cut.
When the cut is complete, unload the mat and weed away the excess vinyl from the text.
Cover the vinyl text with a piece of standard grip transfer tape and rub firmly all over with a Cricut scraper or old credit card.
Carefully peel up the transfer tape, ensuring all parts of the vinyl stick to the transfer tape.
If they don’t, lay the transfer tape back down and rub again with the scraper tool. Be patient and do this part slowly so your entire vinyl text lifts up with the transfer tape.
STEP 4 – OPTIONAL – Press Vinyl Name to Keychain Blank
Place the transfer tape into position on the keychain blank. Press firmly with your fingers all over. Then rub all over with the scraper, being careful not to scratch the vinyl or the blank.
Peel away the transfer tape carefully.
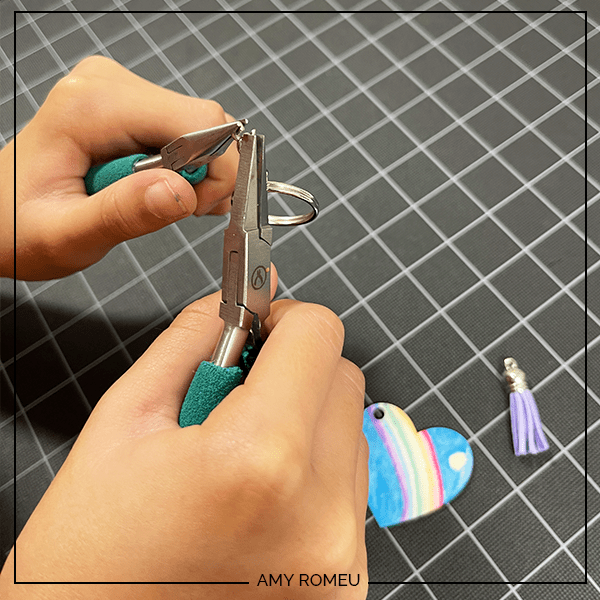
STEP 5 – Add Keychain Hardware/Tassel
To attach any keychain hardware or a tassel, use two pliers to open the jump ring, slide on the keychain and a tassel (if desired). Then close the jump ring again.
That’s it! Aren’t these DIY kids keychains made with Cricut infusible ink markers so cute and colorful?
If you loved this project, be sure to check out my tutorial and video on using Cricut Infusible Ink Transfer Sheets and vinyl to make personalized keychains.
Are you going to try this Cricut Infusible Ink Markers keychain project? If so, I’d love to see your creations! You can tag me on Instagram: @amyromeucrafts
Want to see all of my Cricut Keychain projects? CLICK HERE
Until next time… and happy crafting!

Want INSTANT ACCESS to my Free Resource Library full of jewelry making and crafting SVGs files and templates? You’ll receive the password for the Resource Library instantly after filling out the form below!
WANT TO REMEMBER THIS? POST THIS CRICUT INFUSIBLE INK MARKER KEYCHAIN PROJECT TO YOUR FAVORITE PINTEREST BOARD!