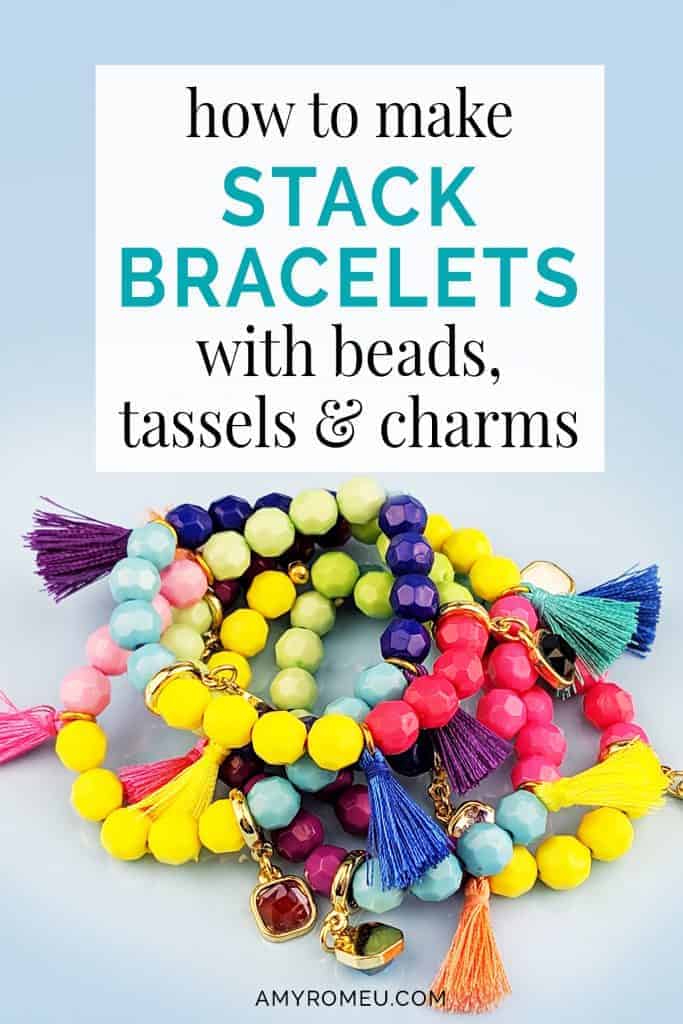
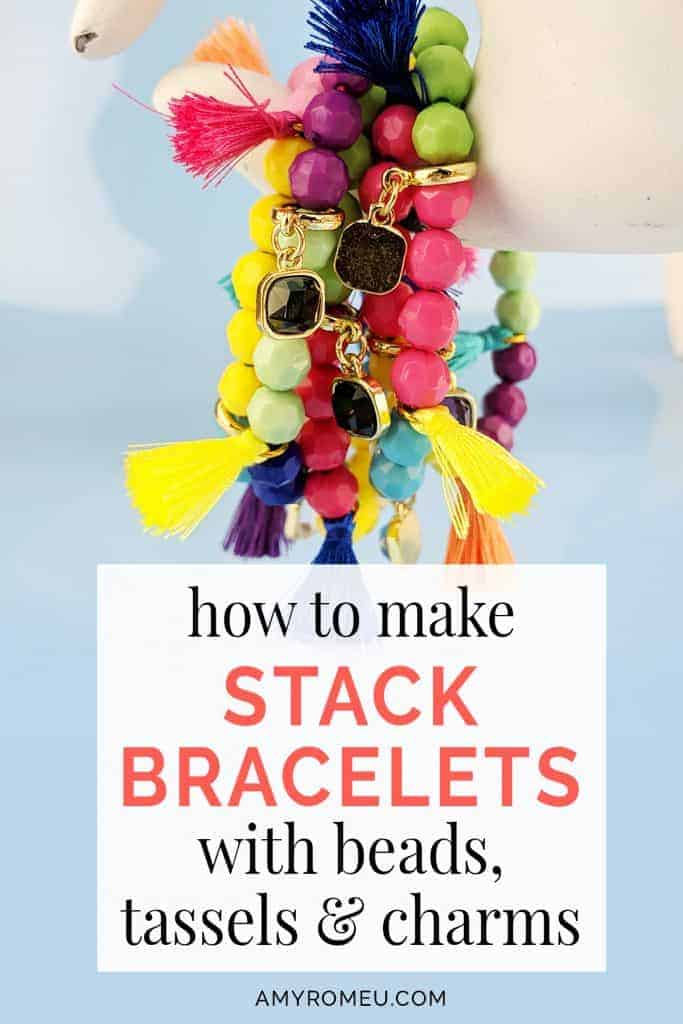
How To Make Stackable Bracelets With Beads, Tassels & Charms
How To Make Stackable Bracelets with Beads, Tassels, & Charms – a Perfect Summer Craft
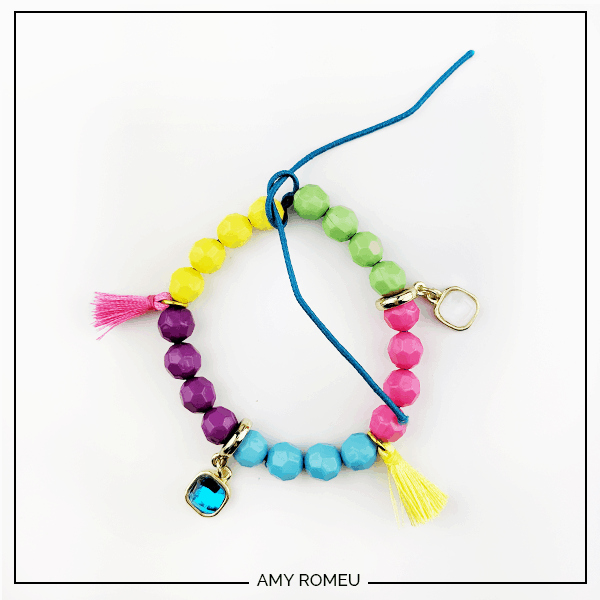
Summer is in full swing, and I don’t know about your family, but my kids can only be outside in this Florida heat for so long before they wander inside, looking for something to do. My daughter and her best friend (who lives next door) love to come inside and cool off with a fun craft project. These colorful, stackable bracelets certainly fit the bill! In fact, tassels and charms are so in style now, they are great quick summer craft project for adults, too. You can make as many of these lightweight and fun bracelets as you can stand, and then load up your wrist with them. They look great with summer whites, denim, and all tropical, bright colors!
Let me show you how I made them! All of the materials for this project came from Hobby Lobby, but if you don’t have one nearby, you can find similar supplies at your local craft store, bead shop, or on Amazon.
This page contains some affiliate links (which means if you make a purchase after clicking a link, I will earn a small commission at no additional cost to you). Read my full disclosure policy here.
Materials for Stackable Bracelets with Beads, Tassels and Charms
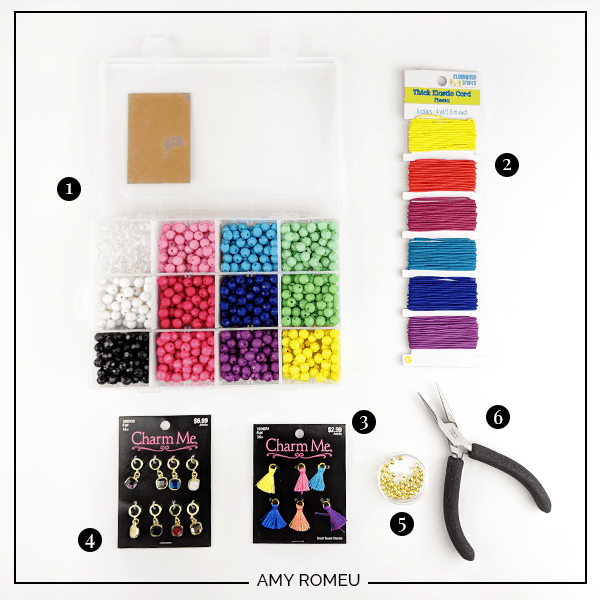
1. Colorful beads. You can use any beads you want, but I bought this exact boxed assortment of 8mm size faceted acrylic beads at Hobby Lobby. The colors are fun and bright and I love that you get a ton of beads all in one cute box. This bead box is a great item to pick up with a coupon. Check the front page of the Hobby Lobby website and grab the 40% off one item coupon before you go to the store.
2. Elastic cord. I chose this fun assortment of multi-colored elastic from Hobby Lobby. They also have assorted size packs of White and Black elastic here.
3. Colorful tassels. I bought these assorted multi-colored tassels from Hobby Lobby. Be sure whatever tassels you get already have jump rings attached so you can slide them on the bracelets easily.
4. Other charms (optional). I bought this assorted faceted gem charm pack from Hobby Lobby. I bought the gold tone package because the tassels have gold tone jump rings, but they also have a pretty gem charm pack with silver findings. Get whatever floats your boat!
5. Crimp covers. These little knot covers keep your stretch bracelet from breaking! We’ll talk about what they are and how to use them in a bit. Hobby Lobby has them in 3mm size – they have these gold ones here and they have other colors available here. The 3mm size will work if you use white elastic cord (the one I recommended above has 3 different sizes) because it’s thinner than the colored elastic cord. However, if you are going to use the colored elastic cord from Hobby Lobby, you need larger crimp size covers.
I suggest using a larger size crimp cover instead (5mm is best, 4mm works too) instead. It’s easier to fit the knot inside. Amazon has an assortment of 4mm sized crimp covers here and a 5mm assortment box here. I would recommend picking one of these up if you can wait a day or two for your order to arrive. Both items are Prime, too!
6. Needle nose pliers. Also called flat nose or chain nose pliers. They have cone shaped jaws that are flat on the inside. You’ll use these to squeeze your crimp cover over the knot. You may have some in your garage toolbox. Or, if you don’t have pliers and your kids are hassling you to make this project today, you can use good quality tweezers in a pinch!
My favorite needle nose pliers are Wubbers brand chain nose pliers, in the Baby size. You can see them on Amazon here.
Other things you”ll need (not pictured):
- Fast drying glue. You’ll use this glue on your elastic cord knot. You just need a tiny bit!
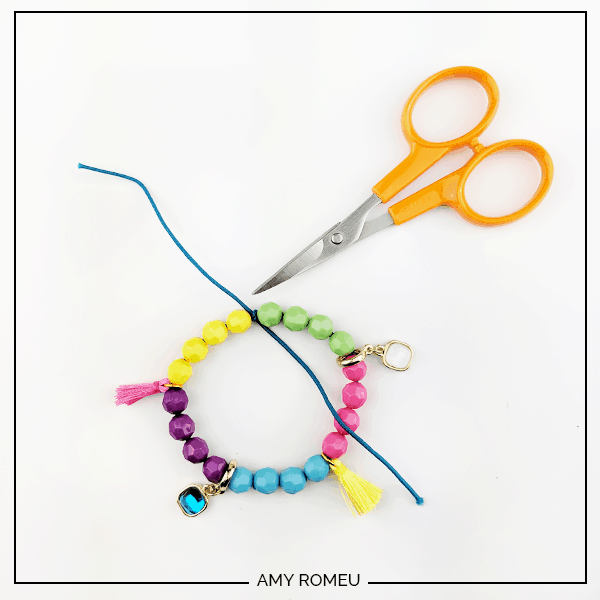
- Scissors and tape. You know, the things that your kids take and leave somewhere so you can never find them when you need them.
Stackable Bracelet Project Instructions
Step 1
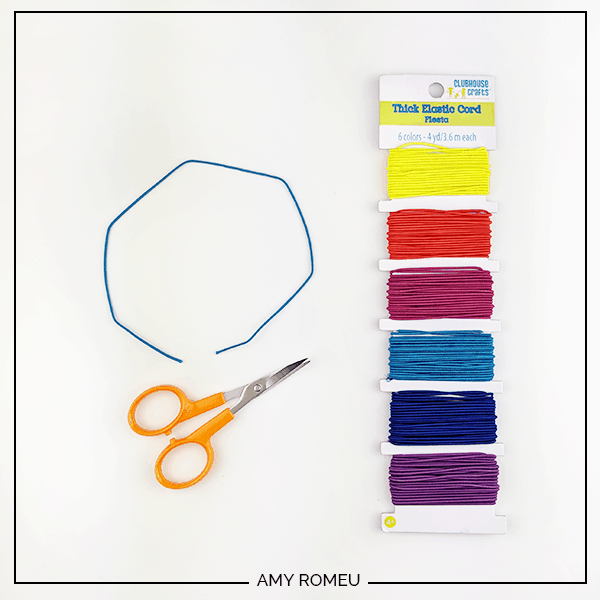
Cut your colored elastic 12 inches in length. Your bracelet won’t be that long, but the ends of elastic cord fray easily and you’ll need to trim off the ends as you bead them.
Step 2
Begin to string your beads, tassels, and charms on your elastic cord. I did a simple color blocking pattern of three beads and then a charm or tassel.
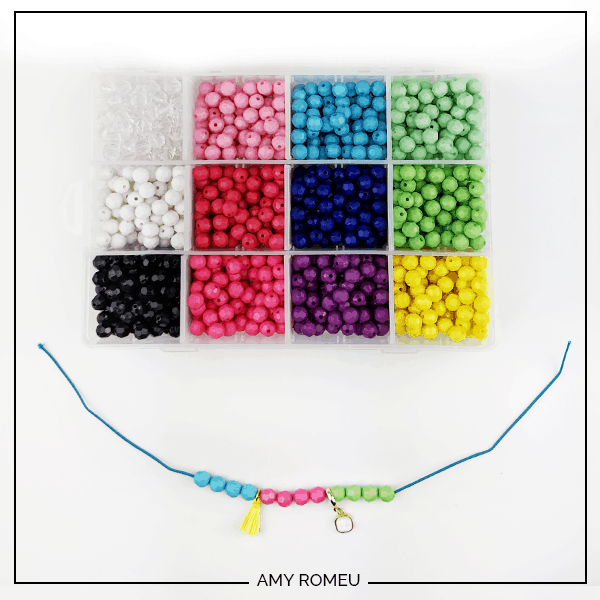
It’s best to lay your bracelet flat on a table or work surface as you work. For kids, I recommend having them bead from only one side at a time so they don’t drop all of their beads! You can put tape or tie a loose knot on one end of their cord so they can bead from the other end.
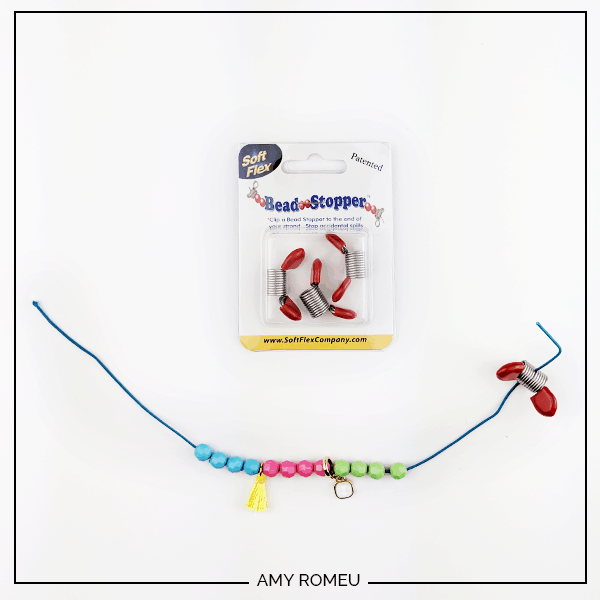
I’ve done a lot of beading with kids, and I’ve seen one too many meltdowns when they drop their beads on the floor! I started using bead stoppers when my kids are beading and they have made beading much less stressful!
Bead stoppers are small springs that easily clip on and off of the cord end that you want to temporarily close off. They won’t shake off or potentially mess up your cord end like tape or a knot. Also, they are reusable and great for both adults and kids! I bought my bead stoppers from Amazon here.
Step 3
Keep adding beads to your bracelet in your desired pattern. The ends of the cord will fray. Don’t struggle with it, just snip off a tiny bit of the end and keep going.
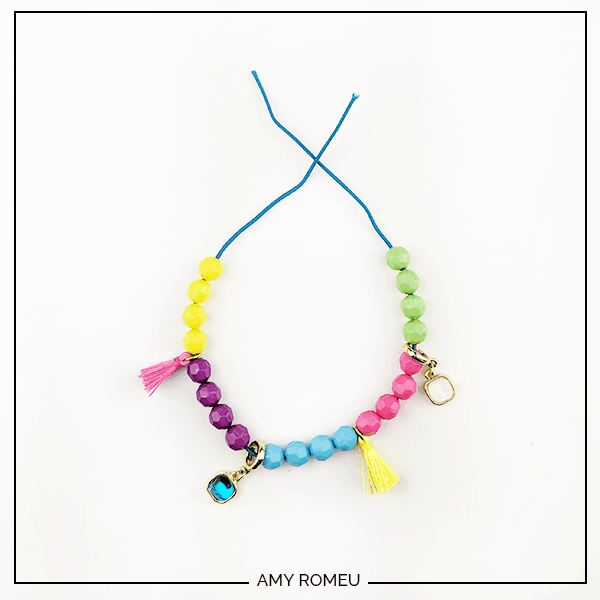
For frame of reference, we used 20 8mm faceted beads for a small wrist. Don’t worry about adding too many or not enough beads. You’ll size your bracelet in the next step and add or take away beads as necessary.
Sizing your stackable bracelet
If you are making this stackable bracelet for you, have a helper for this part. If you have bead stoppers, put one on each end of your cord just in case.
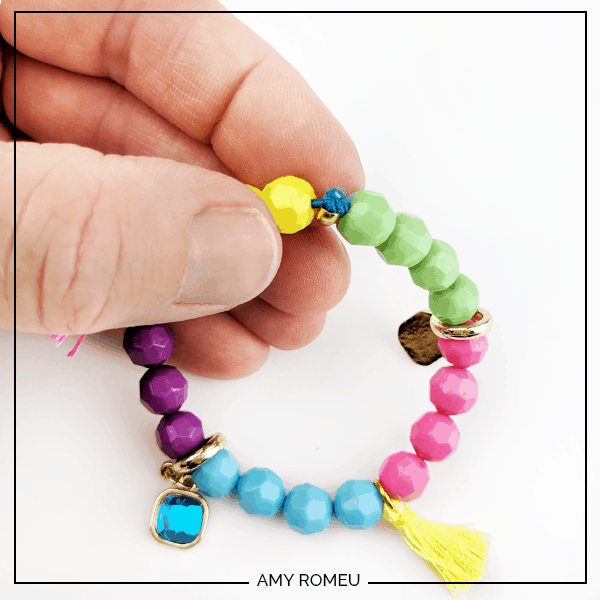
Have a helper wrap the bracelet carefully around your wrist. See if the beads at the each end meet, or are close to meeting. If you were making a bracelet with a clasp, you would want about an inch of space between the first and last bead. However, these stretch bracelets will be closed with just a crimp cover, which is the size of a small bead, so you need the beads to almost touch. Leave a little slack in the bracelet and room for one small bead and you should be good to go.
If you need to add some beads, or take some off, do that now. Stretch bracelets are very forgiving, so don’t stress about this part!
Step 4
Now it’s time to tie off your stackable bracelet. If you or your kids have made stretch bracelets before. tying them off so they don’t break is usually frustrating and tricky. Am I right? However, I’m going to show you my SECRET for making stretch stackable bracelets that won’t break. Are you ready?
First, tie a knot in your cord. Do a single knot, not a double or triple knot. A large knot won’t fit inside your crimp cover.
Step 5
After pulling your knot tightly, trim the cord ends as close as you can. Then dab a little super glue, crazy glue, or nail polish on the knot (yes, nail polish is an official beading material).
TIP: Trim first and then glue so the glue can cover the freshly cut cord part of the knot.
Step 6
Let the glue dry for a minute, and then you’re ready for the crimp cover. Before we move on, though, let’s talk about this little magical jewelry finding.
Enter the crimp cover
You may be thinking, why do we need crimp covers when we aren’t using any crimps in this project! That’s true. However, a crimp cover is perfect for our stretch bracelet. Let me show you why.
This is a crimp cover:
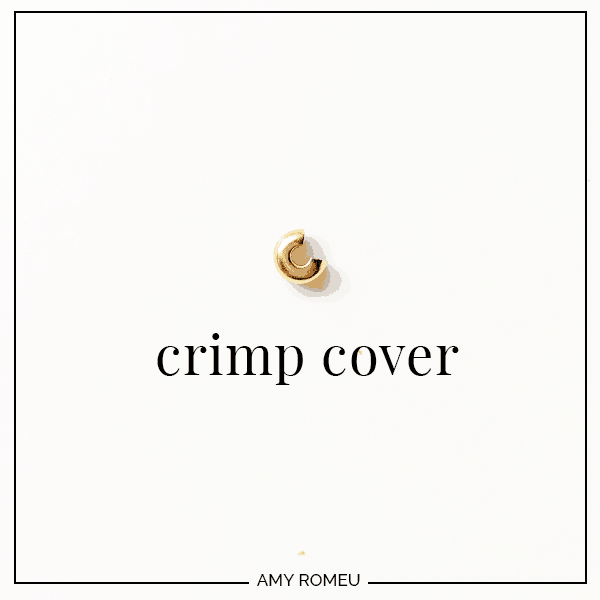
It looks like a donut with a bite take out of it (sorry, I’m hungry!). It is made to disguise a crimp – a tiny metal tube that is used to secure beading wire – by hiding the crimp inside and squeezing the crimp cover closed. We will use the same concept, but we’ll place our elastic cord knot inside instead. Our knot will be protected inside the crimp cover, and the knot won’t break! Ta da!
TIP: Remember, crimp covers come in different sizes. If you are using the colored elastic from Hobby Lobby for this project, you’ll need 5mm size crimp covers to fully enclose the knot.
(If you don’t have crimp covers, but still want to make this project, don’t worry. You can tie a good knot, cover it with super glue, and let it dry really well. Take care when stretching your bracelet to put it over your wrist and you should be ok.)
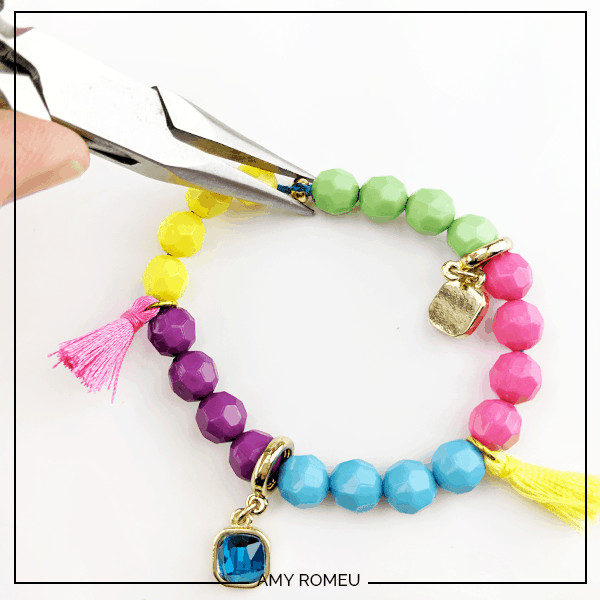
Covering the knot on your stackable bracelet
Ok, this step is super technical. You’re going to place the crimp cover over your knot, and shove all of the knot inside the crimp cover as much as you can. Yes, shove. Use the tips of your pliers to help with the shoving. If you are using a 5mm crimp cover, it should work just fine.
That’s pretty much it!
Once you are happy with how your knot is inside, use your needle nose pliers to gently squeeze the crimp cover closed. The crimp cover should transform into a round bead shape at the end, so you may need to gently squeeze the crimp cover in a few different directions to get it into the right shape.
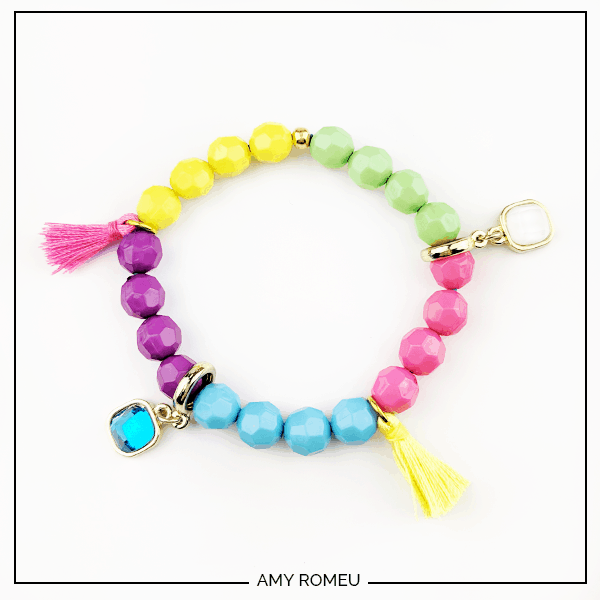
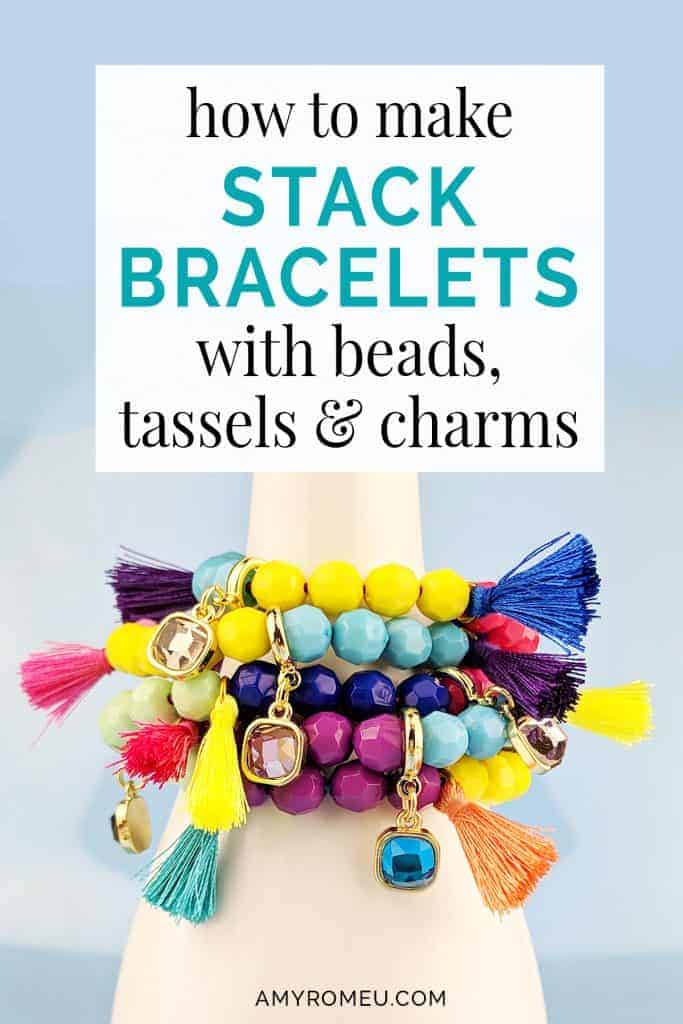
Voila! That’s it. Your knot is covered and your bracelet is complete. Now you can make more! Make as many stackable bracelets as you want until your “bracelet stack” is complete.
Do you love this project as much as my daughter and I do? If so, you will like my How To Make Stretch Bracelets With Letter Beads That Won’t Break tutorial here. Here’s a sneak peak at the finished project for that tutorial:
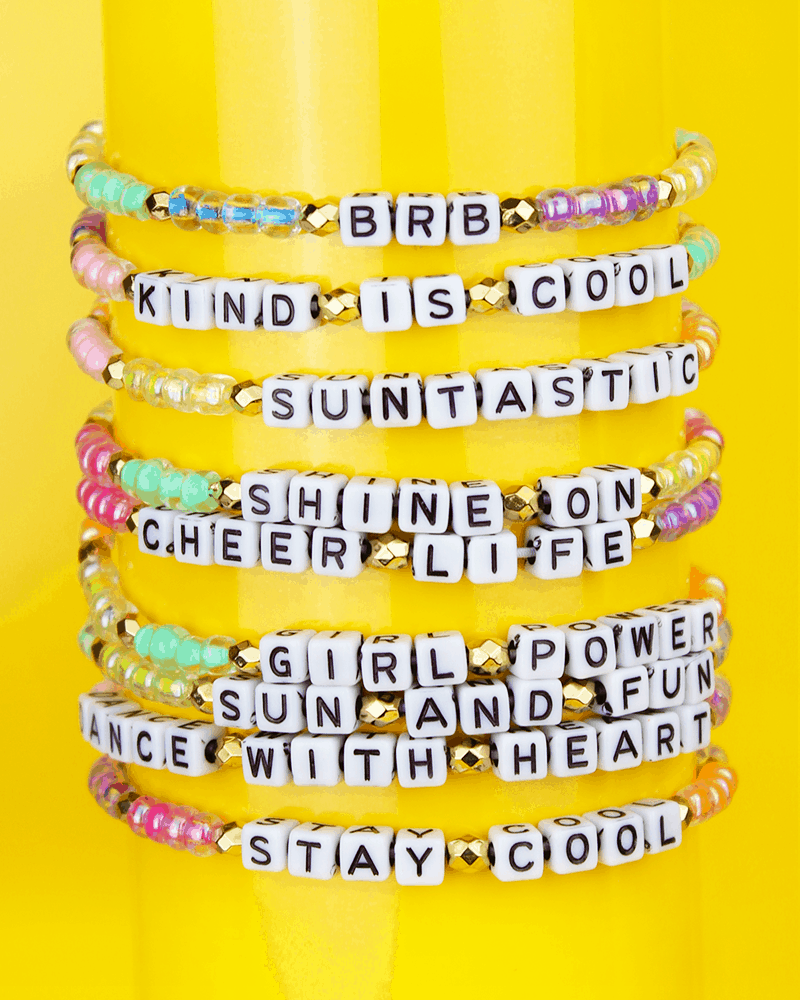
Oh, and if you want to try these ADORABLE letter bead stretch bracelets but need a little inspiration, I created a FREE list of 175+ words and sayings perfect for letter bead bracelets! You can get it from a link at the bottom of this post.
For even MORE kids’ beading tutorials, click here.
Let me know in the comments if you made this project. If you did, I would LOVE it if you shared a photo! I love to see what you are making and creating with beads!
Until next time… happy beading!

Want the FREE list of 175+ sayings for stretch bracelets?
Get it from our Resource Library! You’ll receive the password for the Resource Library instantly after filling out the form below!
Want to remember this? Post this How To Make Stackable Bracelets with Beads, Tassels & Charms tutorial to your favorite Pinterest board!