How To Make A Beaded Pumpkin Fall Decor Sign

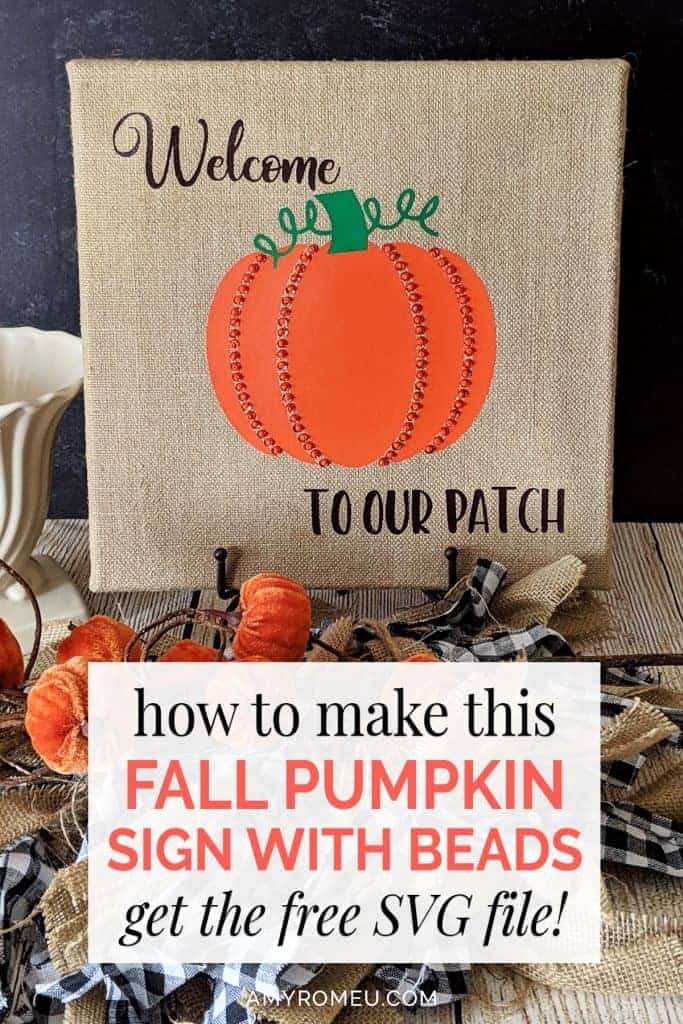
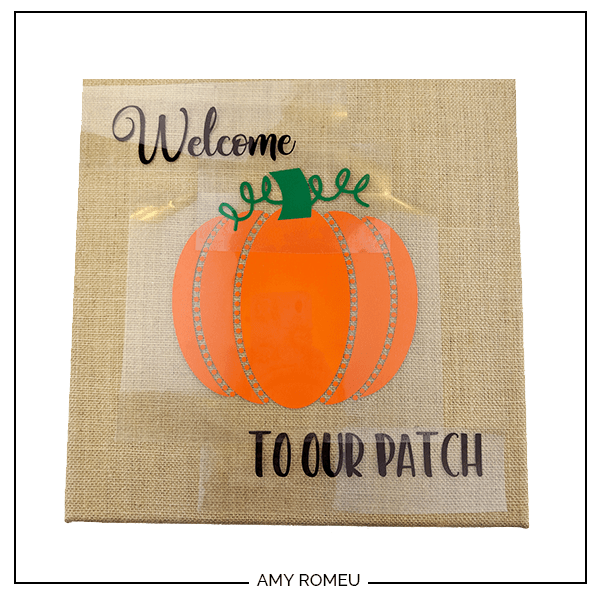
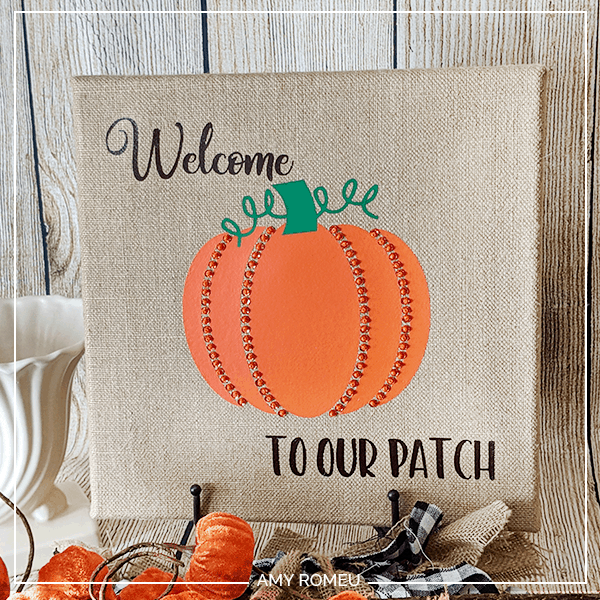
How To Make A Beaded Canvas Pumpkin Fall Decor Sign
It’s late August and *almost* time for cooler weather and Pumpkin Spice everything. I live in Florida and it’s been beastly hot for months here, so I can’t wait! I decided to get a jump start on my fall decorations by making a really cute fall sign with burlap canvas, heat transfer vinyl, and of course, BEADS! You know I would bead ALL THE THINGS if I could, and in this case, I beaded a pumpkin! This beaded canvas fall decor sign didn’t take long at all to make, either. Simply cut the heat transfer vinyl on your Cricut or Silhouette cutting machine, press it to your burlap canvas, and then add some beads and sequins. Done!
I think the beads add a lot of sparkle and charm. And BONUS – You don’t even need a heat press for this project! I have a heat press, but I use my regular home iron when I press on framed canvases. So easy! Let me show you how I did it!
If you want to give this project a try, I’ll have the link to download the SVG file for my original design FREE at the bottom of this post.
This page contains some affiliate links (which means if you make a purchase after clicking a link, I will earn a small commission at no additional cost to you). Read my full disclosure policy here.
Beaded Canvas Pumpkin Fall Decor Sign – Materials List
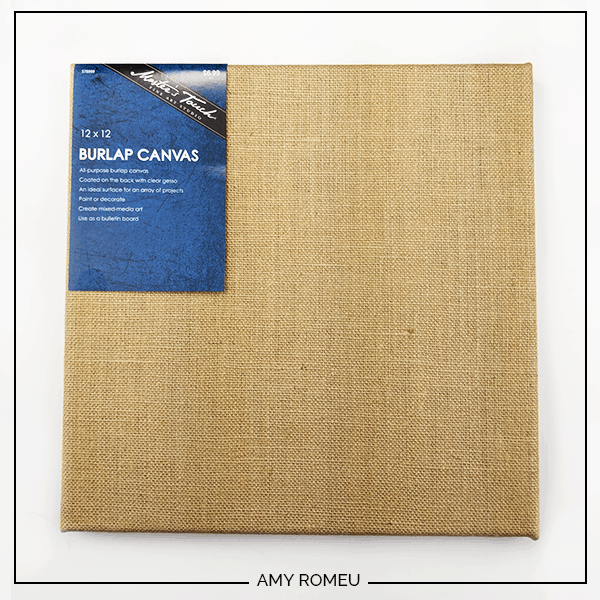
Burlap canvas stretched on a wood frame. I bought this exact one from Hobby Lobby. They have a lot of different sizes, but I used the 12×12 inch size. The brand is Master’s Touch.
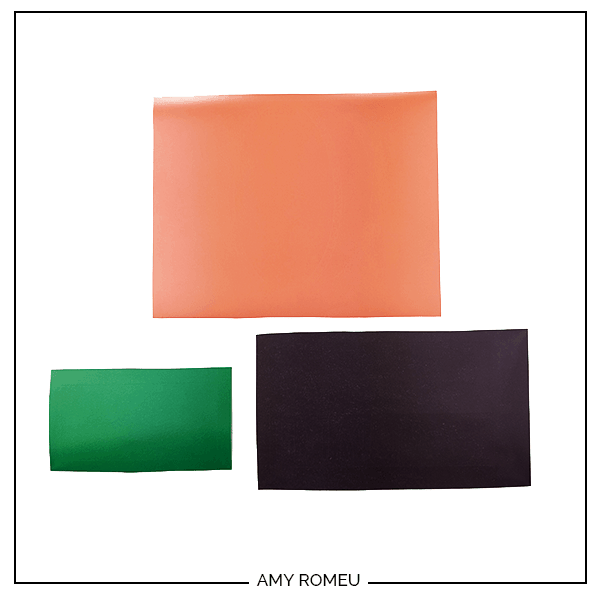
Heat transfer vinyl. I used three colors of Siser Easyweed – Orange and Green for the pumpkin and Brown for the text. I’ll link to the exact Siser colors I used below for your convenience, but any heat transfer vinyl you have on hand will work just fine!
Use whatever vinyl you buy that’s compatible with your cutting machine. You can also use glitter if you want, since I designed the SVG file to not have any overlapping areas.
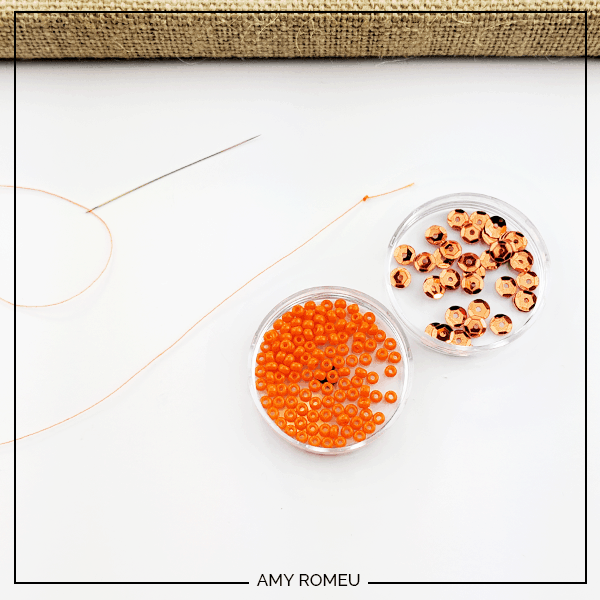
Orange seed beads in 8/0 size. I bought these exact ones from Hobby Lobby. Any similarly sized orange seed beads will do, use what you have if you already have orange seed beads.
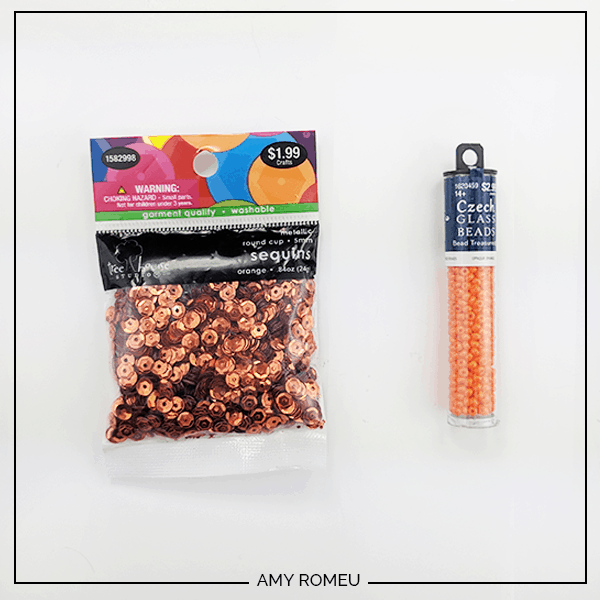
Orange metallic round cup sequins, 5mm size. I bought these exact ones from Hobby Lobby. The SVG file is sized for the 5mm size sequins, but if you end up enlarging the design, you may be able to use 8mm or 10mm sized ones.
Orange sewing thread. I bought this exact one from Hobby Lobby, but any orange sewing or embroidery thread will work.
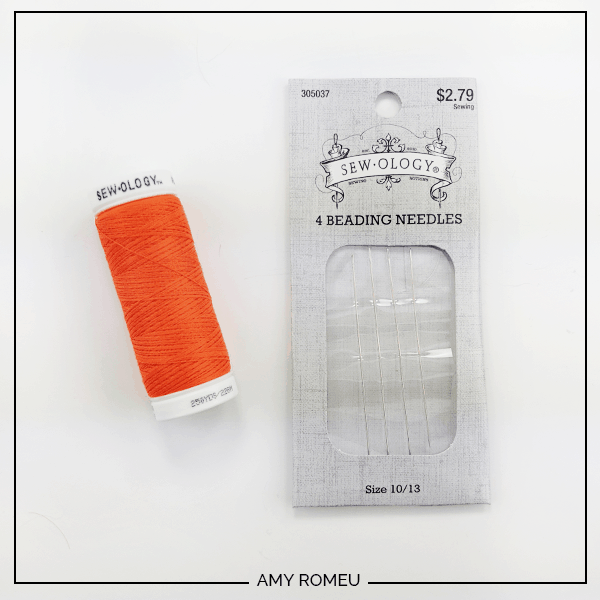
Beading needles. I used these exact ones in Size 10/13 from Hobby Lobby for this project, but any needles you have that will go through the seed bead holes will work!
Weeding tool to weed your vinyl. You can use whatever you have on hand that you weed with. I love my Pin Pen Weeding tool from 651Vinyl – if you haven’t used one before, you might want to check it out! I also have a hook weeder which I use a lot as well.
Teflon sheet to protect the different vinyl areas of your canvas while you press.
A home iron or a Cricut Easy Press. I have a heat press, but I don’t use it for pressing on framed canvases (I’ll tell you more about that in a bit). I use my home iron, but if I had a Cricut Easy Press, I could use that instead.
A large book and some scrap pieces of cardboard to put behind your canvas when you are pressing. More on that in a moment.
PROJECT INSTRUCTIONS
STEP 1
Download the free SVG file from the link at the bottom of this post. Use your Cricut or Silhouette vinyl cutting machine to cut the pumpkin, the stem, and the text on your three different colors of vinyl. Be sure to mirror your cuts so when you press your letters will read the right way!
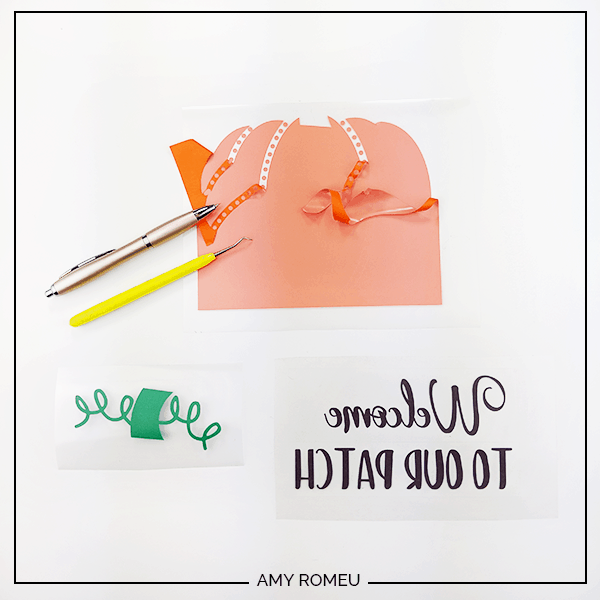
STEP 2
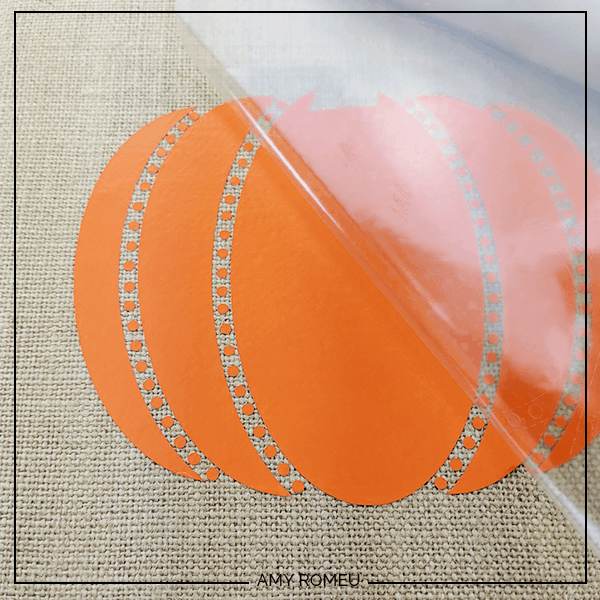
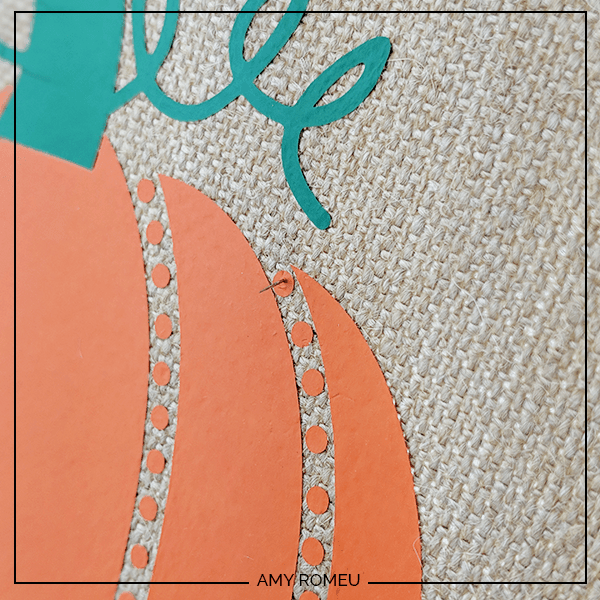
Weed your vinyl pumpkin, pumpkin stem, and text. The circles in the lines of the pumpkin mark where your beads and sequins will go, so don’t weed those out!
STEP 3
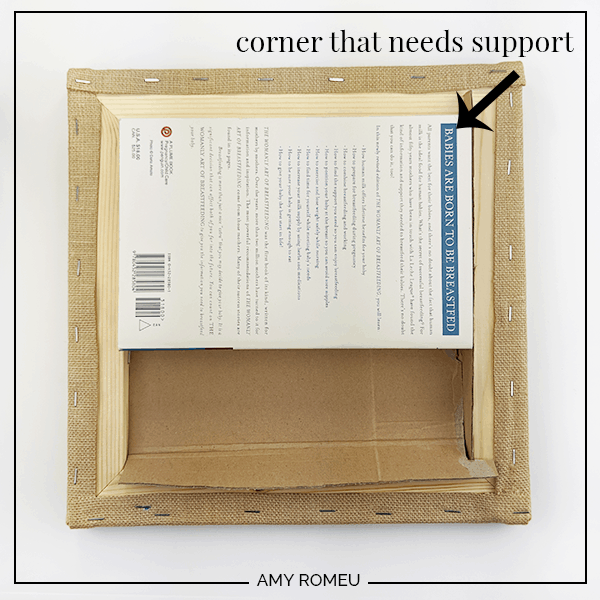
Prepare your burlap canvas for pressing on. Because the burlap is stretched over a frame, the 12×12 canvas has the center 9×9 area completely unsupported by a backing of any kind. Since you need firm support to press on, I use a book inside the back of the canvas to create an area of support. Not super technical, I know, but it works. 🙂 You can also use a piece of scrap wood or a wooden panel.
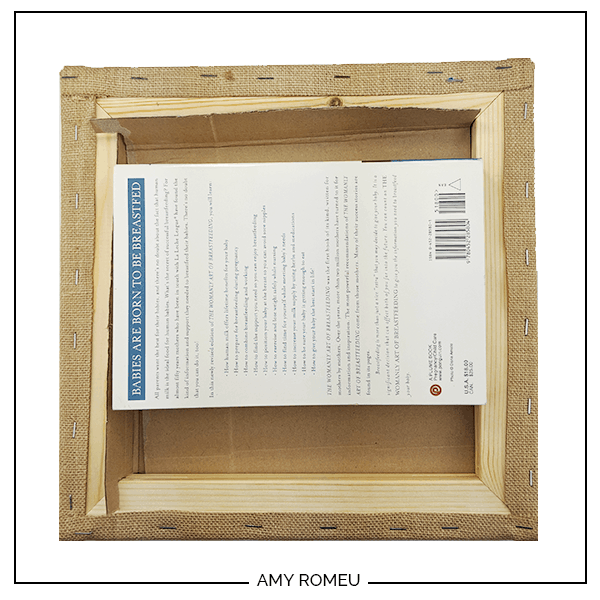
Find a book that is thicker than the canvas and fits inside the back of the canvas frame. It should cover as much of the canvas backing as possible, but you can move it around as you work to cover the area you are working in.
Also fit a few sheets of stiff cardboard into the back of the burlap canvas. You will need to gently push them between the frame and the canvas in a later step. They will create a flat surface when you are pressing the text onto the area of the canvas that overlaps the wood frame.
TIP: When you are pressing, wrap your book in a Teflon sheet, dishtowel or other material to keep the heat off of your book!
STEP 4
Turn on your home iron to the cotton setting. Make sure your iron won’t be producing steam while you press!
While your iron heats up, lay out your vinyl pieces on your burlap canvas as a dry run so you can get your placement right. Try to avoid placing the text too close to the edge of the frame – it’s hard to press there.
Make a mental note of where your pumpkin will go. You’ll be pressing this part first, so place your book behind the canvas in the area where the pumpkin will be.
STEP 5
Gently press the iron all over the burlap canvas for a few seconds. Lift the iron up and place it down as you do this (instead of dragging it side to side). This helps remove any moisture in the burlap, which will help your HTV adhere to the surface better.
Place your pumpkin HTV on the canvas, being sure the area you’ll be pressing on is supported with the book underneath.
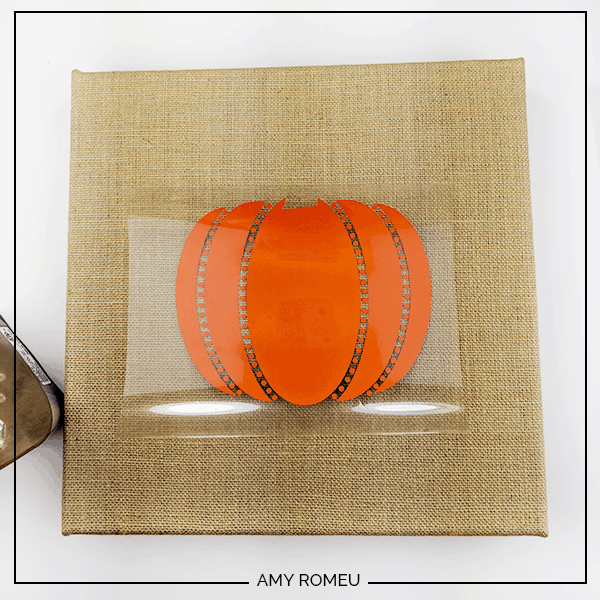
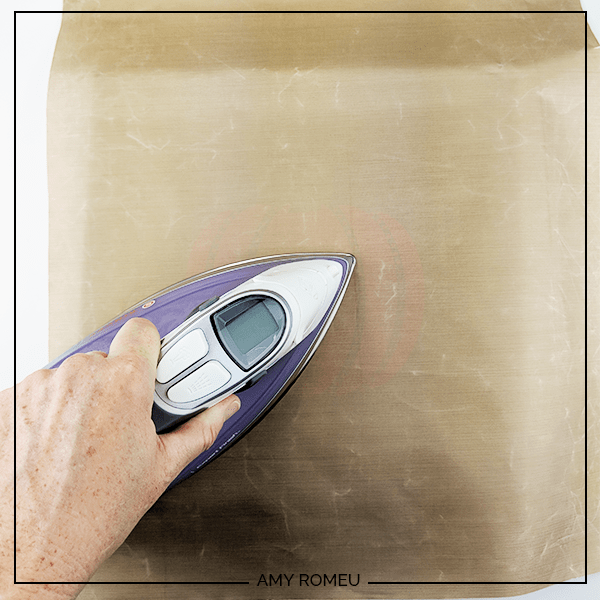
Place a teflon sheet over the pumpkin vinyl and begin pressing down, with firm pressure. Press in any one area for 5-10 before lifting the iron and moving to the next area. Avoid sliding the iron from side to side so you don’t accidentally shift the vinyl. It’s better to press an area for a shorter period of time and then come back to it than to press it for too long all at once.
Remove the teflon sheet and carefully lift a corner of the carrier sheet to see if the pumpkin has adhered well. If it hasn’t keep pressing down in different spots for short bursts of time. Remove the carrier sheet over the orange vinyl when it’s firmly adhered to the canvas.
Repeat this process with the pumpkin stem next. Move the book underneath if necessary so it’s behind the stem area you’ll be pressing. Be sure to place the teflon sheet over the stem and the already pressed pumpkin so you don’t touch the pumpkin directly with the iron!

STEP 6
The text area is a little trickier to press since it overlaps the frame underneath. You’ll need to insert the stiff cardboard into the corners of the underside of the burlap canvas to create a flat area to press on. Then move your book to support the area where you’ll be pressing the text.
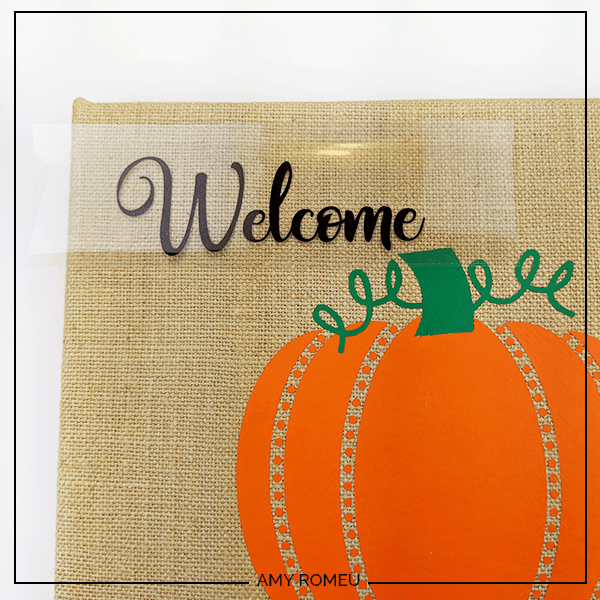
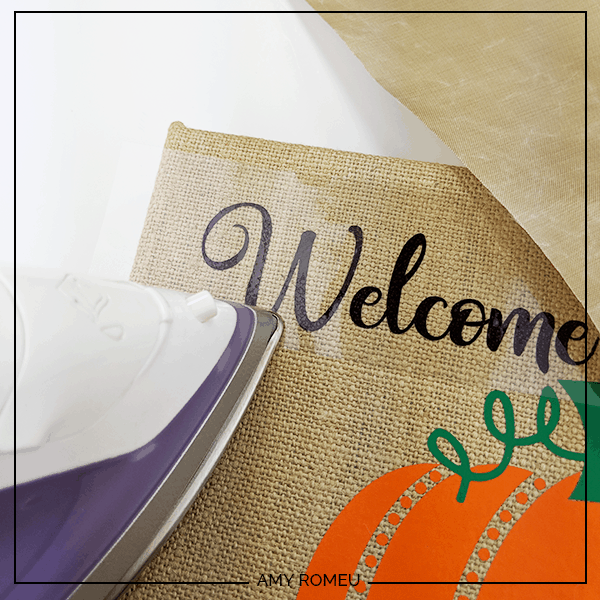
Flip your canvas back over and place your Welcome text. Notice where the frame is underneath the canvas and adjust your cardboard supports and book if necessary so you will be pressing on a flat surface. Place your Teflon sheet over your work and press the text down. Check to see if the letters adhered. If not, press more, moving your iron around every few seconds.

If some little areas of text are lifting as you pull off the carrier sheet, use the front point on your iron to press them down until they adhere. Be careful not to place the iron anywhere near the vinyl you’ve already pressed!
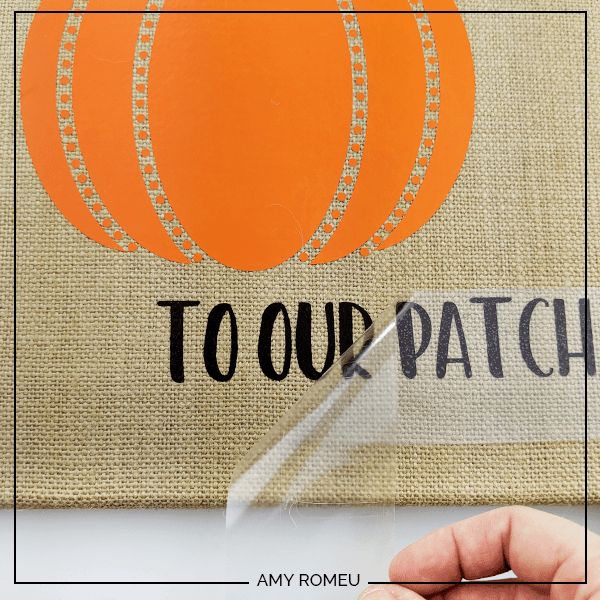
Repeat pressing the text in the top left corner until all the letters are stuck down. Move your cardboard and book to the bottom right corner and press your bottom line of text to the canvas. Carefully peel back the carrier sheet, repressing any areas that lift up as necessary.
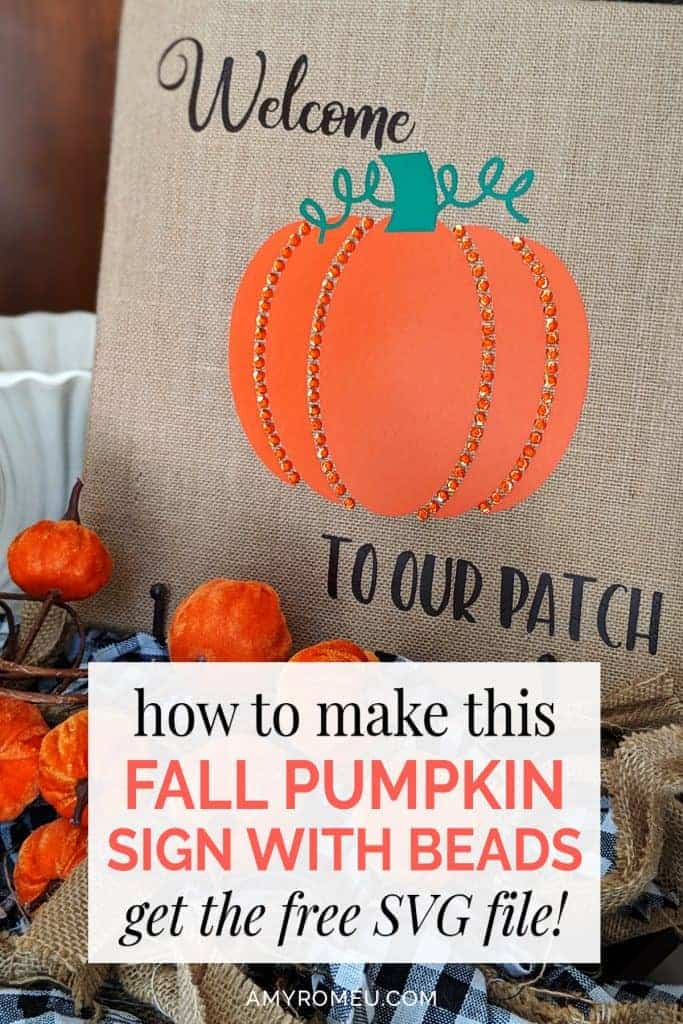
That’s it! Now you are ready to bling out your pumpkin with sequins and beads!
Do you want to make this beaded pumpkin yourself? It’s so easy and fun! Download the SVG file for my original design FREE at the bottom of this post.
STEP 7
Thread your beading needle with about a yard of orange thread. Knot your thread four or five times at the end of the string to form a large knot.
STEP 8
You are going to be pushing your needle up through the backside of the canvas, in the middle of the first vinyl circle in a row. You may be thinking, what? Won’t that ruin the canvas, or pull up the vinyl? Nope. It won’t, as long as your vinyl is pressed down and fully adhered to the canvas. It works, I promise!
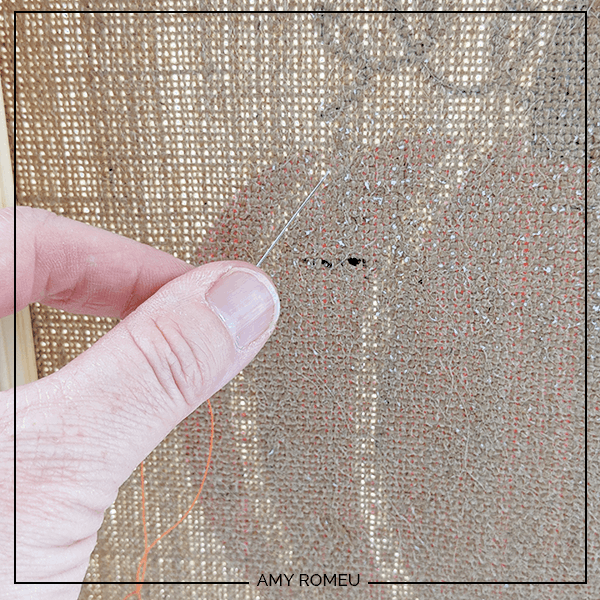
If you’ve done any sewing, this part will feel very familiar. Push your needle gently up through the canvas from the underside so your needle comes out in the middle of the first orange vinyl circle in one of the rows.
It may take a few tries to get your needle placed in the center of the circle, and you don’t want to stab holes in the vinyl pumpkin while you are trying to find the right spot! I recommend pushing up slowly from the underneath with your needle and watching from the front side to see where the needle is going to come up. If it’s in the wrong spot, pull it back before it makes a hole in the wrong place, and try again.
Don’t worry, even if you do make a hole in the underneath of your vinyl, you can just pull your needle back out and press the vinyl back down to cover the hole. It’s pretty forgiving material!
STEP 9
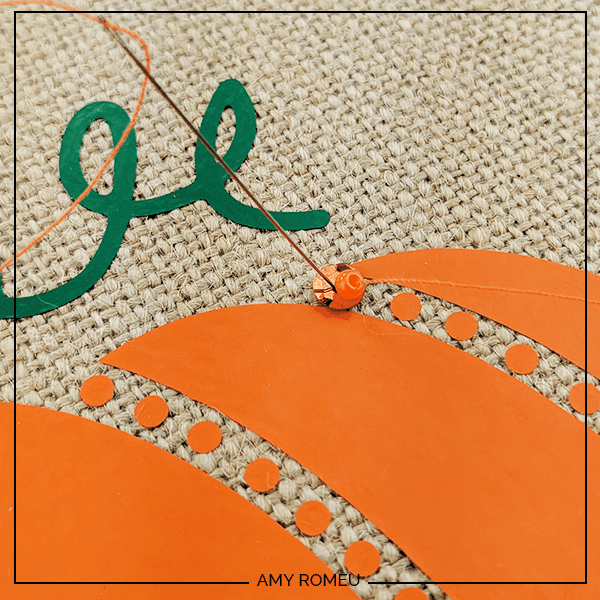
Once you’ve got your needle up through the center of a vinyl circle, thread on a cup sequin. You want the cup part facing up.
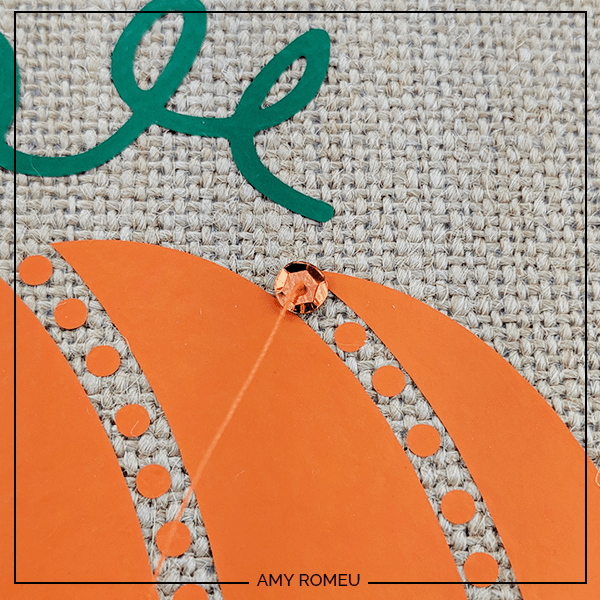
Now thread an orange bead and pull it down the thread so it’s sitting in the cup sequin.
Take your needle and SKIP going through the bead. Pass your needle down only through the sequin and pull your thread all the way through underneath the canvas. See the image below for what this looks like. This will cause the bead to trap the sequin down flat against the canvas.
Make sure your thread is pulled all the way through and your thread isn’t tangled after every sequin and bead for best results. Move your needle to underneath the next vinyl circle and repeat the steps above until the row is complete.

Tie off a knot on the back end of the canvas for each row of sequins and beads. That’s it!
Are you going to try this project? It’s easy and fun, I promise! If you make this beaded pumpkin sign, please send me a photo! I’d love to see your work!
Until next time… and happy creating!

Want the FREE SVG file you so you make this beaded pumpkin fall decor sign yourself?
Get it from our Resource Library! You’ll receive the password for the Resource Library instantly after filling out the form below!
Want to remember this? Post this DIY Fall Decor Pumpkin Beaded Burlap Canvas Sign Tutorial to your favorite Pinterest board!