
Emoji Badge Reel Cover with Mask DIY
How To Make a DIY Badge Reel Cover with a Cricut
It’s late summer 2020, and everyone is wearing a mask nowadays. But masks can be uncomfortable or downright scary for kids to see and wear sometimes, right? I have a friend who is a pediatric nurse, and she asked if I could make her a cute badge reel cover of a face wearing a mask that might make the children coming to the children’s hospital relax a little, and I was happy to help! So I made this cute emoji mask wearing face badge reel cover using faux leather and heat transfer vinyl. If you want to learn how I made this DIY Badge Reel Cover with faux leather a Cricut, keep reading and I’ll show you step by step!
I made this DIY Badge Reel Cover with my Cricut Maker, but you can also make it with the Explore Air 2, or even the Cricut Joy (you can read more about how to cut faux leather with the Cricut Joy in my post here.) All three machines come with the standard fine point blade, which is the blade used to cut faux leather.
If you want to make a fun badge reel cover for yourself or a medical professional in your life, I’ll give you my original face mask badge reel cover SVG cut file template for this project FREE! It’s in my Resource Library, and you can request the password to the Library from a yellow box near the bottom of this post.
Want to see all of my Cricut earring & jewelry tutorials? CLICK HERE
Ready? Let’s get started!
This page contains some affiliate links (which means if you make a purchase after clicking a link, I will earn a small commission at no additional cost to you). Read my full disclosure policy here.
DIY Face Mask Badge Reel Cover – Materials List
- My Face Mask Badge Reel Cover SVG template. You can get it free from my Resource Library! Request a password to the library at the bottom of this post.
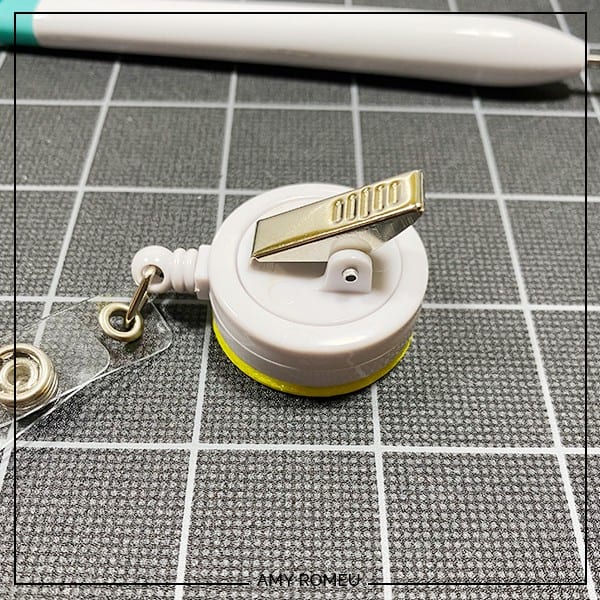
- Badge Reels of your choice. I used these White Retractable Badge Reels from Amazon here and these Clear Retractable Badge Reels from Amazon here.
- A Cricut. I have the Cricut Maker, available at Amazon here. You can also use the Cricut Explore Air 2 or even the new Cricut Joy, on Amazon here. You can see all of these machines available on Cricut.com here.
- Cricut Strong Grip (Purple) Cutting Mat. You can buy these on Amazon here, or at Michael’s here. They are also available at Hobby Lobby, Joann’s, and Walmart.
- Cricut Standard Grip (Green) Cutting Mat, available on Amazon here. They are also available at Michael’s, Hobby Lobby, Joann’s, and Walmart.
- Any color faux leather. For this project, I used SMOOTH faux leather in White from Amazon here, but it doesn’t have to be smooth or white. It’s just the backing for the emoji face and you don’t really see it.
- HTV Vinyl in white, red, and yellow. You can use Cricut Every Day Iron On from here or Siser EasyWeed from Amazon here. For the designs with the sunglasses, I also used black heat transfer vinyl and Cricut Foil-Iron On in Chrome. You don’t need much of any one color, so you can use scraps with this project easily. Also, you can use glitter HTV for the eyes and mask if you prefer (just not the yellow for the emoji face, since you can’t layer over glitter HTV).
- Blue painter’s tape. This will help keep your faux leather firmly in place on your cutting mat, without damaging your mat or your material. You may already have some in the garage, or you can get it at any hardware store and most big box or grocery stores. Amazon also has it here.
- A Cricut Easy Press or a Cricut Easy Press Mini (what is what I use for pressing earrings). I bought my Easy Press Mini from Amazon here. It’s always good to check Cricut.com for pricing on the Easy Press Mini here – they have really good sales sometimes!
- If you will be using the Easy Press Mini like I do, you’ll need an EasyPress Mat to safely press your items on. I use the 8×10 size, which you can see on Amazon here.
- Glue. I used Quick Hold Glue on this badge reel cover, but you can also use E6000.
- A weeding tool or a sharp pointed tool. I use the weeding tool from my Cricut tool set here.
- Triple Thick Clear Glaze or Mod Podge (optional) – To seal the badge reel cover and protect it during daily use. I used Triple Thick Gloss Glaze from Amazon here. You can also use Gloss Mod Podge or Matte Mod Podge. (If your badge reel has glitter vinyl or some other special effect vinyl, use Gloss Mod Podge or Triple Thick. A matte finish will dull a special finish.)
PROJECT INSTRUCTIONS
STEP 1 – Download the SVG Template from my Resource Library
Download the SVG Template for the Face Mask Emojis from my Resource Library. Get the password for the Library from a form at the bottom of this post.
Save the zipped folder that downloads to your computer. You’ll need to unzip or extract the files FIRST before you can upload the cutting file to Cricut Design Space. Make a note of the file location after you unzip it so you can find it in the next step.
STEP 2 – Upload SVG to Cricut Design Space
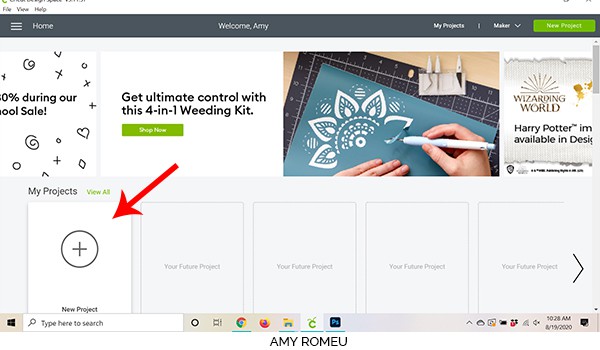
When you open Cricut Design Space, click on NEW PROJECT to get started. Then click on UPLOAD from the left hand side menu.
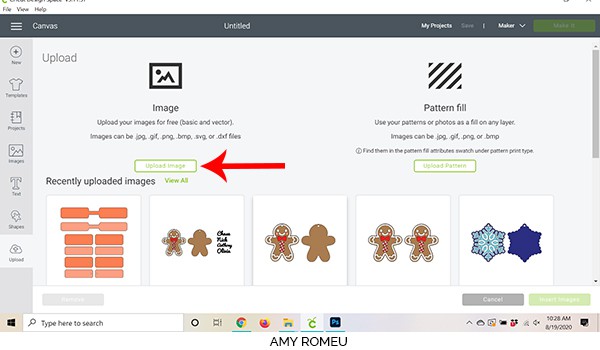
Click on the UPLOAD IMAGE button, then click BROWSE to locate your file.
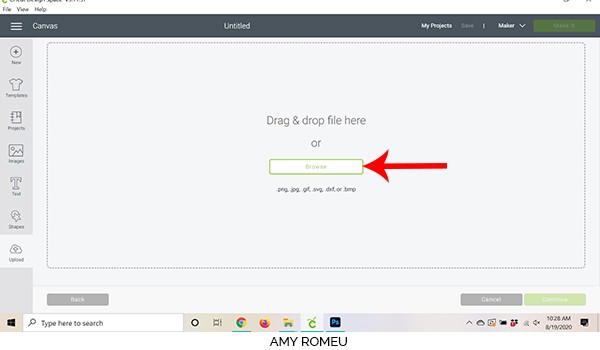
Navigate to where you’ve saved the already unzipped SVG file for this project. Double click on the SVG file to bring it into the upload screen in Design Space. If you get an error saying “file type not supported,” that usually means your folder that contains the SVG file is not unzipped, or you are trying to upload the wrong file.
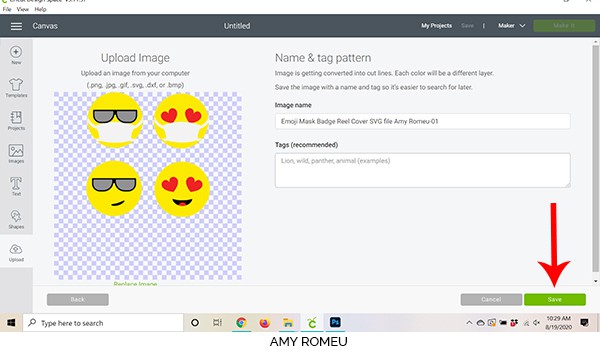
You’ll see a preview of the badge reel shapes for this project. Hit the green SAVE button.
After you’ve selected your file to upload, you’ll see it as the first item in your “recently uploaded designs” row.
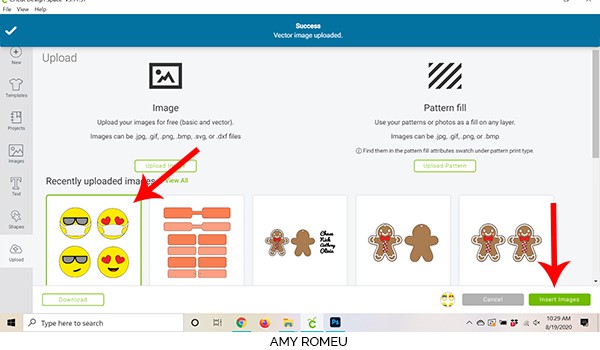
Click on it so it is outlined in green. Then click on the green INSERT IMAGES button in the bottom right corner.
STEP 3 – Prepare SVG for Cutting
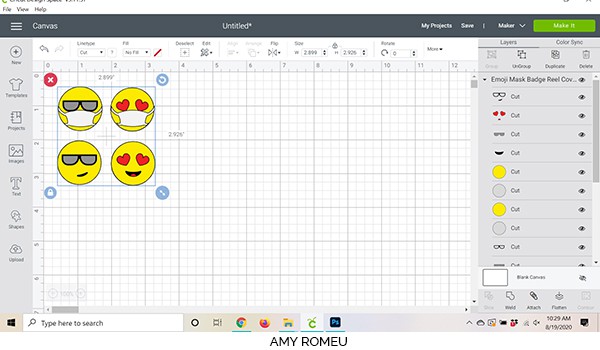
This brings the 4 badge reel emoji face shapes into Cricut Design Space. Drag them up to the top left corner of your canvas.
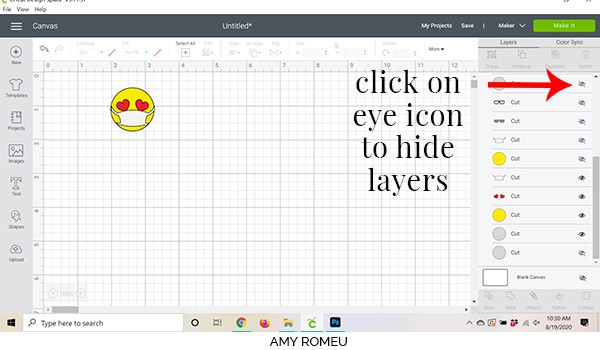
Click on the eye icon to hide the layers for the faces you don’t want to cut so only the face you want remains. Then click the green MAKE IT button.
STEP 4 – Cut the Faux Leather Mat
This project will cut from a few different materials for you – 1 faux leather and then a few different colors of heat transfer vinyl (depends on which design you choose). Cricut does all the hard work and separates them for you. In the mat preview in Cricut Design Space, you’ll see the mats separated out by color on the left hand side.
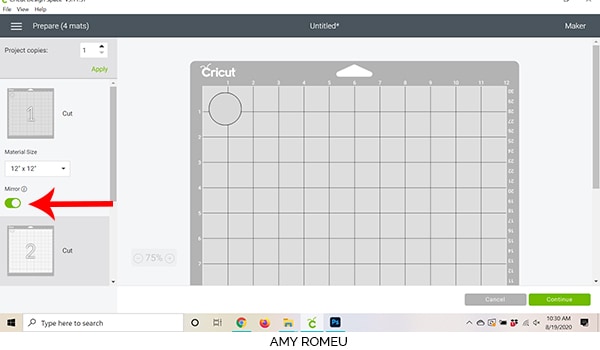
Because both the faux leather and heat transfer vinyl must cut face down, you need to mirror each of your cutting mats in this project. Go ahead and slide the MIRROR ON toggle for EACH mat now, so you don’t forget later!
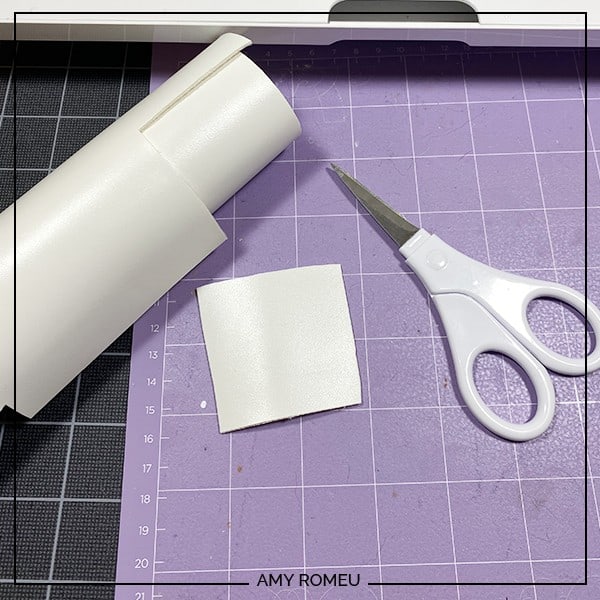
The first light grey mat will cut from white faux leather. Make a note of what size material the circle shape will cut from while you are on the mat preview screen. Cut a piece of white faux leather just a little larger than you need.
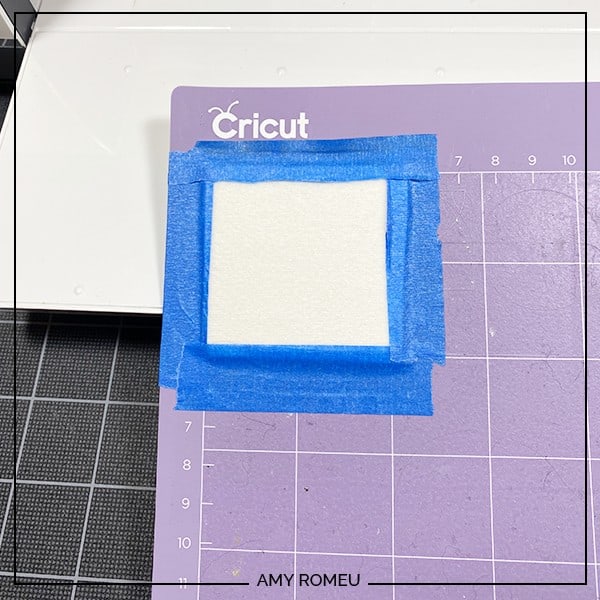
Place the white faux leather pretty side down on a purple strong grip cutting mat and then tape around on all sides with blue painter’s tape.
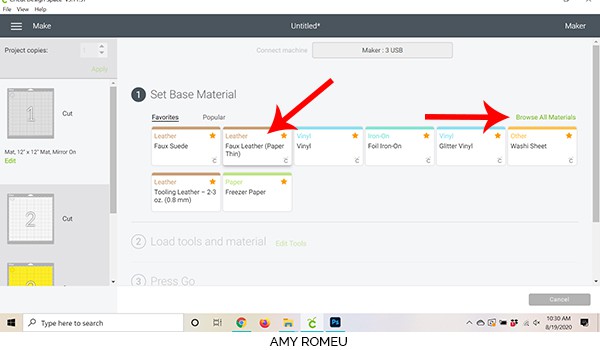
Now you need to choose the material setting in Cricut Design Space.
Choose Faux Leather (Paper Thin) by clicking on Browse All Materials and then searching for the words “faux leather.” If you are using an Explore Air 2, be sure to turn your dial to Custom before searching. Click on Faux Leather (Paper Thin) to select it.
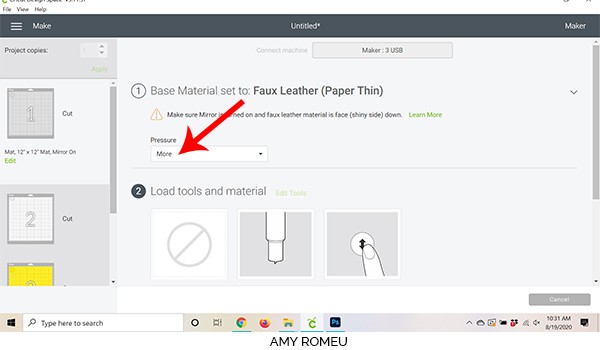
Choose “More” from the Pressure drop down menu.
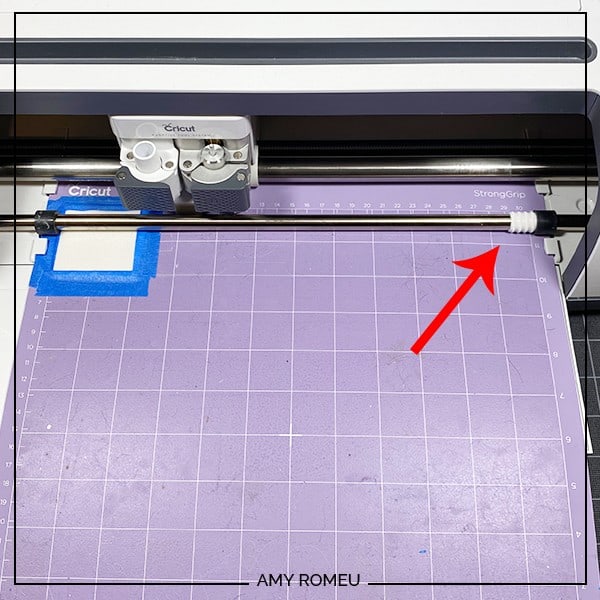
Once you’ve selected your material, move the white star wheels to the side of the roller bar before loading your mat. Then load the mat into the machine by pressing the double arrows button.
Press the flashing C button to start the cut. When the cut is finished and before unloading the mat, use a sharp tool to lift the edge of the cut to check for completeness. If the cut is complete, unload the mat by pressing the double arrows button again. If not, press the C button again to repeat the cut.
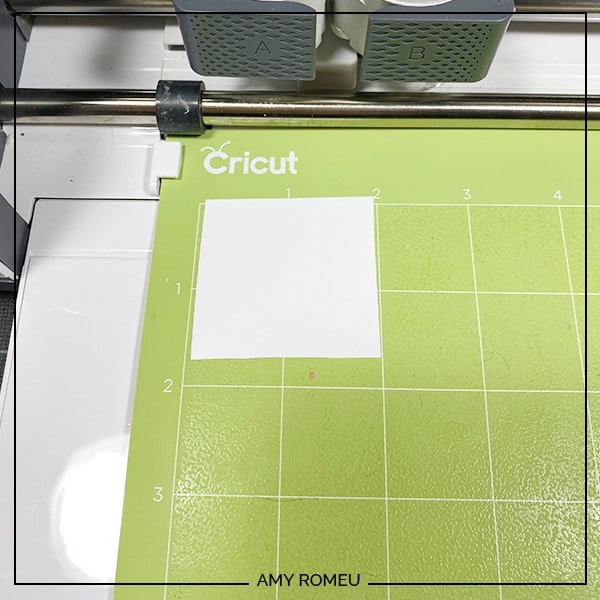
Remove the white faux leather circle from the cutting mat, trim any fuzz on the edges as needed, and set aside.
STEP 5 – Cut the Vinyl Mats
Scroll down through each mat preview in Cricut Design Space and cut the vinyl pieces you’ll need for the rest of this project. You can hover over the mat preview for a larger view of exactly how big each shape is on each mat. Doublecheck all of your mats are mirrored before proceeding.
Choose Vinyl as your Material Setting for regular heat transfer vinyl and Glitter Vinyl for glitter HTV. Leave the pressure at Default.
Place your vinyl piece for each mat shiny side down in the top left corner of a green cutting mat.
Load the mat by pressing the double arrows button and press the C button to begin the cut.
Unload the mat when the cut is complete and use your weeding tool to remove the excess vinyl from the shape.
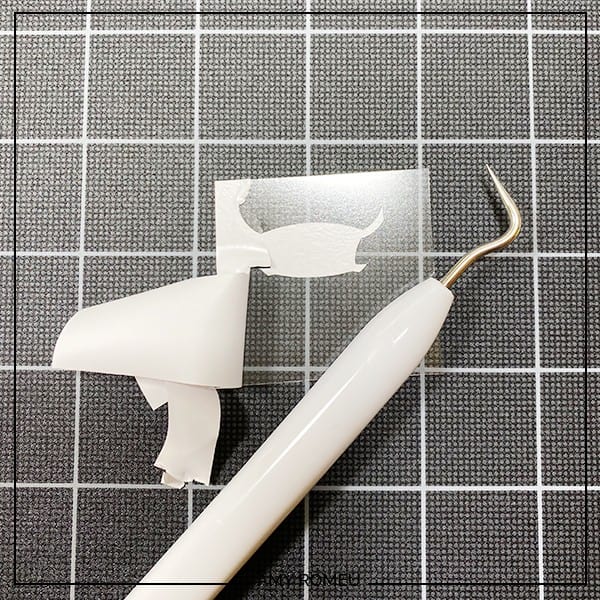
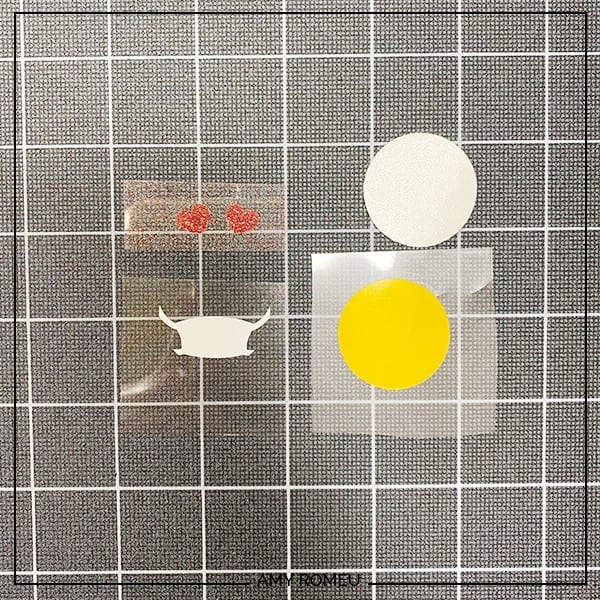
Repeat for the rest of the cutting mats until all of your shapes are cut and weeded.
STEP 6 – Press the Emoji Layers Together
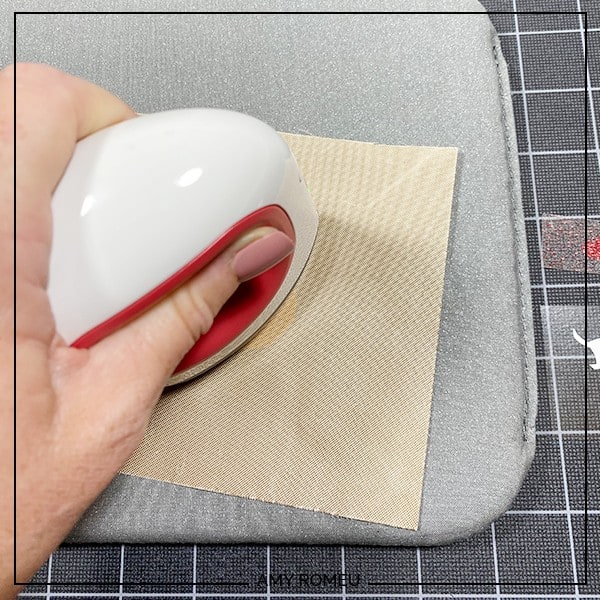
Gather your EasyPress Mini or Cricut EasyPress, a heat pressing pad, and a Teflon sheet or piece of parchment paper.

I use the lowest heat setting on the EasyPress Mini which roughly translates to 255-295 degrees on an EasyPress. I recommend staying at the lower end of that temperature range because faux leather can be heat sensitive.
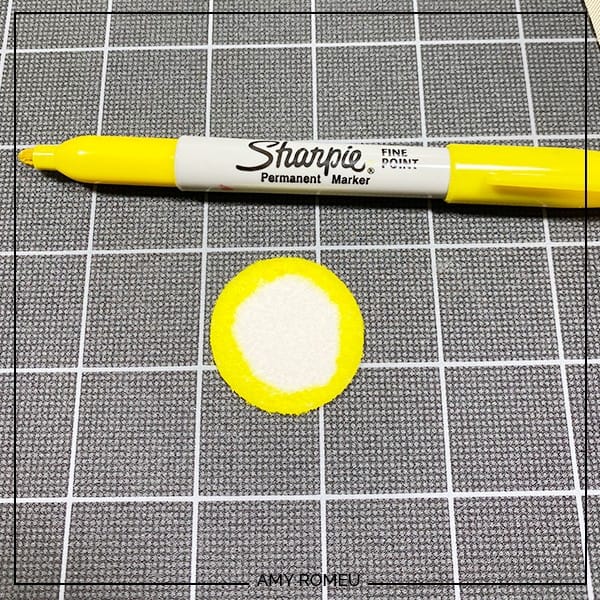
Begin by pressing the yellow emoji face circle onto the white faux leather circle. Before pressing, cover the layers with a teflon cover sheet or parchment paper.
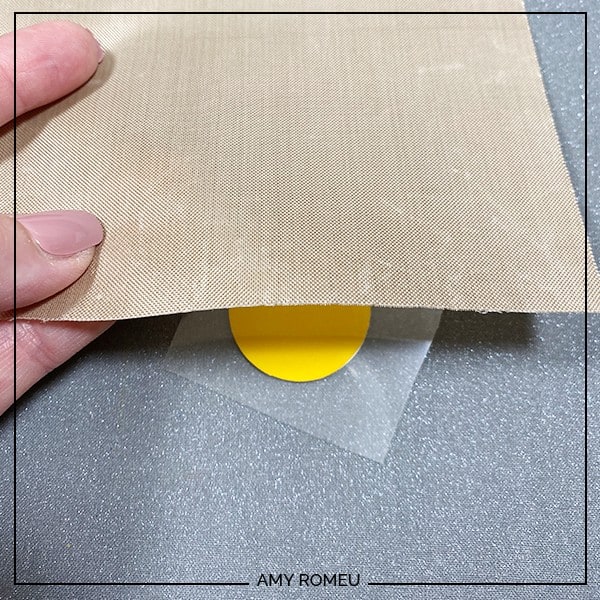
With the press on low heat, gently but firmly press the heat transfer vinyl down. Only press for a few seconds with heat. You’ll be pressing more layers of HTV on top of the yellow layer and you don’t want it to burn or bubble from too much heat.
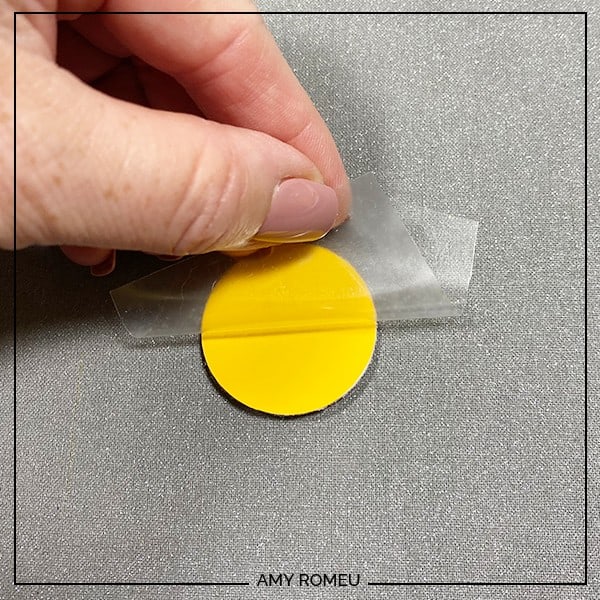
Remove the cover sheet and then peel the clear backing from the yellow vinyl by peeling it up and away from the faux leather backing (as opposed to curling the faux leather away from the clear backing). This keeps the yellow vinyl as wrinkle free as possible.
Repeat the pressing with the next layer. Remember to only press for a few seconds.

Then press the next layers, in this case, the glitter vinyl heart shaped eyes. For the glitter HTV, I trimmed away as much of the transfer sheet as possible to avoid having loose glitter from the transfer sheet stick where I didn’t want it to.
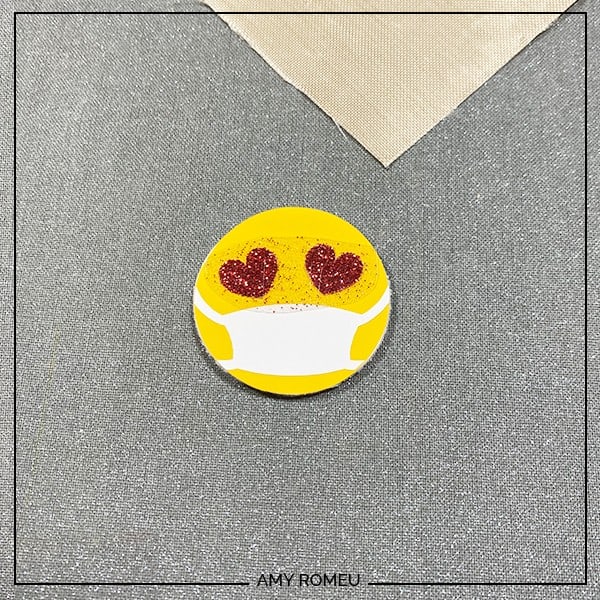
Finally, replace the cover sheet over all of the layers and press for a few more seconds.
The emoji face is ready!
STEP 7 – Optional: Color the Edges and Seal the Emoji
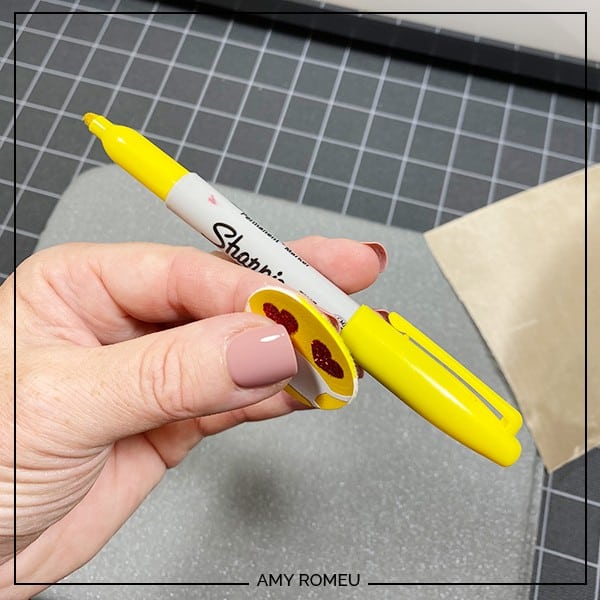
I like to color the edges of the faux leather shape and a little of the back with a coordinating Sharpie marker.
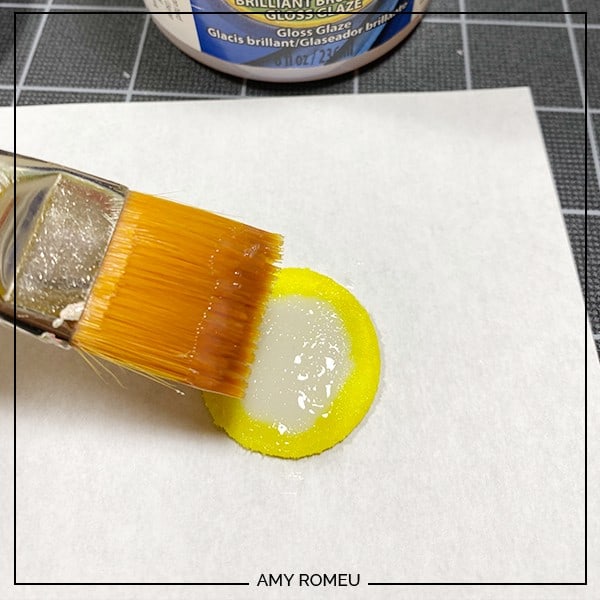
I also recommend sealing the front, sides and back of the faux leather shape with Mod Podge or Triple Thick Glaze. This helps protect the vinyl layers on the front, and adds stiffness to the emoji face by sealing the back.
Use a flat brush to coat the back and edges of the face with Mod Podge or Triple Thick Glaze. If you are using glitter vinyl like I did, be sure to use a gloss product instead of matte so you don’t dull the shine!
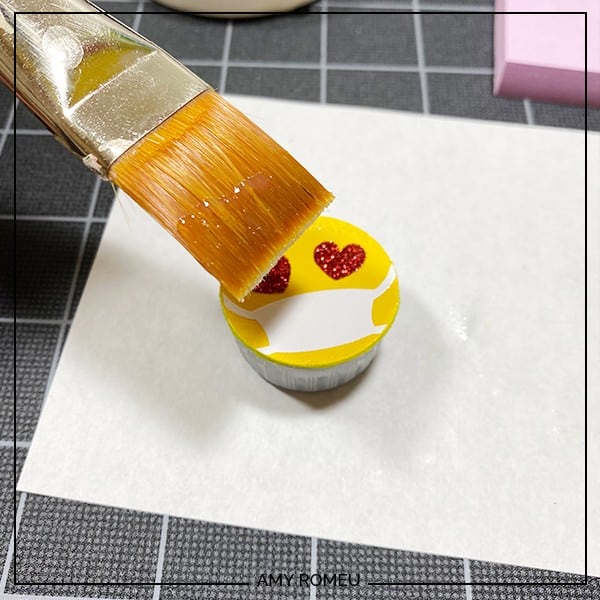
When the back is dry, flip the emoji face over and seal the top. Allow it to try well and then seal the edges and the top at least one more time.
STEP 8 – Glue Emoji to the Badge Reel
It’s time to glue the emoji face to the badge reel cover. Be sure to protect your work surface before starting.

Squeeze a liberal amount of Quick Hold Glue or E6000 all over the badge reel, almost to the edge, but not quite.
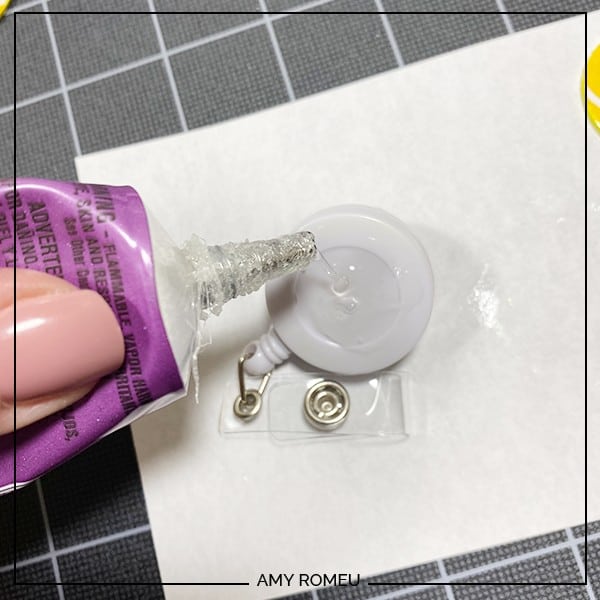
Place your emoji face onto the glued badge reel and center it. Press it firmly to the badge reel. Carefully wipe away any glue that seeps out of the edges place the badge reel face down to dry.
What do you think? Are you going to try this project? If so, which emoji face will you choose?
If you do make these, I would love to see your finished badge reel cover! Please post a comment and attach a photo of your badge reel!
Want to see all of my Cricut earring & jewelry tutorials? CLICK HERE
Until next time… and happy creating!

Can permanent vinyl be use instead of HTV?
Hi, Linda! Yes. You certainly can use permanent vinyl instead of HTV. 🙂