DIY Cricut St. Patrick’s Day Tote Bag
DIY Cricut St. Patrick’s Day Tote Bag
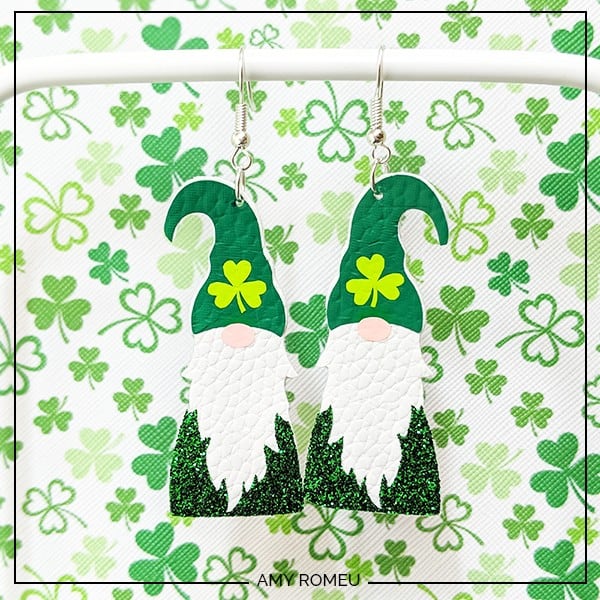
It’s a week before St. Patrick’s Day and at our house, my daughter is getting ready for her class party next week. She’s already excited to wear these cute St. Patrick’s Day gnome earrings I made with faux leather, heat transfer vinyl, and my Cricut! (I wrote up a full tutorial about how I made these in this post.) She loves them, and so do I, but when I showed them to some crafty friends of mine, they suggested a quick beard swap from white to orange would make him a cute leprechaun! Now why didn’t I think of that? So when she asked for a matching St. Patrick’s Day Tote Bag, I knew just what to do.
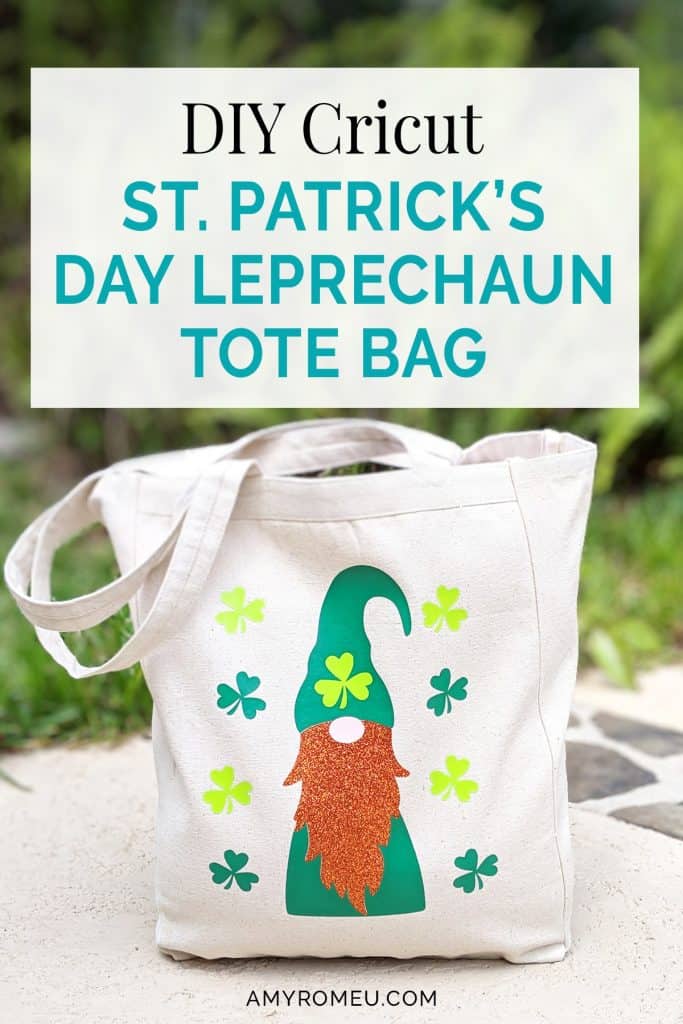
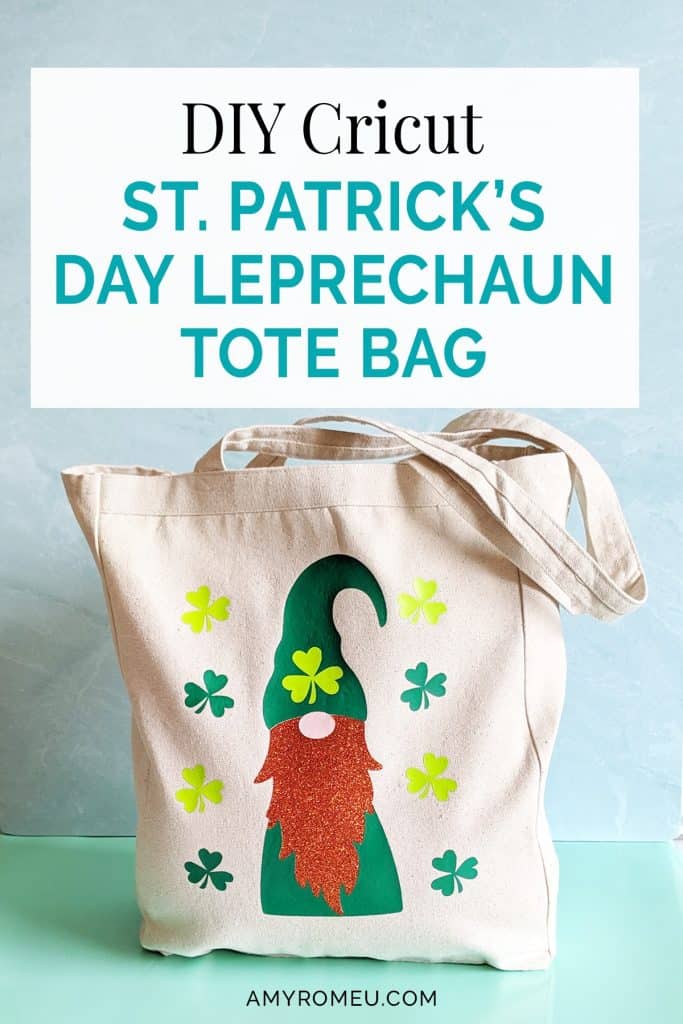
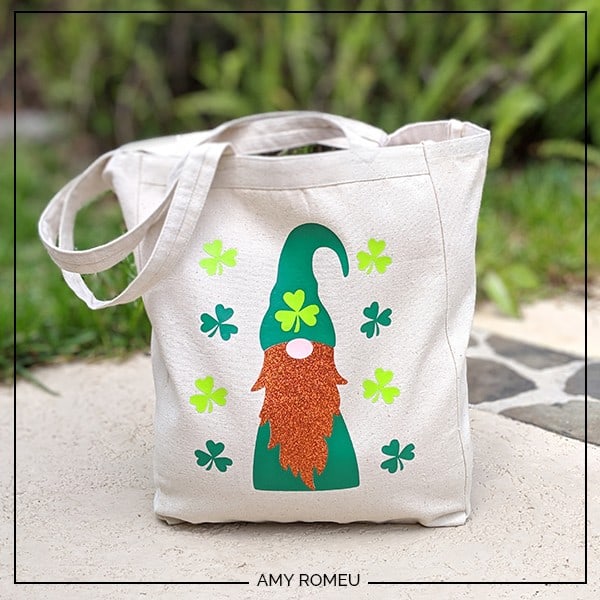
So I whipped up an alternate version of my St. Patrick’s Day Gnome and gave him a red beard. Voila! (Of course, if you like him as a gnome, just cut the beard in white instead of orange.) I cut the vinyl for this quick and easy project with my Cricut Maker, but you can use the Explore Air 2 or any cutting machine that can cut from an SVG, DXF or EPS file. Easy peasy!
If you are in need of a cute, last minute St. Patrick’s Day craft, I’m sharing the SVG cut file for this adorable St. Patrick’s Day Leprechaun Tote Bag with you for FREE! You can get access to the file from a link at the bottom of this post.
Ready to make this fun pair of St. Patrick’s Day Leprechaun Tote Bag? Let’s get started!
This page contains some affiliate links (which means if you make a purchase after clicking a link, I will earn a small commission at no additional cost to you). Read my full disclosure policy here.
DIY St. Patrick’s Day Leprechaun Tote Bag – Materials List
- A vinyl cutting machine. I have the Cricut Maker, available at Amazon here. You can also use the Cricut Explore Air 2 or any cutting machine that cuts vinyl from a SVG, DXF, or EPS file.
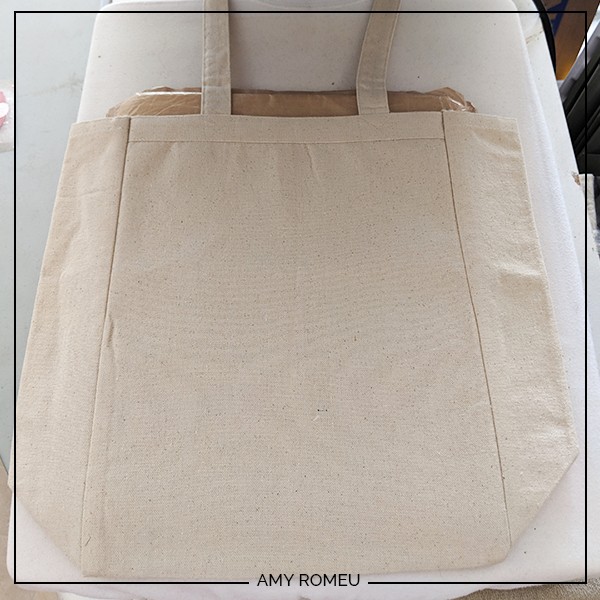
- Tote bag of your choice. I used this canvas tote bag from Jiffy Shirts here, but a similar bag would be this one from Amazon. Of course any tote bag you find at a craft store or big box store will work.
- Cricut Standard Grip (Green) Cutting Mat. You’ll use the green mat for cutting the HTV. You probably already have one from when you bought your Cricut machine, but if you need a new one, they are available on Amazon here or at any craft store.
- A Cricut Easy Press or a traditional heat press (what I used for this project). I recommend this heat press from Amazon here. You could also use a Cricut Easy Press Mini in a pinch!
- If you’ll be using a traditional heat press, you’ll need to use a teflon cover sheet to protect your layered vinyl as you press. I like these teflon sheets from Amazon here.
- If you will be using an Easy Press for this project, you’ll need an EasyPress Mat to safely press your items on. Use a teflon cover sheet like this one or parchment paper as you press each layer down.
- HTV Vinyl. I used 4 colors of Siser heat transfer vinyl for this project – 2 different greens, light pink, and copper (orange) glitter. Of course you can use whatever colors you’d like (gold would be fun to add!) I used Siser Easyweed Heat Transfer Vinyl from Amazon in Green here and Lime Green here. I also used Siser Glitter in Copper from Amazon here. For the nose, I used Siser Easyweed in Light Pink, from Amazon here. If you wanted to do the beard without the glitter, you could use Siser Easyweed in Orange instead, from Amazon here.
- Weeding tools. You’ll need a basic weeding tool for this project. I used the one that came in my basic Cricut tool set from Amazon here.
PROJECT INSTRUCTIONS
STEP 1 – Download the SVG File
Download the SVG cutting file for the leprechaun tote bag design from my free Resource Library. The link to get the password is at the bottom of this post.
Save the zipped folder that downloads to your computer. You’ll need to locate your zipped file after you save it so remember where you are downloading it to! You’ll have to unzip or extract the files FIRST before you can upload the cutting file to Cricut Design Space. Make a note of the file location after you unzip it so you can find it in the next step.
STEP 2 – Upload SVG to Cricut Design Space
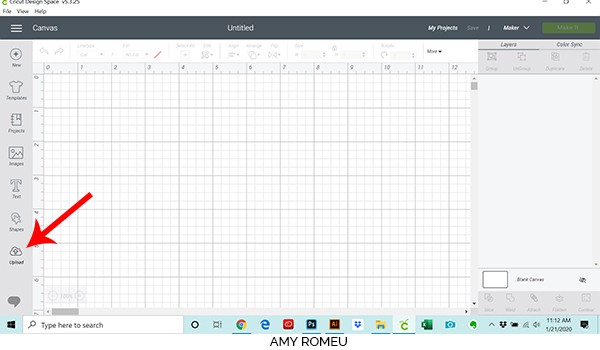
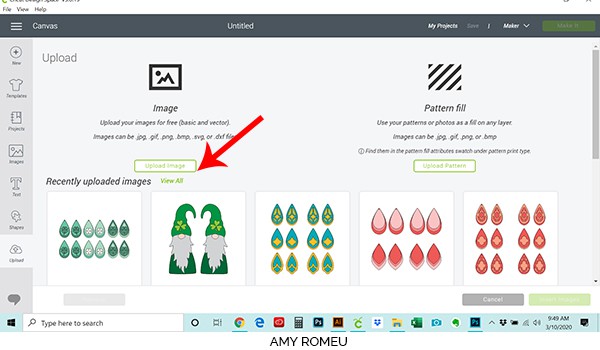
When you open Cricut Design Space, click on NEW PROJECT to get started. Then click on UPLOAD from the left hand side menu.
Click on the UPLOAD IMAGE button, then click BROWSE to locate where your unzipped SVG files are saved on your computer.
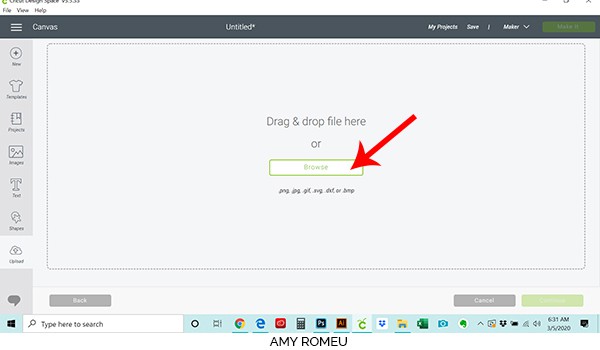
Double click on the SVG file to bring it into the upload screen in Design Space. If you get an error message that says “unsupported file type,” you may have clicked on the wrong file, or your SVG file is still zipped.
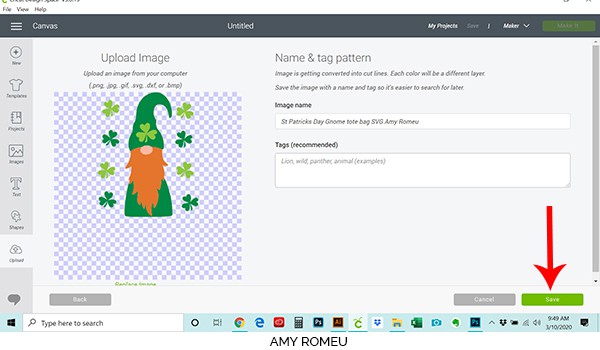
You’ll see a preview of the leprechaun tote bag design shapes that will cut for this project.
Hit the green SAVE button.
After you’ve selected your file to upload, you’ll see it as the first item in your “recently uploaded designs” row.
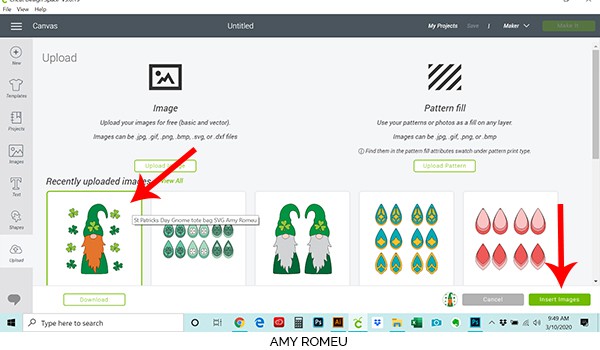
Click on the leprechaun design so it is outlined in green. Then click on the green INSERT IMAGES button in the bottom right corner.
STEP 3 – Prepare SVG for Cutting
This brings the shapes you’ll cut for the tote bag into Cricut Design Space. Drag your artwork to the upper left corner of your mat for easy viewing.
At this point you can resize your art to accommodate your tote bag if needed. My recommendation is to measure the available space on your tote bag panel. Be sure to allow some room around the edges so your design isn’t too close to the seams and edges of the tote.
This is a layered vinyl design – each piece will cut out from vinyl and fit together like a puzzle piece. Only the shamrock on the hat overlaps.
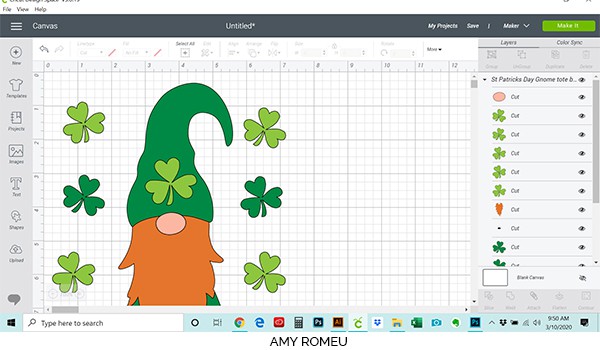
After dragging your leprechaun to the top left of your canvas, your canvas should look like this. Now your shapes are ready to cut!
But first – let’s talk about a few options you have to make your cutting easier, depending on what you choose.
1. If you plan to cut this design just as shown and you want to preserve as much vinyl as possible, you can hit the green MAKE IT top right hand corner now. You’ll need to place each cut piece by hand on your tote bag before you press it. For some people (like me!) this makes me nervous that I won’t get it straight! But for some people it doesn’t bother them at all. (If you’re like me, though, keep reading down to option #3.)
2. If you want to cut just the leprechaun without the side shamrocks for whatever reason, you can hide the shapes you don’t want to cut by clicking the eye next to each layer.
To do that, first you need to UNGROUP all the layers. Click on UNGROUP in the top right corner. Now you can apply changes to individual shapes in the design.
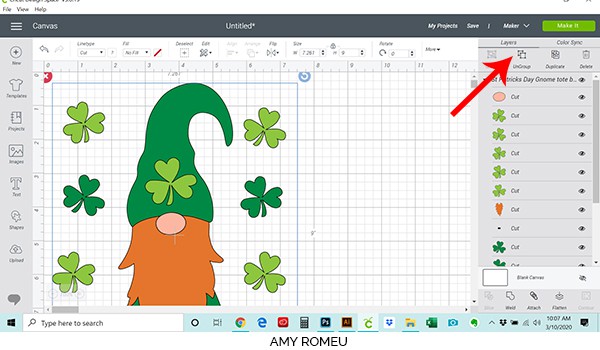
Once the layers are ungrouped, click on the eye icon on the layers you want to hide. That’s it!
If you hit the MAKE IT button now, the Cricut will sort your shapes by color on each different cutting mat. The benefit of this is you will use as little vinyl as possible, but the drawback is you’ll need to fit each individual shape together like a puzzle piece and you’ll have to line up the design by eye. If that doesn’t bother you and you want to preserve as much vinyl as possible, you can hit the green MAKE IT top right hand corner now.
3. The other alternative is to WELD the same color shapes together so they will be sent to your mat in the exact position they are as in as shown in the design. This takes the guesswork out of placing your vinyl on your tote bag, but it also uses a lot more vinyl than necessary. The choice is yours.
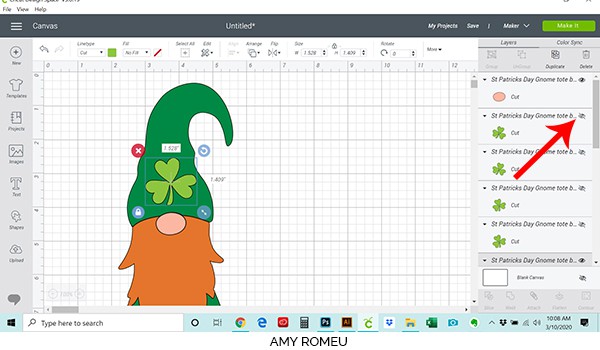
If you want to WELD your colors together by mat, simply click on the layers in the same color in the layers panel on the right hand side and then click WELD at the bottom of the layers panel.
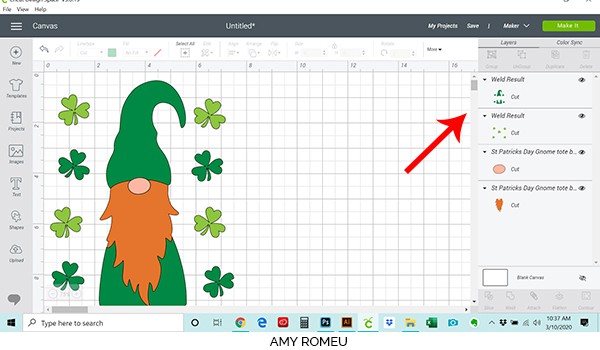
This is what the Green and Lime Green layers look like when they are welded. They will cut exactly as shown in the preview. This makes it easier to line up your design on your tote bag. This is the method I chose, but it’s totally up to you!
Be sure you’ve decided on your vinyl colors before you WELD. If you are changing colors or using a different number of vinyl colors, you’ll want to make those changes in Design Space before sending your design to cut. You can’t undo a weld once you’ve welded (although you can always re-upload the original artwork and start over!).
After you’ve welded the Green and Lime Green layers, click on the green MAKE IT button in the top right hand corner.
STEP 4 – Cut Vinyl Layers
Cricut does all the hard work and separates each of the four vinyl colors for you and places each color on a different mat. You can see the all the mats separated in a preview on the left hand side of your screen.
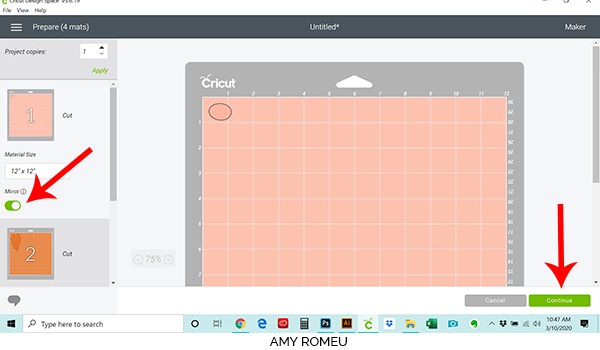
No matter what colors or types of heat transfer vinyl you choose, the most important thing is to remember to MIRROR each layer. I like to toggle the MIRROR toggle button ON (it will turn green) for each layer up front so I don’t forget.
After your first layer is mirrored, cut a piece of vinyl in the size shown on the mat preview. Place the vinyl shiny side down on your mat in the same location as shows in the preview, and press Continue.
Load your mat into your Cricut by pressing the load button with the arrows. You’re ready to select your material settings!
STEP 5 – Choose Your Materials
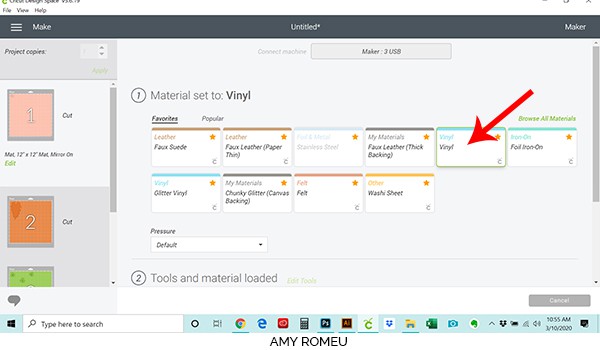
Next we need to choose our material. This project has very simple cuts, so I’m going to choose the standard VINYL setting for the non-glitter cuts. (If you are using a Cricut Explore Air 2, turn your dial to Vinyl.) If you don’t already have Vinyl as a “favorite” material, click on Browse All Materials on the right hand side. Type “vinyl” in the search box, and click on it to select it as your material.

NOTE: To add materials to your “favorites,” just click on the yellow star next to the material name in the previous step.
For vinyl, I usually leave the pressure setting at DEFAULT. Your machine may be different, so test it out with a test cut if you’re not sure how your Cricut cuts vinyl. If your vinyl doesn’t cut all the way through, try the WASHI SHEET setting instead.
Press the C button on your Cricut machine and it will start cutting. After the cutting is finished, unload your mat by pressing the double arrows button again.
Use your weeding tool to remove the excess vinyl from the shape you just cut. Then set this shape aside and go back to Design Space to cut the next mat.
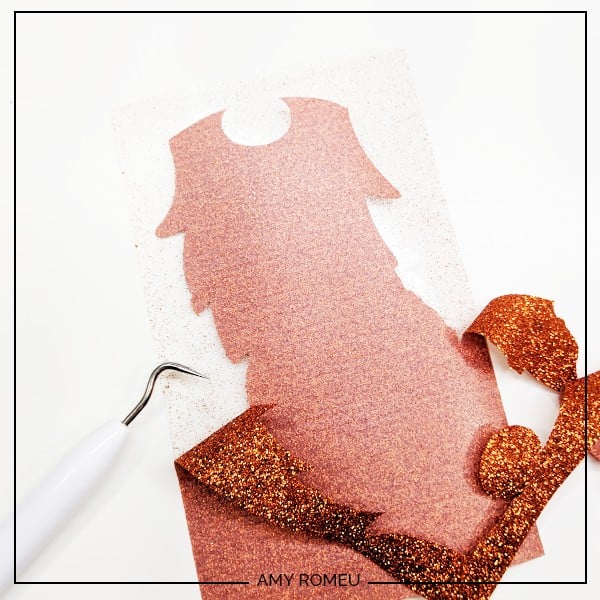
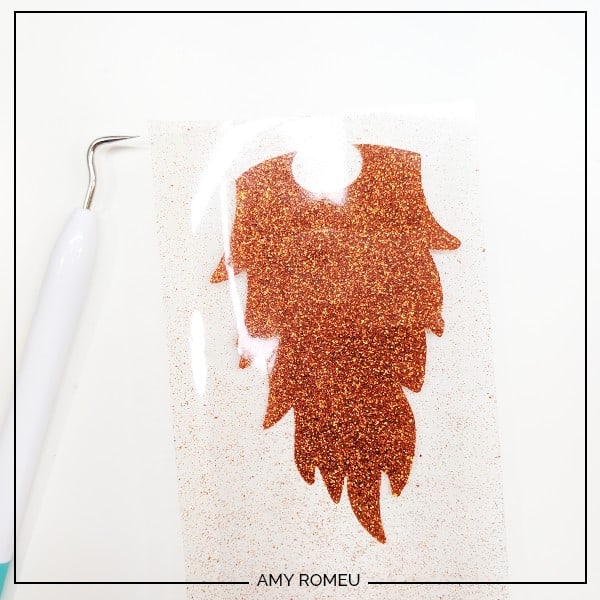
I cut the orange mat for this design from copper glitter. For glitter, choose Glitter Vinyl as the material. Make sure your layer is mirrored. Cut your glitter layer and press it face down on your cutting mat. Press the C button to begin cutting. Then unload your mat and weed out the beard. Be prepared, glitter vinyl is a pain to weed!
Move on to the next layers in Design Space and cut them. Confirm they are mirrored before sending them to your cutter! If it’s not, click “Edit” in the little mat preview on the left, then scroll down and toggle the mirror toggle ON.
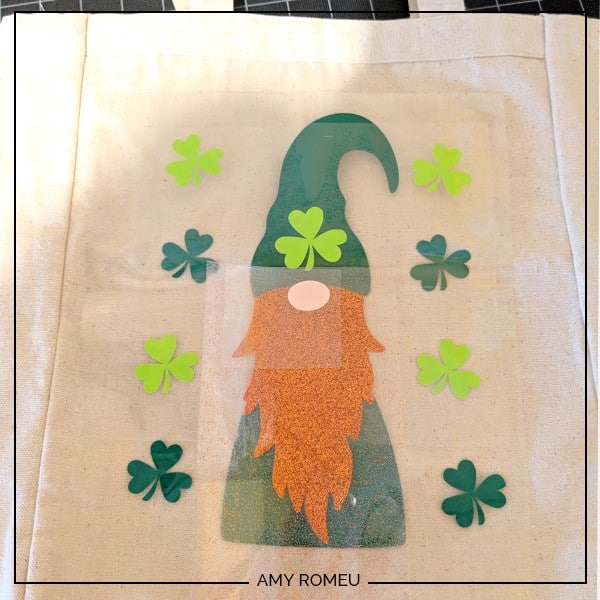
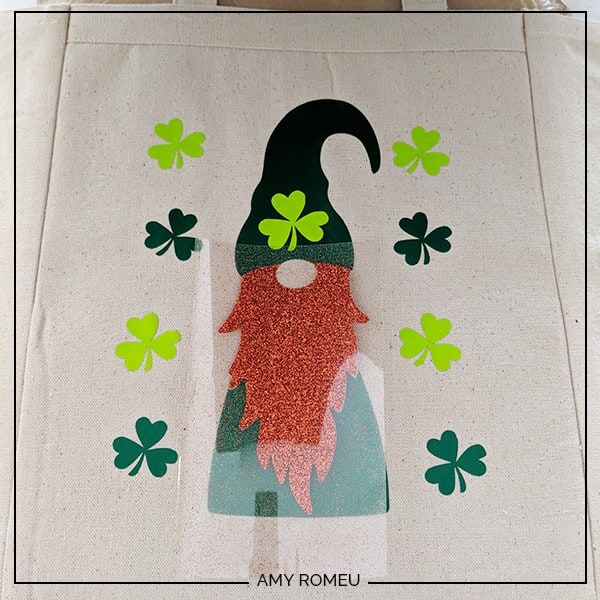
Weed the final layers before continuing. Then dry fit your layers together to be sure you’ve cut them all the right way and they fit like you want them to on your tote bag.
STEP 6 – Press Your Tote Bag
Now it’s time to press your vinyl on your tote bag. Regardless of what pressing method you choose (heat press or Easy Press), remember these important tips:
1. Check the manufacturer’s recommended temperature and pressing time for each different kind of vinyl you use.
2. Pre-press your tote bag for a few seconds first to remove any moisture from the bag and to iron out any wrinkles.
3. Use a folded up towel or a pressing pillow inside your tote bag if there are seams on the front of your bag like mine. This will raise up the area you are pressing on so it’s higher than the raised seams are and the heat press will have better contact with the vinyl. I like this assorted size pack of pressing pillows from Amazon. I use each of the sizes all the time. If you plan to make a lot of heat pressed items, pressing pillows are a great item to have in your craft room!
4. Use a teflon protective sheet or parchment paper over each layer you press. This will protect already pressed layers from sticking to your heat press or Easy Press. It will also protect your design from any dirt or smudges that may transfer from your heat press.
5. The KEY to layering vinyl is to heat press each layer only long enough to tack the layer down, usually 1 or 2 seconds. As you repeat this process for each layer, the additional heat will continue to press the first layers down. (If you press each layer for too long, they will start to shrink and your layered pieces will have small gaps in between them, which you don’t want.) Be sure to do a final press over all the layers for a few seconds. Basically, the total time of each short press should equal the manufacturer’s recommending pressing time.
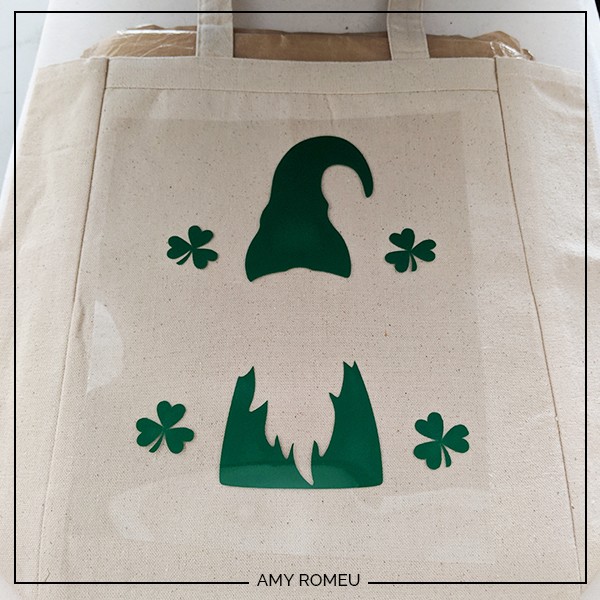
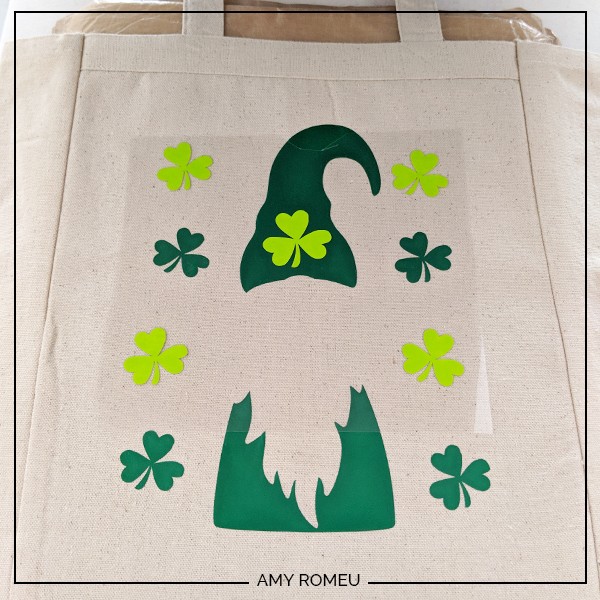

After the last layer is pressed, remove the transfer tape and then replace your teflon sheet or parchment paper over all of the layers again. Be sure no vinyl remains uncovered, then press again for another 10 seconds or so. You may need to let the vinyl cool for another 10 seconds and then repeat another 10 second press. Be sure your layers are all firmly pressed before finishing the project. That’s it!
Are you going to try this adorable St. Patrick’s Day Leprechaun Tote Bag project? If you do, please post a photo in the comments! I love to see what you create!
Until next time… and happy creating!

Want the FREE SVG file you so you make this St. Patrick’s Day Leprechaun Tote Bag yourself?
Get it from our Resource Library! You’ll receive the password for the Resource Library instantly after filling out the form below!
Want to remember this? Post this DIY CRICUT ST. PATRICK’S DAY LEPRECHAUN TOTE BAG project to your favorite Pinterest board!