
How To Make A Fall Leaves Faux Pumpkin with Your Cricut

How To Make A Fall Leaves Faux Pumpkin with HTV and your Cricut!
It’s fall – well, at least it says so on the calendar – but here in Florida, it still feels like summer outside. That doesn’t stop me from bringing fall inside, though! I’ve been busy making quite a few fall decor crafts. (If you want to see all of the fall pumpkin crafts I’ve made on my blog, click here.) I’ve already beaded a velvet craft pumpkin, and since my plans to bead and sequin my white pumpkins fell apart (which you can read about here), I decided to decorate them with HTV instead. As a result, this multi-colored fall leaves faux pumpkin project was born! As a bonus, I was able to use a variety of brown shades of vinyl I have laying around my craft room. Is there anything better as a crafter than having some random craft supply that you can put to use in a project? Score!
If you want to make this project yourself, keep reading. I’ll tell you where I got my materials from, exactly what I bought, and I’ll show you step by step how I made it this festive Falling Leaves Faux Pumpkin. You can also get my original SVG file so you can make this exact project yourself!
If you want to give this project a try, I’ll have the link to download the SVG file for my original design FREE at the bottom of this post.
This page contains some affiliate links (which means if you make a purchase after clicking a link, I will earn a small commission at no additional cost to you). Read my full disclosure policy here.
Fall Leaves Faux Pumpkin Project – Materials List
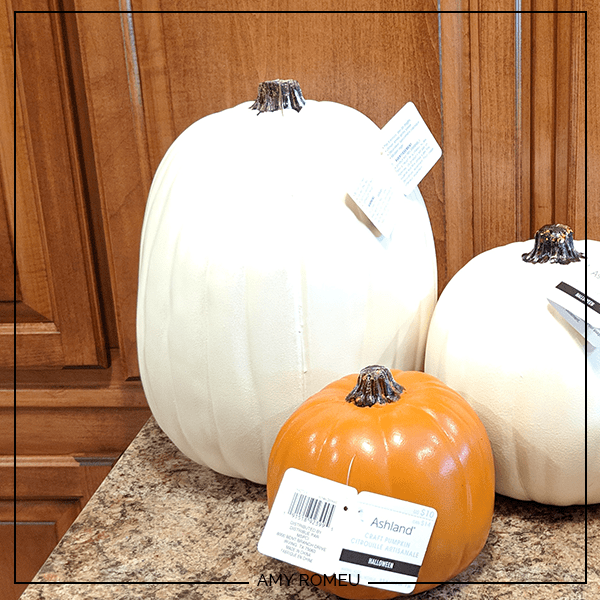
- Large faux/craft/foam pumpkin. I bought this exact one from Michaels. They have a lot of different sizes and colors, but I used the 13 inch one in White. Michael’s also has a 13 inch craft pumpkin in Orange.
- A vinyl cutting machine. I have the Cricut Maker, available at Amazon here.
- Vinyl weeding tool and scissors. I had all the tools I needed in my Cricut tool set here. You can get these tools at Amazon, Michaels, Hobby Lobby, and Joann’s. (I also love my Pin Pen Weeding tool from 651Vinyl – if you haven’t used one before, you might want to give it a try.)
- Transfer paper for your cut vinyl. I first tried using Cricut StrongGrip Transfer tape, but I found it was TOO strong for this project, so I used some R-Tape from The Rhinestone World that I already had on hand, as well as some Clear Matte Contact Paper. You can use whatever transfer tape you like best! Whatever you choose, I recommend a transfer tape with low tack, since the surface of the pumpkin isn’t ideal for vinyl adhesion.
- Heat transfer sign vinyl. I used Oracal 651 for this project. I make a lot of car decals for our youth baseball league so I use sign vinyl a lot. I like the wide variety of colors Oracal 651 is available in.
I used four fall colors, but you can use as many colors as you want, or just one or two colors. You could also use Orange and Black for a more Halloween-y feeling (yes, that’s a word as far as I’m concerned).
I buy my Oracal 651 from 651vinyl.com. They have great service and amazingly fast shipping! You can buy vinyl in a variety of sizes, which is a real money saver if you only need one sheet for a project. I’ll link to the colors I used below in 12×12 sheet size from 651vinyl.com.
Oracal 651 in Copper Metallic #092
If you order from 651Vinyl, be sure to add an Oracal 651 Color Chart brochure to your cart. They are so handy to have when you are planning out colors for a new design!
(Note: If you are an Amazon junkie, they have Oracal 651 as well, but usually you have to buy larger quantities than just one sheet.)
PROJECT INSTRUCTIONS
STEP 1
Download the free SVG files from my free Resource Library. The link to get the password is at the bottom of this post.
Save the zipped folder that downloads to your computer. You’ll need to unzip or extract the files so you can upload them to Cricut Design Space. Once the folder is unzipped, you’ll see there are TWO SVG files for this project. The first is just the words Happy Fall in copper and the two large copper leaves. The second is an assortment of fall leaves designed to be cut out of the three other vinyl colors.
You may be wondering: why did I create this design with two files? Well, if I was applying this design to a flat surface like a canvas, a wood sign, or a shirt, I would have created just one file so when the design was applied, all of the leaves would be in their desired places. However, since the pumpkin is round and has lots of indentations, I knew it would be easier to have the text stay together as cut file, and then the rest of the leaves loose so they could be placed and pressed on to the pumpkin individually. You’ll see what I mean when we put the project together.
STEP 2
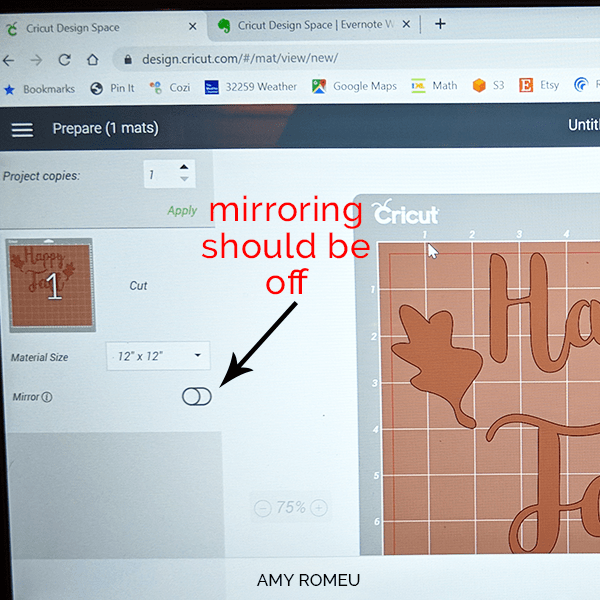
Use your Cricut to cut the Hello Fall SVG file out of the Copper color Oracal 651 vinyl. Use the Vinyl setting for “Material” in Cricut Design Space, and make sure the “Mirror” setting is toggled to the OFF position before sending the file to the cutter.
Sign vinyl is NOT mirrored since it cuts the way it is going to read (unlike HTV, which is pressed on upside down).
STEP 3
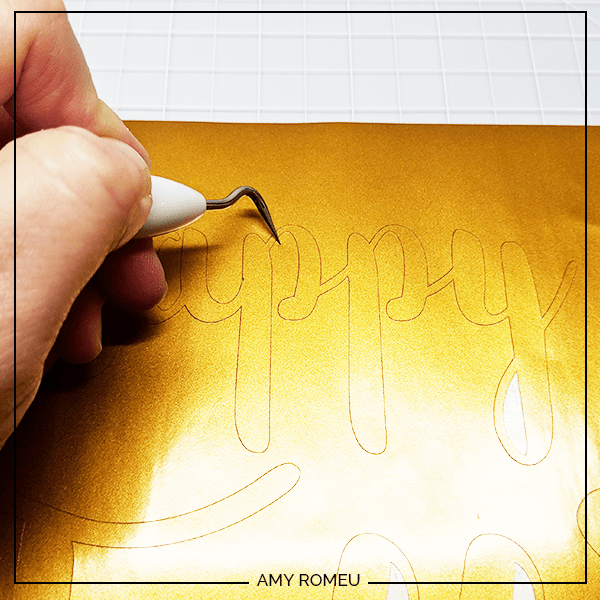
Weed your Hello Fall text and leaves using your vinyl weeding tool of choice.
STEP 4
Apply your transfer tape over your weeded Hello Fall text and leaves, starting from the center and pressing out to the sides. Use your squeegee or Cricut scraper (or an old credit card!) for this part to be sure the transfer tape adheres well to the vinyl.
STEP 5
Turn your transfer tape and vinyl sandwich over and carefully peel the backing from the vinyl. If any parts of the backing don’t want to peel away cleanly from the sticky side of the vinyl, you can use your weeding tool to carefully pick at the backing. Or you can just try another area to peel from and see if that works better.
STEP 6
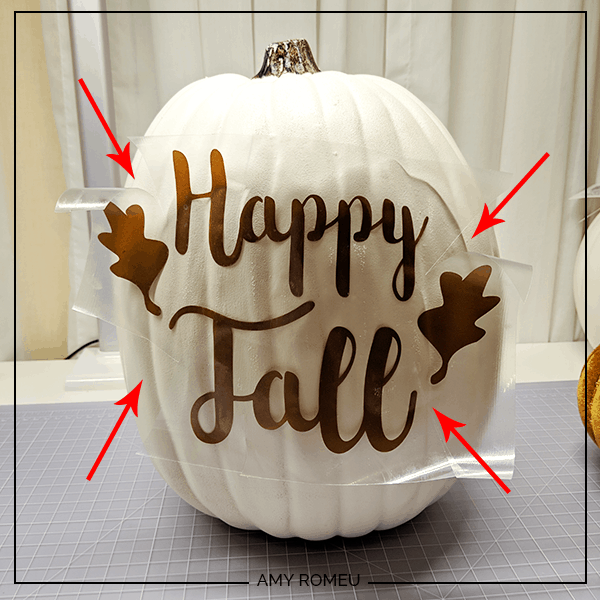
Place your vinyl transfer lightly on to your pumpkin face to get an idea of the placement you want. Don’t press it down yet!
Where the pumpkin has curves, you’ll want to cut slits in the transfer tape to help the paper bend better, like this:
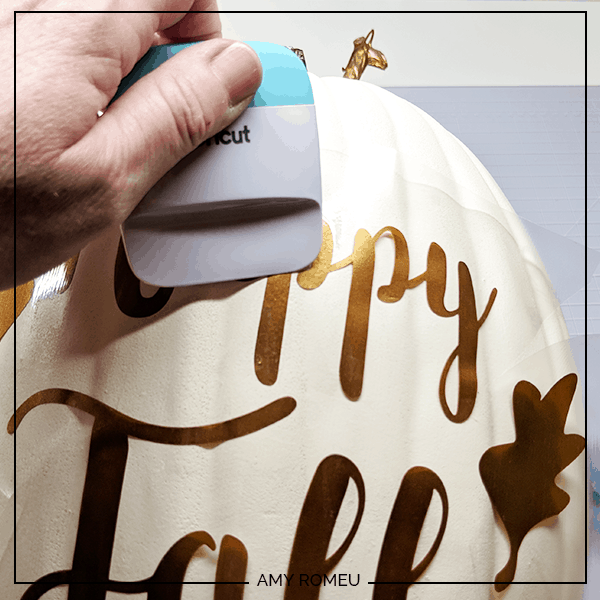
STEP 7
Start to press the vinyl text down on to the pumpkin, starting in the middle of the design and then moving outwards to both sides. Be sure to press the text into each groove as you move out to the sides of the design so the entire design is pressed flat to the pumpkin. Use your squeegee or scraper tool to really press the vinyl down on the pumpkin surface.
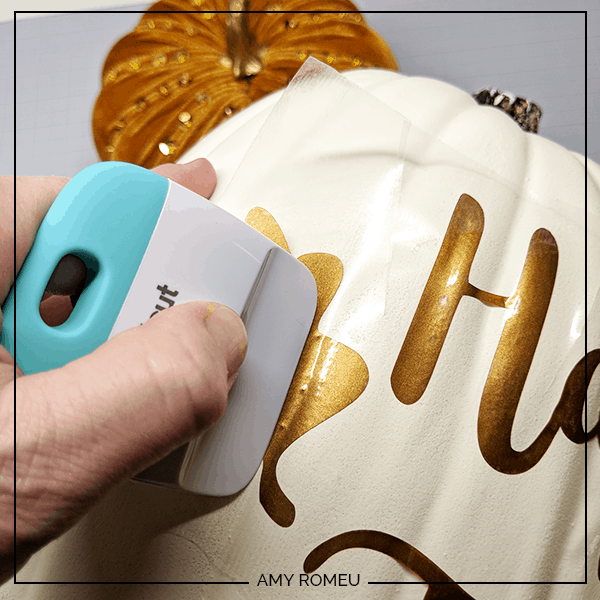
STEP 8
Once your vinyl is pressed down well, you can start to peel the transfer tape. I peeled in sections and used my scissors to trim lines between the vinyl sections, so I could just work on peeling just one word at a time.
Do you want to make this Fall Leaves Craft Pumpkin project yourself? It’s so easy and fun! Download the SVG file for my original design FREE at the bottom of this post.
STEP 9
Now it’s time for the muticolored leaves. Open my free Leaves SVG file from your computer (which you can get from a link at the bottom of this post in Cricut Design Space. Use the Vinyl setting for Material and be sure your Mirroring is set to OFF.
If you have three colors of vinyl, go ahead and cut each row of leaves out on it’s own mat. Or just print out each row on the same sheet of vinyl, whatever you prefer. The leaves are designed with different sizes and directions to keep the design varied and interesting.

STEP 10
Weed your leaves after they cut. Oracal 651 will stick to itself if you’re not careful! I try and weed in one direction only, and pull the excess away from the design cleanly so it doesn’t get stuck back down to the leaves you want to keep.
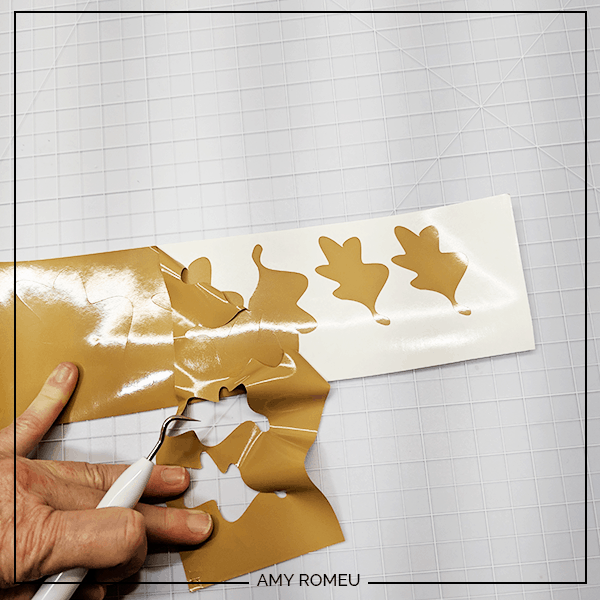
Depending on the size of your transfer tape, you may need to cut some of the leaves apart so you can fit as many as possible on each piece of transfer tape. Again, this is fine since we want to place all of the leaves individually.
STEP 11
Once you have applied transfer tape to all of the leaves, cut them apart so you can place them individually.

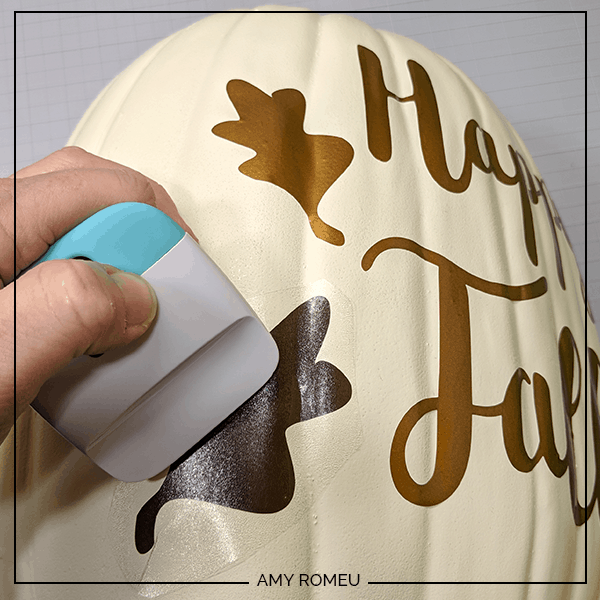
STEP 12
Begin by placing a leave gently on the pumpkin to decide on exactly where you want it to do. Then press down on the middle of the leaf and move outwards with your fingers (or a squeegee/scraper). Be sure to press the vinyl down into each groove of the pumpkin as you go along.
Repeat this process with each leaf. I used enough leaves to cover the front half of the pumpkin, but if you want to cover the back half too, just cut each color on the leaf file twice.
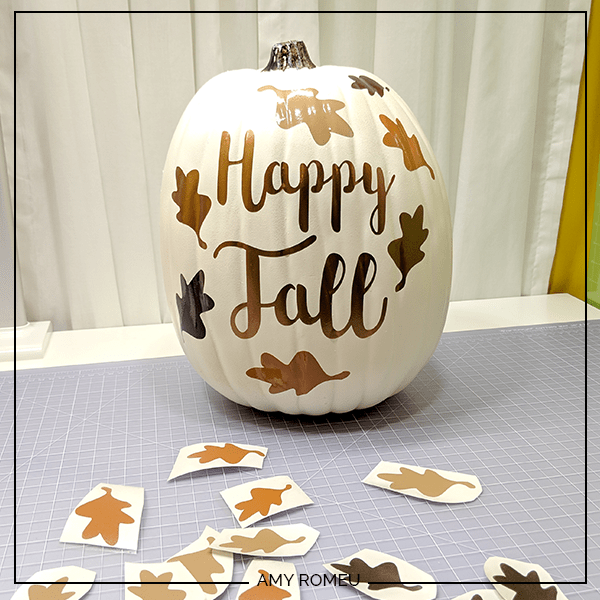
As a final step, press down all of vinyl again one more time with your fingertips. That’s it! Isn’t this pumpkin festive and fall-tastic?

Are you going to try this project? It’s easy and fun, I promise! If you make this Fall Leaves Faux Pumpkin craft, please send me a photo! I’d love to see your work!
Until next time… and happy creating!

Want the FREE SVG files you so you make this Fall Leaves Faux Pumpkin project yourself?
Get it from our Resource Library! You’ll receive the password for the Resource Library instantly after filling out the form below!
Want to remember this? Post this DIY Fall Leaves Faux Pumpkin Project Tutorial to your favorite Pinterest board!
Very cute stuff! I did have trouble with some links like the Michael’s pumpkin and the vinyl shop.
Thanks for sharing the SVG!
Hi, Grace! Thanks for your comment. This tutorial is from a few years ago, so some of the exact products I used are no longer available. However there are lots of foam pumpkins out in the craft stores now, and so many vinyl options to choose from. I’m sure you’ll make something amazing! 🙂