
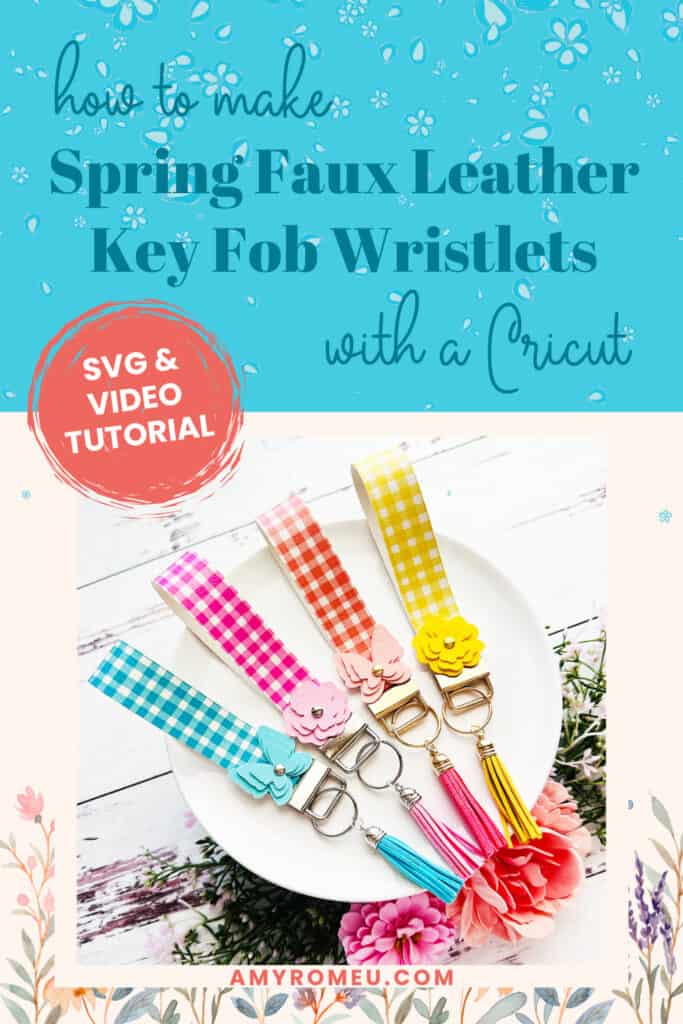
How to Make a Spring Faux Leather Key Fob Wristlet with a Cricut
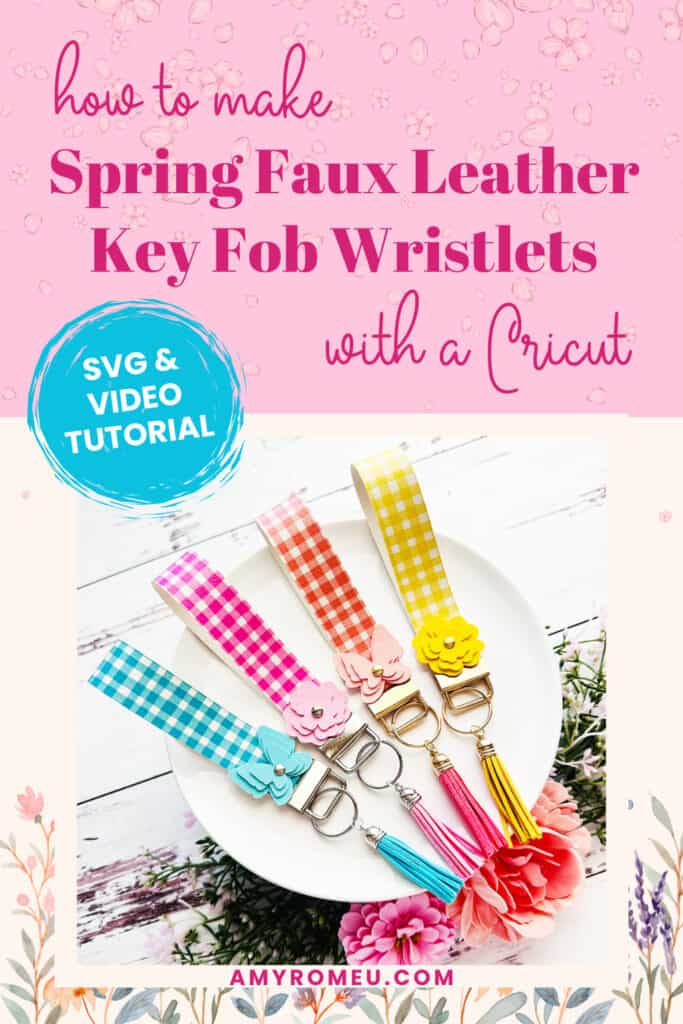
Learn how to make a Spring Faux Leather Key Fob Wristlet with a Cricut
This project is Day 3 of The Spring Fling Crafting Event!
I’m Amy Romeu, and in this tutorial I’ll be showing you how to make a fun spring key fob wristlet with faux leather and a Cricut, perfect for keeping your keys handy as you run errands this season.
Follow along with this written tutorial including all the materials, SVG files, and tips you need.
Ready to get started with this beginner friendly Spring Cricut craft tutorial?
Get the SVG in my Shop
Personal or Small Commercial Use Available
Let’s dive into the materials and steps!
Want to watch a video tutorial instead? Check it out below!
See the full step by step video tutorial
Click the image below to watch the video on my YouTube channel, or click here.
How to make a Faux Leather Spring Key Fob Wristlet with a Cricut Step by Step
This page contains some affiliate links (which means if you make a purchase after clicking a link, I will earn a small commission at no additional cost to you). Read my full disclosure policy here.
Materials you’ll need to make a Faux Leather Spring Key Fob Wristlet with a Cricut
🛒 To shop many of these supplies below in my Amazon storefront, click here. 🛒
Compatible Machines✅: Cricut Maker, Cricut Maker 3, Cricut Maker 4, Cricut Explore Air 2, Cricut Explore 3, Cricut Explore 4, Cricut Joy Xtra, Cricut Joy (with the 12 inch long mat)
Blade Used: Standard Fine Point Blade
Cut Setting Used✂️: Faux Leather (Paper Thin) with “More” pressure
- Faux Leather
- Heat Transfer Vinyl
- Optional for lining the wristlet – use the HTV you have on hand! I used Siser Easyweed in pastel colors.
- If you use Heat Transfer Vinyl you’ll also need to use a heat press like the Easy Press Mini or an EasyPress with an EasyPress Mat and a cover sheet like a Teflon sheet, Butcher Paper or Parchment Paper.
- Other Project Supplies
- 6mm rivets and hammer or craft or fabric glue like Beacon Fabri-Tac
- 1 inch Wristlet Hardware and Wristlet Pliers (hardware also available in Gold finish here)
- Jewelry Making Pliers (Baby Wubbers Chain Nose and Baby Wubbers Flat Nose are my favorites)
- 10mm Jump Rings
- Faux Suede Tassels in Silver finish and Gold finish
- Blue Painters Tape
- Small Curved Scissors
- Other Cricut Supplies
- Purple Strong Grip Mat
- Weeding Tool like a Pin Pen or like the one in the Cricut Basic Tool Set
- The SVG template for this project is available in my shop here or inside the Spring Fling Crafting Event VIP Pass.
Get the SVG in my Shop
Personal or Small Commercial Use Available
Step by Step Instructions
Step 1: Starting with a blank canvas in Cricut Design Space, click on Upload, then Upload Image.
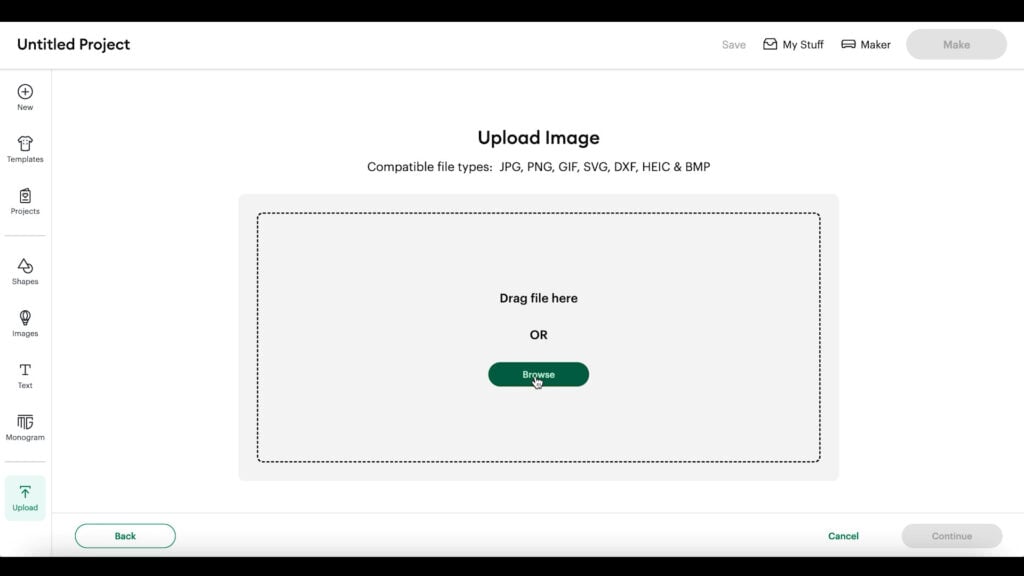
Browse to where the ALREADY UNZIPPED SVG file for this project is saved on your device.
Click on the SVG to select it and follow the prompts to upload it.
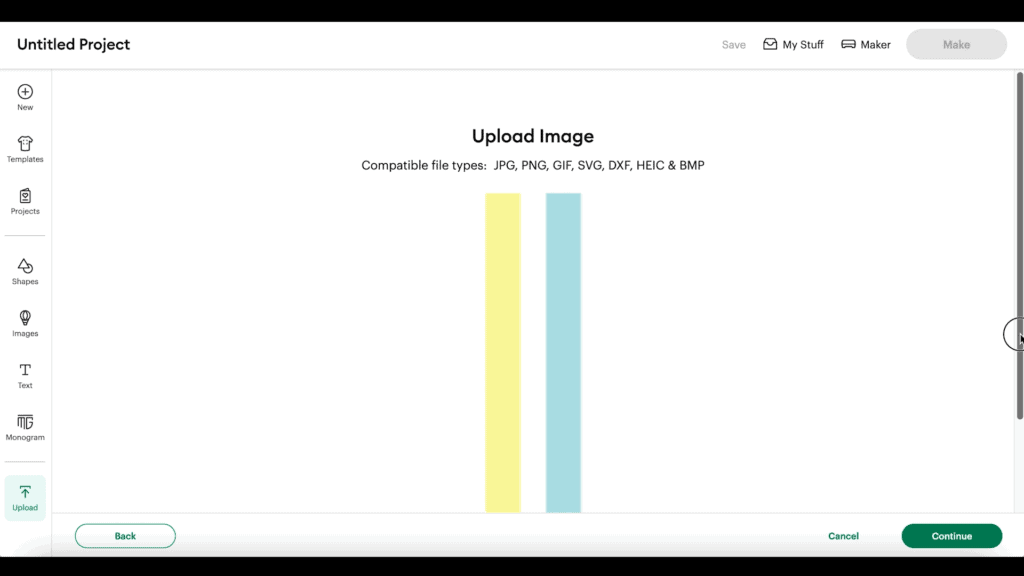
The design will load on the canvas. Don’t change the size of the shapes or else the wristlet won’t fit the wristlet hardware.

If you only want to cut one of the wristlets, first UNGROUP the shapes (the first option above the Layers panel) and then hide or delete the shapes you don’t want to cut.
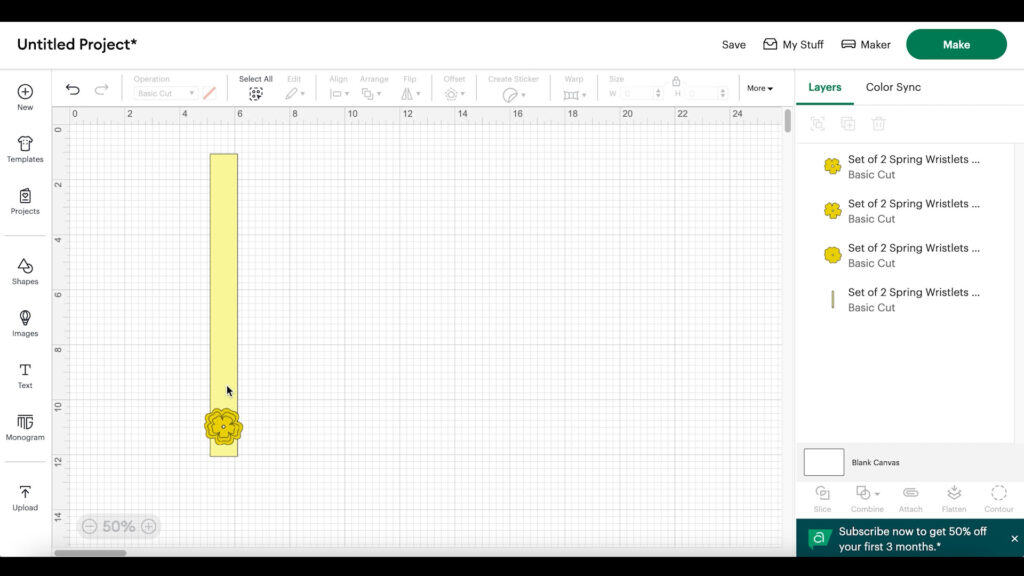
If you want to use glue to connect the flower (or butterfly) layers instead of rivets, you can hide the pre-cut holes.
Click on the wristlet shape. Then click the Contour button (far right option at the bottom of the Layers panel.
When the Contour panel opens, click on the hole shape on the wristlet shape to turn it light grey, or click on the circle on the right hand side.
Close the Contour panel and the hole will disappear.
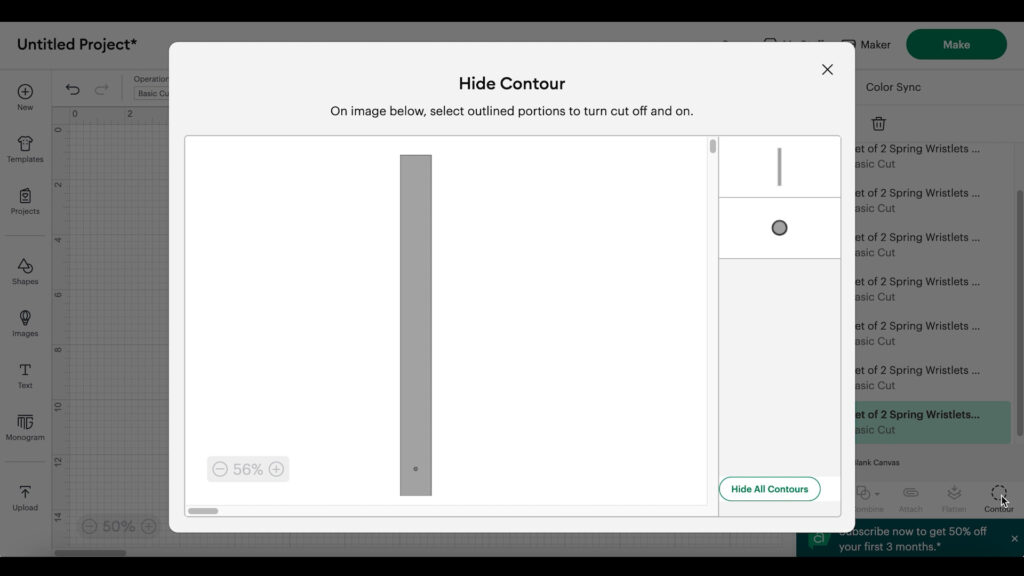
Repeat with contouring the hole in each flower or butterfly shape. All of the holes should be hidden.
If you want to cut all of the shapes on the same mat, you can make them all the same color by either selecting all the shapes and choosing one color, or by using the Color Sync function.
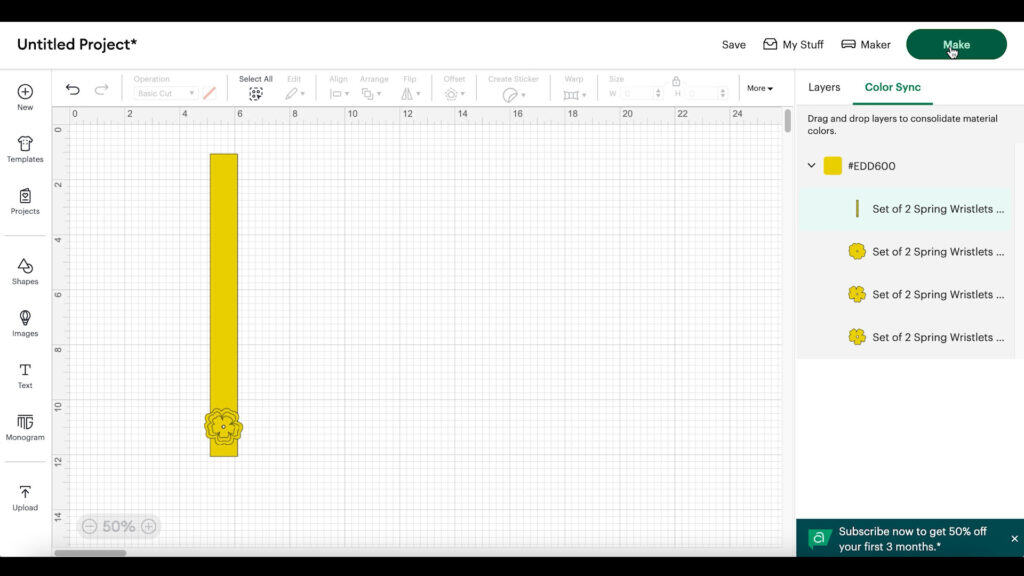
Click the MAKE IT button.
STEP 2: Click on the mat on the left hand side and toggle the Mirror toggle ON. That’s because faux leather always cuts in reverse.
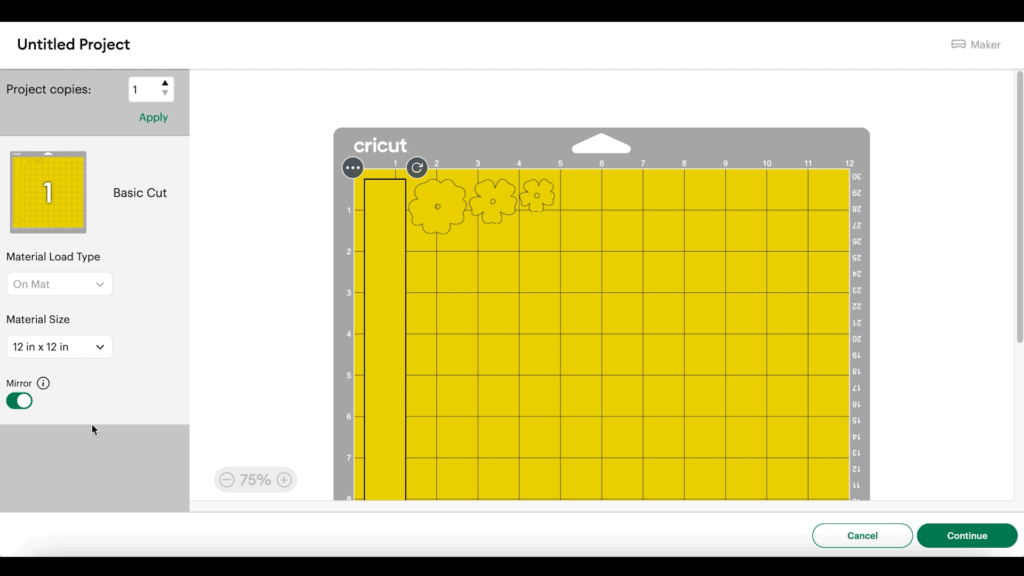
After all the mat is mirrored, drag the shape apart from the edges a bit.
If you want to cut the flowers and the wristlet from different faux leathers like I am, you can drag the shapes to different areas of the map to make that easier.
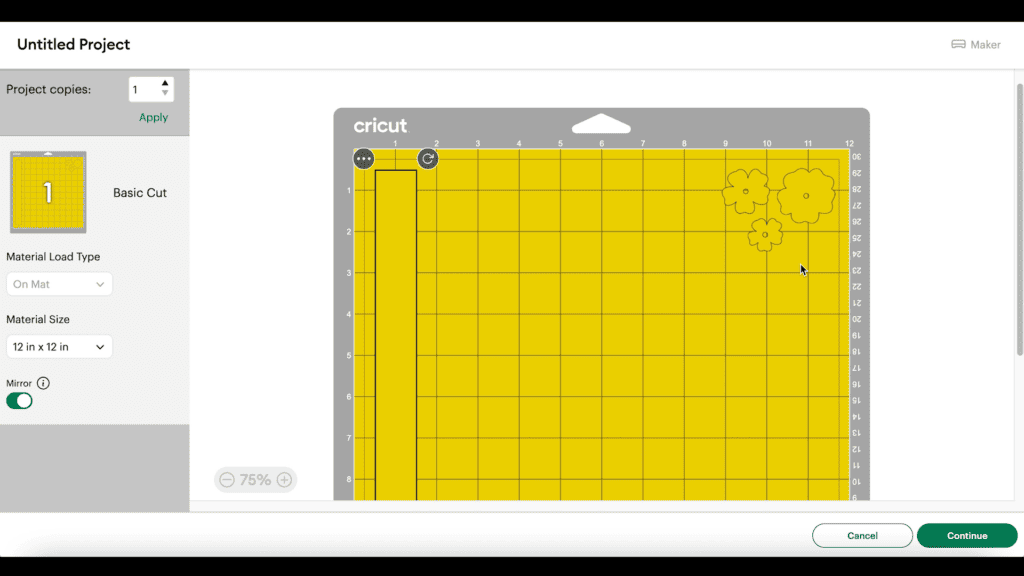
Click the Continue button.
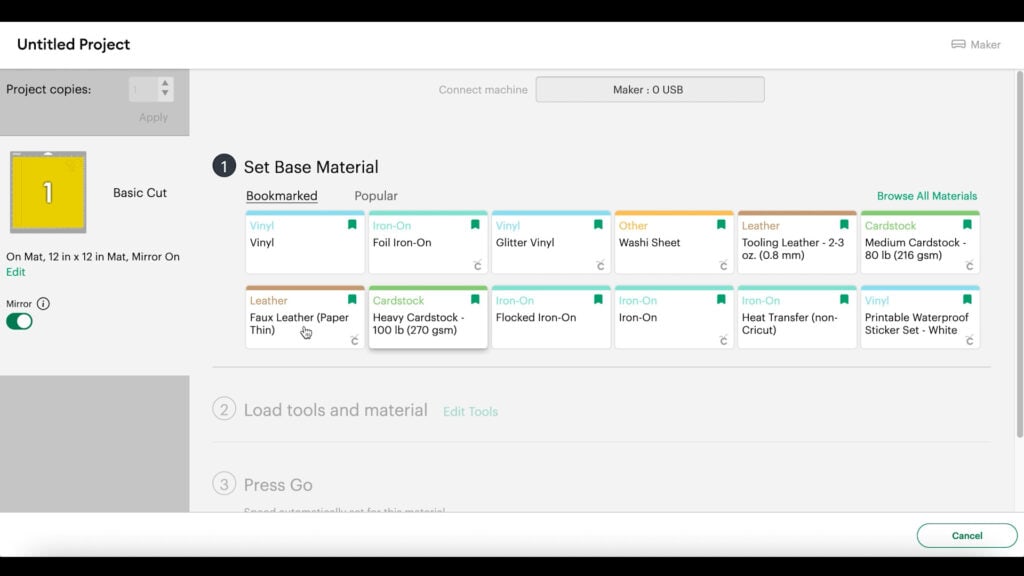
When the material selection screen loads, click on the faux leather mat and then select the Faux Leather (Paper Thin) setting.
If you don’t have that setting bookmarked as a favorite like I do, you can click on Browse All Materials and search for it. (If you are using the Explore Air 2, you’ll need to turn your dial to Custom before you can find that setting in search.)
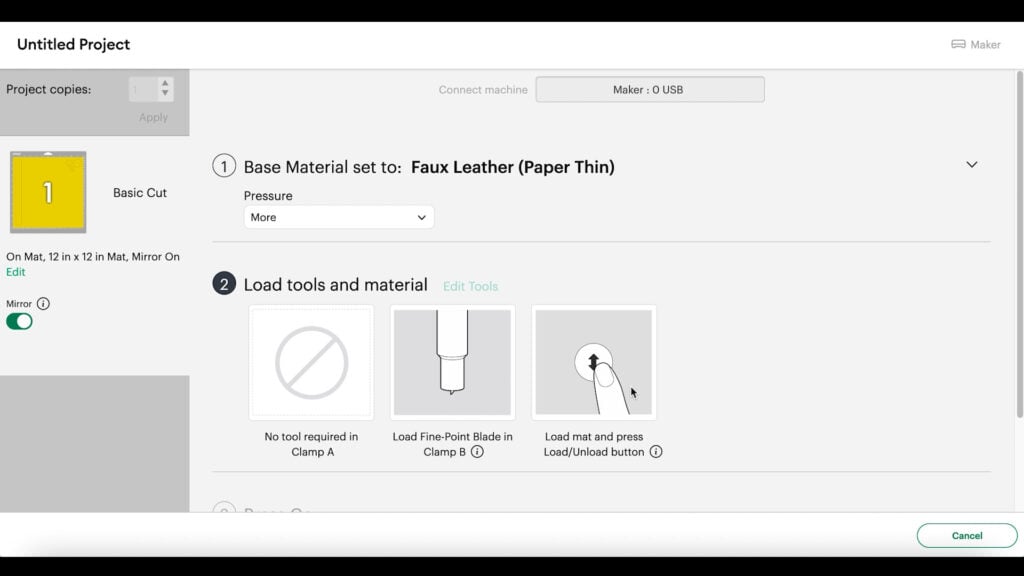
Then choose “More” from the dropdown Pressure menu.
Step 3 (optional): Press heat transfer vinyl to the back of your faux leather wristlet before cutting if you want to have a pop of color inside the wristlet.
To press heat transfer vinyl onto the back of the faux leather, cut a piece of each material so that they are the same size. Place them back to back on a heat pressing pad.
Then cover with a Teflon sheet, butcher paper or parchment paper.
Set a large EasyPress to 265 degrees for 15 seconds or a Cricut EasyPress Mini to the Low setting. Press the heat transfer vinyl all over and let it cool for about a minute.
The carefully peel the clear carrier sheet. Cover and press once more with the Teflon sheet. Let the faux leather cool flat under your heat pressing pad for a moment before moving on.
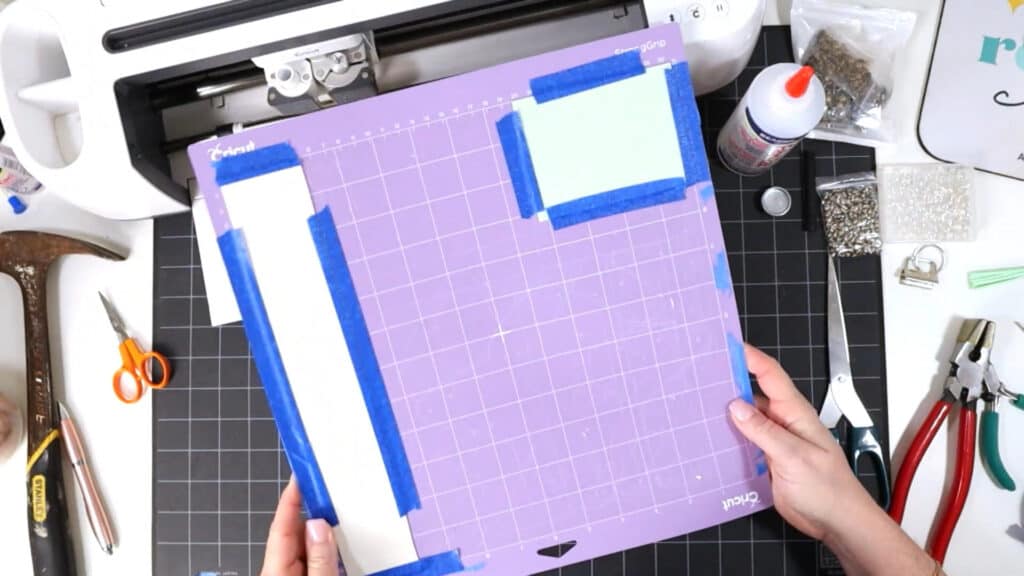
Step 4: Cut your faux leather mat. To do that, place your faux leather pretty side down (heat transfer vinyl side up, if you did that step) on the areas of the mat you saw the wristlet and flower shapes will cut from the mat preview screen.
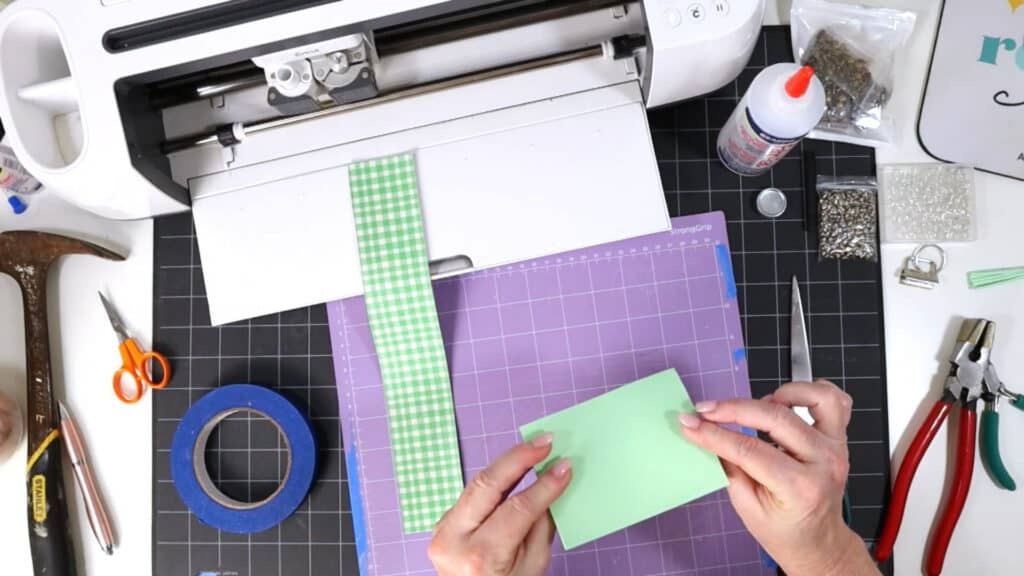
Place blue painter’s tape around all sides of the faux leather. Load the mat into the Cricut and begin the cut.
When the cut is complete, before unloading the mat, lift a small edge of the cut to ensure the cut went through. Repeat the cut if needed by pressing the cut button again.
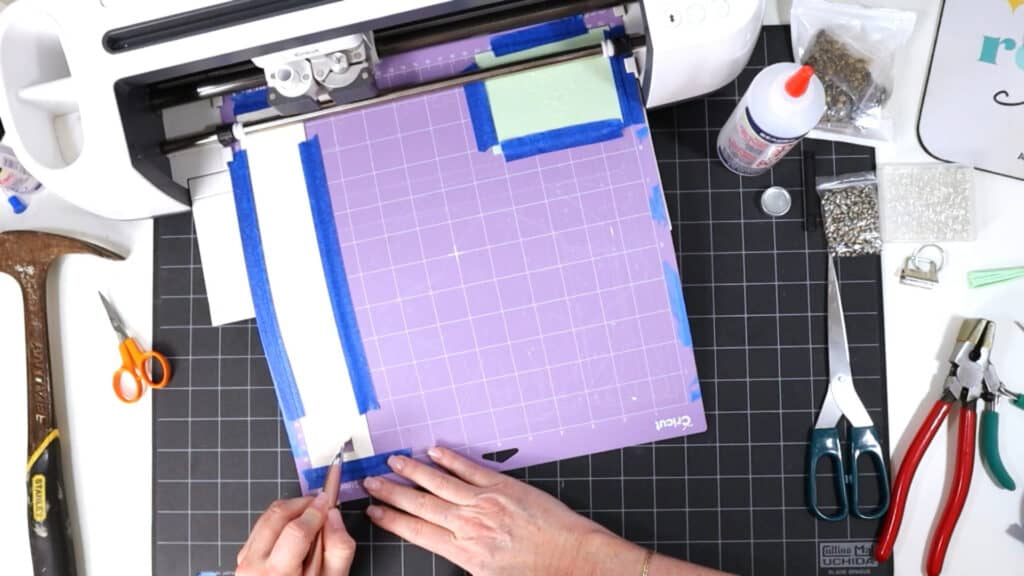
Once the shapes are cut through, remove the shapes from the mat.

Use a sharp weeding tool to poke through the holes in flowers and the wristlet.
Use small curved scissors to trim any areas of the faux leather cut as needed.
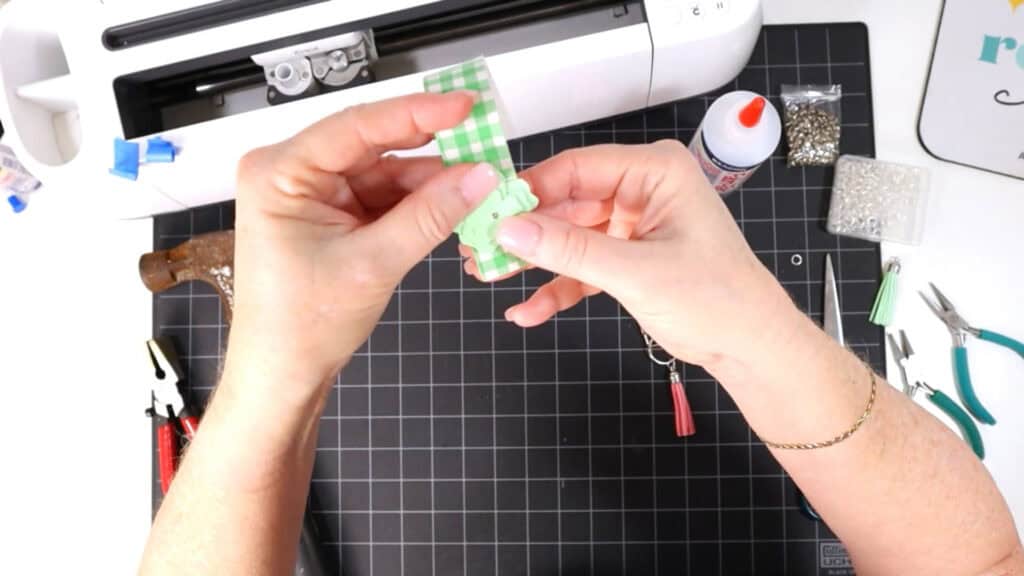
Step 5: Attach the flowers or butterflies to the wristlet.
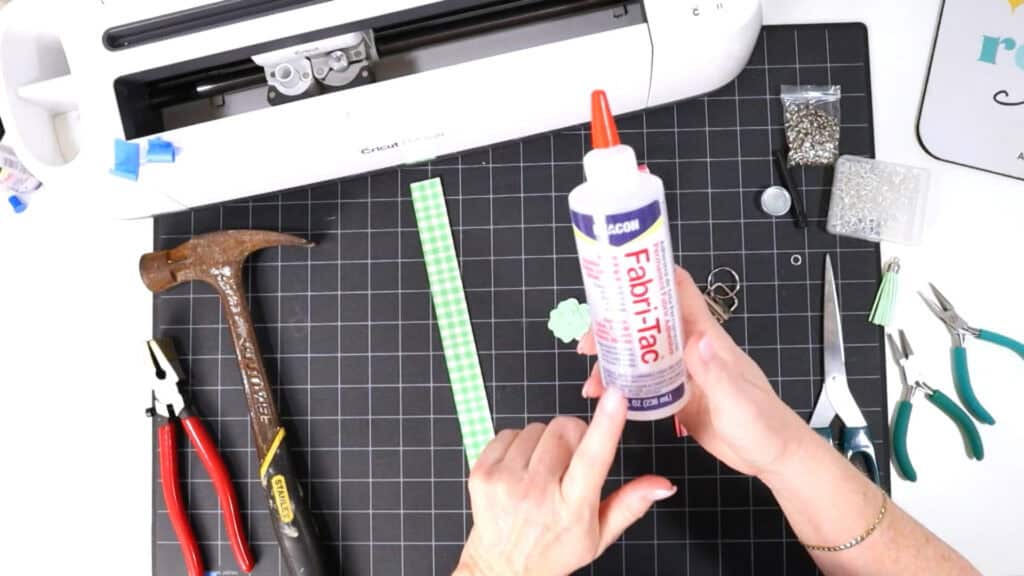
You’ll either need 6mm Rivets or fabric glue.
If you are using glue, apply glue between the three flowers and set aside to dry.
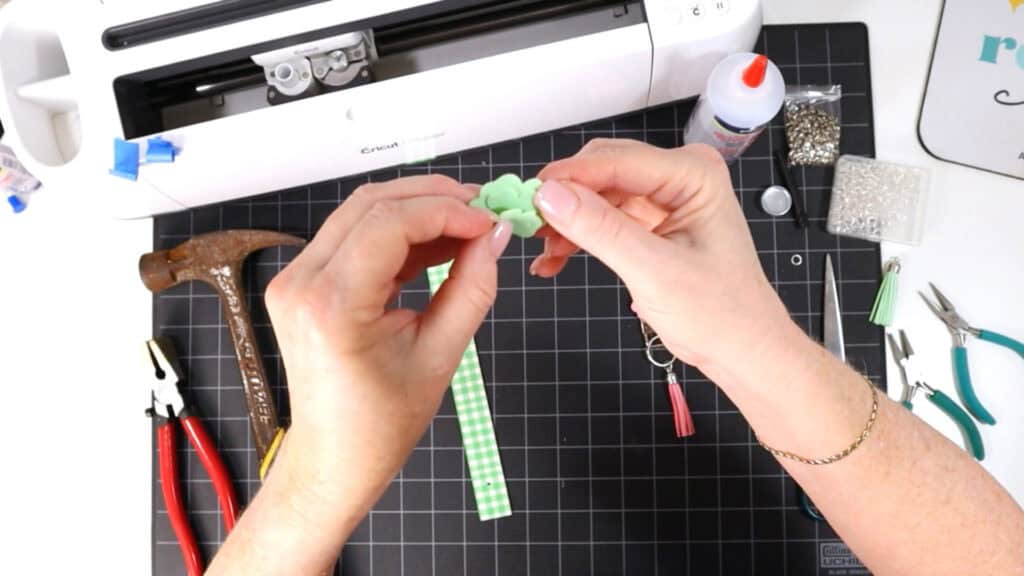
When the flowers are dry, jump ahead to Step 6 to attach the wristlet hardware.
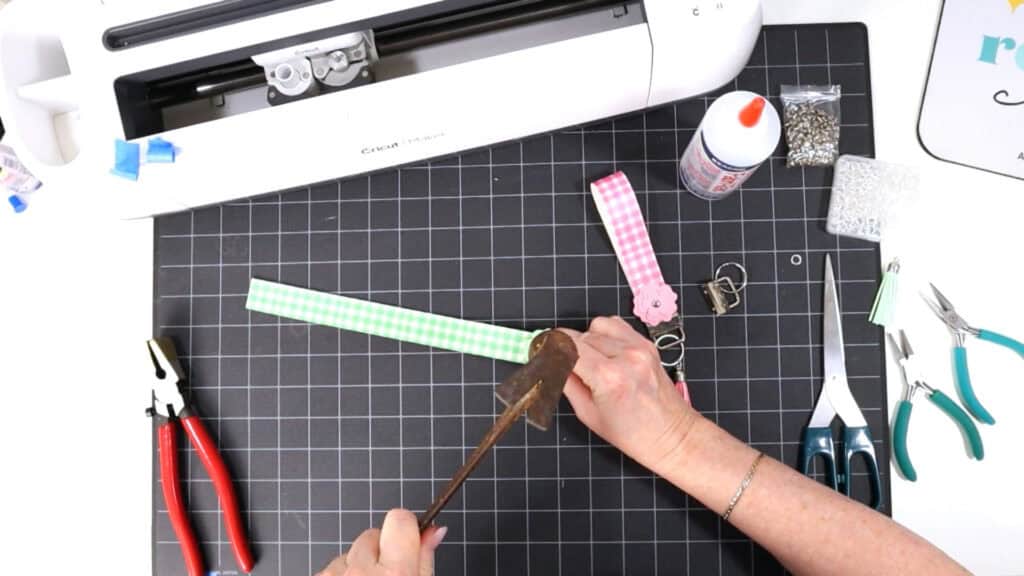
If you are using rivets, gather a hammer and the rivet hardware in the package.
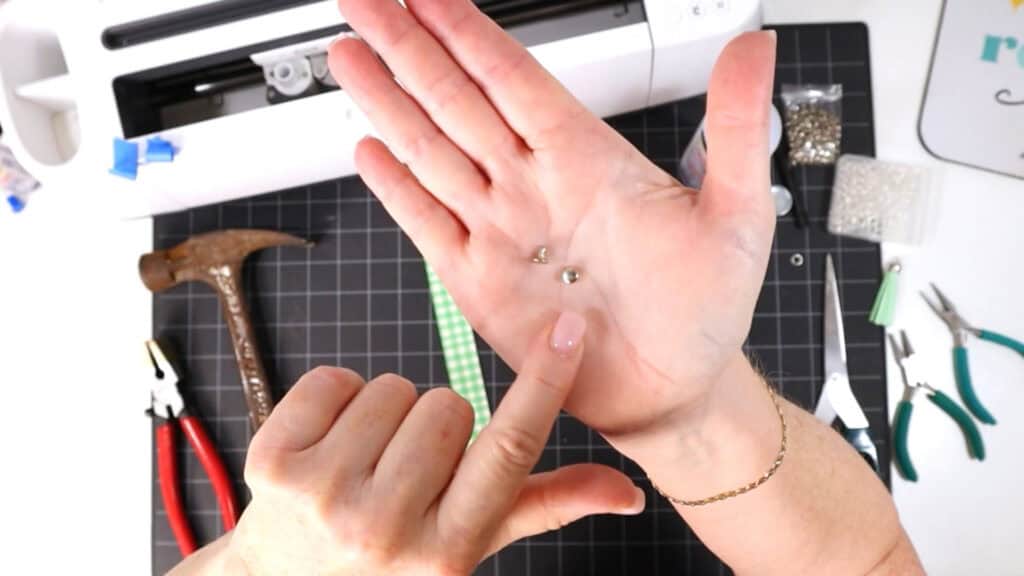
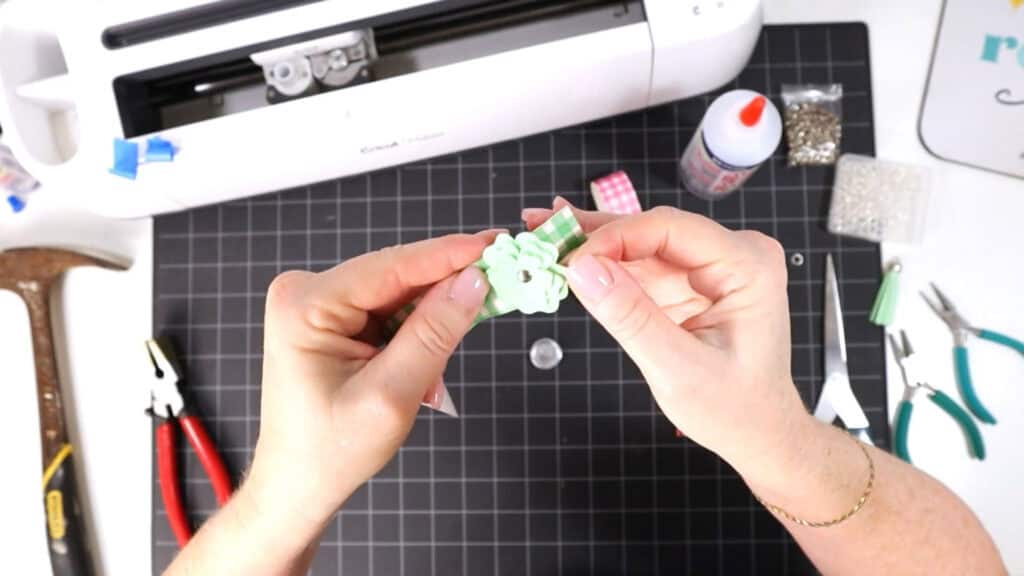
Push the rivet post through the wristlet hole from the underside, then layer on the three flowers.
Add the cap, and then use your rivet tools and hammer to secure it in place.
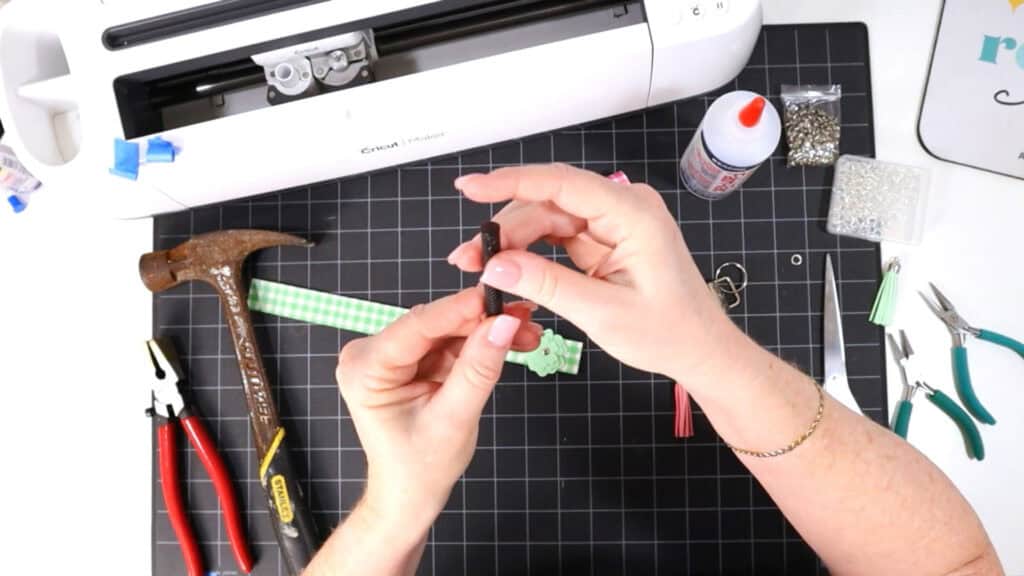
To do that, place the strike plate on your work surface with the flat side up, Then center one of the rivets on top of the strike plate.
Place the concave end of the plastic tool down on the rivet. Hammer 5-7 times on the flat end of the black tool to hammer the rivet tight.
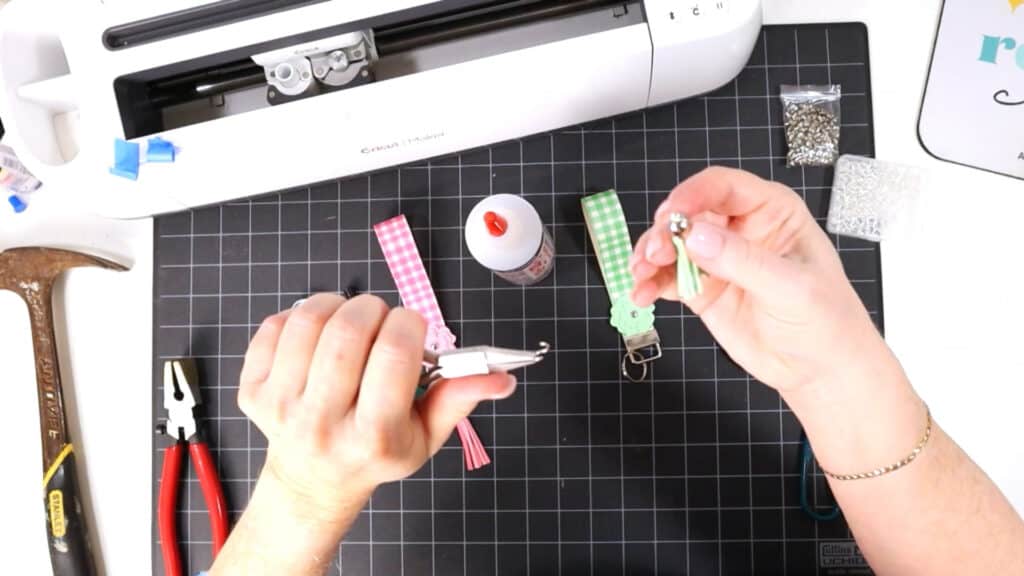
Step 6: Attach the wristlet hardware.
Start by bending the wristlet in half and lining up the cut edges.
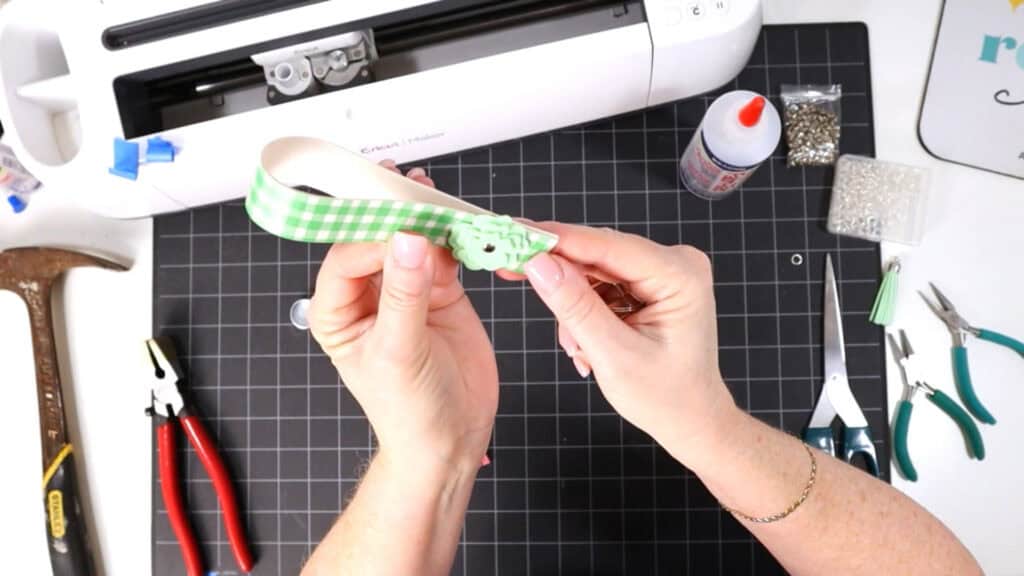
Insert the two cut edges into the 1 inch wide wristlet hardware. Be sure to have the side with the small cuts in the hardware on the backside.
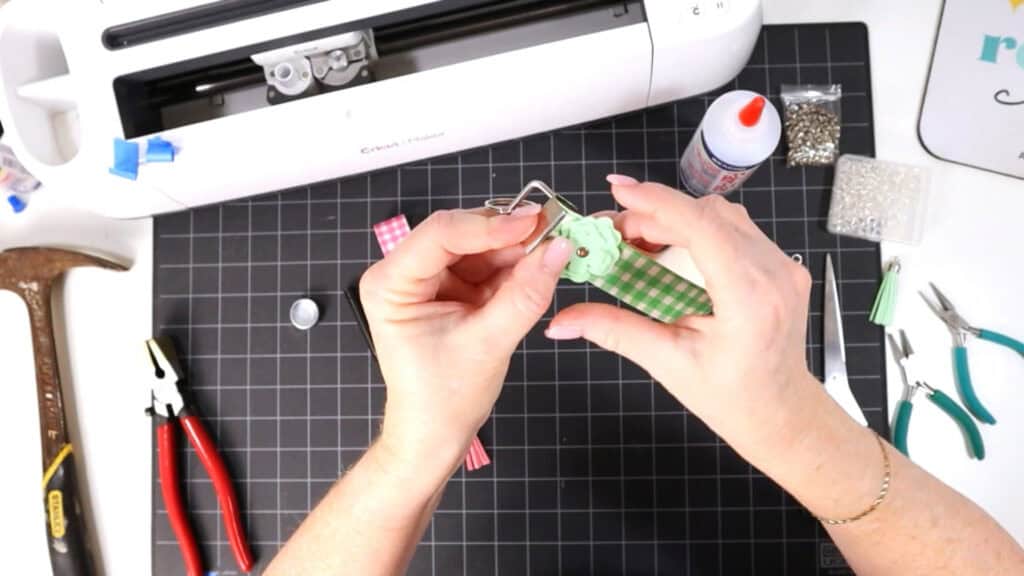
Using nylon jaw pliers to keep the hardware from scratching (or regular pliers with a soft cloth inside the jaws), gently squeeze the hardware closed. You may need to squeeze a few times from different angles to get the hardware fully clamped shut.
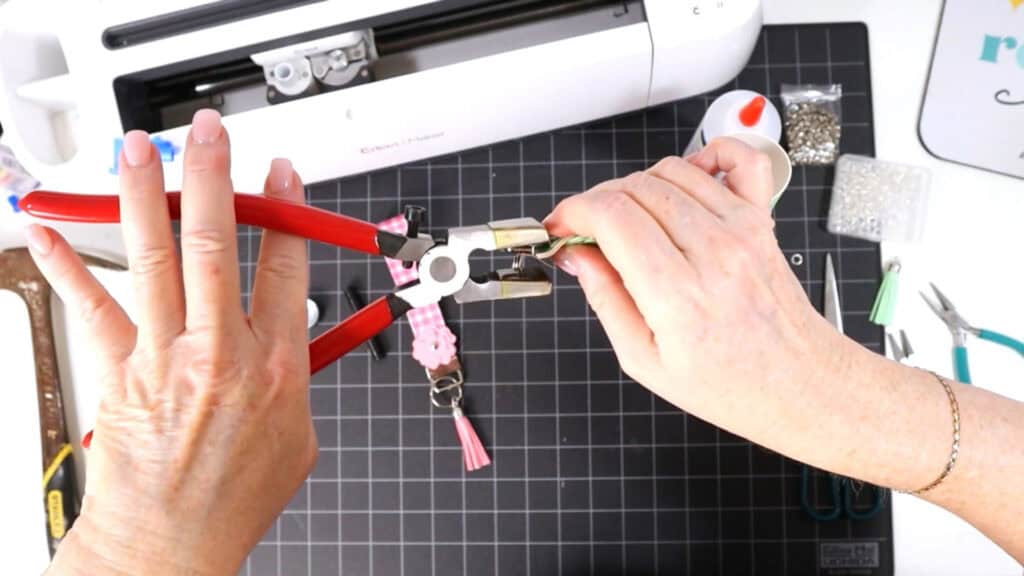
Attach a faux suede tassel or charm using a 10mm jump ring if desired.
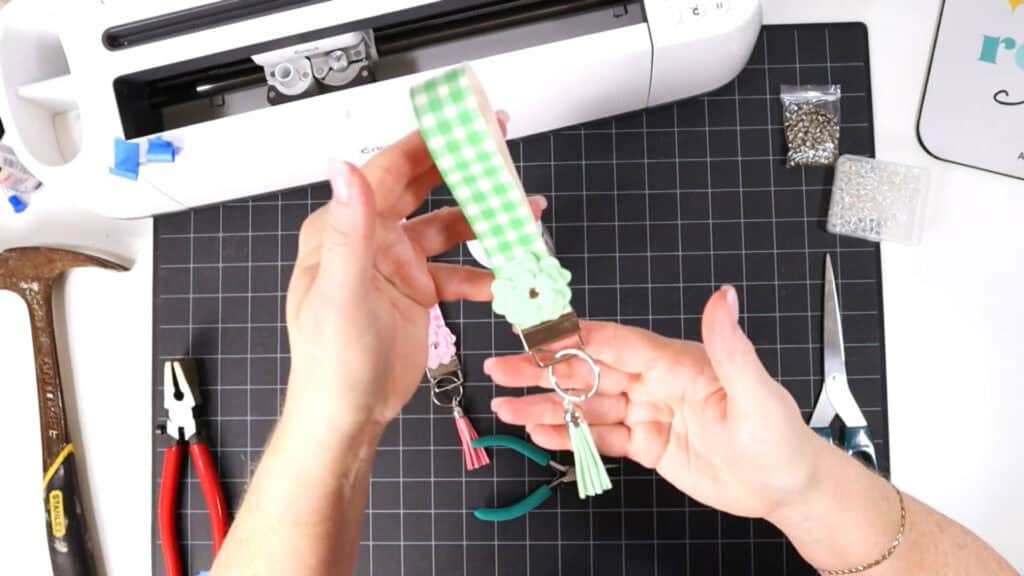
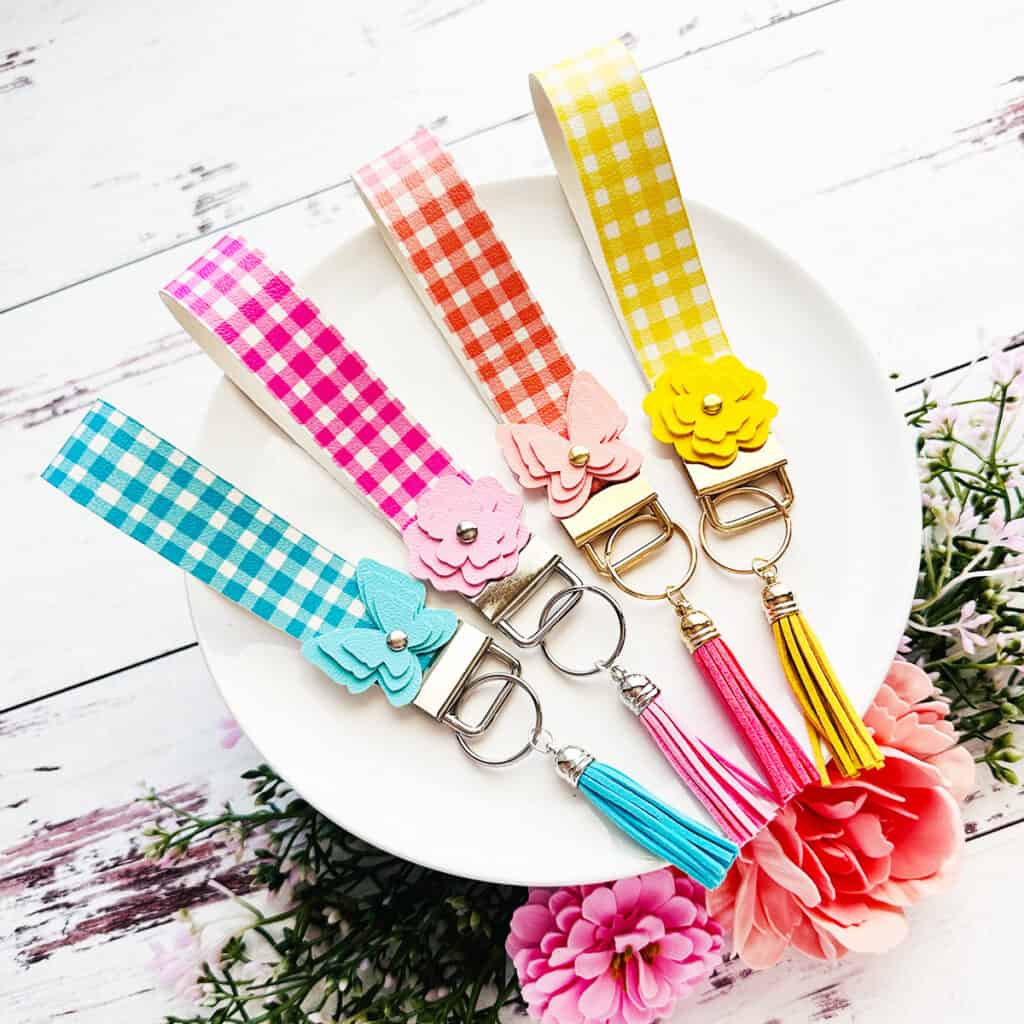
That’s it! Your Faux Leather Spring Key Fob Wristlet is complete. Here’s another look at four different faux leather spring key fob wristlets all made with this SVG template.
Which one do you like best – the flower or the butterfly pattern? Let me know in the comments!
Answers to your questions about making a Faux Leather Spring Key Fob Wristlet with a Cricut
Q: Which Cricut machines will cut faux leather?
A: You can cut faux leather with any of the current Cricut machines because they all cut faux leather with the standard fine point blade included with each machine. For this project you can use the Cricut Maker, Cricut Maker 3, Cricut Explore 3, Cricut Explore Air 2, the Cricut Joy Xtra, or the Cricut Joy with the 12 inch long Joy sized mat.
Q: What do I need to press heat transfer vinyl onto faux leather?
A: To press heat transfer vinyl onto faux leather you’ll need a traditional heat press, Cricut EasyPress, or Cricut EasyPress Mini. I prefer to use a Cricut EasyPress Mini for small projects like earrings and keychains.
Q: How do I get the SVG template for this project?
A: Get the SVG file from my SVG Shop here, or you can get it as part of 17 brand new Spring faux leather crafting projects in my Spring Fling Crafting Event VIP Pass.
Get the SVG in my Shop
Personal or Small Commercial Use Available
If you loved this project, you’ll love these projects too:
Will you make this project?
I would love to see what you have created! Please join my free faux leather crafting making Facebook group and share your creations with me and all of my crafting friends!
Until next time… and happy creating!

Want to remember this project? Save this tutorial to your favorite Pinterest board!
Want instant access to my Free Resource Library full of SVG files?
Just Enter your name and email Below!
By signing up, you’ll get instant access to my FREE SVG Library with hundreds of crafting SVG templates! You’ll also get my weekly newsletter full of crafting ideas, tutorials, and inspiration! Unsubscribe anytime.
Super cute idea–especially for Easter or change colors for Christmas!
those butterflies and flowers along with the tassels make it really cute!
Those are fun and the faux leather is so spring-y!
I am so excited to try crafting with full leather with my maker.
Can’t wait to make this! I just bought a new to me SUV 2 days ago and need something cute for my key fob.
Loving the ideas
I can see this being made for a lot of my nieces
love this wrist band so much. so great to add to my phone case
These are so cute, Amy!
These are soooo cute. I hope spring comes soon to Chicagoland!
I love these, I will be making them.
This is my first wristlet. I’ve had the hardware for a while, but hadn’t taken the leap. As usual, Amy, you are a wonderful teacher. One thing I did learn, do not cut your own strap because there is a hole there. I added mine a little bit too high, but I am very pleased with the outcome.
I love your designs! I saw your tutorial on wristlets during Craftfest and have been working with leather since!!! I didn’t know I could use it on my explorer 2 until then!
Can’t wait to make this for my friends. All my mom friends deserve a gift on Easter and this would be a cherry on top. Great design Amy, I am loving the Spring Fling Crafting Event!
I love the addition of the flower and the butterfly!
I love these! Those flowers are the icing on the cake!
These are so cool! Can’t wait to make them!! I love all of your designs!
The key fobs are so cute with the addition of the spring shapes. The patterned faux leather is pretty cute too and I wish I would have ordered it now! Thanks for the svg, Amy!
Amy, you always make the cutest projects! Love the wristlets.
love, love love these!!!!
I don’t normally use key chains, but these are just too pretty. I can’t resist! I’m going to make myself one. 😊❤️
I love this wristlet! They look like Spring with their bright colors.
Fun project, I love the plaid and the tassel. I have to get some of those👍
I love this wristlet!! I cannot wait to make this 🤩
Love these! Thank you Amy!
The added butterflies and flowers are such a great idea. They really add a nice touch to the key fob.
I love the butterfly one.
thanks
Love the accent!
Cute idea!!
Love the additional embellishments.
Love wristlets can’t wait to try these so cute.
I love these! Especially the butterflies. I’m so happy my rivets arrived in time.
These are some cute Spring Faux Leather Key Fob Wristlets, thank you
Amy, very cute key fobs! I really like the addition of the flower and butterfly 🦋
These are so cute!!
Looking forward to making this!
My favorites are the flowers. Really cute!
I love the butterflies & flowers. The butterflies have a special meaning between my mom and me. She just passed away on March 17th, so things like this will be nice to have around. Thank you for sharing!
So cute – love the colors and the flower makes it. Thanks Amy
These wristlets would make cute gifts. Thanks again for sharing your designs with us.
Love these wristlet key fobs – they make great gifts!
I love these and your olor choices are some beautiful.
cute keyrings
The plaid faux leather is so fresh and springlike! I love it!
Wristlets are great to have and these are so cute. Can’t wait to make!
These are so pretty!
Perfect for an Easter basket! Love it!
Thank you so much for the very detailed step by step directions. These are really cute and would make great gifts. Thank you Amy!
Thank you! These are going to be my Happy Spring treats for co-workers and family members! Love the little flowers, butterfly, etc accents and the colors!
Love this!!
These are always so much fun to make!
Cute! I ❤️ gingham!
Awe these key fob wristlet’s are so cute 😍
These are just the cutest. Love the flowers and butterflies.
I almost missed this one! I love the colors.
I really love these, the colors and butterflies and gorgeous. I can’t wait to make a bunch of these for my family.
Just ordered some supplies. Cant wait to get started