
How To Decorate a Faux Pumpkin with Beads & Sequins
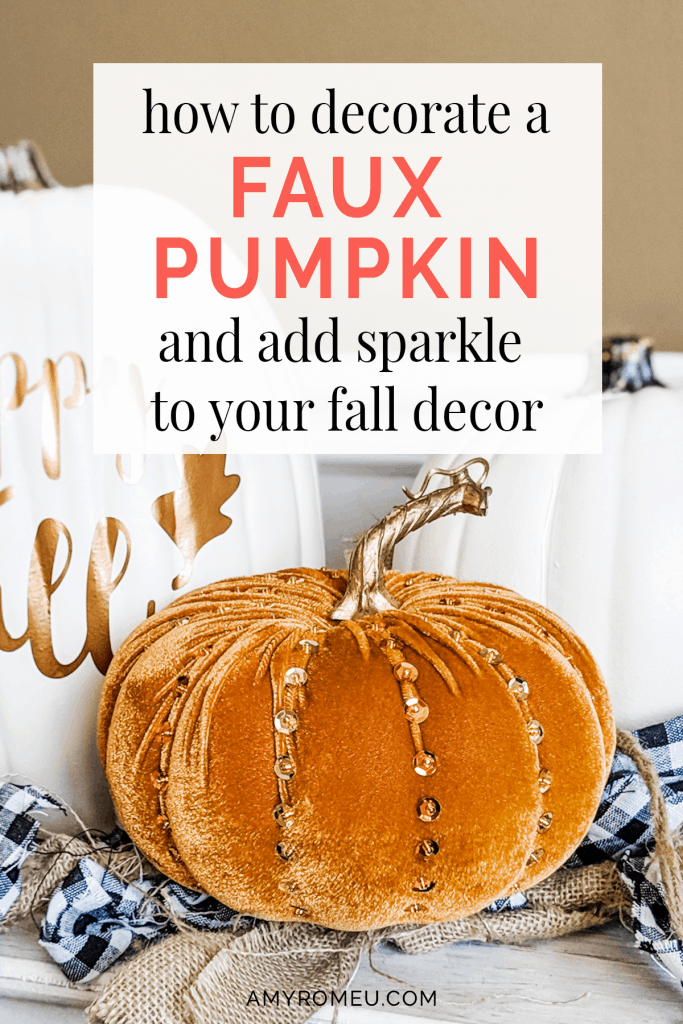
How To Decorate a Faux Pumpkin with Beads & Sequins
I was at the craft store this weekend, and when I saw these velvet faux pumpkins, I couldn’t picking resist a few up. If you know me at all, though, you know my mind was spinning with ways I could make it, you know, more… EXTRA. (If you have teenagers at home like I do, you’ll know what that means.)
So I decided to do what I do a lot of… add beads and sequins!
You can never have enough bling in my opinion, and these small touches add a lot of sparkle and charm. BONUS – you only need a handful of materials, and they are so are inexpensive! Plus, this is a great craft project to make with a kid. My lovely 8 year old daughter helped with this pumpkin here, and she really enjoyed it.
Also, your craft brain may already be going where mine went… will this work on the foam craft store pumpkins, too? I thought the same thing, and tried it out. Read on to see if it worked or not!
Oh, and make sure you have a craft store coupon so you can save on the velvet pumpkins! Ready? Let’s get started!
This page contains some affiliate links (which means if you make a purchase after clicking a link, I will earn a small commission at no additional cost to you). Read my full disclosure policy here.
This page contains some affiliate links (which means if you make a purchase after clicking a link, I will earn a small commission at no additional cost to you). Read my full disclosure policy here.
Faux Velvet Pumpkin with Beads & Sequins – Materials List
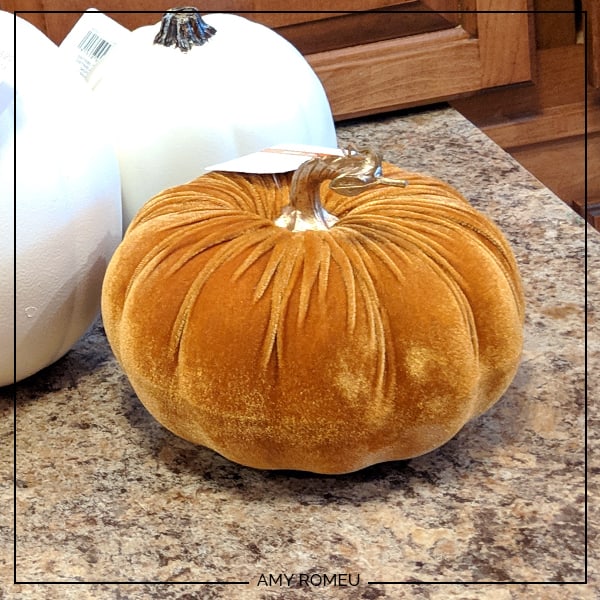
- Faux Velvet Pumpkin. I bought this exact one from Michaels. It is about 5.5″ tall. Regular price is $20 but it 50% off when I bought it. They also had other colors, like garnet, navy, cream, and bright orange – so pretty! If that one isn’t available anymore, try these.
Oh, and hey! If you can’t find velvet pumpkins at the craft store, my friend Abbi of Abbi Kirsten Collections has a great DIY tutorial for making super quick and easy velvet pumpkins. Let me rephrase that… NO SEW AND NO GLUE velvet pumpkins! Yes! It’s AMAZING! You can make any color velvet pumpkin you want, in no time. You can check out her tutorial out here.
- Sequins. I used 8mm metallic cup sequins in both Orange and Gold from Hobby Lobby. The exact ones I bought are here.
- Seed beads in 8/0 size. I bought Silver Lined Gold color, but any color you like will work. I bought these exact ones from Hobby Lobby. Any similarly sized beads will do. I decided just to use gold beads for both sequin colors, but feel free to choose whatever bead and sequin colors you like!
However, I don’t suggest going any smaller than size 8/0 for the seed beads. You want them to be visible on the pumpkin, and the smaller beads will get lost underneath the pin head.
Fun Fact: Seed beads are sized in a strange way – the larger the number, the smaller the bead, so size 10/0 is smaller than 8/0.
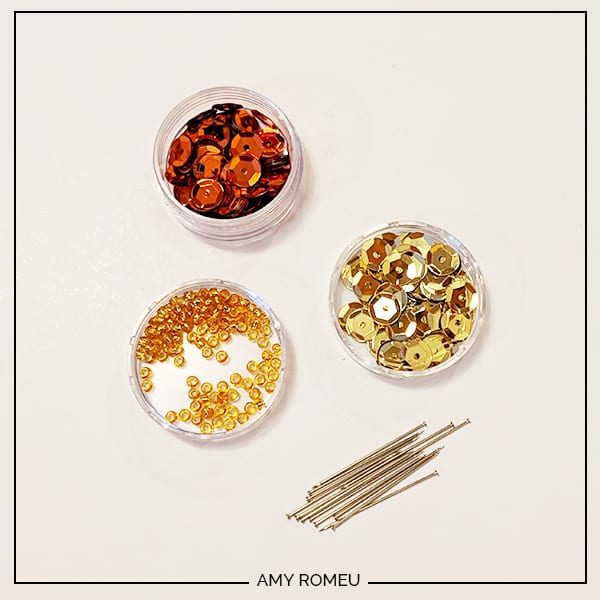
- Straight pins, also called Dressmaker Pins. You know, the kind your grandma used for sewing! You could get fancy with these if they have a colored ball at the end, but I didn’t find any with a colored ball that worked, so I just bought whatever I found at the craft store. They were just like these silver ones on Amazon.
PROJECT INSTRUCTIONS
STEP 1
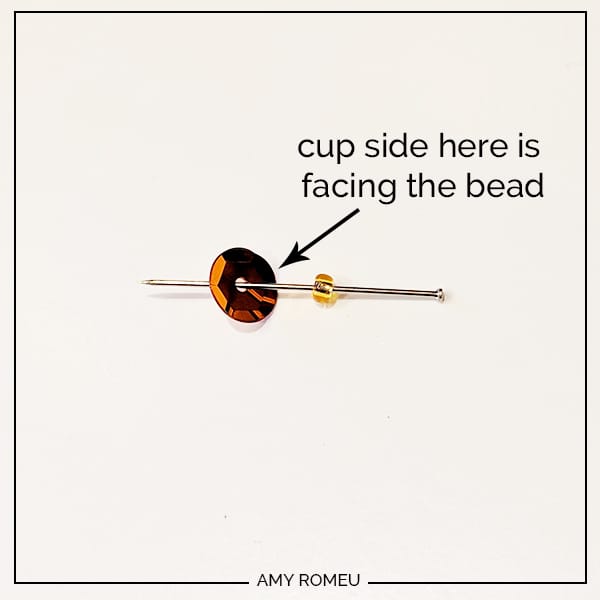
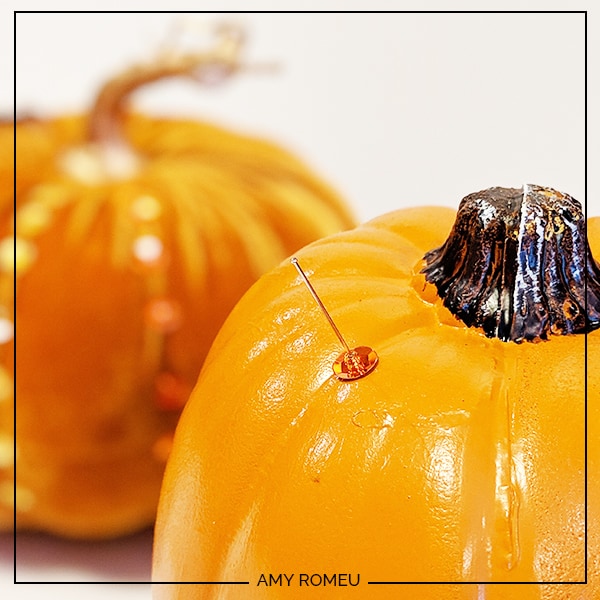
Assemble your straight pins with beads and sequins. Like the photo below, you’ll put a bead on a straight pin, and then the sequin. The cupped part of the sequin faces the bead, and the flat part of the sequin will sit against the pumpkin. You’ll need about 80-100 of these, so get a friend or a kid to help! It goes really fast, I promise!
This was the part my daughter LOVED to do, which was so helpful! She made a lot of pins ahead of time, so we could quickly add them to the pumpkin.
STEP 2
This can’t get any easier! Just push your pin into the indentations of the velvet pumpkin. You can put them as close together or as far apart as you want. Voila!
I experimented a little with the placement and layout before settling on a design. I ended up going with solid orange and gold rows of sequins, but first I tried alternating the colors in each row, with a little more space in between each sequin. This is how that looked:
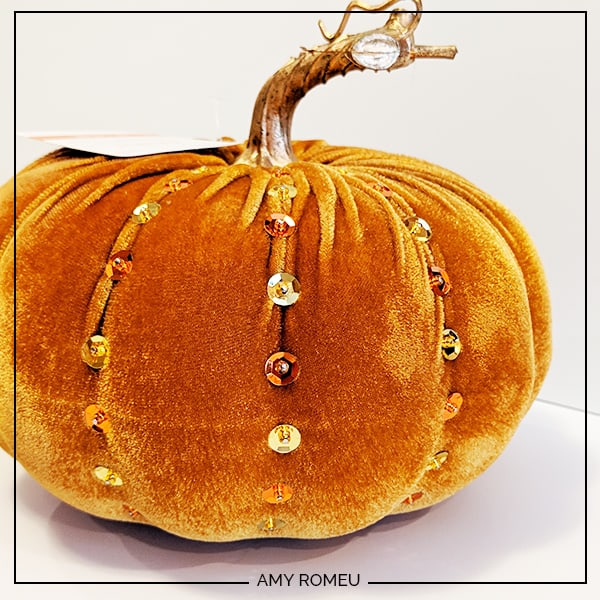
But this is the pattern I went with – solid color, alternating rows. Each row had 9 pins (thank goodness for my daughter’s help with them!).
If you made your own velvet pumpkin using Abbi’s tutorial here, you’ll probably want to add a dab of glue to the back of the sequin before pressing it into the pumpkin, since it’s hollow inside!
STEP 3
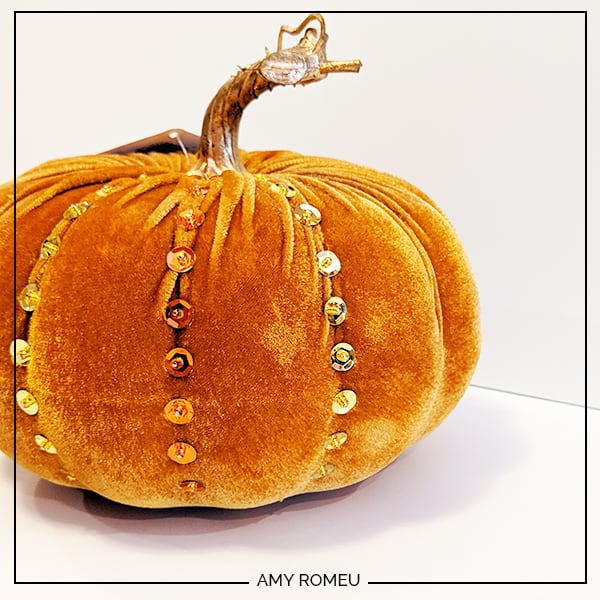
Is there even a step 3??? I don’t think so. If there is, I supposed it is to finish adding all of your straight pins with beads and sequins to your pumpkin. That’s it! This is the easiest and simplest project, but WOW, does it ever dress up your faux velvet pumpkin!
Does this technique work on foam pumpkins?
When I was at the craft store, I also picked up a few foam craft pumpkins to decorate with. As promised, I wanted to tell you about my experience trying this technique on these foam pumpkins from Michaels:
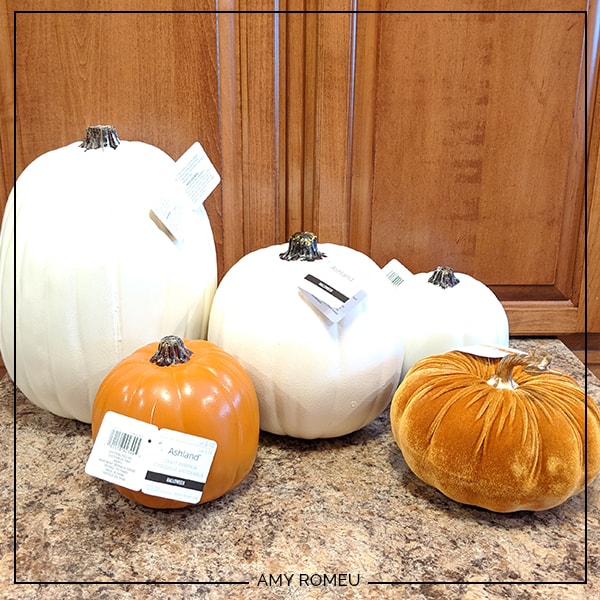
Once I decorated the velvet one, I couldn’t wait to decorate the white craft pumpkins with the same sparkle and bling. But, much to my disappointment, it was an EPIC FAUX PUMPKIN FAIL.
Yep, that’s right. These foam pumpkins are so firm inside, the straight pin won’t go in! I thought about using a thimble, and if I did, I know it would have gone in eventually, but I didn’t want to do that for well over 100 pins. My fingers would have been fried.
Sigh. It was a bummer to say the least.
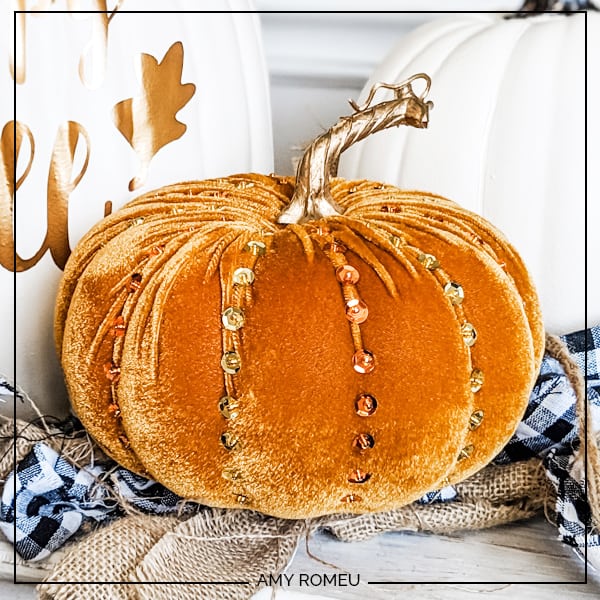
At least I have this velvet cutie and this charming fall decor tablescape to show for my efforts!
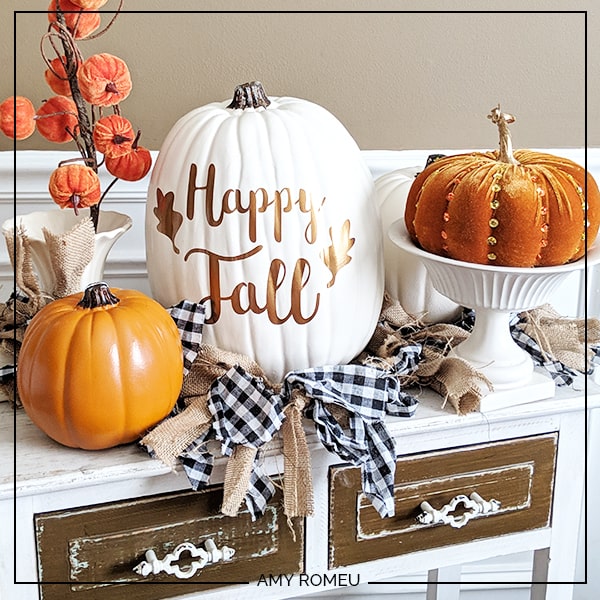
Oh, I also made the Happy Fall craft pumpkin you see in the photo above. If you want to read that tutorial (and find out how you can get the SVG cut file for my design, FREE), click here.
Are you going to try this velvet faux pumpkin project? I hope you do! If so, please send me a photo! I’d love to see your work!
Until next time… and happy creating!

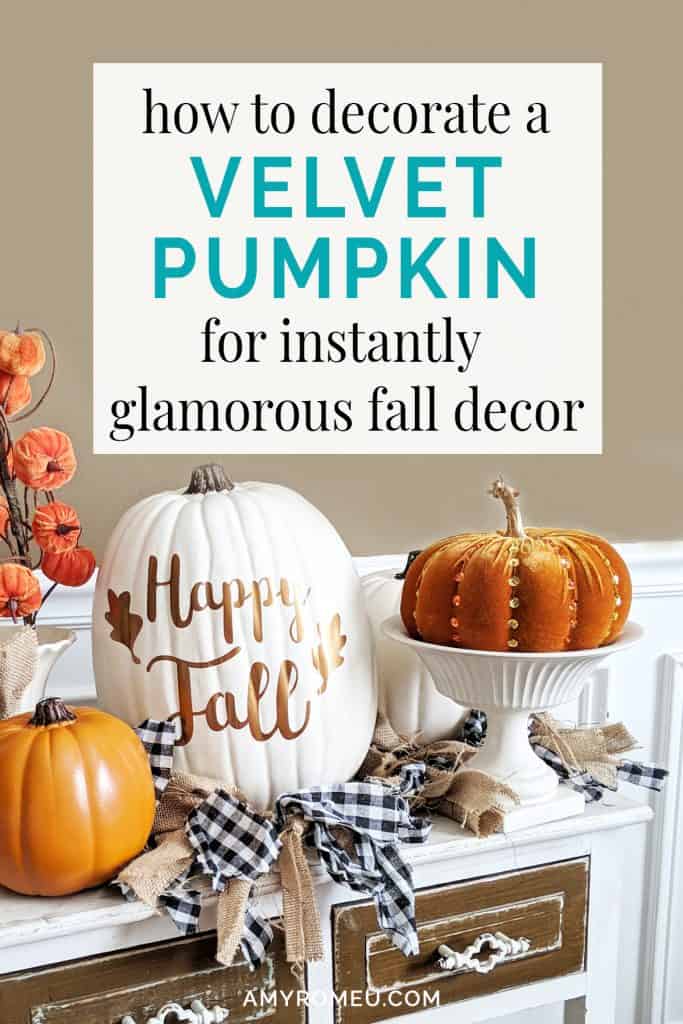
Want to remember this? Post this How To Decorate A Faux Pumpkin tutorial to your favorite Pinterest board!
In stead of pining them to the pumpkin why couldn’t you string them on thread and just layer them in the divits of the pumpkins? Then you could use same idea on foam ones.
That works, too! Thanks for the idea, Judi!