
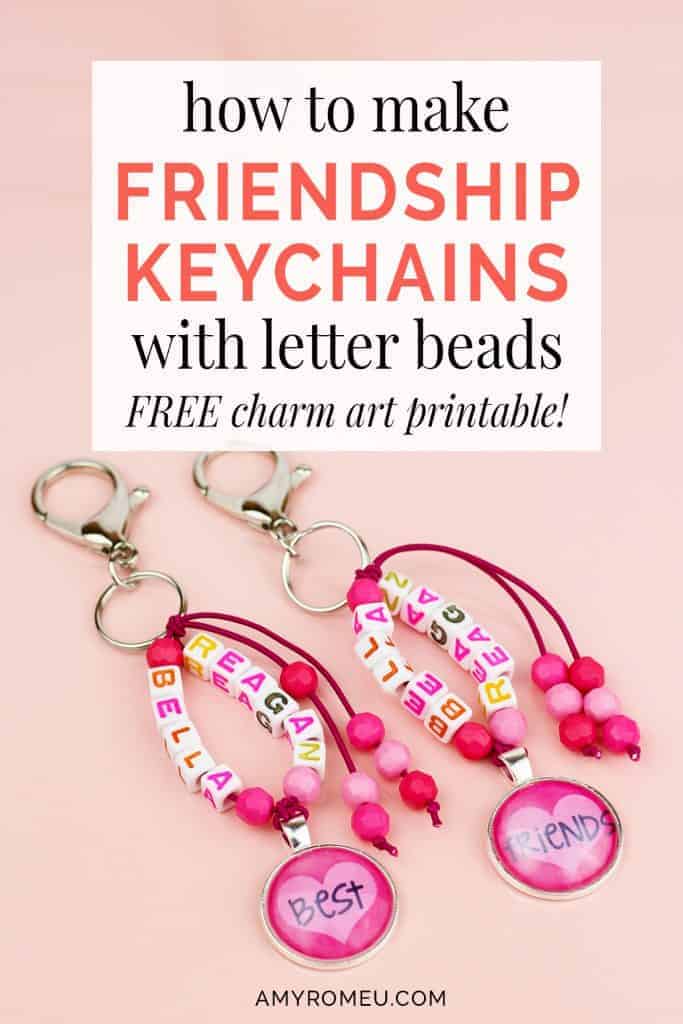
How To Make Friendship Bracelet Style Keychains
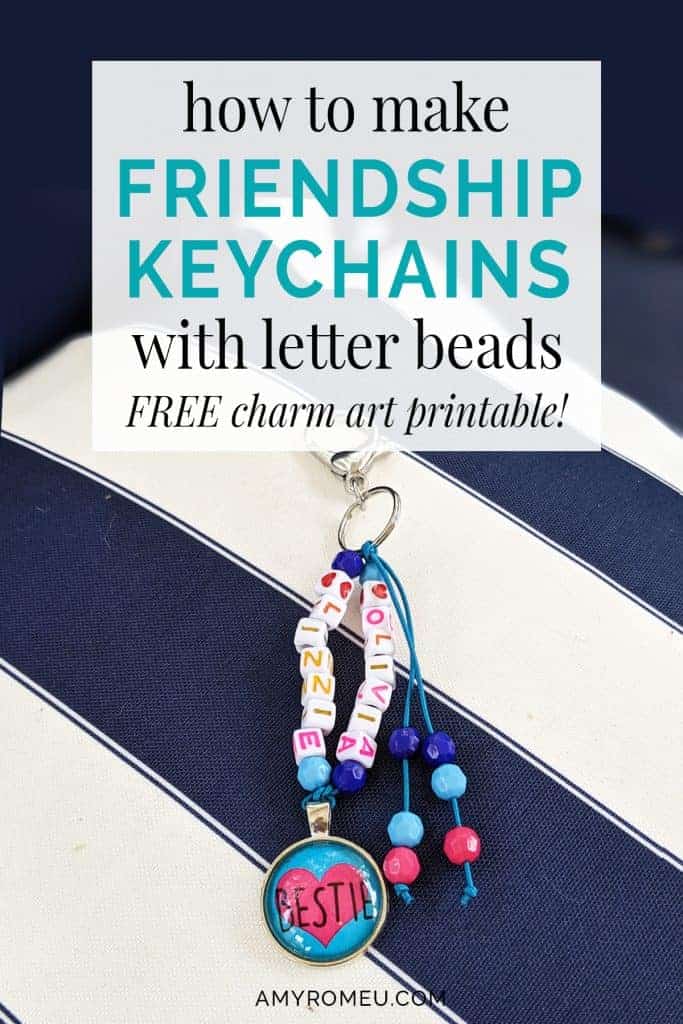
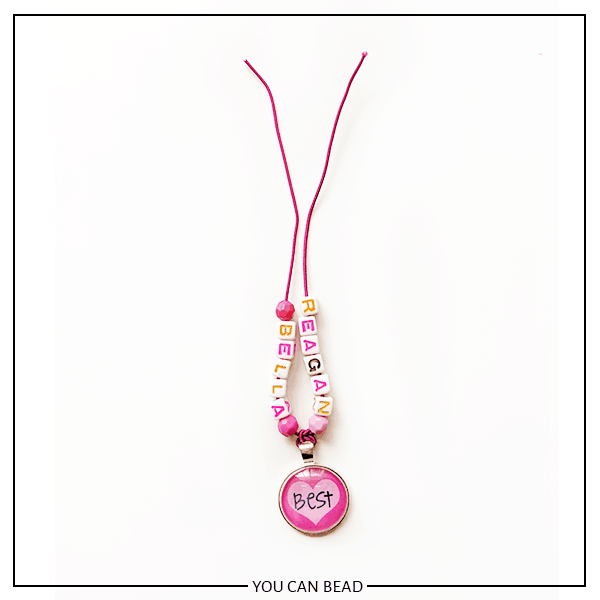
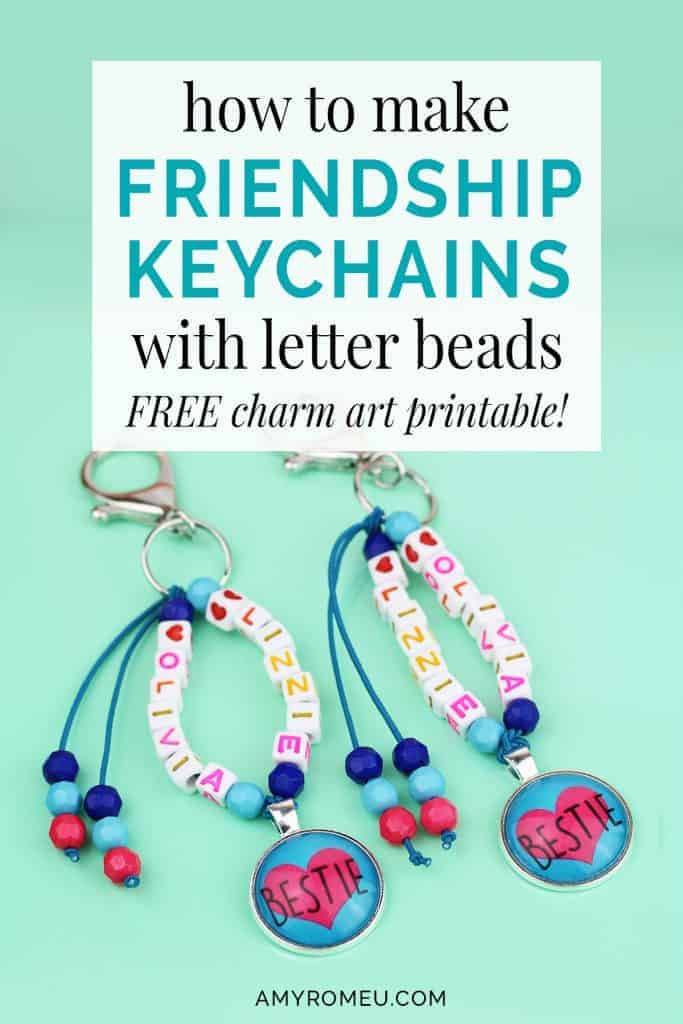
How to Make Friendship Bracelet Style Best Friend Keychains with Letter Beads
Ah, one of my favorite things from childhood has come back again, in time for my daughter to enjoy them too… friendship bracelets made with letter beads! My daughter is 8 and she loves to make friendship bracelets with letter beads for her friends, but she also loves to load up her backpack with lots of jingly keychains and charms. I thought it would be fun to have the best of both worlds, so we worked together to make these super fun (and very giftable) friendship bracelet style keychains with letter beads!
I purchased all of the materials for this project from Hobby Lobby, Amazon, and Etsy, so be sure to pick up your supplies early and have them on hand for a summer or rainy day activity in a pinch. There’s a few tricks and tips I want to share with you along the way to make the project easier, too, so keep reading!
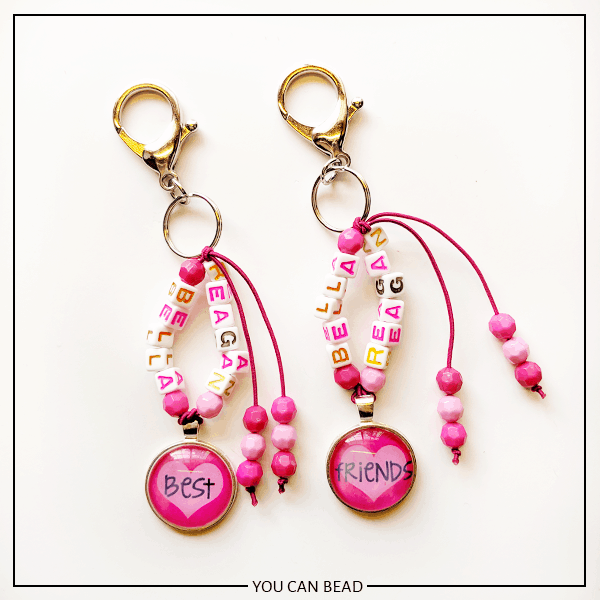
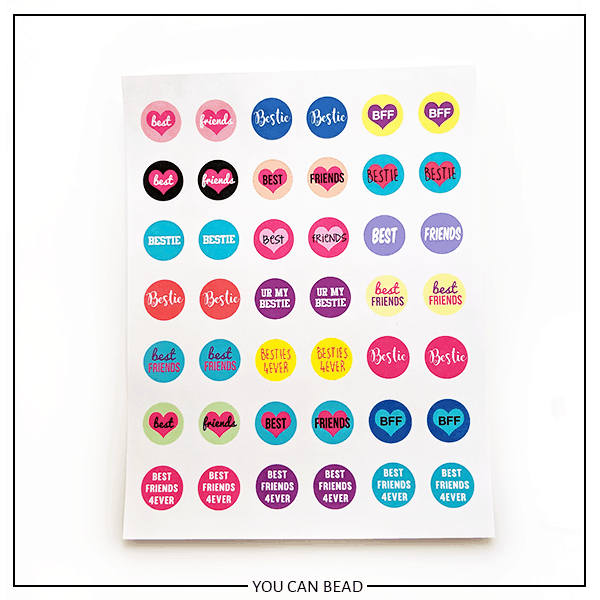
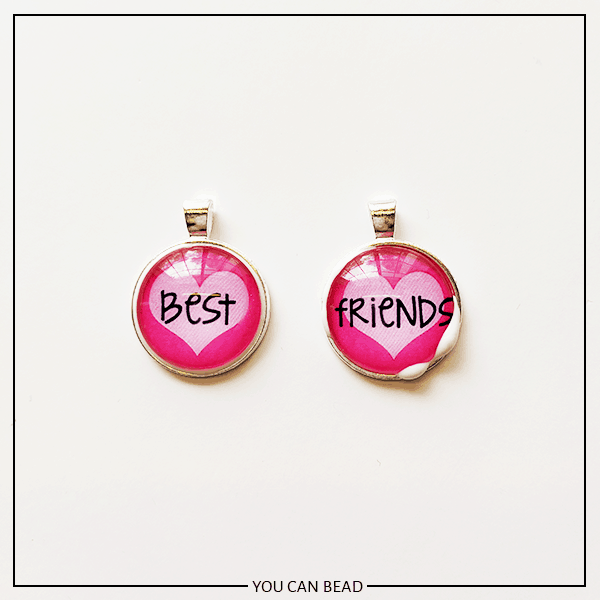
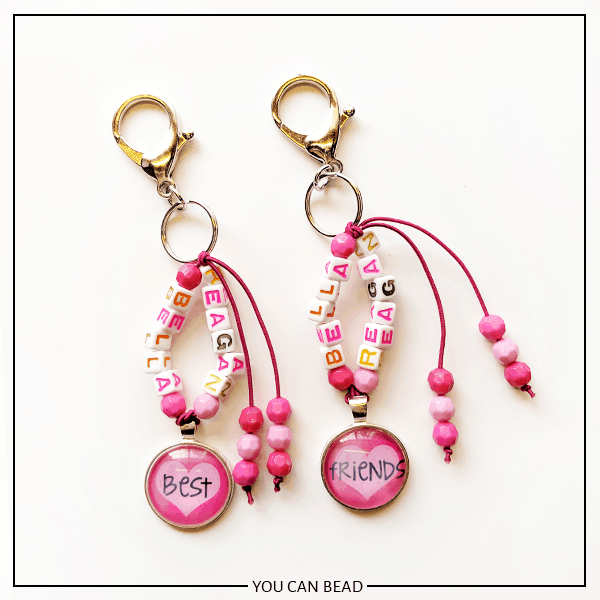
The centerpiece of this friendship bracelet style best friend keychain is the glass cabochon charm at the bottom. My daughter wanted lots of different design choices for her best friend keychains, so I made these 21 pairs of different best friend circle designs she could choose from. She was so excited! You can get my printable sheet below of 21 best friend keychain designs free from the bottom of this post.
Of course, if you don’t want to deal with making the glass cabochon, you can always make these best friend keychains with matching charms of any kind at the bottom. Hobby Lobby has some cute best friend puzzle piece charms, or you could use two hearts or large letter charms, whatever you want!
Materials Needed For Friendship Bracelet Style Best Friend Keychains
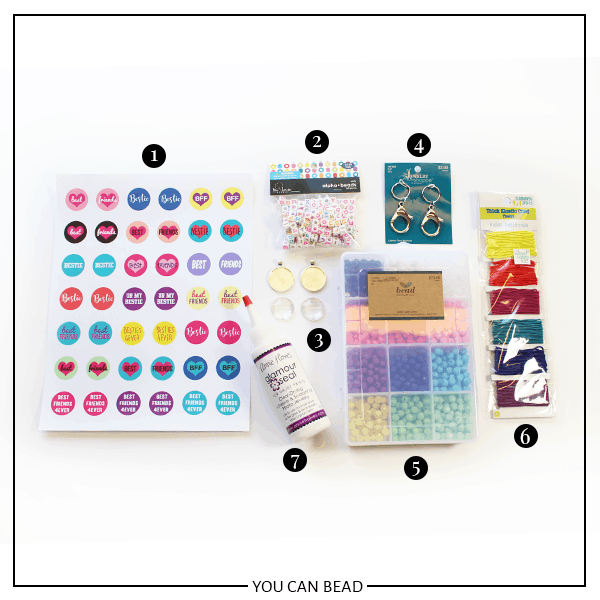
1.My free printable sheet of 1 inch round circles. It’s Design #106 in my free resource library – get the password at the bottom of this post.
2. Letter Beads with large holes, like these from Amazon.
3. 1 inch glass cabochons with settings like these from Amazon.
4. Keychain rings with Lobster Claw Clasps (or you can use regular keychain rings) like these from Amazon.
5. Assorted colorful beads. I used 8mm faceted round acrylic beads from Hobby Lobby like these here.
6. Colorful elastic cord. I bought this pack from Hobby Lobby in the Fiesta color, but you can also use white elastic if necessary.
7. Diamond Glaze or Annie Howe’s Glamour Seal. This is used to make the glass cabochon charm at the bottom of the keychain. Get Diamond Glaze on Amazon here. Glamour Seal is available on The Annie Howe’s website here.
8. White cardstock paper to print on. Printing on cardstock and not regular paper is key! I bought this ream of 90 lb cardstock from Amazon, but you can also buy white cardstock by the sheet at your local craft store or office supply store. I wouldn’t go any lower than 70 lb cardstock. Use the thickest cardstock that will go through your printer!
A note on printing: You can print the 1 inch circle sheet using an inkjet OR a color laser printer if you are using the Annie Howe’s Glamour Seal recommended above. If you have an inkjet printer and you aren’t going to use Annie Howe’s, be sure the product says it is safe for inkjet prints, or the ink on your printed circles will bleed.
Instructions
STEP 1
Print out the free 1 inch circles sheet onto white cardstock using a color laser or inkjet printer. Be sure to print the sheet at 100% size with no scaling or size adjustments so the circles will print at 1 inch size. If you are using an inkjet printer, let the ink dry before moving on. The samples shown here were made using a color laser printer.
TIP: Using cardstock and not regular copy paper is very important! Regular paper will really absorb the glaze and will mess up your print, either with splotches and dots or by clouding. Trust me, I know. I’ve tried it, even though the Glamour Seal directions said you REALLY need to use use cardstock. *Sigh.*
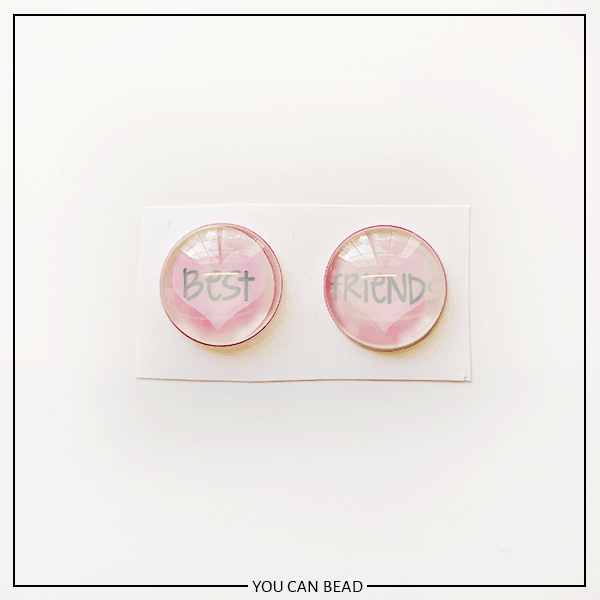
See the disappointing results we received from using regular copy paper and not cardstock. One charm was cloudy 48 hours after making it, and the other was splotchy.
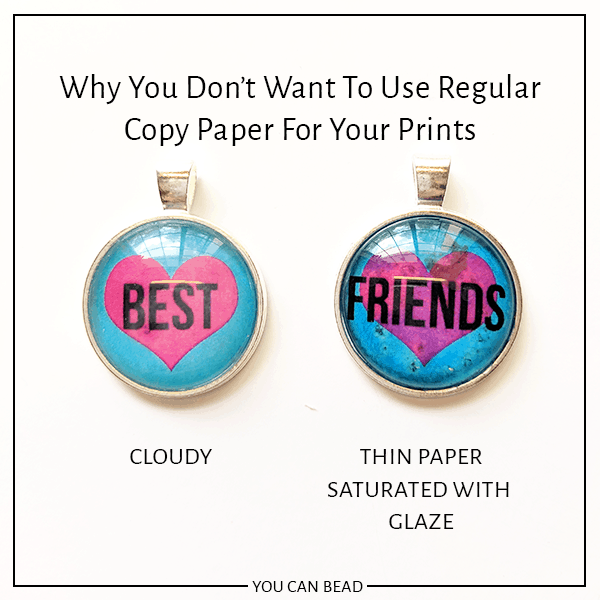
You don’t want that, friends! So be sure to use cardstock! You don’t have to buy a ream, just get a few sheets from the scrapbooking aisle at Michael’s, Hobby Lobby, JOANN, or from Staples or Office Depot. It’s worth it!
STEP 2
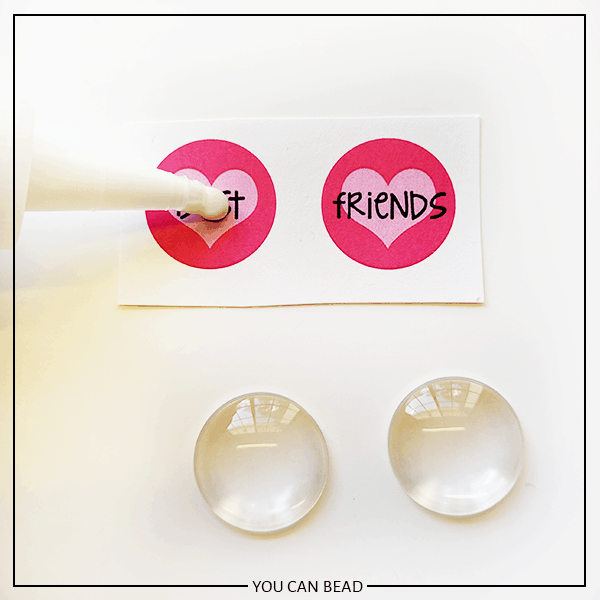
Now that you’ve printed your circle sheet and let the ink dry (for inkjet prints), it’s time to stick the glass cabochon to your print. Cut out the two circles you’ll be working with, and place a small drop of Annie Howe’s Glamour Seal on top of the first circle.You don’t need too much! You’re looking for an amount smaller than a green pea. I like to do one at a time as shown below.
STEP 3
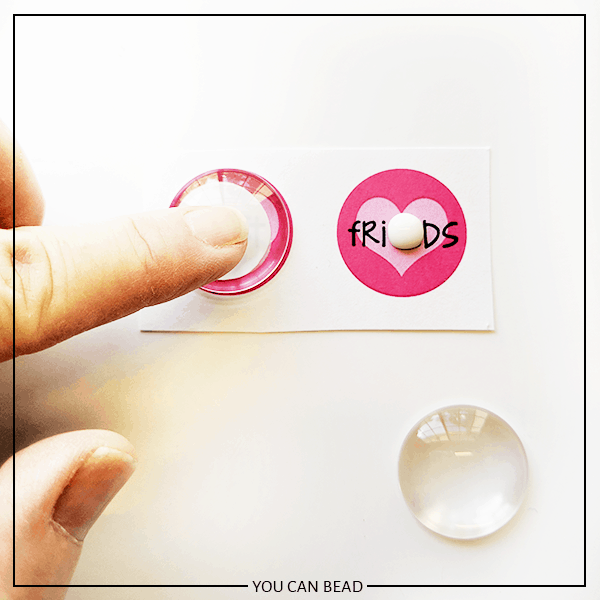
Immediately place your glass cabochon onto your seal dot and press down firmly. Swirl the cabochon slowly over the printed circle to spread the Glamour Seal around and to eliminate air bubbles under the glass. You don’t want any bubbles, smears or spots without glue, so keep swirling around until your sealer looks smooth under the glass. Then press the glass firmly down, making sure it’s centered. You have a very short time to nudge it if it’s out of place, so do it quickly!
STEP 4
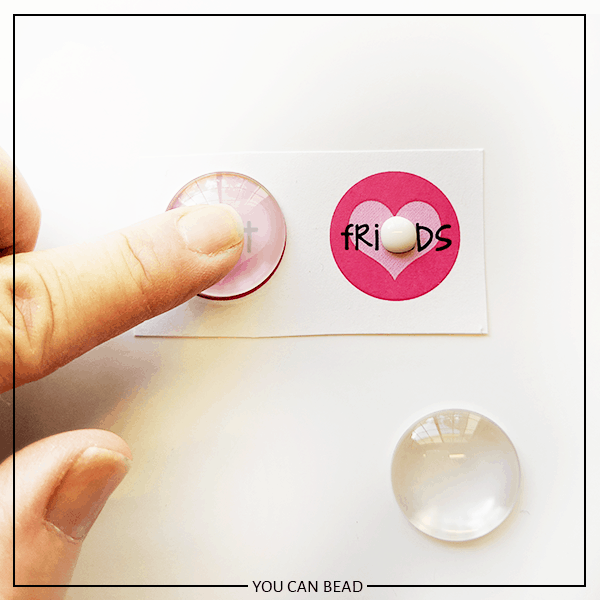
Repeat on the other circle, making sure both glass cabochons are centered over the printed circles. The Glamour Seal will be milky white and then dry clear after about an hour.
STEP 5
Now, we wait. And wait. What?? Yes, wait! But the front of the glass is clear, you say! Yes, I know, but even though the front of the charm is clear, it’s important to WAIT and let them dry overnight. Overnight? Yes. OVERNIGHT.
I know, it’s hard to wait. But the drying time is key. While the charms will become clear after about an hour, it’s the back of the cardstock that really needs more drying time. If you rush it (which again, I did, because #impatient)the glass will cloud up again and never ever dry.
If you JUST CAN’T WAIT overnight, then wait as many hours as you can before you start the next step.

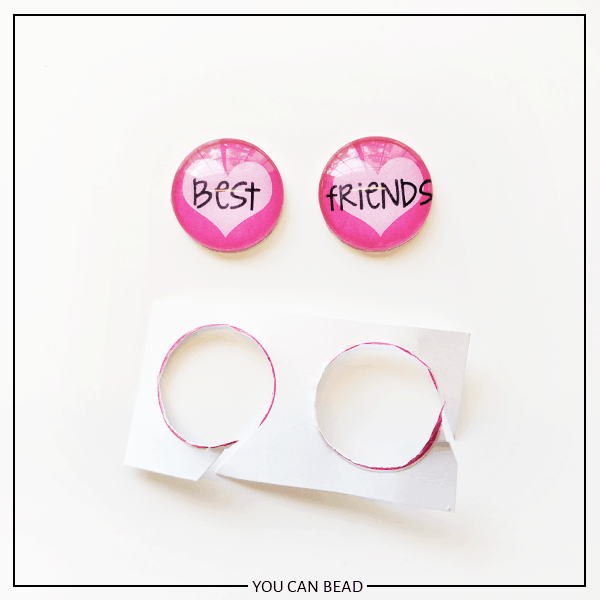
STEP 6
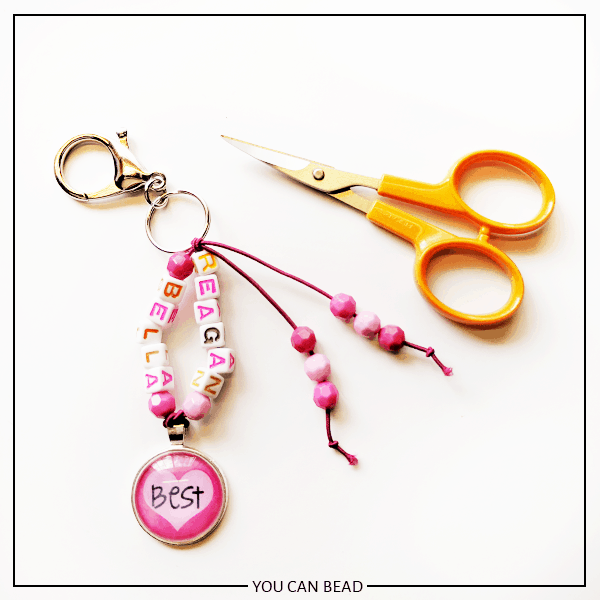
Now that you’ve waited for your cabochons to dry really well, it’s time to trim them out of the paper. You can use any sharp scissors you have around the house. I used my favorite mini curved Fiskars scissors which were great for going around the circle, but it really isn’t necessary.
STEP 7
Now it’s time to glue your cabochon into the setting. You’ll use the same Glamour Seal to do this. Just put a small dot in the center of the setting (I put a little too much in the photo below) and place the cabochon inside. Press firmly so the cabochon is as deep as it can go in the setting and the edges aren’t exposed. Gently twist the cabochon while in the setting to make sure it is straight.
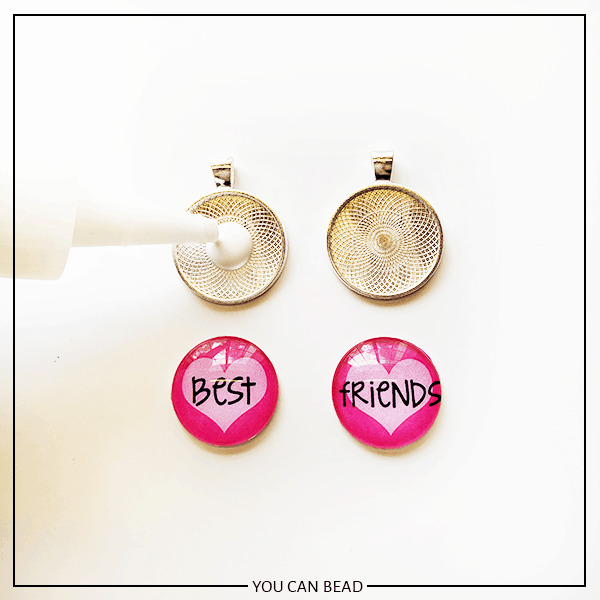
If you get glue squishing up around the sides of the cabochon, don’t worry. You can wipe it up with a damp paper towel.
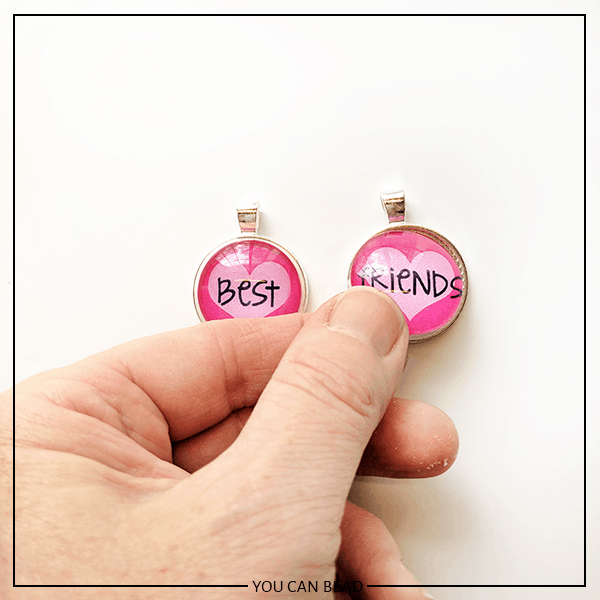
Let them dry and then you’re ready for the fun part… the beads!
STEP 8
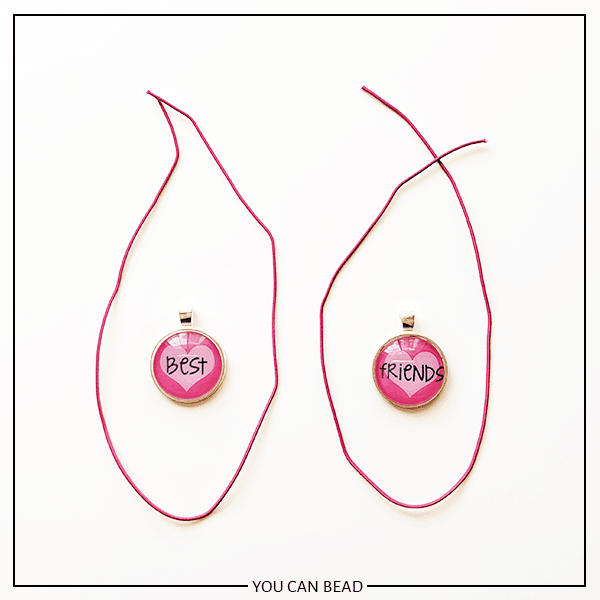
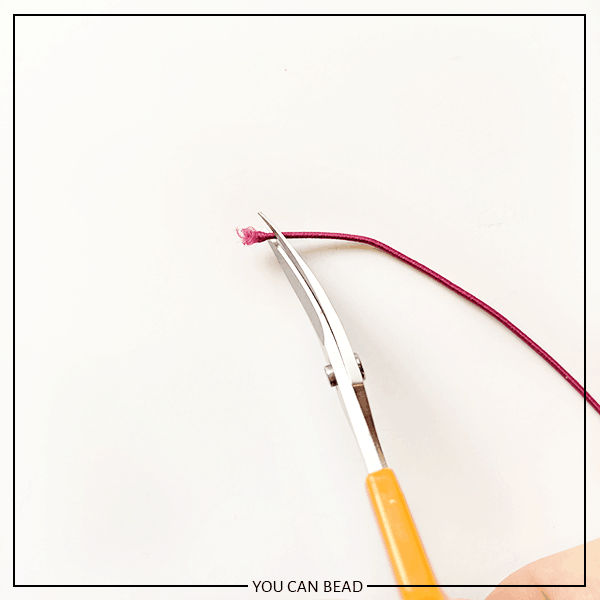
Cut two 18-20″ pieces of colored elastic cord (or, if you have white, you can color it with colored Sharpie markers). Your keychain won’t be this long of course, but it’s good to have extra cord when you are adding beads and tying knots, especially for kids.
STEP 9
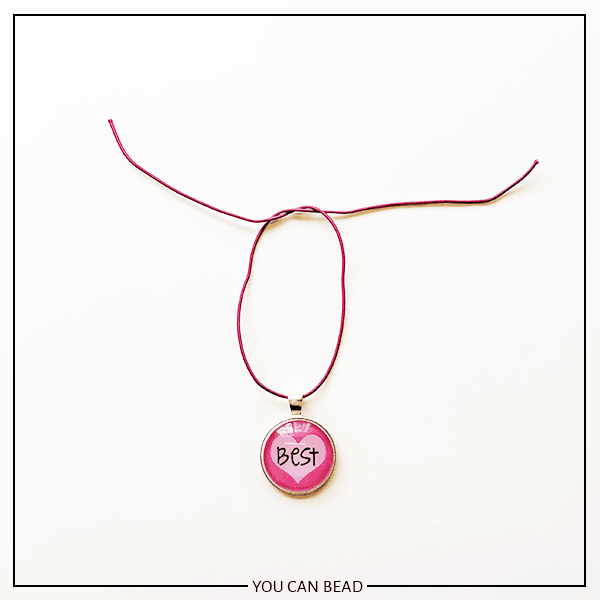
Loop one of the pieces through the bail on the charm and make sure the ends are even. Then make a half knot and pull it down to the bail on the charm. When you make the half knot, be aware of how you make it (which end of the cord goes over and which hoes under. You’ll want to do the opposite for the next step).
Check to make sure the cord ends are still even!
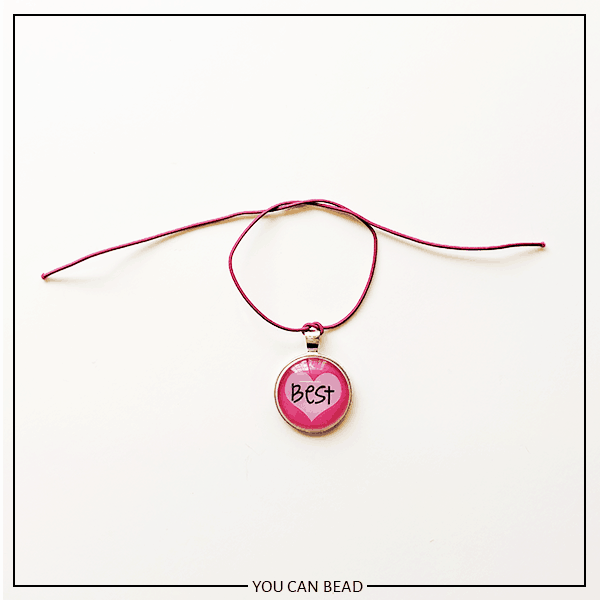
STEP 10
Tie another half knot, this time in the opposite way you made the first half knot.
STEP 11
Thread your accent beads and letter beads onto both sides of the elastic cord. If one name is longer than the other, add accent beads to the shorter name so both sides are even. If your cord ends get frayed, trim the ends with scissors as you go.
STEP 12
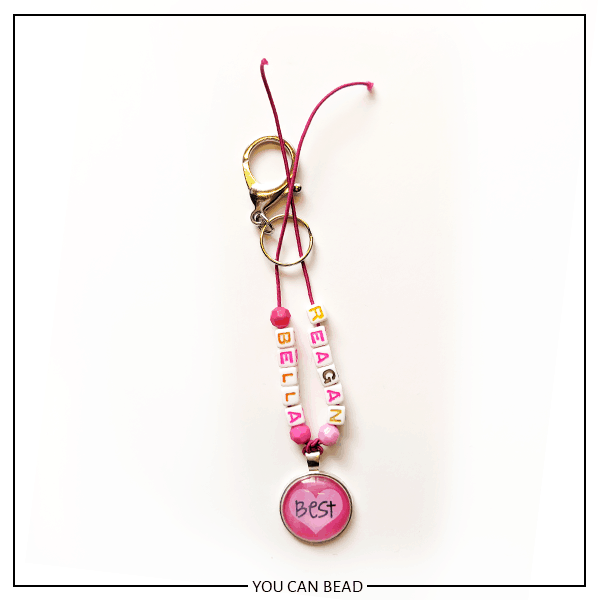
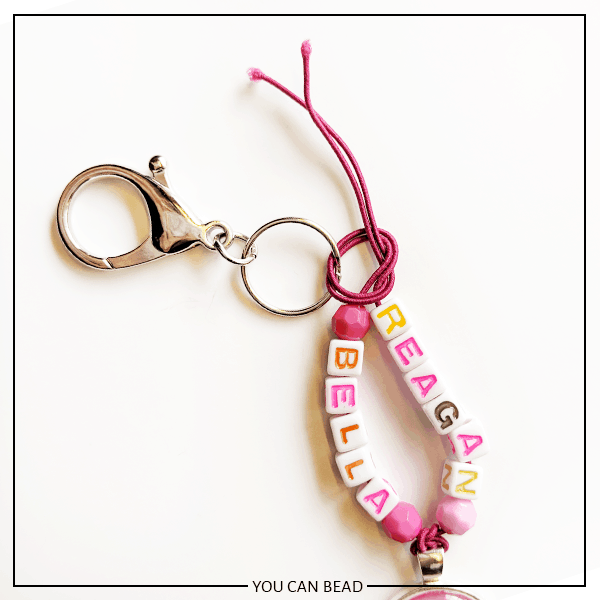
Thread both ends of the cord through the loop of the keyring. Tie a knot with both ends of the cord onto the keyring, being sure to get the knot close to the top of the beads.
STEP 13
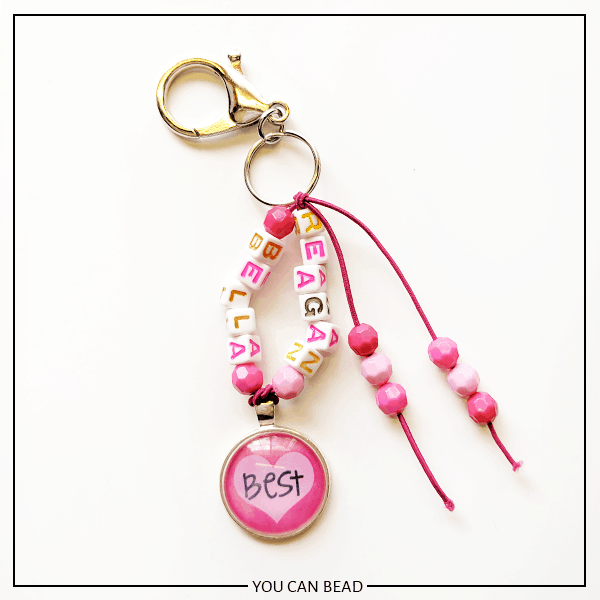
Add accent beads to the tail ends of the cord. Again trim your cord ends if necessary! Tie a knot at the end of each tail and trim. Add a dab of clear nail polish or super glue to the end of the cut cord to prevent fraying. That’s it!
I had no idea how much my daughter would love this project. She’s made so many keychains for her friends in the days since we made this tutorial! Do you think your child will want to try this? Let me know in the comments!
If you’re going to make this project, don’t forget to get my printable circles sheet with all of my Best Friend charm designs! It’s available in my free Resource Library. Get the password below!
Until next time… and happy creating!

Want the FREE Printable Best Friend Keychains Circles Art File?
Get it from our Resource Library! You’ll receive the password for the Resource Library instantly after filling out the form below!
Want to remember this? Post this DIY Friendship Bracelet Style Keychain with Letter Beads tutorial to your favorite Pinterest board!
Hi Amy! I was curious as to another alternative to use vs the Glamour Seal. Her website isn’t available and its unavailable to purchase it on Etsy. HELP!
Hi, T K! I would try Mod Podge, or Triple Thick glaze instead. 🙂
Okay great! Thank you Amy! God Bless!