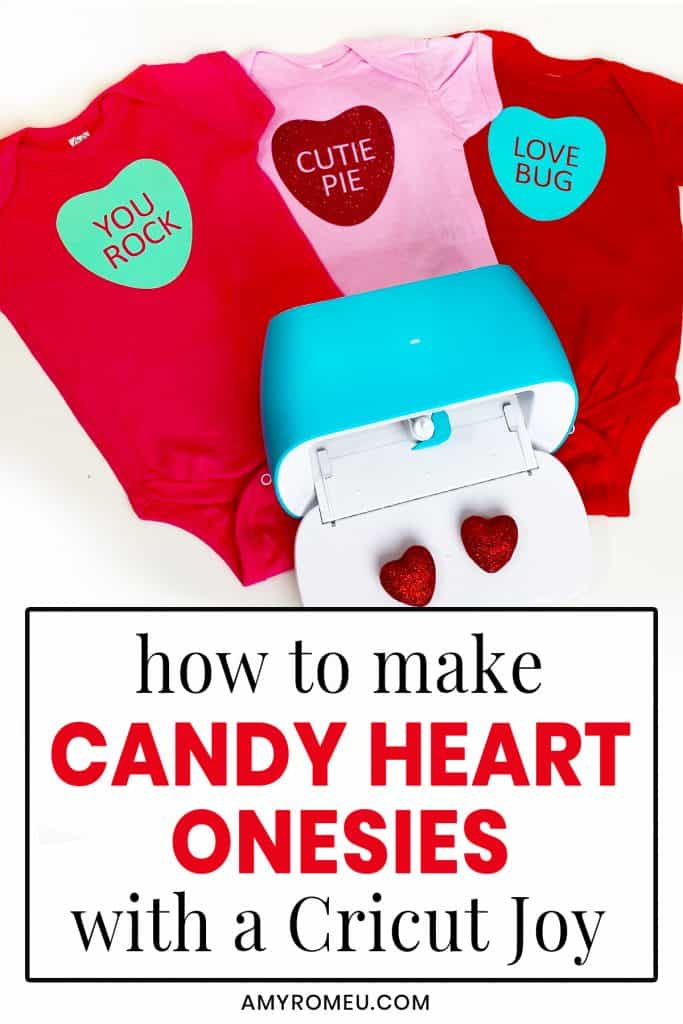
DIY Cricut Joy Valentine’s Day Candy Heart Onesie
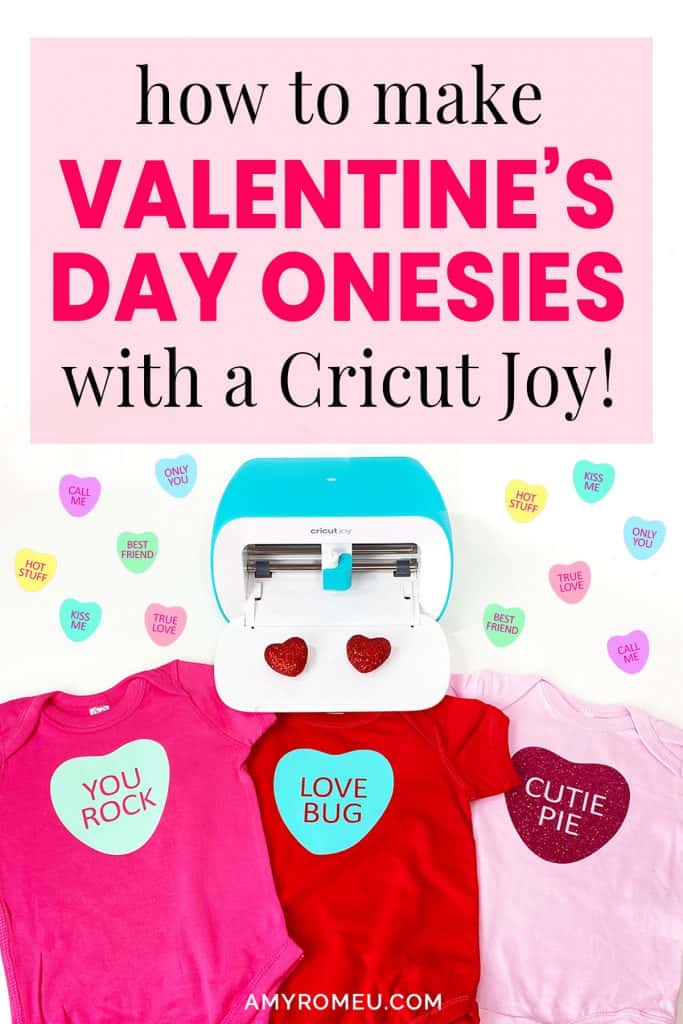
How to Make a DIY Valentine’s Day Candy Heart Onesie with a Cricut Joy (or any Cricut!)
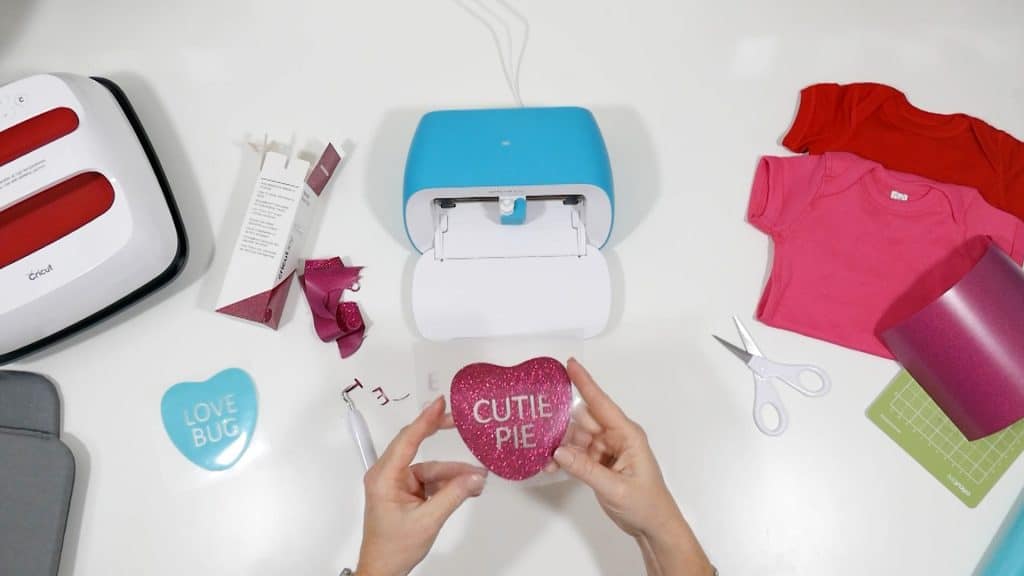
Candy hearts are one of my favorite things about Valentine’s Day. You may have seen my very popular Candy Heart Keychain tutorial – if not, you can check it out here. If you like them as much as I do, then you’ll love these adorable Valentine’s Day Candy Heart Onesies, too.
The size of these Valentine’s Day Candy Heart Onesie designs are perfect for cutting with the Cricut Joy, but you can also make this project with the Cricut Maker or the Cricut Explore Air 2.
If you want to make these Valentine’s Day Candy Heart Baby Onesies, I’m sharing the SVG cut files for “You Rock,” “Love Bug,” and “Cutie Pie” FREE. The files are in my Free Resource Library on my blog, and you can get the password by filling out a quick form at the bottom of this post.
If you’d rather watch a video of this project, click below:
Ready to make these fun candy conversation heart onesies with your Cricut? Let’s get started!
Want to see all of my Cricut earring & jewelry tutorials? CLICK HERE
This page contains some affiliate links (which means if you make a purchase after clicking a link, I will earn a small commission at no additional cost to you). Read my full disclosure policy here.
DIY Cricut Joy Candy Conversation Heart Onesies – Materials List
- A vinyl cutting machine. I’ll be using the Cricut Joy, available at Amazon here and at Michael’s here.
- Cricut Standard Grip (Green) Cutting Mat. Use the green mat that came with your Cricut machine.
- Cricut Easy Press or a traditional heat press. I like the 9×9 size Easy Press from Amazon here and from Michael’s here.
- EasyPress Mat to press your items without damaging your work surface. I used the 12×12 size from Amazon here and Michael’s here.
- Baby Bodysuits. I buy Rabbit Skins brand from Jiffy Shirts. I used Red, Hot Pink, and Pink. You can see them here.
- HTV Vinyl in the pastel, candy heart colors of your choice. I used Siser Easyweed Heat Transfer Vinyl in Mint and Sea Glass. I also used Cricut Joy Smart Iron-On in Lipstick (glitter).
- A weeding tool. I love the weeding tools in my Cricut tool set, which I got from Amazon here. You can get also get the basic Cricut tool set at Michael’s here.
My Candy Heart Onesie SVG files. They are design #163 in my Free Resource Library. Fill out the form below to get the password to the library emailed to you instantly.
If you want even more Candy Heart Onesie designs, or want to buy a commercial license for these designs, visit my shop here.
PROJECT INSTRUCTIONS
STEP 1 – Download Free SVG
Download the SVG files for my free candy conversation heart onesie designs from my free Resource Library (Design #163).
Save the zipped folder that downloads to your computer. You’ll need to locate your zipped file after you save it so remember where you are downloading it to! You’ll have to unzip or extract the files FIRST before you can upload the cutting file to Cricut Design Space. Make a note of the file location after you unzip it so you can find it in the next step.
STEP 2 – Upload SVG to Cricut Design Space
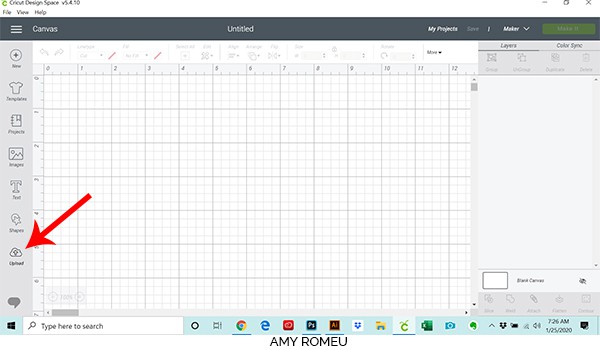
When you open Cricut Design Space, click on NEW PROJECT to get started. Then click on UPLOAD from the left hand side menu.
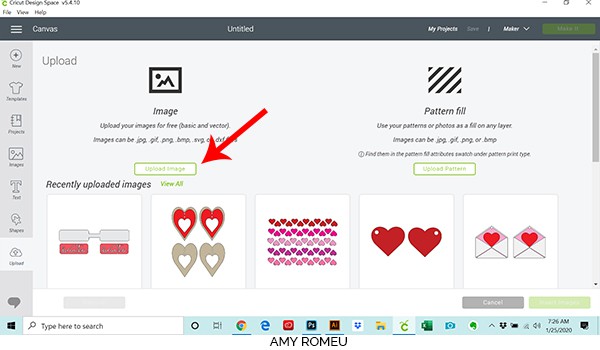
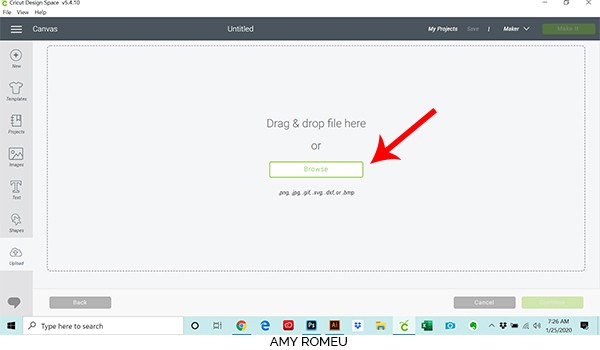
Click on the UPLOAD IMAGE button, then click BROWSE to locate where your unzipped SVG files are saved on your computer.
In your downloaded folder, you’ll see I’ve included separate SVG files for each candy conversation design – You Rock, Love Bug, and Cutie Pie. Click on Upload Image, then browse for the unzipped SVG file for the desired design.
Double click on the SVG file to bring it into the upload screen in Design Space. If you get an error message that says “unsupported file type,” you may have clicked on the wrong file, or your SVG file is still zipped.
You’ll see a preview of the candy heart shapes for this project. Hit the green SAVE button.
After you’ve selected your file to upload, you’ll see it as the first item in your “recently uploaded designs” row.
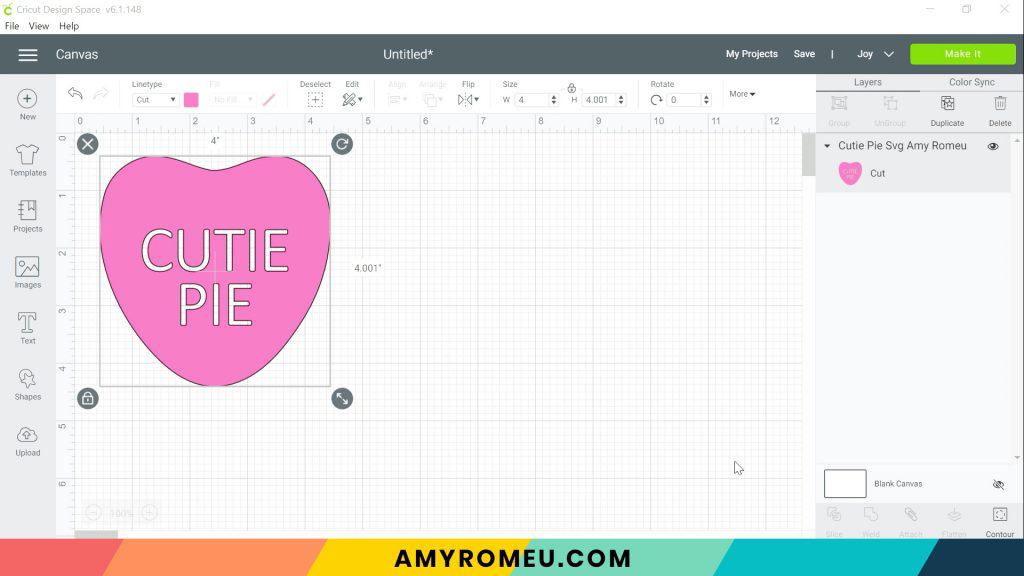
Click on it your newly uploaded file so it is outlined in green. Then click on the green INSERT IMAGES button in the bottom right corner. This will bring the design onto your canvas.
Recolor the design if you’d like to by clicking on the color icon on the top menu bar.
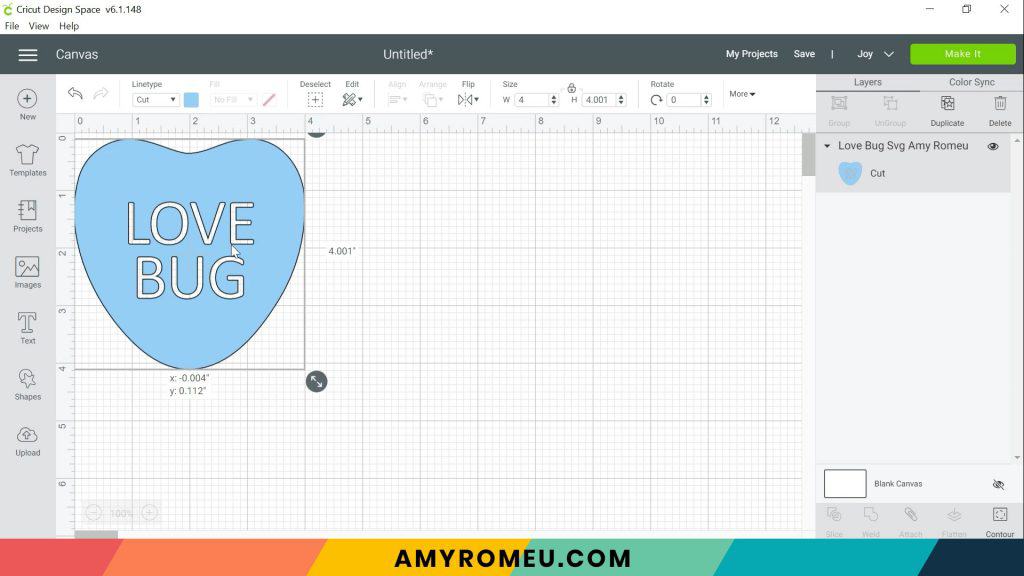
The hearts are already sized appropriately for baby onesies, but you can resize them by dragging the arrow handle in the lower right hand corner as desired.
If you are using the Cricut Joy like I am, be sure the Joy is your selected machine (see the dropdown menu next to the green MAKE IT button).
After you’ve selected your machine, click the green MAKE IT button.
STEP 3 – Cut & Weed the Vinyl
There are two ways to cut vinyl with the Cricut Joy: on a mat, and without a mat using Cricut’s Smart Iron-On material. I’ll show you both methods.
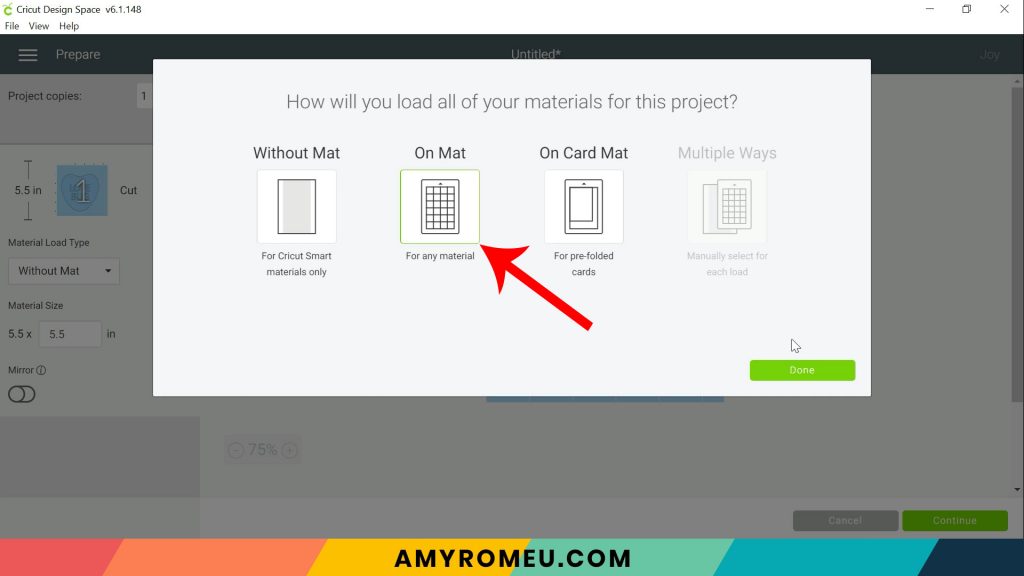
First, I’ll cut the blue heart using the Joy green cutting mat. Select “On Mat” from the pop up screen in Cricut Design Space. Then click DONE.
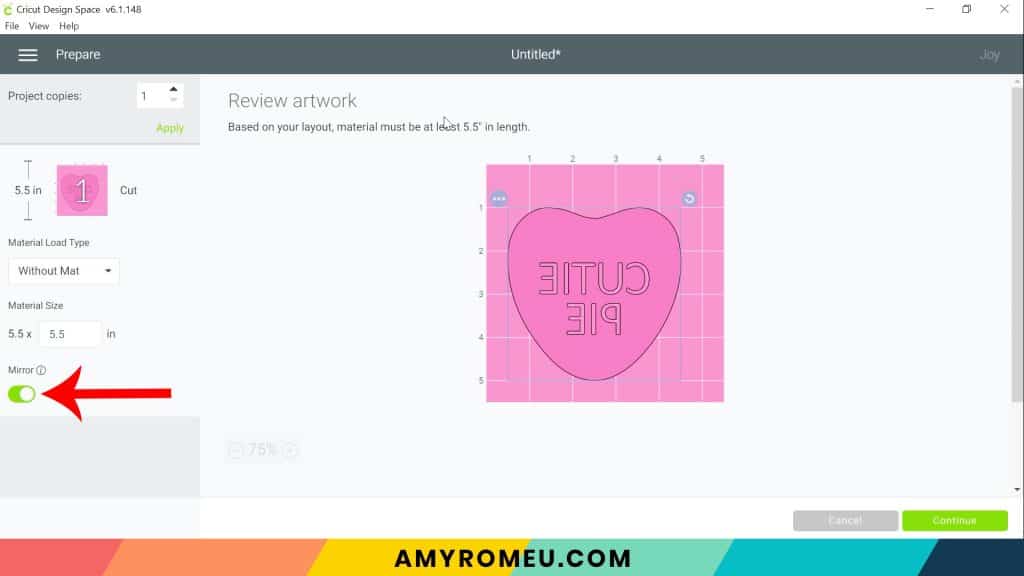
Next toggle the green MIRROR button to ON.
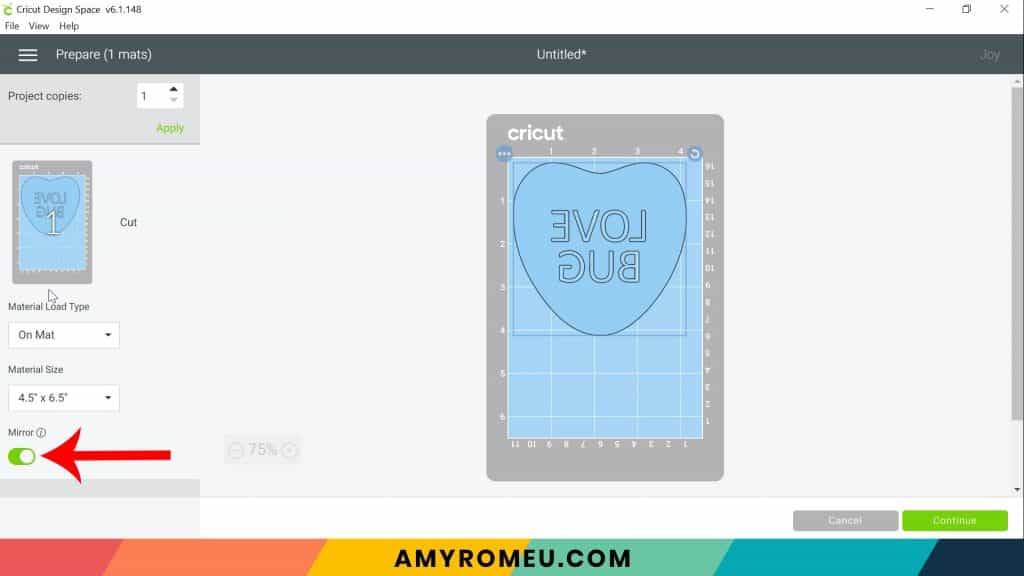
Double check that your text has been mirrored on your mat preview.
Click the green CONTINUE button in the lower right side of the screen.
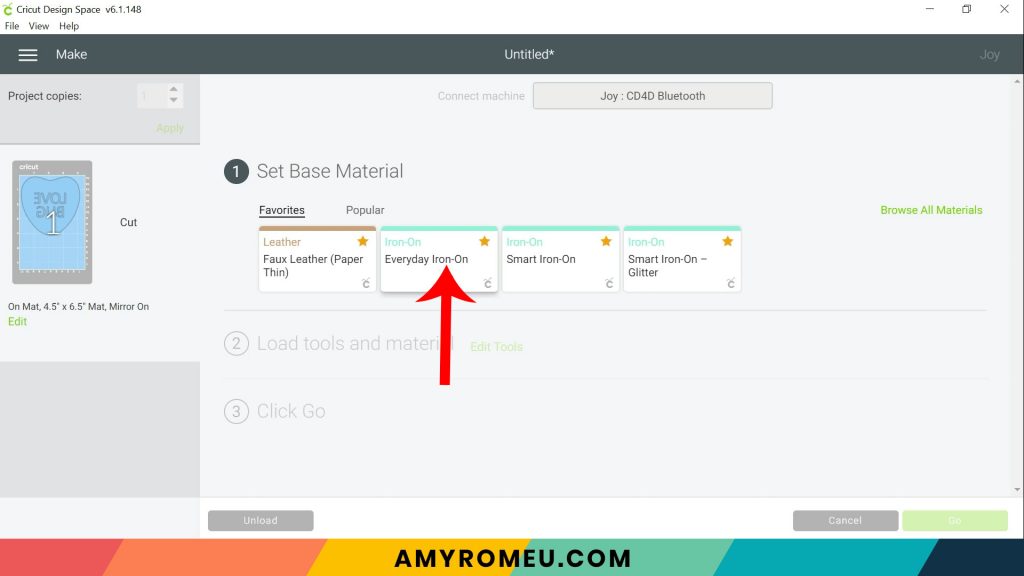
Choose the material setting that corresponds with the material you are using. I chose Everyday Iron-On with default pressure.
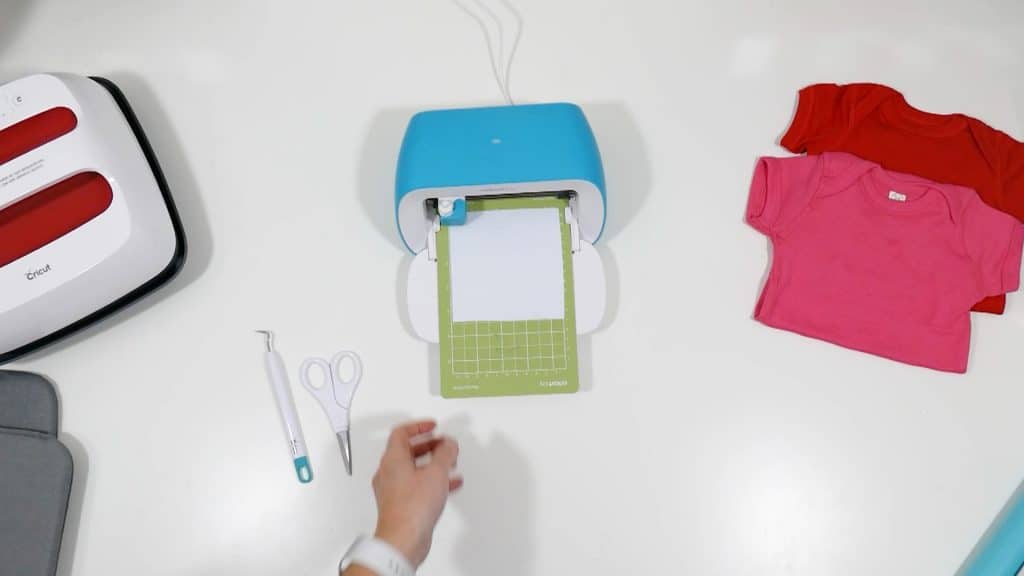
Place a trimmed piece of heat transfer vinyl shiny side down on the mat and load the mat into the Cricut Joy. Follow the prompts in Cricut Design Space to begin the cut.
When the cut is complete, follow the prompts in Cricut Design Space to unload the mat. Remove the vinyl.
Using a sharp weeding tool, remove the excess vinyl from around the heart and the letters inside the design.
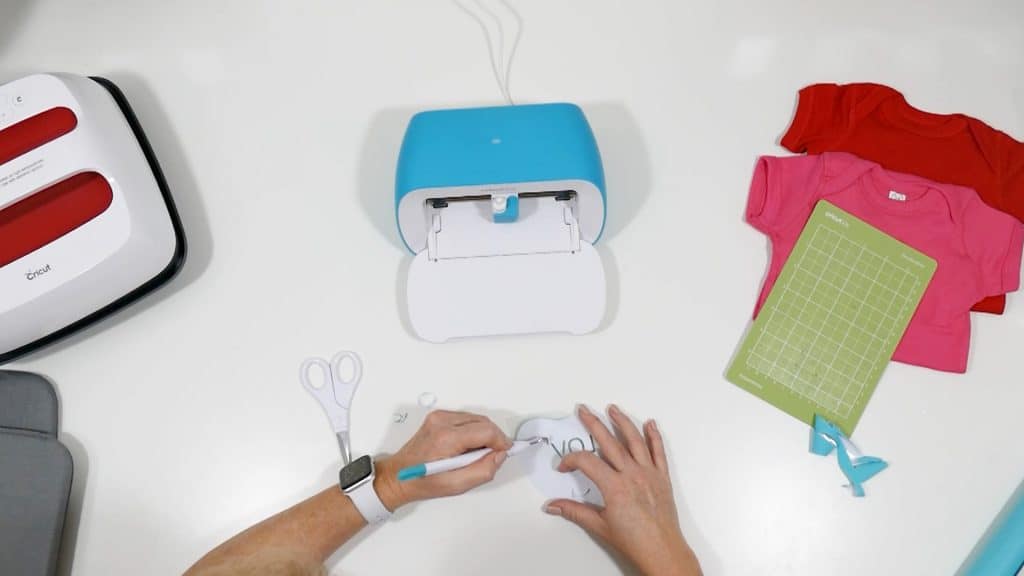
Set the weeded heart aside.
To cut this project using Cricut Smart Iron-On, upload the SVG file into Cricut Design Space. Click the MAKE IT button.
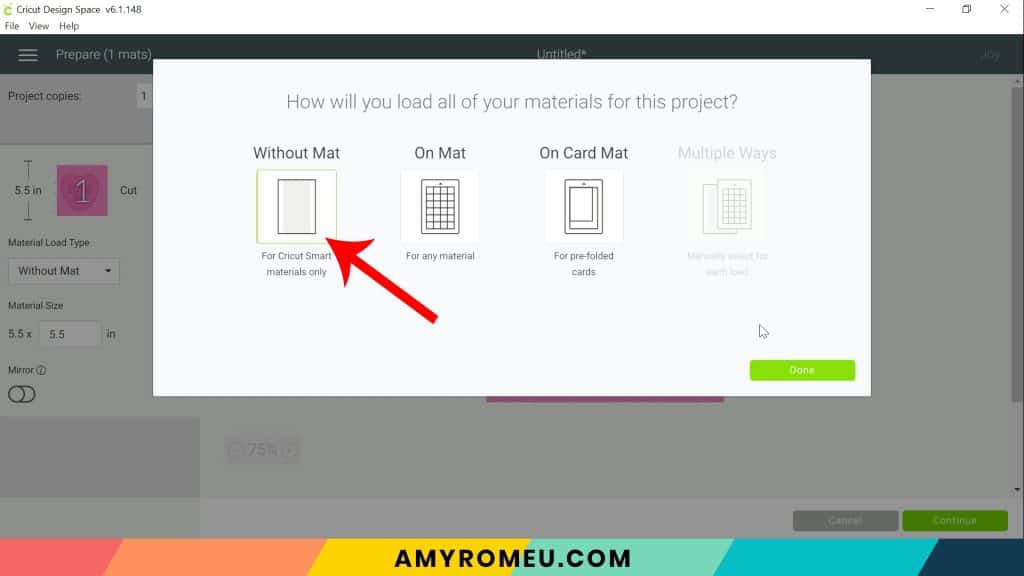
Then choose “Without Mat” from the pop-up box.
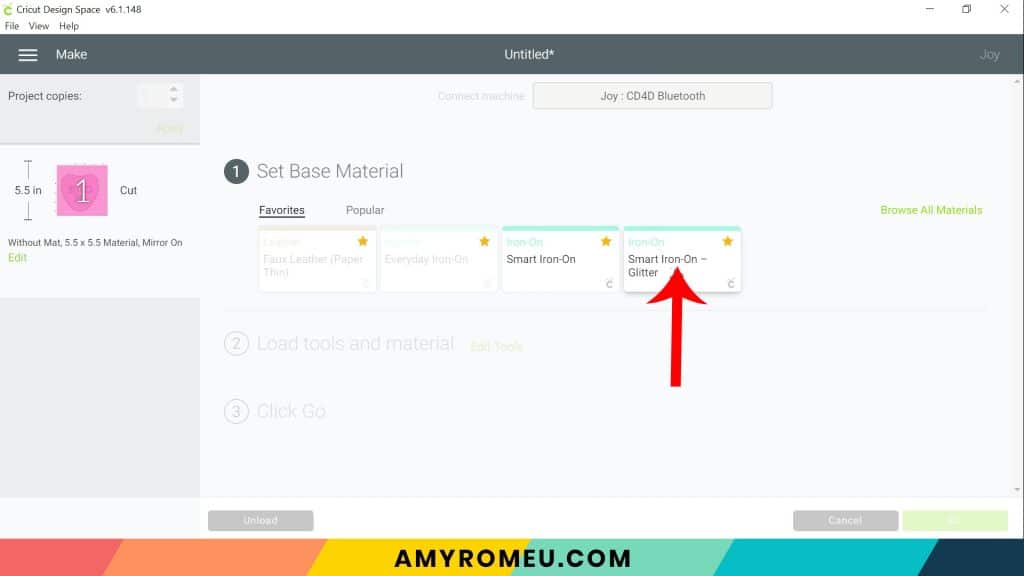
Be sure to mirror the design using the toggle button. Then select the material setting appropriate for your chosen material. In this tutorial, I’m using Cricut Glitter Smart Iron-On so that’s the material setting I chose. I also changed the pressure to MORE (which is my preferred setting when cutting glitter HTV with a Cricut).
Feed the Smart Iron-On material shiny side down into the Cricut Joy.
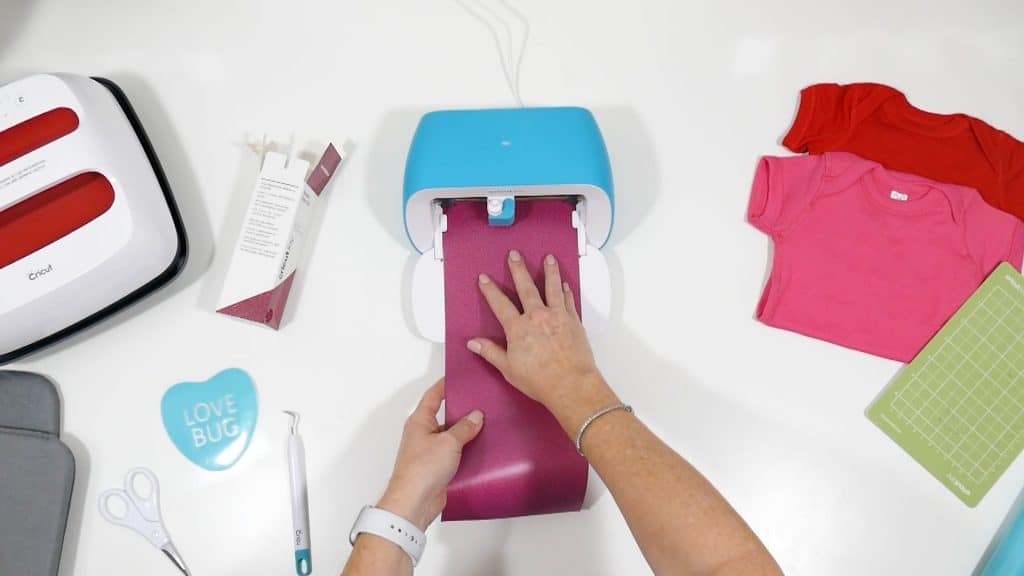
Follow the prompts in Cricut Design Space to begin the cut. When the cut is complete, follow the prompts again to unload the machine. Weed the glitter heart.
STEP 4 – Heat Press the Onesie
You can press your onesie with a traditional heat press, or a Cricut Easy Press.
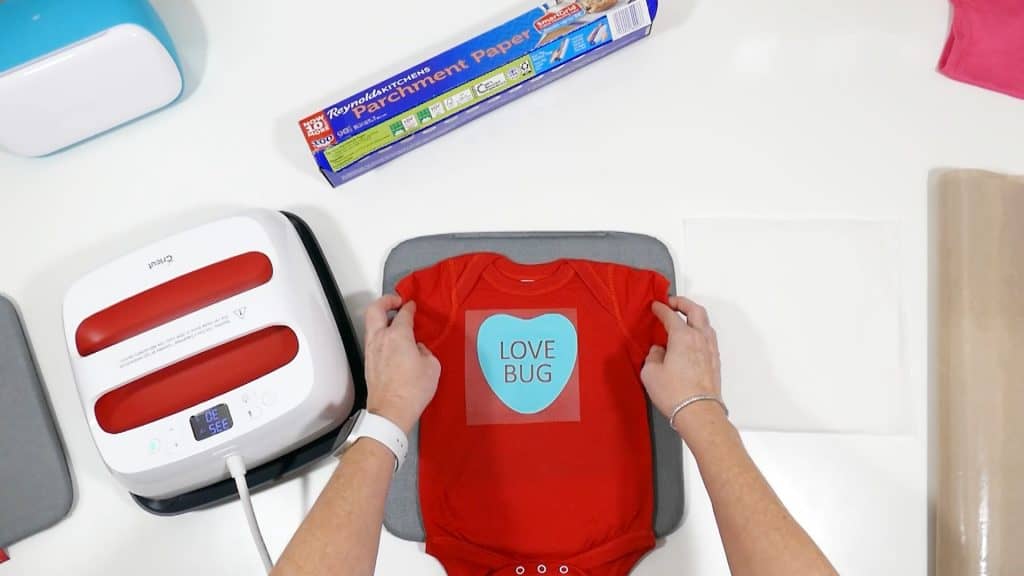
If you are using an Easy Press, place your baby bodysuit on a heat pressing pad.
Turn on your Easy Press and set the recommended time and temperature according to your onesie your vinyl type. I suggest referring to the Cricut Heat Guide here. You can select different materials, vinyls, pressing methods, etc. and it will recommend the exact time and temperature for you.
Pre-press your bodysuit for 10-15 seconds to eliminate wrinkles and moisture.
Place your vinyl candy heart in the desired location on top of the onesie.
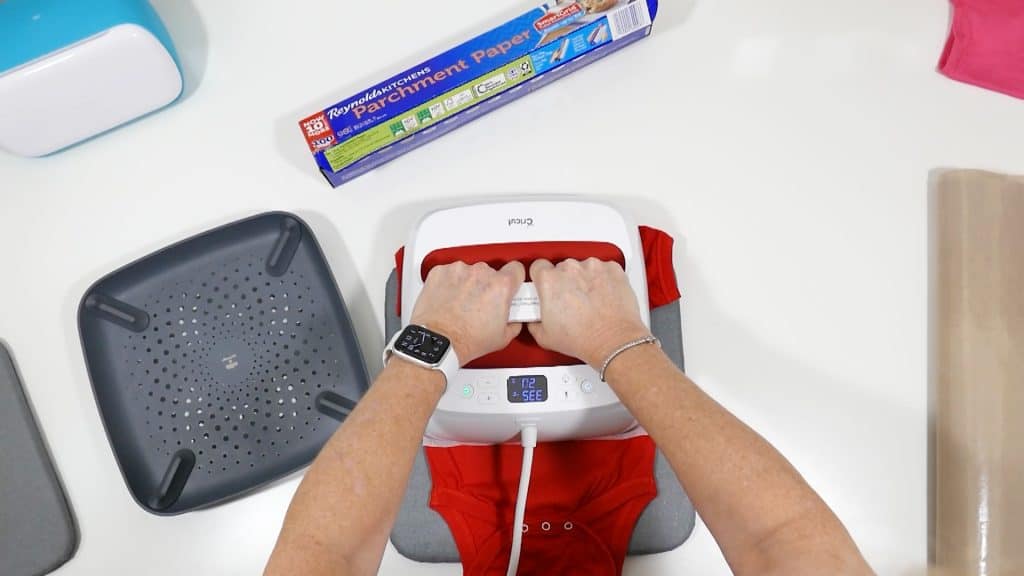
Then cover with a piece of parchment paper or a Teflon sheet as desired. Place the Easy Press directly over the design and press the C button to begin the countdown timer. Press firmly with both hands for the duration of the recommended pressing time.
Then flip the onesie over and press from the other side for 15 seconds. Flip the onesie right side up and carefully begin to peel away the carrier sheet. If it doesn’t peel away cleanly, repeat the pressing.

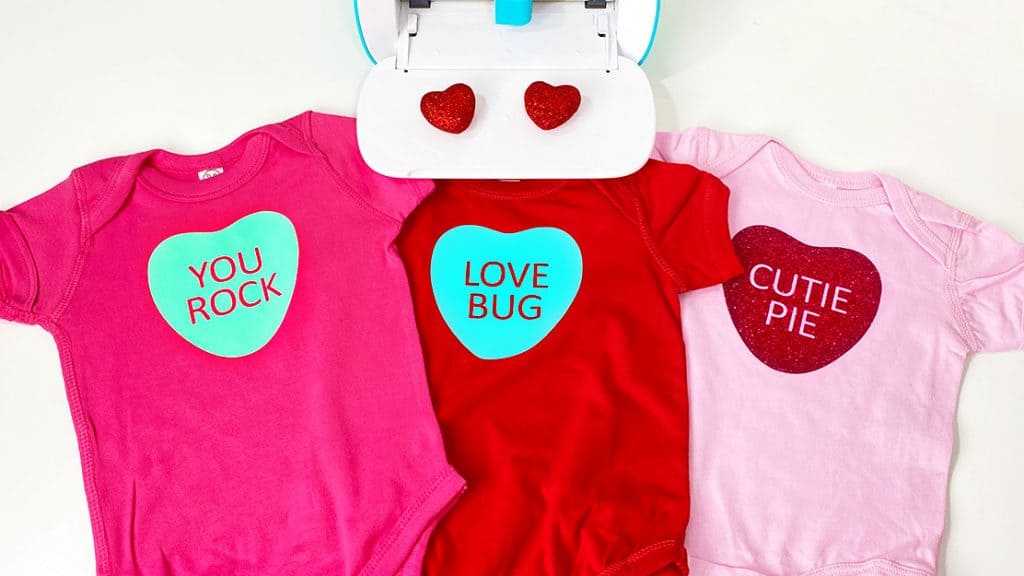
That’s it! Aren’t these candy heart onesies for Valentine’s Day adorable?
Are you going to try this super cute Valentine’s Day project? If so, I’d love to see your creation! You can tag me on Instagram: @amyromeucafts
Want More Candy Heart Sayings? Check Out My SVG Bundle!
Do you want to make this Valentine’s Day Candy Heart Onesie, but want more candy heart sayings? If so, you’ll want to check out my Candy Hearts Baby Bodysuit SVG Bundle featured in my shop here. These word SVG files are perfectly sized to fit with a baby bodysuit shown in this tutorial – just choose your desired word file, open the SVG in Cricut Design Space, and continue the tutorial!
Want to see all of my Cricut earring & jewelry tutorials? CLICK HERE
Until next time… and happy creating!

Want the FREE SVG files you so you make these DIY Valentine’s Day Candy Heart Onesies yourself?
Get them from my FREE Resource Library! You’ll receive the password for the Resource Library instantly after filling out the form below!
Want to remember this? Post this CRICUT DIY VALENTINE’S DAY CANDY HEART ONESIE project to your favorite Pinterest board!