
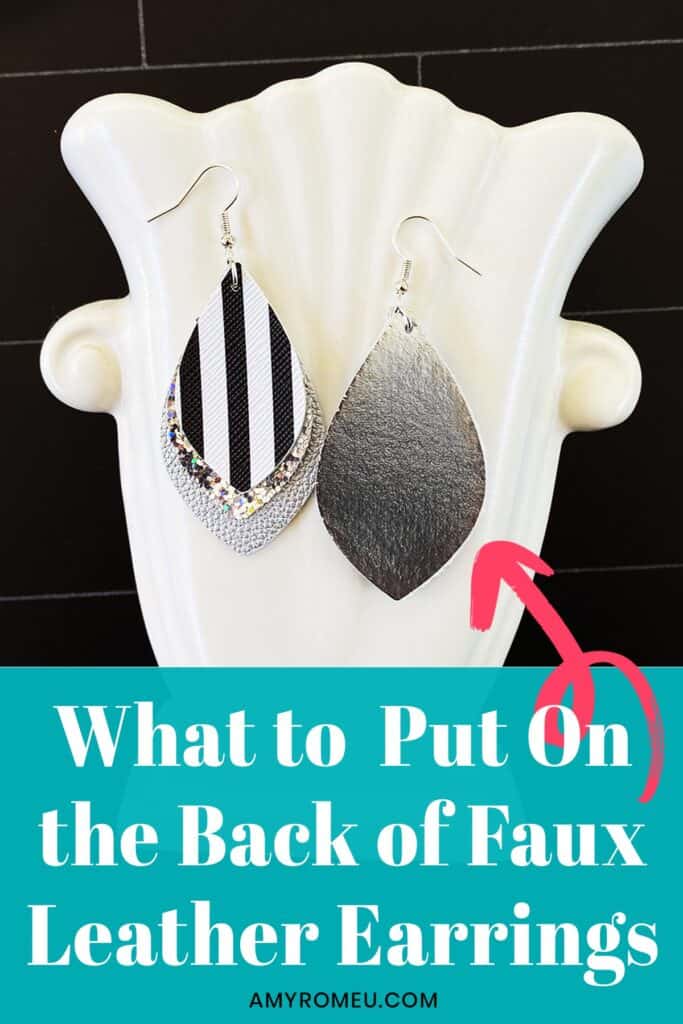
What to Put On the Back of Faux Leather Earrings
What to Put On the Back of Faux Leather Earrings
Are you getting started making earrings with a Cricut or Silhouette, but wondering what do you put on the back of faux leather earrings? That’s a great question, one I’m asked a lot. In this post, I’ll go over four different ways to put a back on faux leather earrings.
First, let’s talk about why you would want to put a back on faux leather earrings, or make double sided faux leather earrings. There are a few reasons:
- To cover up an unattractive backing on felt backed faux leather
- To add some structure to the finished earring
- To make the earring look professionally finished
- To add interest to the earring design with an accent color or matching backing
- To keep faux leather earrings from curling
But wait… do you have to put a back on faux leather earrings? Absolutely not! It’s personal preference. But if you’ve experienced any of the issues above and wondered exactly what to put on the back of faux leather earrings, keep reading!
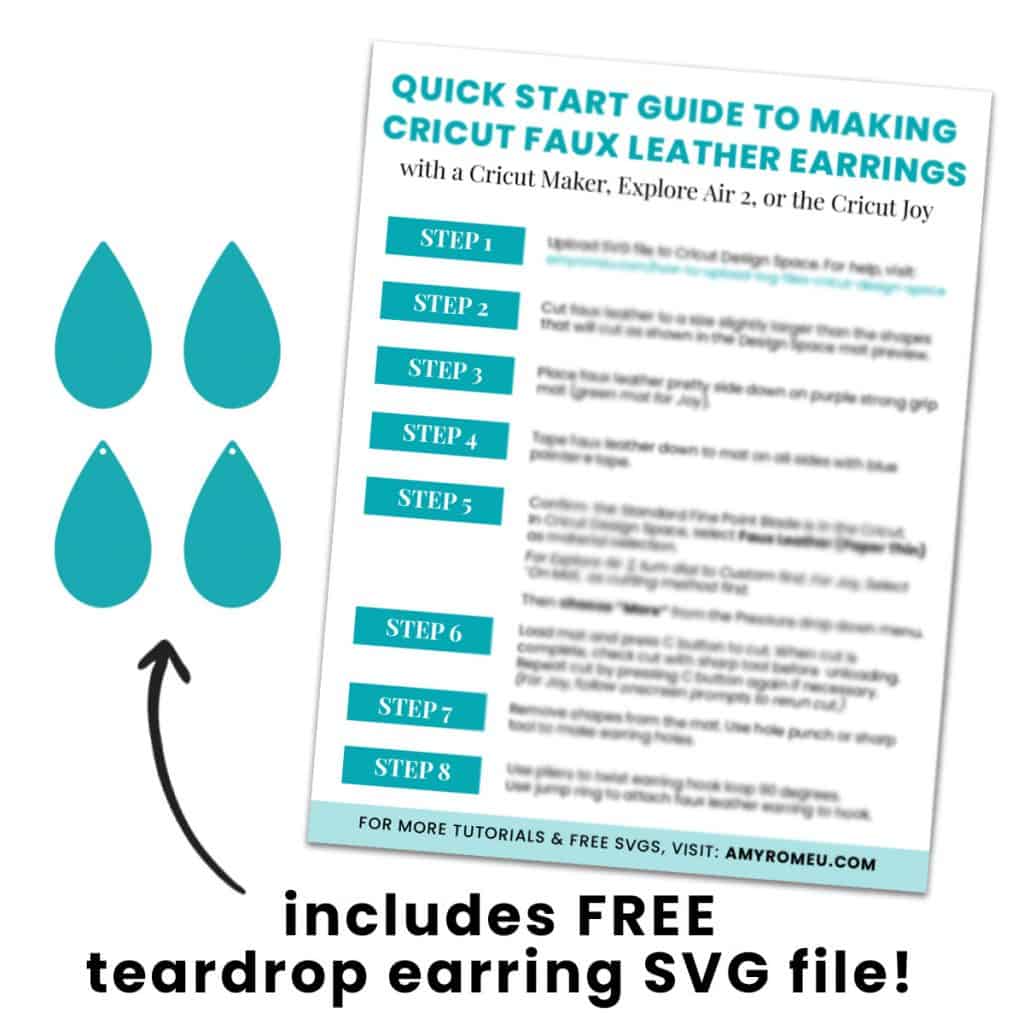
Also, if you want to try out any of these four techniques yourself, I’m happy to share my most my most popular teardrop earring SVG file, completely free, along with my printable Cricut Earrings QuickStart Guide. You can upload this teardrop shape earring SVG to your design software and try out backing faux leather earrings for yourself.
Just click on the button below to get my free teardrop earring SVG and Cricut Earrings QuickStart Guide sent to your inbox:
If you’d rather watch my YouTube video on What Do You Put On The Back Of Faux Leather Earrings, click below:
If you’re ready to learn four different ways to back faux leather earrings, let’s get started!
This page contains some affiliate links (which means if you make a purchase after clicking a link, I will earn a small commission at no additional cost to you). Read my full disclosure policy here.
TOOLS & MATERIALS
- A cutting machine, such as a Cricut or Silhouette. I’ll be demonstrating how to put a back on faux leather earrings with a Cricut Maker, but you can also use the Cricut Explore Air 2, or any of the Cricuts in the Explore series. You can even make and back faux leather earrings with the new Cricut Joy! To read my post about how to make faux leather earrings with a Cricut Joy, click here.
- A Cricut Strong Grip (Purple) Cutting Mat. Cricut mats are color coded based on their stickiness, and the Purple mat’s “strong grip” stickiness is perfect for faux leather. Purple strong grip mats are available on Amazon here, or at Michael’s here. They are also available at Hobby Lobby here, Joann’s here, and Walmart here.
- Cricut Fabric (Pink) Cutting Mat. I like this 3 pack from Amazon here. This mat will be used for the 4th technique, cutting Heat n’ Bond.
- Blue Painter’s Tape. Blue painter’s tape is great for taping your faux leather down to the purple mat. It won’t damage the material and it will keep your faux leather from shifting during the cuts. You can buy blue painter’s tape at any hardware store, or on Amazon here.
- A weeding tool. I use my weeding tool from the basic Cricut tool set which you can find on Amazon here. I also love my Pin Pen Weeding Tool from 143Vinyl. It’s great for weeding intricate areas. You can see it here: Pin Pen Weeding Tool
- A Cricut EasyPress Mini or a Cricut Easy Press. I love my Mini from Amazon here. You could also use an EasyPress. I prefer the 9×9 size, available on Amazon here.
- A Cricut Easy Press Mat. I like the 8×10 size or the 12×12 size.
- Heat n’ Bond (Ultra Hold). You can get this at Walmart, any sewing or craft store, or on Amazon here. Be sure to get the UltraHold variety, in the red package.
- Glue. I prefer Art Glitter Glue in the bottle with the precision tip, available on Amazon here. Don’t worry, it doesn’t have any glitter in it!
- Faux Leather. There are a lot of great places to buy faux leather by the sheet, like Amazon, Etsy, and Hobby Lobby, to name a few. I’ve listed my favorite faux leather resources, including my favorite Etsy shops, on my Tools & Materials Resource list. Click here to see it. Scroll to the bottom to jump right away to my favorite Etsy shops for faux leather!
- Heat Transfer Vinyl, Foil Iron-On, or Glitter Heat Transfer Vinyl. I often use Cricut Foil Iron-On or Siser EasyWeed to back my faux leather earrings. You can use any heat transfer vinyl you’d like! A general rule of thumb is the faux leather backing color should either match or blend in with the earring, or stand out and be an accent color. It’s up to you!
- An earring SVG template. In my YouTube video, I used my three layer petal earring template SVG, available in my shop here or in my Etsy shop here. You can use any earring SVG you already have, or you can try out my free teardrop shape SVG earring template, which you will receive along with my printable Cricut Earrings QuickStart Guide!
You can get the earring template and guide emailed to you instantly by clicking the link below:
FOUR WAYS TO PUT A BACK ON FAUX LEATHER EARRINGS
Before I show you the four options for putting a back on faux leather earrings, I wanted to mention I won’t be showing you how I cut faux leather earrings with a Cricut in this post.
But if you’re new to making faux leather earrings, you’ll want to read this post about my Best Tips & Tricks To Cutting Faux Leather with a Cricut. Or you can watch this YouTube video:
So let’s go over four different ways to put a back on faux leather earrings.
Option 1: Mirror & Cut Vinyl Shape, Press On The Back
The first way to put a back on faux leather earrings is to cut a mirrored copy of the faux leather shapes from heat transfer vinyl and then press them on the back on the faux leather. If you are working with a layered earring design, I suggest only pressing heat transfer vinyl on the bottom earring layer.
I like to use this technique of applying heat transfer vinyl to the back of faux leather earrings when the earring design is layered (therefore thick) or the faux leather itself is on the thick side. Heat transfer vinyl on the back of a faux leather earring can add interest and polish without adding a lot of bulk.
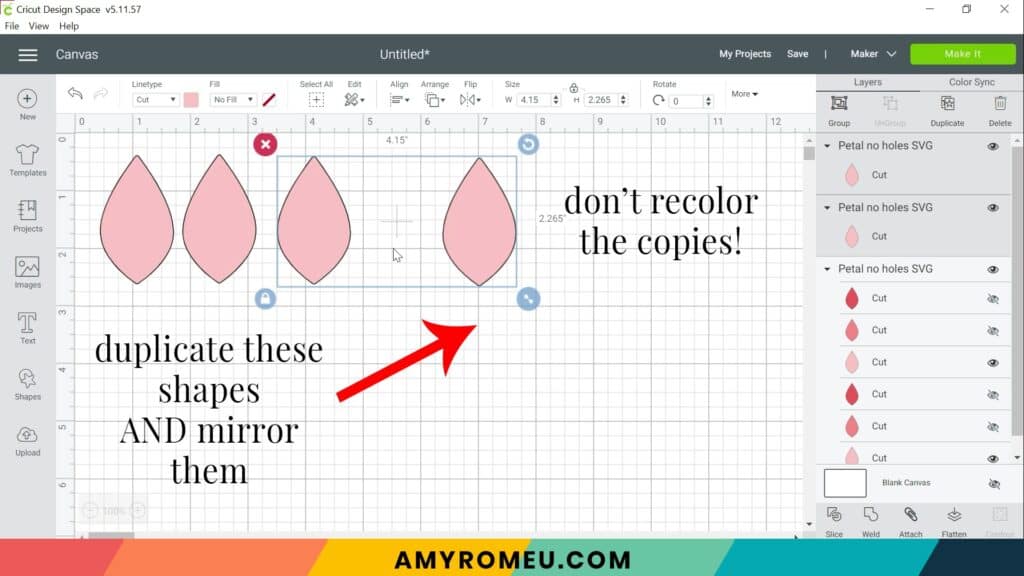
To do this, select the bottom layer of your faux leather earring shapes in Cricut Design Space and click DUPLICATE.
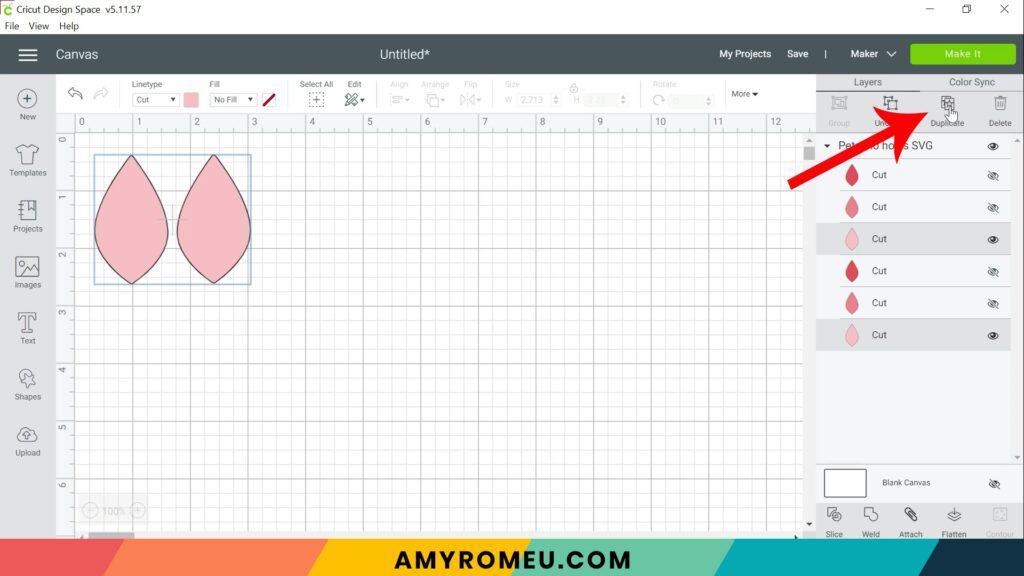
I like to recolor the copied earring shapes so I know which ones are which.
Select the copied shapes and click on FLIP and then FLIP HORIZONTAL. This will create a mirrored copy of your faux leather layer.

Cut your faux leather layer and vinyl layer according to your material’s selections. If you’re new to cutting faux leather with your Cricut, check out my post on How To Cut Faux Leather with a Cricut Maker here.
Place your cut and weeded faux leather and heat transfer vinyl shapes on your pressing mat. Set the EasyPress Mini to the lowest setting, or the EasyPress to 255-295 degrees, according to the manufacturer’s suggested temperature for the heat transfer vinyl you are using.
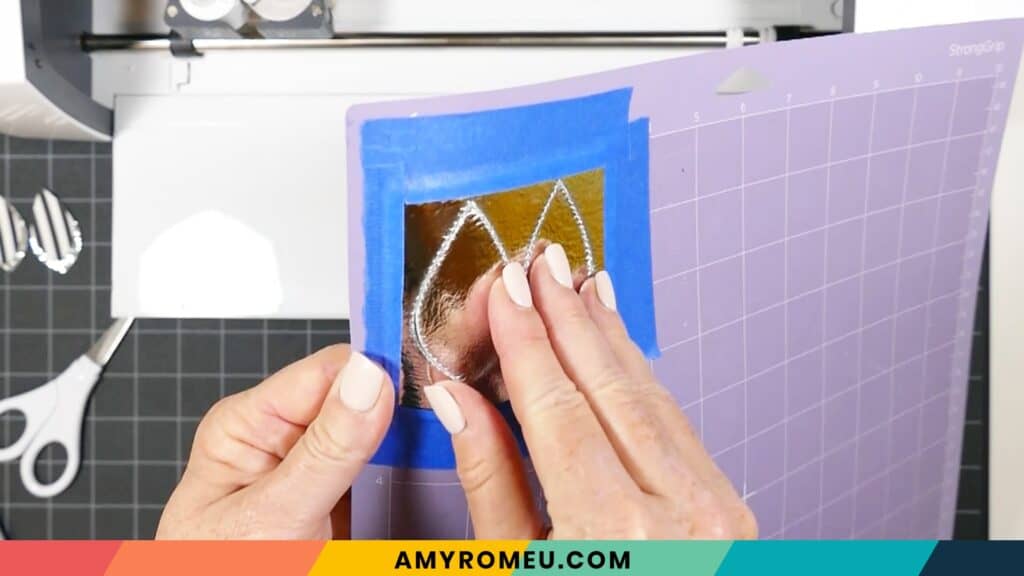
Match up the front faux leather shape with it’s mirrored back. Make sure they line up exactly. Place the layered earring shapes – heat transfer vinyl side up – on the pressing mat.
Cover the layered earring shapes with a piece of teflon sheet or parchment paper.
Press for about 10 seconds. I like to move the EasyPress Mini around as I press, but you don’t have to. Don’t press too hard or you may damage the faux leather shape underneath.
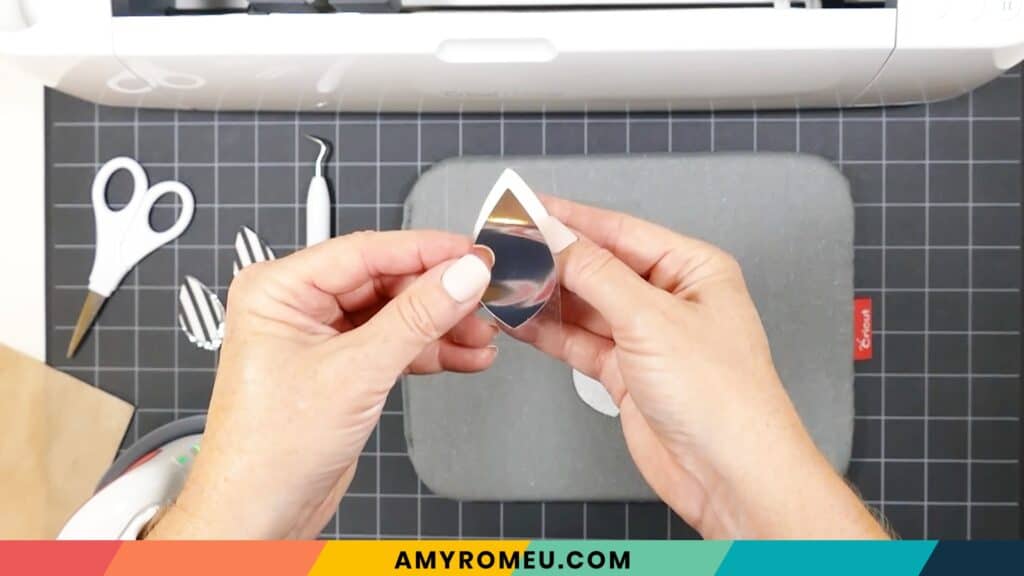
Remove the cover sheet. Keeping the faux leather shape flat, gently begin peeling away the clear vinyl carrier sheet. If the vinyl lifts up from the faux leather, replace the carrier sheet and press again. Keeping the faux leather flat as you peel away the carrier sheet will keep the vinyl from wrinkling on the back of your earring.
That’s it for option 1 for putting a back on faux leather earrings.
Let’s move on to option #2.
Option 2: Press Vinyl On Faux Leather Before Cutting Shapes
Another way to put a back on faux leather earrings with heat transfer vinyl is to apply the heat transfer vinyl to the piece of faux leather BEFORE you cut out the earring shapes.
This technique eliminates any difficulty with lining up the front faux leather and the back vinyl layers perfectly before pressing.
Again, I like to use this technique because heat transfer vinyl doesn’t bulk up the faux leather earring, especially for layered earrings or when the faux leather is thick.
For this option, it’s not necessary to create a copy of your earring shapes since you will be cutting the faux leather earring shapes from one piece of material already backed with vinyl.
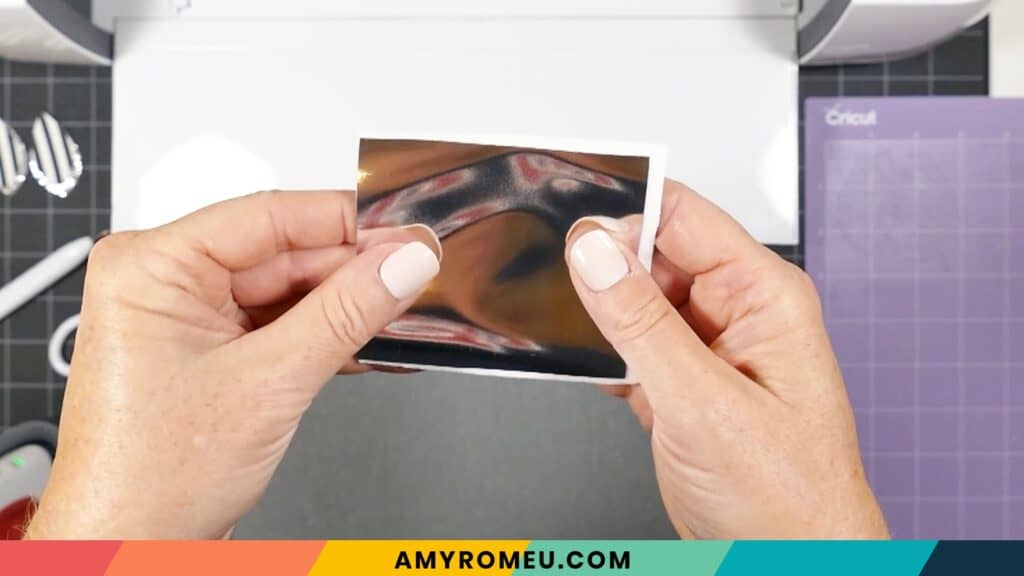
In Cricut Design Space or your cutting machine’s software, make a note of what size material your faux leather shapes will cut from, and cut both a piece of faux leather and heat transfer vinyl to size. I’m using Cricut brand Foil Iron-On in Pewter.
Place the heat transfer vinyl piece on the back of the faux leather piece. Line up the edges so the vinyl layer isn’t overlapping the faux leather layer – trim the vinyl layer if necessary.
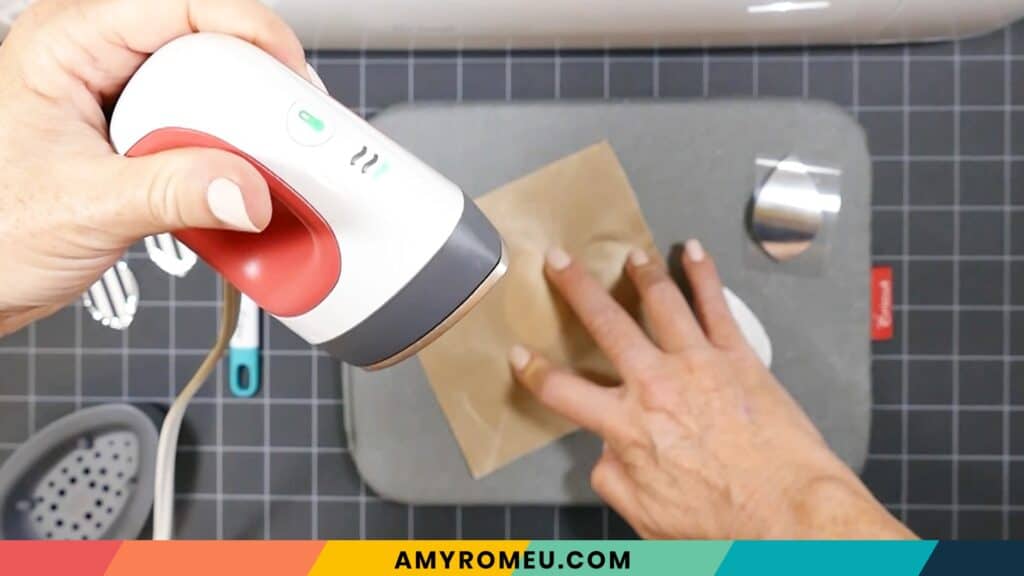
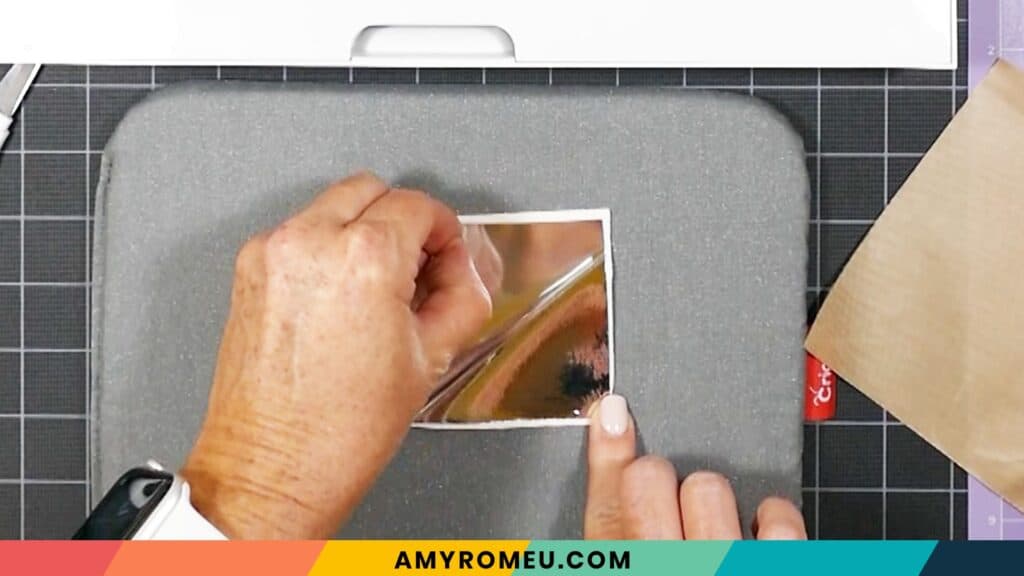
Place the two layers carefully, vinyl side up, down on your pressing mat. Cover with a teflon cover sheet or parchment paper. Press carefully for about 10 seconds, using the EasyPress Mini on the lowest setting or an EasyPress set to the recommended temperature according to the vinyl manufacturer’s directions.

Keep the faux leather flat on the mat and carefully peel away the clear carrier sheet. Replace and repress if needed.
Place your faux leather and vinyl sandwich on a purple strong grip cutting mat, vinyl side up, and tape down on all sides with blue painter’s tape.
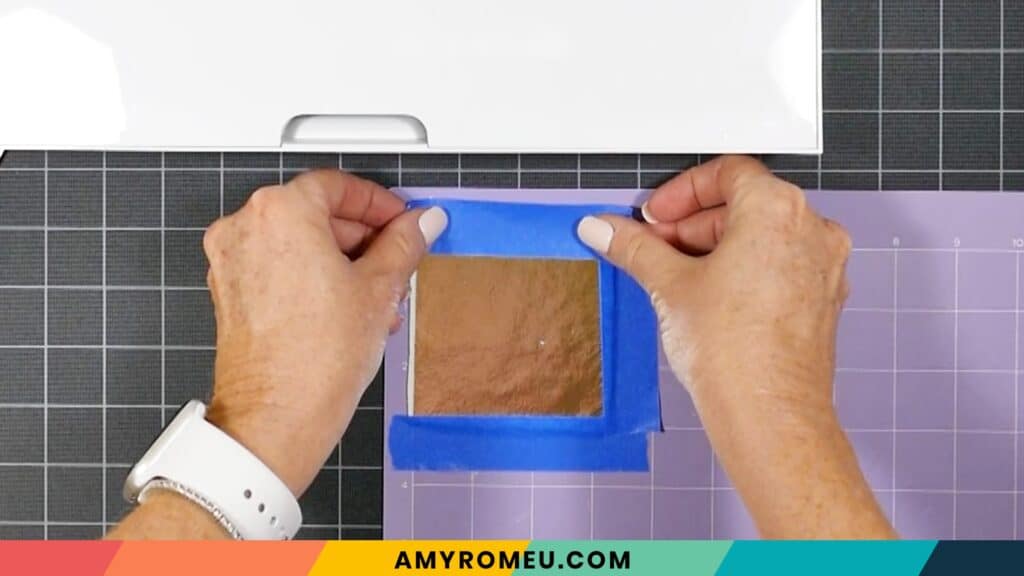
Cut the faux leather shapes. If you want more details on how to cut faux leather earrings with your Cricut, visit my post on How To Cut Faux Leather with a Cricut Maker here.
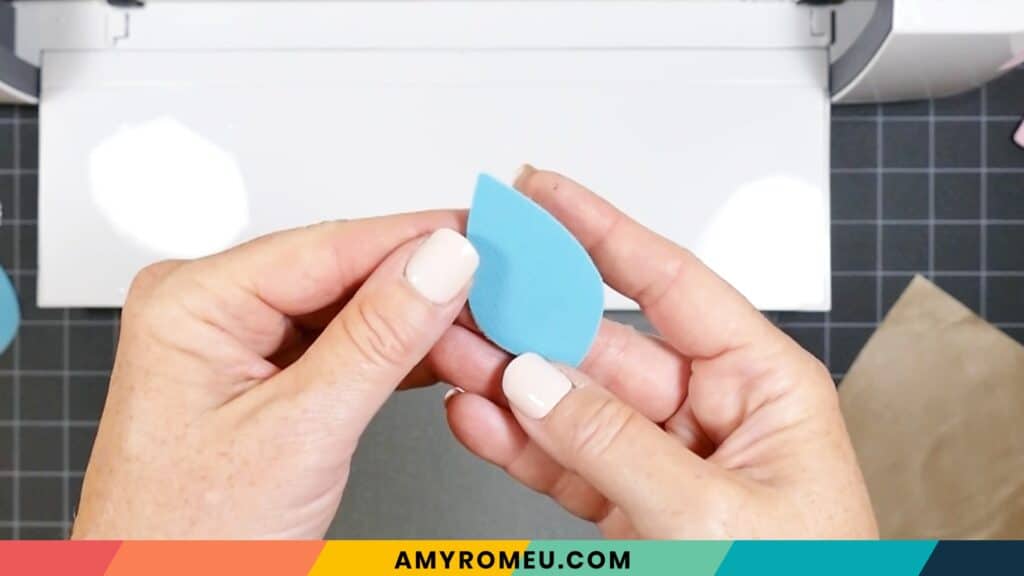
Carefully remove the earring shapes from the mat after cutting. Bend the mat away from the earring shapes as you remove them so you minimize curling the faux leather and wrinkling the vinyl.
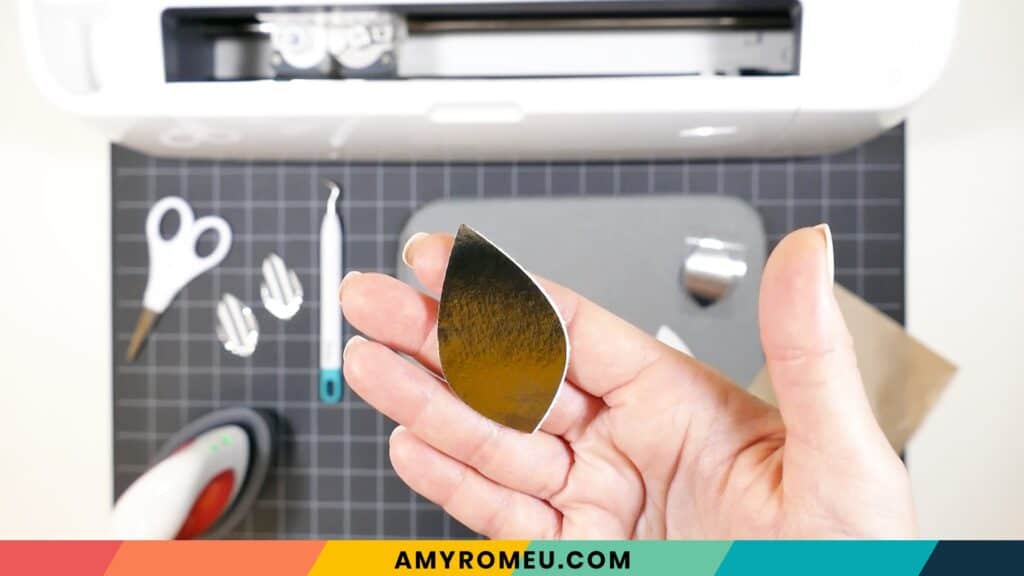
You’ll notice the edges of these shapes have a textured edge from the cutting blade. You may or may not like that finish on the edge, it’s up to you.
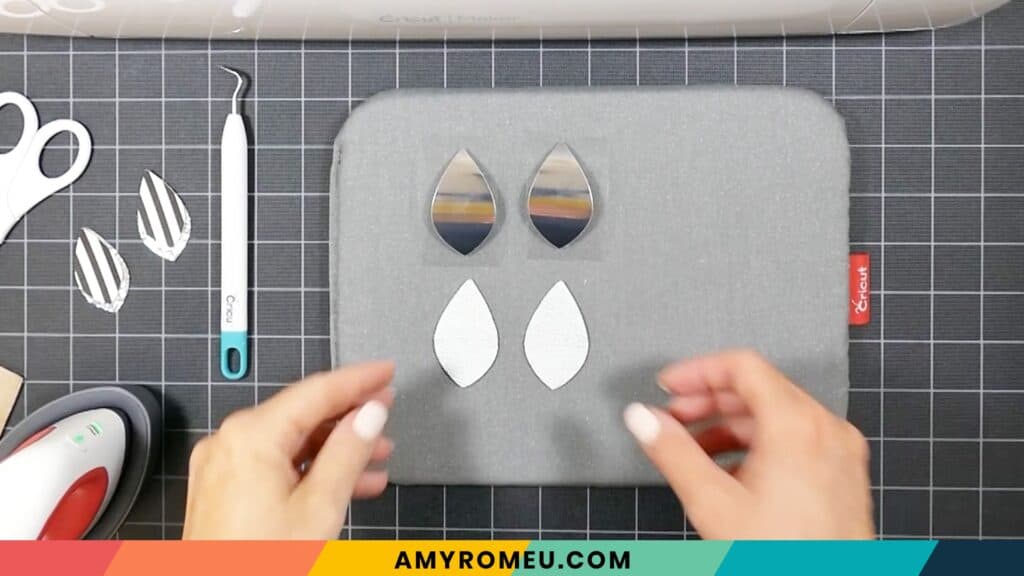
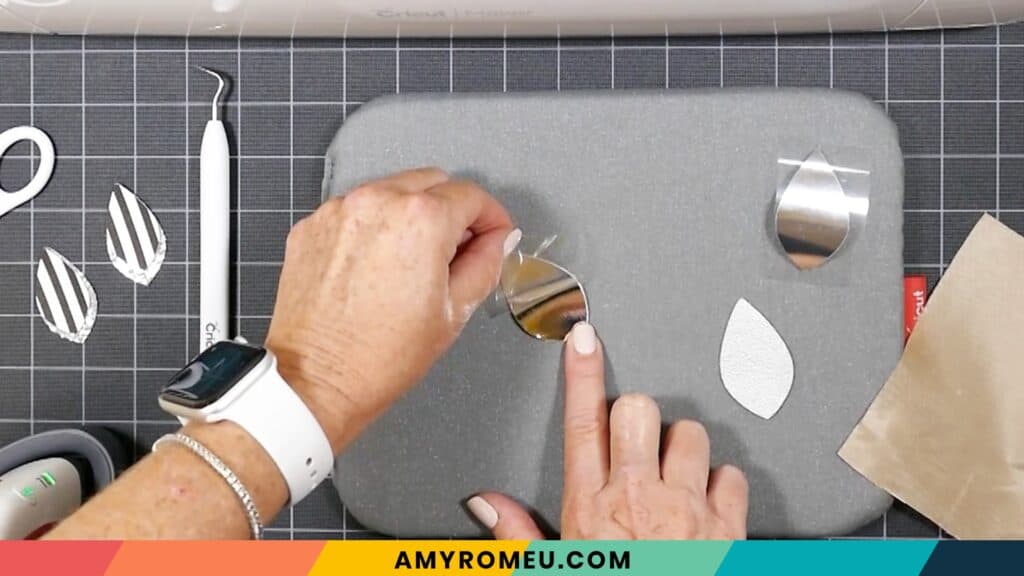
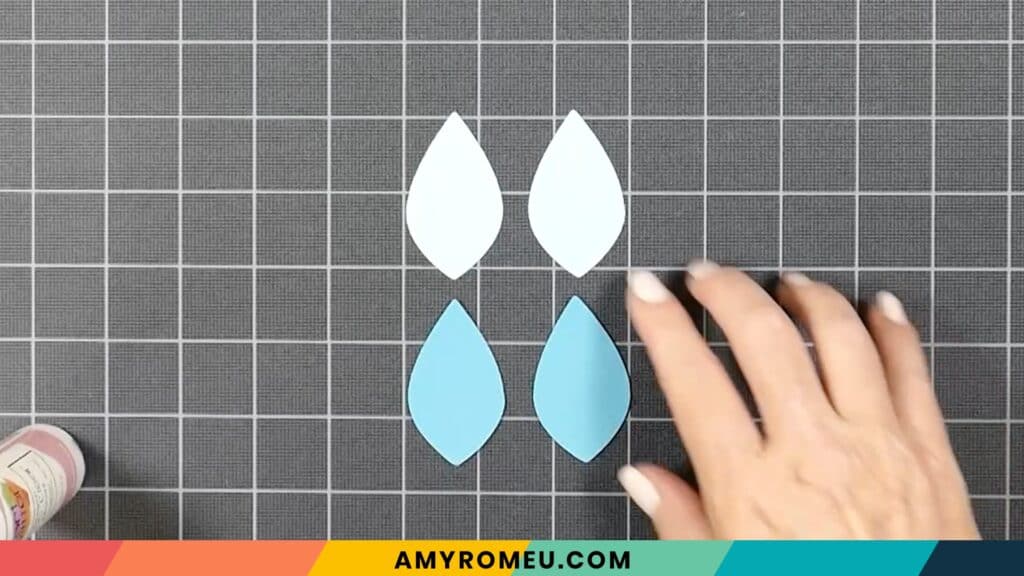
Here you can see the difference between Option #1 and Option #2.

Both of these first techniques involve applying heat transfer vinyl to the back of a faux leather shape. Now I’ll show you two ways to attach two faux leather shapes front to back to make double sided faux leather earrings.
Option 3: Glue Two Faux Leather Shapes Front to Back
For this option, start by duplicating your bottom layer earring shapes as you did in Option 1. FLIP the second set of shapes horizontally, but DON’T recolor them. They should remain the same color as the first set of shapes so they will all cut from the same mat.
Cut all four earring shapes on the same mat. Remove the shapes when the cut is finished, and then match up the fronts and backs. Turn one set of shapes over.
Using a good fabric glue with a small nozzle (I love Art Glitter Glue), carefully apply glue to the back of one earring shape. You want the glue to get close to the edge without being right at the edge – some glue will move towards the edge when you press the top and bottom layers together.

Carefully place the matching front shape on top of the glue and press gently all over. Wipe away any glue that seeps from the edges right away with a damp paper towel.

Repeat with the other earring layers. Then place both glued earrings under something heavy like a book to dry for a few hours, overnight is best. This step is super important to getting the layers to fuse together and to make sure your earring is as flat as possible.
That’s it! Now the faux leather earrings are double sided.
Let me show you another way to attach the two earring layers without using glue.
Option 4: Press Two Faux Leather Shapes with Heat n’ Bond
The other option for attaching the front and back earring shapes is with a sewing product called Heat n’ Bond. It is a fusible adhesive sheet product with a paper backing that is heat activated. It can be cut into exact shapes with scissors or with a cutting machine. The Heat n’ Bond is then placed between two layers and pressed so the two layers become fused together.
This product is generally used for pressing fabric layers, but it works great for faux leather earrings, too. I recommend getting the UltraHold version of Heat n’ Bond. It comes in a red package.

Cut a piece of Heat n’ Bond to a size just slightly larger than the earring shapes. The Heat n’ Bond has two layers – a translucent adhesive layer, and a paper backing. Cut both layers together and place them paper side down on a pink fabric cutting mat.

Cut one pair of the earring shapes from the Heat n’ Bond on the pink mat. In Cricut Design Space, I selected the “Freezer Paper” material setting.
Carefully remove the cut adhesive layer from the paper backing.

Place it on the back of one of the earring shapes. Then layer the other shape on top.

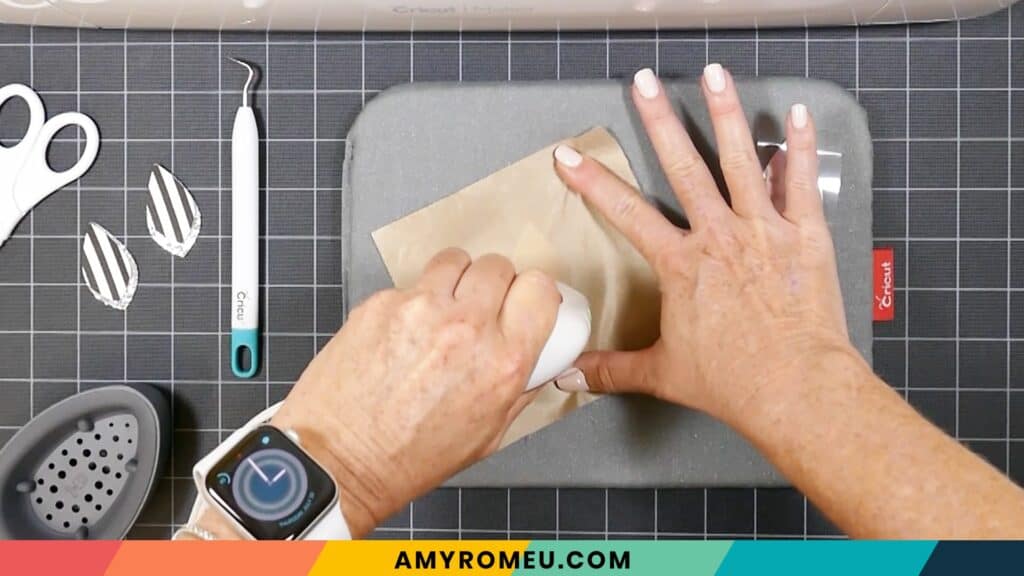
Place the lined up layers on your pressing pad, cover with a teflon sheet or parchment paper, and press on low heat with the EasyPress Mini or with an EasyPress set to 255-295 degrees for about 10 seconds.
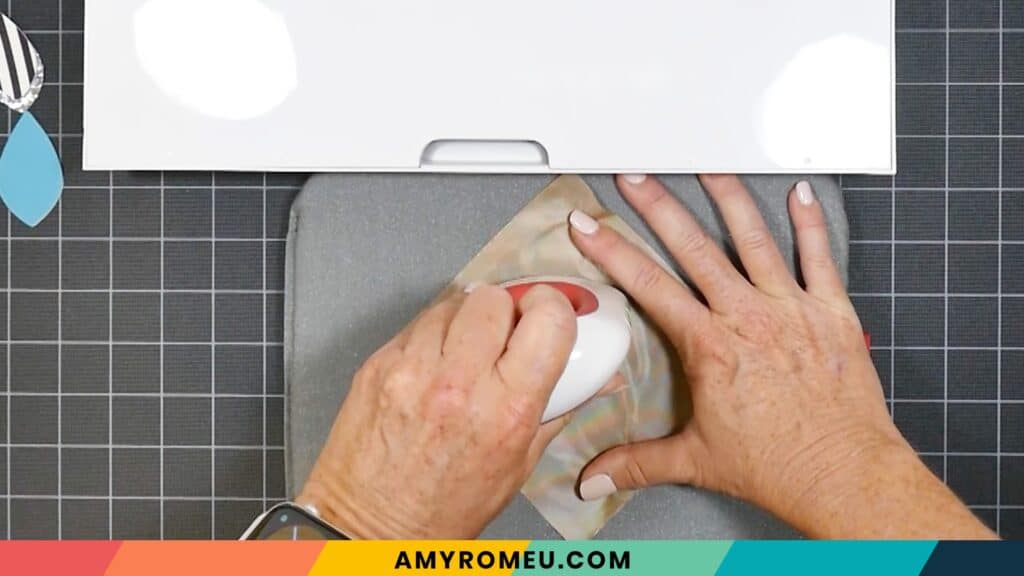
Repeat with the other earring. That’s it.
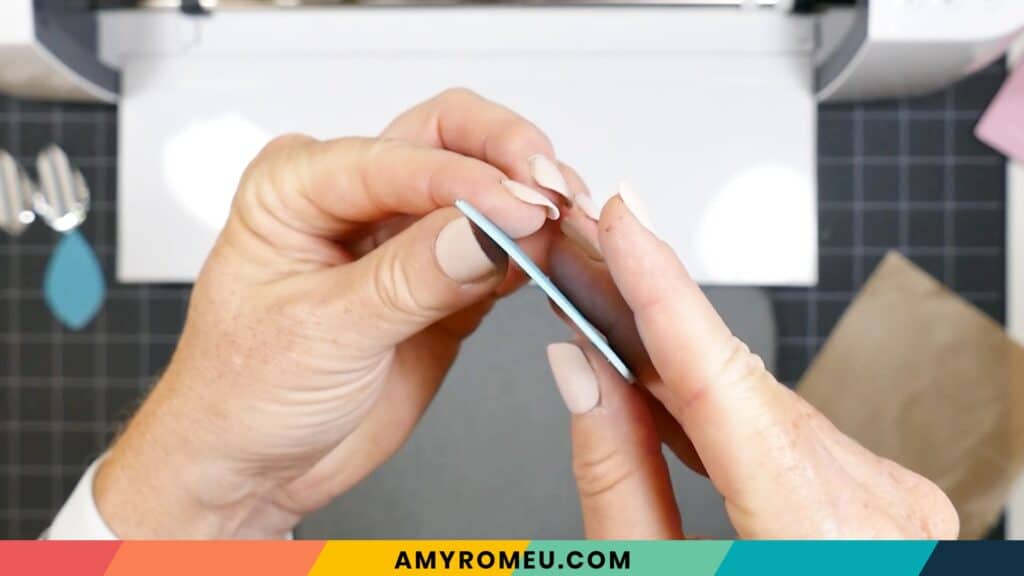
You can see the Heat n’ Bond keeps the double layer earring nice and thin.
So there you have four different ways to put a back on faux leather earrings. Which way will you try first? Please let me know how it goes in the comments!
If you want to try out these techniques for putting a back on faux leather earrings, don’t forget to grab my FREE teardrop earring SVG template, along with my printable Cricut Earrings QuickStart Guide! The QuickStart Guide has all the essential steps you need to take to make your first pair of earrings with a Cricut. Instructions include the Cricut Maker, the Cricut Explore Air 2, and the Cricut Joy.
Just click on the button below to get your FREE Teardrop Earring SVG template and the Cricut Earrings Quickstart Guide sent to your email inbox right away:
I hope you found this post helpful! If you have any questions about making faux leather earrings, or if you want to show me what you’ve created, I’d love to hear from you! Please reach out to me at [email protected].
Until next time… and happy creating!

WANT TO REMEMBER THIS? PIN THIS WHAT TO PUT ON THE BACK OF FAUX LEATHER EARRINGS PIN ON YOUR FAVORITE PINTEREST BOARD!
Excellent advice!
Love all of the tips and tricks! Thank you
Hi thank you for these handy tips. Which technique do like best for faux leather backing and which is most reliable and sturdy?
Hi, Jackie! I’m glad you found these tips helpful. The technique I use most often is pressing the heat transfer vinyl onto the back of the faux leather and then cutting the shapes out. It’s the second technique I demonstrate in my YouTube video that goes with this blog post. Here’s the link: https://youtu.be/Q1IK6EfA6c8