
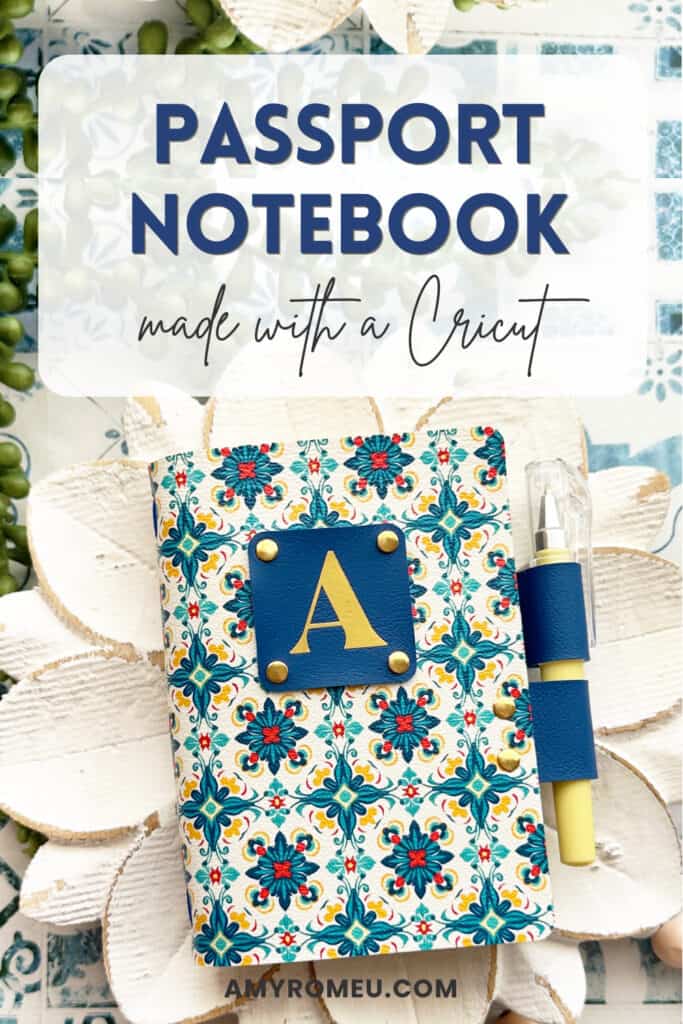
How to make a Faux Leather Passport Holder with a Cricut
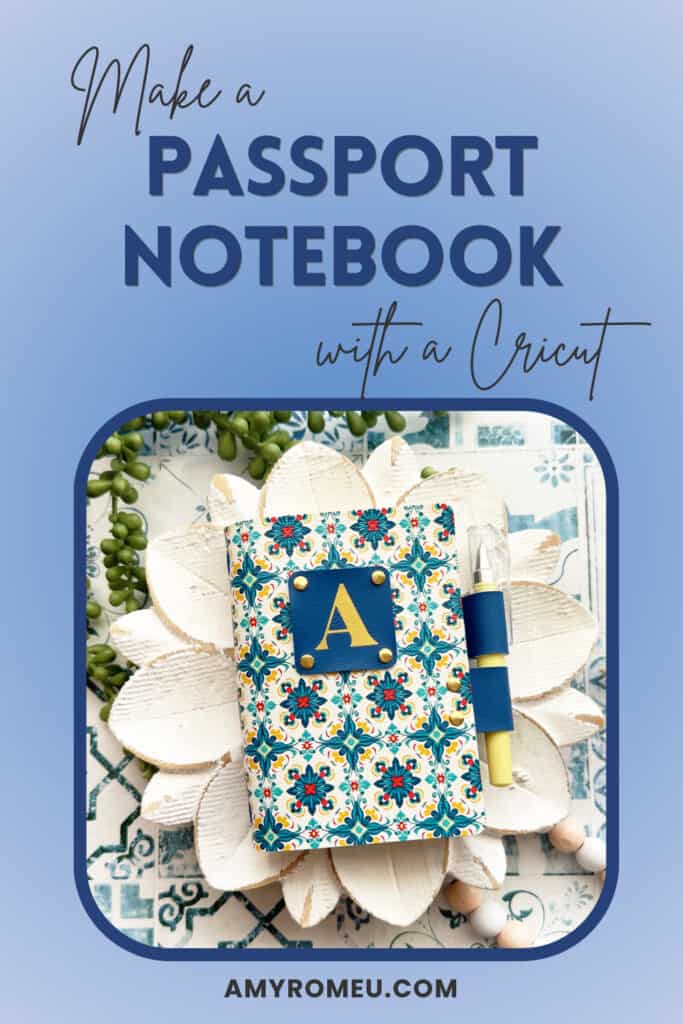
Learn how to make this pretty Passport Holder Cover with your Cricut using faux leather and heat transfer vinyl!
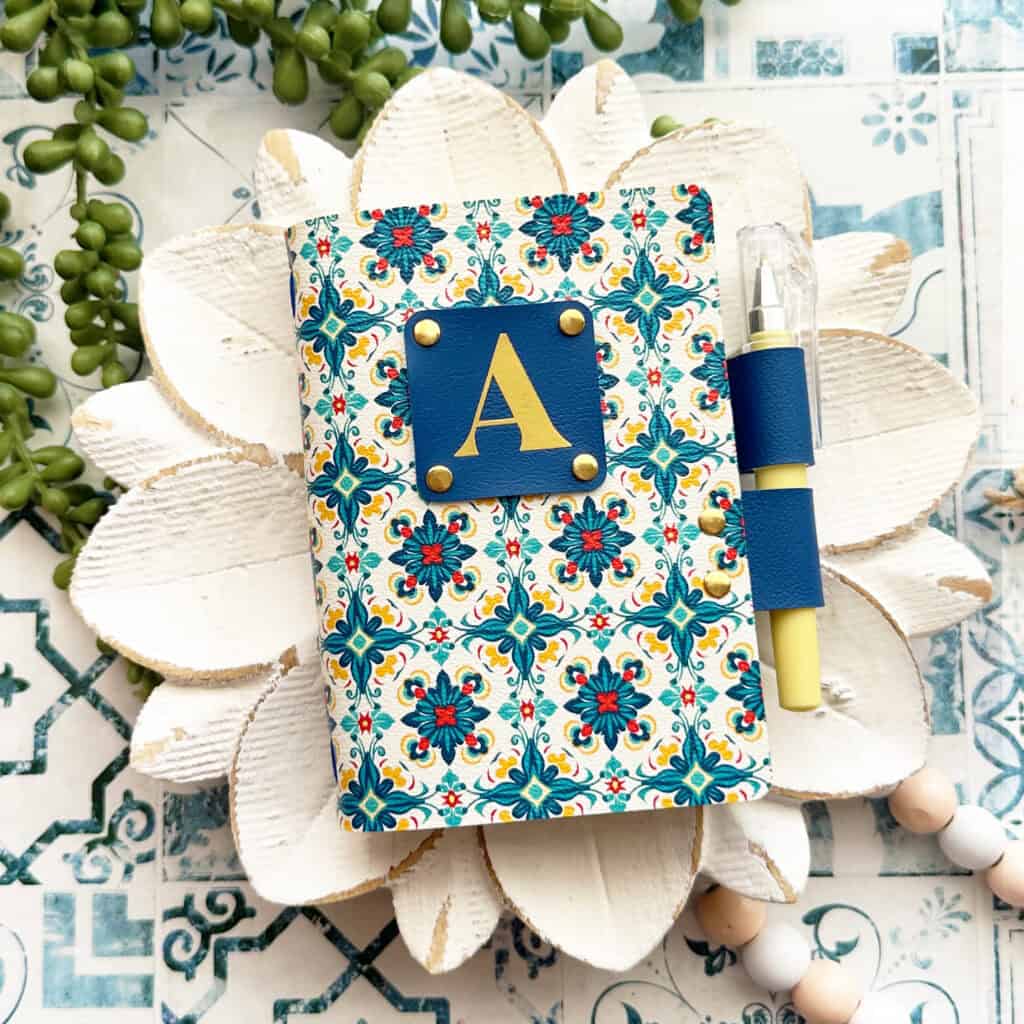
This functional Cricut project holds a passport and a passport sized 3.5 x 5 inch notebook insert inside using an elastic cord.
It features a pen holder and an initial detail cut from heat transfer vinyl and pressed onto the faux leather of your choice to create the decorative initial element.
Note: this notebook cover is designed to hold 3.5″ x 5″ notebook inserts and cannot be resized.)
You can see all of the supplies I purchased on Amazon in the materials section below.
Ready to get started? Let’s dive into the materials and steps!
Step 1: Get the SVG Template
This SVG file & project is part of the Cricut Crafting Adventure Summit! Get your free ticket to attend this event and make this project and 35 more Cricut crafts taught by leading Cricut experts. The event is happening from April 30-May 3, 2026.
Step 2: Shop the Supplies
This page contains some affiliate links (which means if you make a purchase after clicking a link, I will earn a small commission at no additional cost to you). Read my full disclosure policy here.
Compatible Machines✅: Cricut Maker, Cricut Maker 3, Cricut Maker 4, Cricut Explore Air 2, Cricut Explore 3, Cricut Explore 4, Cricut Joy Xtra
Not Compatible Machines❌: Cricut Joy
Blade Used: Standard Fine Point Blade
Cut Setting Used✂️: Faux Leather (Paper Thin) with “More” pressure
- Faux Leather & Heat Transfer Vinyl
- Use any smooth faux leather you’d like. I used this tile print faux leather and this dark blue. I ordered a 9×12 sheet with Portrait Orientation and Large Scaling.
- Use any HTV you’d like. I used Teckwrap Craft Foil HTV in Gold.
- Other Project Supplies
- 2mm Elastic Cord
- 3.5″ x 5″ notebook inserts
- Small Pen like these Mini Gel Pens or these – these are 4 inches tall for reference
- 6mm x 6mm rivets with rivet tools
- Hammer
- Other Cricut Supplies
- Blue Painters Tape
- Fabric or Craft Glue like Beacon Fabri-Tac
- Small Curved Scissors
- Teflon Sheets
- Purple Strong Grip Mat
- Green Standard Grip Mat
- Weeding Tool like a Pin Pen or like the one in the Cricut Basic Tool Set
- Cricut EasyPress Mini
- EasyPress Mat, 8×10 size
🛒 To shop many of these supplies in my Amazon storefront, click here.
Step 3: Make the Project
Set Up Your Design
- Open a new canvas in Cricut Design Space.
- Upload the unzipped Travelers Notebook Cover SVG file to your canvas.
- If you want to add an initial cut from heat transfer vinyl, type out a letter using the text tool in Design Space. Then size it appropriately on the square shape for the front of the notebook cover.
Prepare to Cut
- Click Make It.
- Mirror your mats, since you’ll be cutting the faux leather and heat transfer vinyl face down.
- Choose the Faux Leather (Paper Thin) material setting with More pressure for the faux leather mat.
- Choose the manufacturer’s recommended cut setting for the type and brand of heat transfer vinyl you are using. I use the Glitter Vinyl setting with Default pressure when cutting TeckWrap Craft Foil Iron On (it’s thicker than regular foil iron on).
- Trim a piece of faux leather to a size just larger than the sizes shown in the mat preview screen. If you are using two different pieces of faux leather, do this for both mats.
Cut the Faux Leather
- Place the faux leather pretty side down on a Strong Grip (purple) mat.
- Secure all edges with blue painter’s tape.
- Load the mat into your Cricut.
- Press the C button to begin cutting.
- When the cut is complete, without unloading the mat, use a sharp tool to gently lift the edge and check the cut.
- Repeat the cut if necessary by pressing the cut button again.
- Once the cut is complete, unload the mat and remove the shape.
- Repeat cutting the second faux leather mat.
Cut the Heat Transfer Vinyl Initial (optional)
- Cut the initial layer from heat transfer vinyl.
- Weed away the excess HTV.
Press the HTV onto the Notebook Cover
- Press the HTV initial onto the small faux leather square for the notebook cover with an EasyPress Mini on Low or an EasyPress set to 265°F.
- Cover the HTV and faux leather before applying heat with a Teflon sheet, butcher paper, or parchment paper.
- Press for 7-10 seconds all over. Carefully try to peel the HTV layer. If it doesn’t come up easily, cover and press again. If you press again and the vinyl still lifts up with the carrier sheet, let the HTV cool for about a minute before you try and peel it. This is often helpful with detailed designs.
- Place the warm faux leather shape under your heat pressing pad for a minute or two so it cools flat.
Apply the Rivets
- Using 6mm rivets, insert one into each of the four holes on the faux leather square. Push them all through the four holes in the notebook cover. Then attach rivet caps to the other side.
- Use the rivet tools to hammer each rivet closed.
- Repeat for the pen loops. Fold a pen loop, line up the holes with the side of the notebook, and hammer closed.
- Repeat with the second pen loop.
Add the Notebook Inserts
- Gather your 2mm elastic cord and your notebook inserts and/or passport. You can have 1-3 notebook inserts inside this cover.
- Cut a piece of 2mm elastic about 18 inches long.
- Insert each end of the elastic into the center holes in the spine of the notebook from the inside out.
- Open a journal notebook to the middle and place it in the cover.
- Wrap each elastic back into the inside of the cover and tie a knot in the journal notebook. Trim the ends of the elastic close to the knot.
- If you want to add more notebooks, take another 18 length of elastic and tie it around the cover of the single notebook.
- Then open another notebook to the center and slide the notebook underneath the piece of elastic on the front of the first notebook.
- Add another notebook to the back elastic if desired.
📺You can watch a video tutorial that shows how to add the elastic & notebook inserts to a similar project here.
Add Charms (optional)
- If you want to add charms to your notebook, start by threading a 10mm jump ring through the elastic cord loop created at the top part of the notebook spine. Close the jump ring with pliers.
- Attach more jump rings to your desired charms and use the jewelry making pliers to connect those charm jump rings to the first jump ring. You can also connect the charms to each other for more movement and fun.
Your Faux Leather Travelers Notebook Cover is complete! Enjoy this functional travel accessory you made with your Cricut!
Answers to your questions about making a Faux Leather Passport Notebook Cover with a Cricut
Q: Which Cricut machines will cut faux leather?
A: You can cut faux leather with any of the current Cricut machines because they all cut faux leather with the standard fine point blade included with each machine. For this project you can use the Cricut Maker, Cricut Maker 3, Cricut Maker 4, Cricut Explore 5, Cricut Explore 4, Cricut Explore 3, Cricut Explore Air 2, or the Cricut Joy Xtra. This notebook cover pattern is too large for the Cricut Joy.
Q: What do I need to press heat transfer vinyl onto faux leather?
A: To press heat transfer vinyl onto faux leather you’ll need a traditional heat press, Cricut EasyPress, or Cricut EasyPress Mini. I used a Cricut EasyPress Mini for this project because it’s great with pressing small projects like earrings, keychains, and accessories. I set the EasyPress Mini to the Low setting and covered the HTV on the faux leather with a Teflon sheet before pressing for about 10 seconds. For a larger EasyPress I set it to 265 degrees F.
Q: How do I get the SVG template for this project?
A: Get the SVG file during the Cricut Crafting Adventure Summit happening from April 30-May 3, 2026. Get your free ticket here.
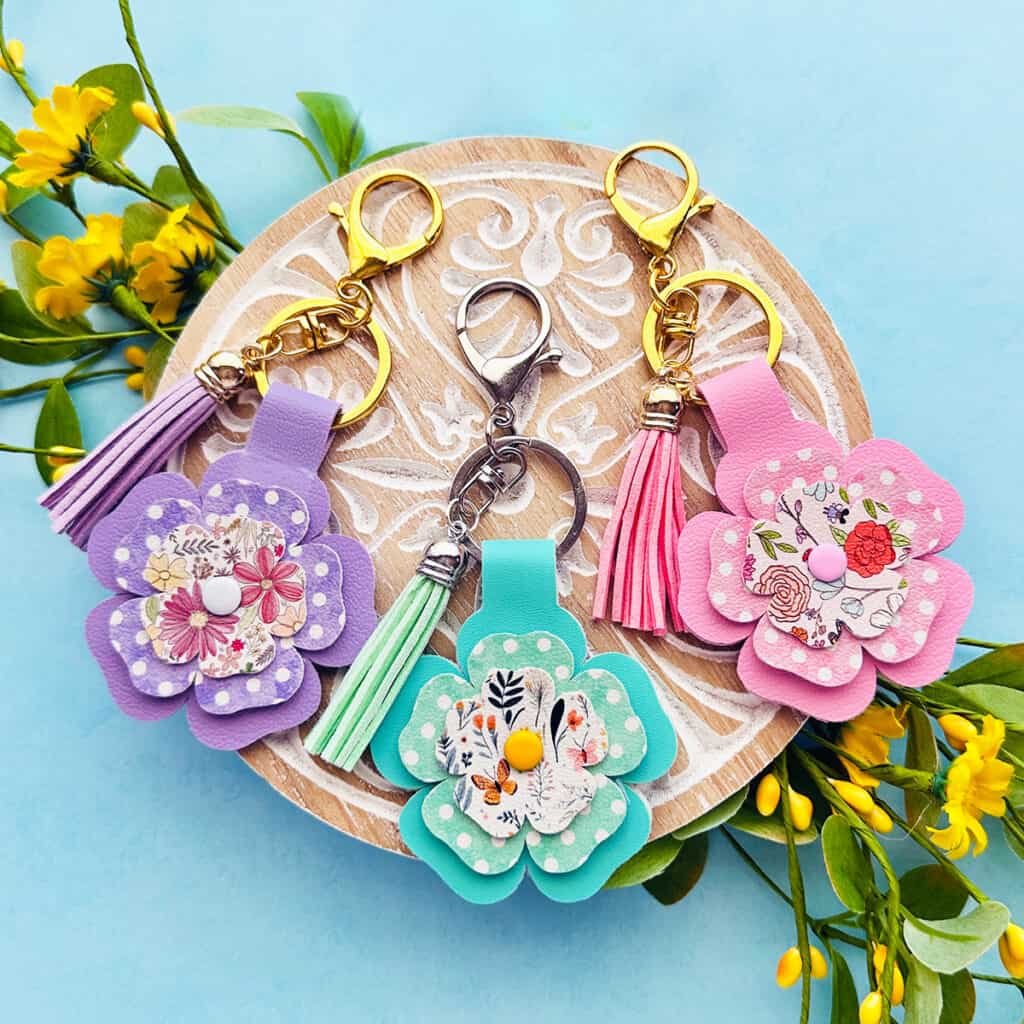
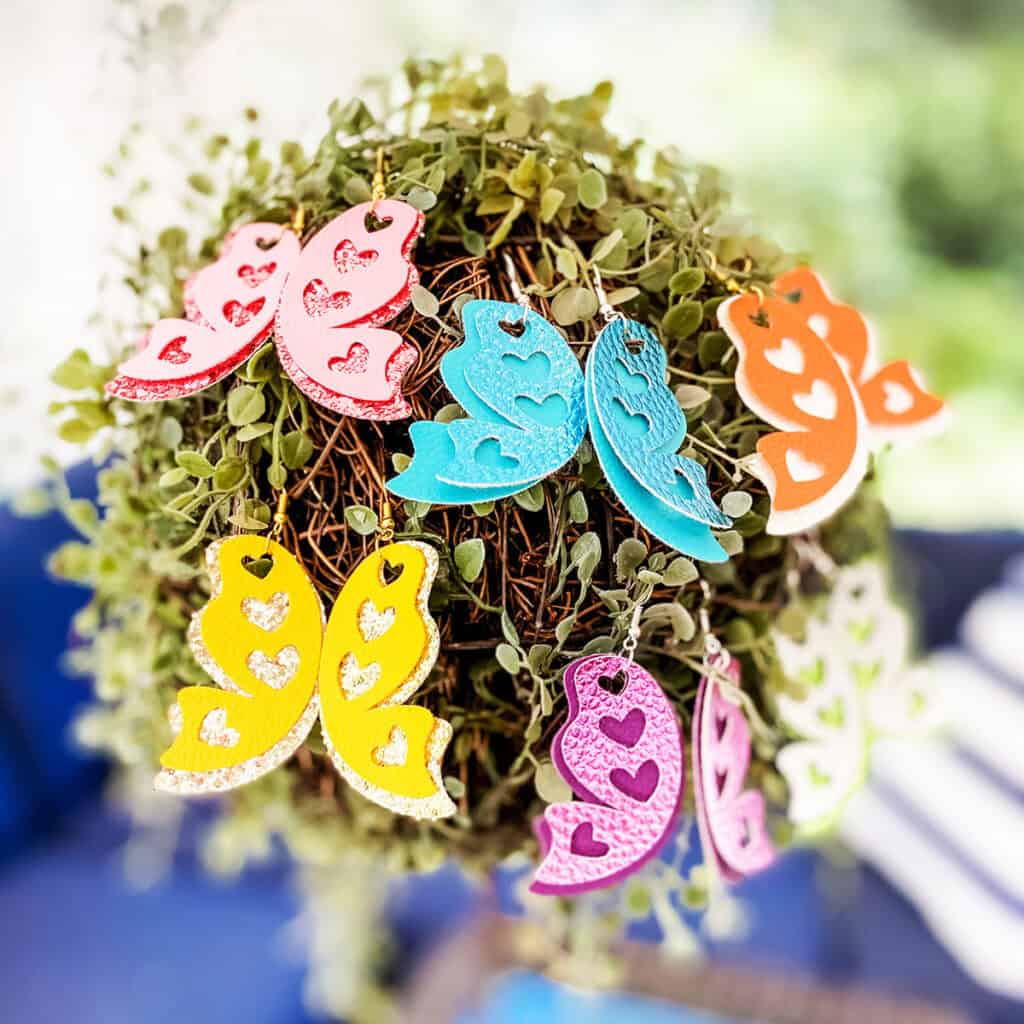
More Spring projects you’ll love
Also available in my SVG Shop
Share Your Work & Ask Questions
I would love to see what you have created! Please join my free faux leather crafting making Facebook group and share your creations with me and all of my crafting friends!
Until next time… and happy creating!

Pin this project to your favorite Pinterest board!
Want instant access to my Free Resource Library full of SVG files?
Just Enter your name and email Below!
By signing up, you’ll get instant access to my FREE SVG Library with hundreds of crafting SVG templates! You’ll also get my weekly newsletter full of crafting ideas, tutorials, and inspiration! Unsubscribe anytime.