
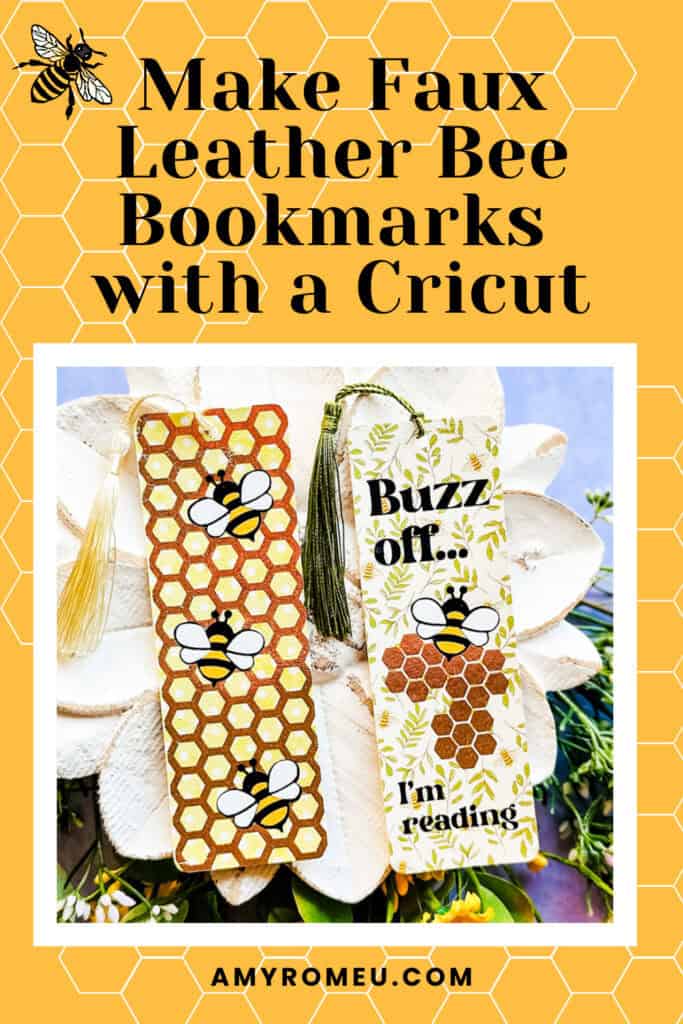
How to Make Faux Leather Bee Bookmarks with a Cricut
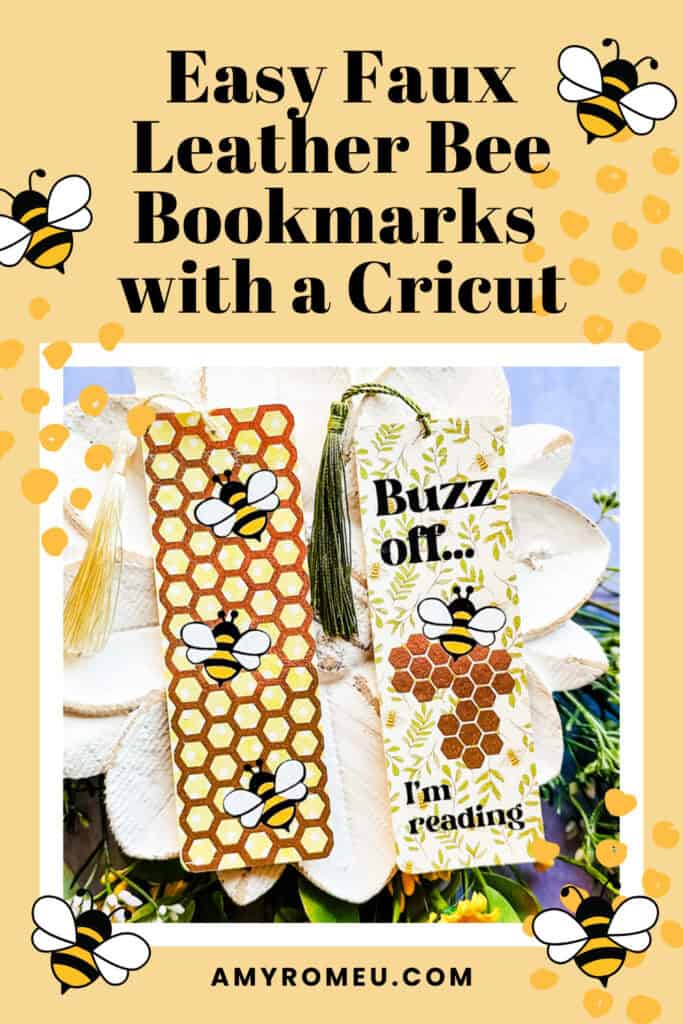
Learn how to make Faux Leather Bee Bookmarks with a Cricut
This project is Day 6 of The Spring Fling Crafting Event!
I’m Amy Romeu, and in this tutorial I’ll be showing you how to make Faux Leather Bee Bookmarks with a Cricut.
Follow along with this written tutorial including all the materials, SVG files, and tips you need.
Ready to get started with this beginner friendly Spring Cricut craft tutorial?
Get the SVG in my Shop
Personal or Small Commercial Use Available
Let’s dive into the materials and steps!
Want to watch a video tutorial instead? Check it out below!
See the full step by step video tutorial
Click the image below to watch the video on my YouTube channel, or click here.
How to make a Faux Leather Bee Bookmarks with a Cricut Step by Step
This page contains some affiliate links (which means if you make a purchase after clicking a link, I will earn a small commission at no additional cost to you). Read my full disclosure policy here.
Materials you’ll need to make Faux Leather Bee Bookmarks with a Cricut
🛒 To shop many of these supplies below in my Amazon storefront, click here. 🛒
Compatible Machines✅: Cricut Maker, Cricut Maker 3, Cricut Maker 4, Cricut Explore Air 2, Cricut Explore 3, Cricut Explore 4, Cricut Joy Xtra, Cricut Joy
Blade Used: Standard Fine Point Blade
Cut Setting Used✂️: Faux Leather (Paper Thin) with “More” pressure
- Faux Leather
- Your choice! I used Watercolor Dots in Yellow and this Honeybee Floral print. This Honeybee Honeycomb print and this half sheet of Honeybee Floral & White Honeycomb is great for bookmarks, too.
- I buy 9×12 inch size, Portrait Orientation, Regular Scaling but you can choose whatever options you’d like!
- Heat Transfer Vinyl
- For both samples I used Cricut Foil Iron-On in Rose Gold (I was out of Light Gold and Gold), Siser Easyweed in Black, Yellow, and Siser Glitter HTV in White.
- Other Project Supplies
- Cricut Easy Press Mini
- EasyPress Mat, 8×10
- Teflon Sheet
- 1/16″ Hole Punch
- Blue Painters Tape
- Small Curved Scissors
- Purple Strong Grip Mat
- Green Standard Grip Mat
- Weeding Tool like a Pin Pen or like the one in the Cricut Basic Tool Set
- Bookmark Tassels
- The SVG template for this project is available in my shop here or inside the Spring Fling Crafting Event VIP Pass.
Get the SVG in my Shop
Personal or Small Commercial Use Available
Step by Step Instructions
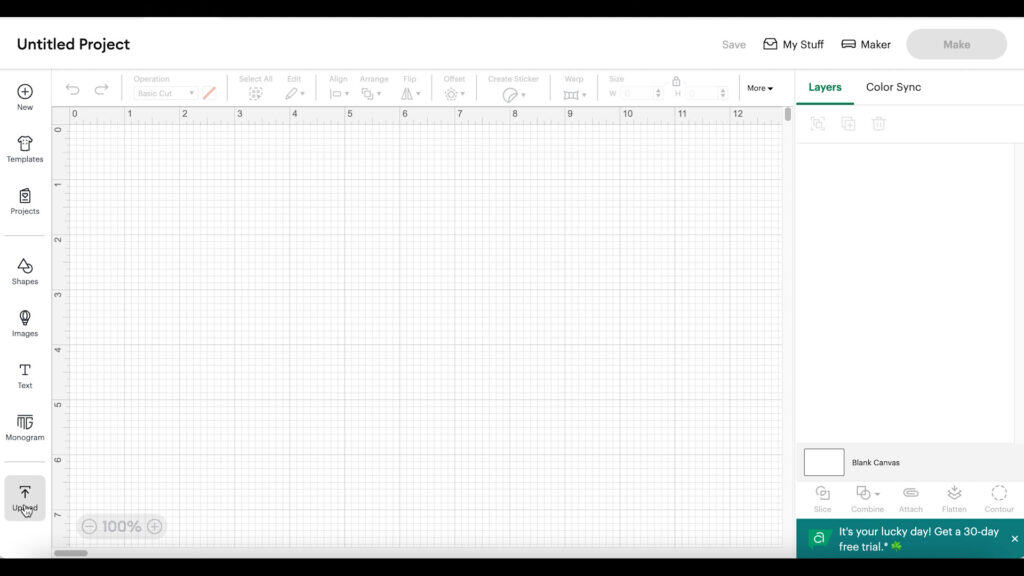
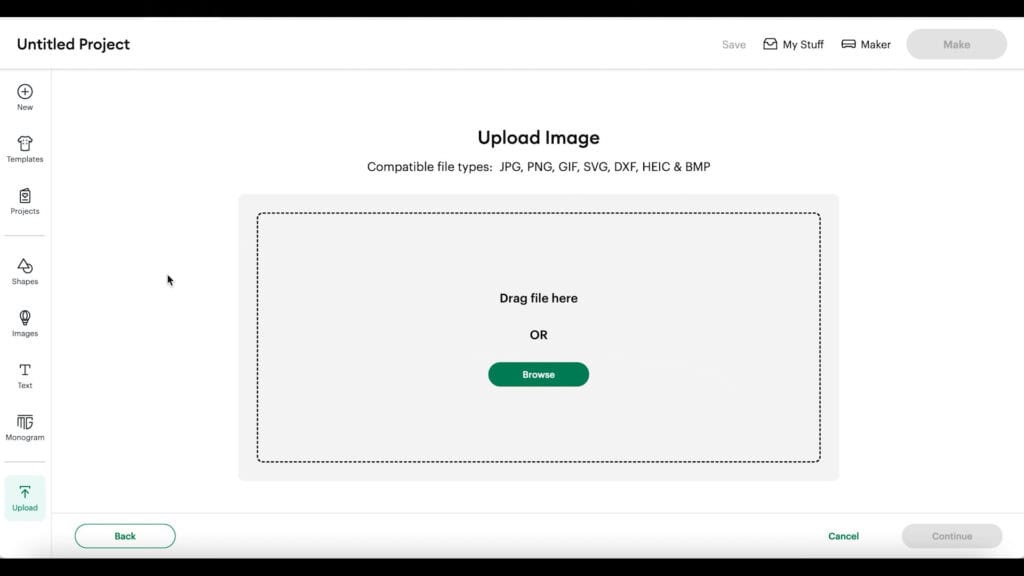
Step 1: Starting with a blank canvas in Cricut Design Space, click on Upload, then Upload Image.
Browse to where the ALREADY UNZIPPED SVG file for this project is saved on your device.
Click on the SVG to select it and follow the prompts to upload it.
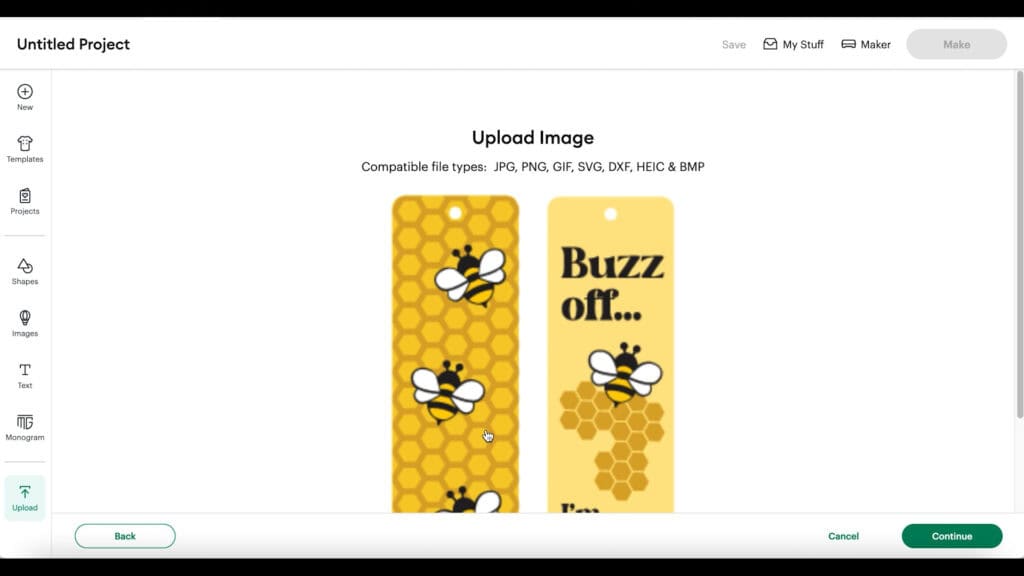
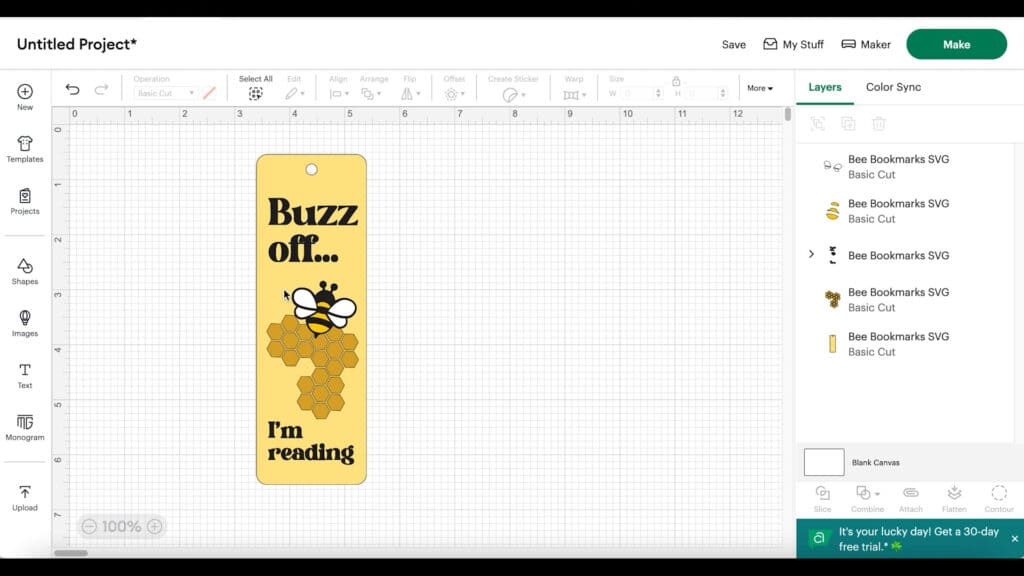
The design will load on the canvas. Ungroup the shapes by clicking on the Ungroup icon (first one on the left at the top of the layers panel). Then delete the design you aren’t going to make.
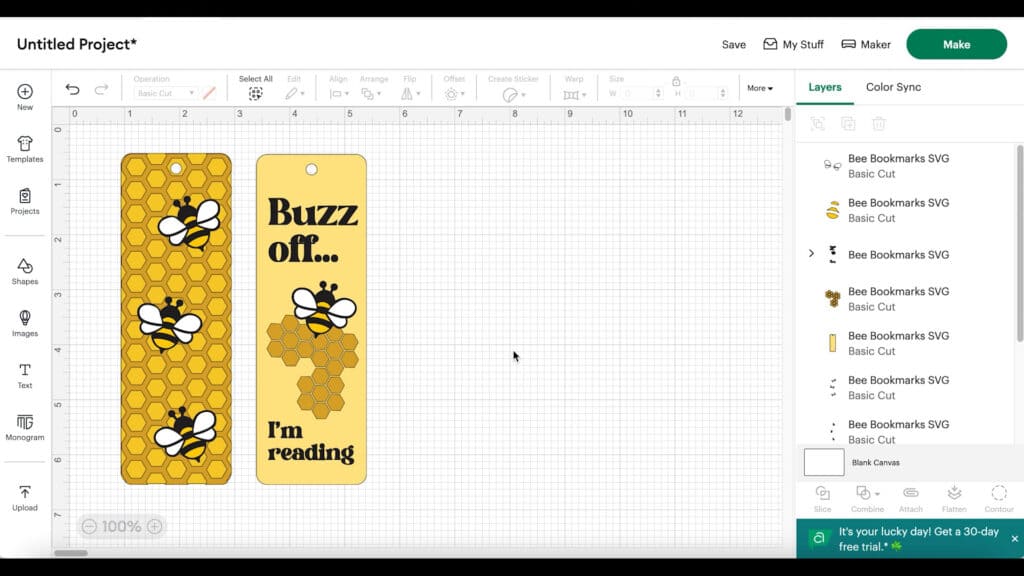
The bottom bookmark shape will cut from faux leather. Then the top layers will cut from faux leather.
Click the MAKE IT button.
Select ON MAT for how you will load the materials for this project.

STEP 2: Click on each mat on the left hand side and toggle the Mirror toggle ON. That’s because faux leather and heat transfer vinyl always cuts in reverse.
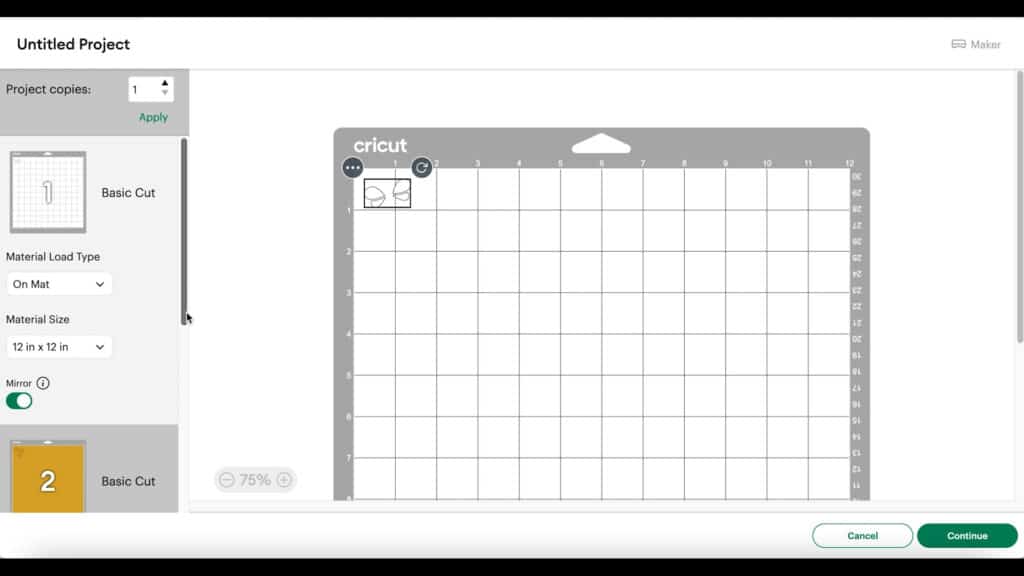
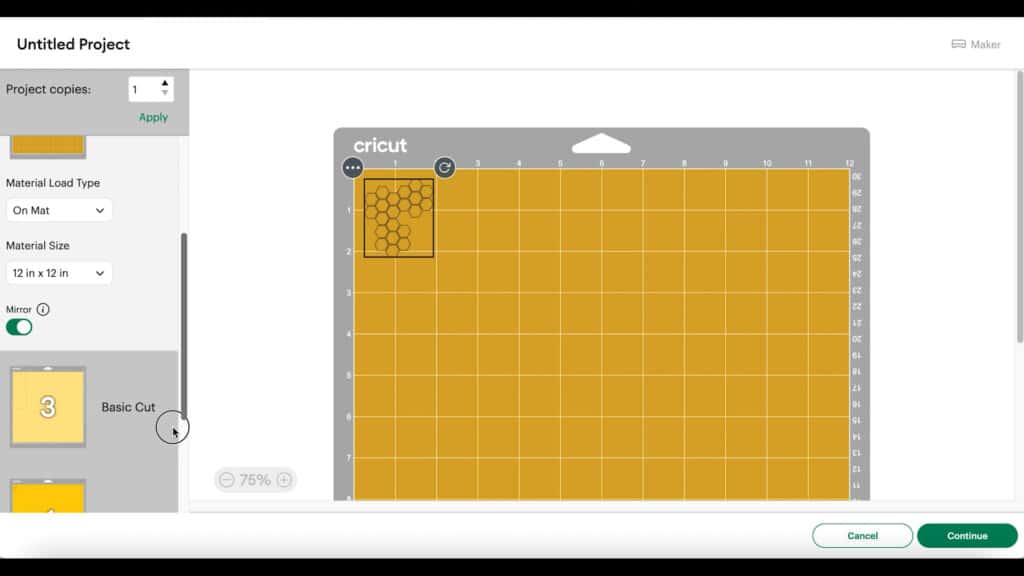
After all the mats are mirrored, drag the shapes apart from the edges a bit.
Repeat for all of the heat transfer vinyl mats.
Click the CONTINUE button.
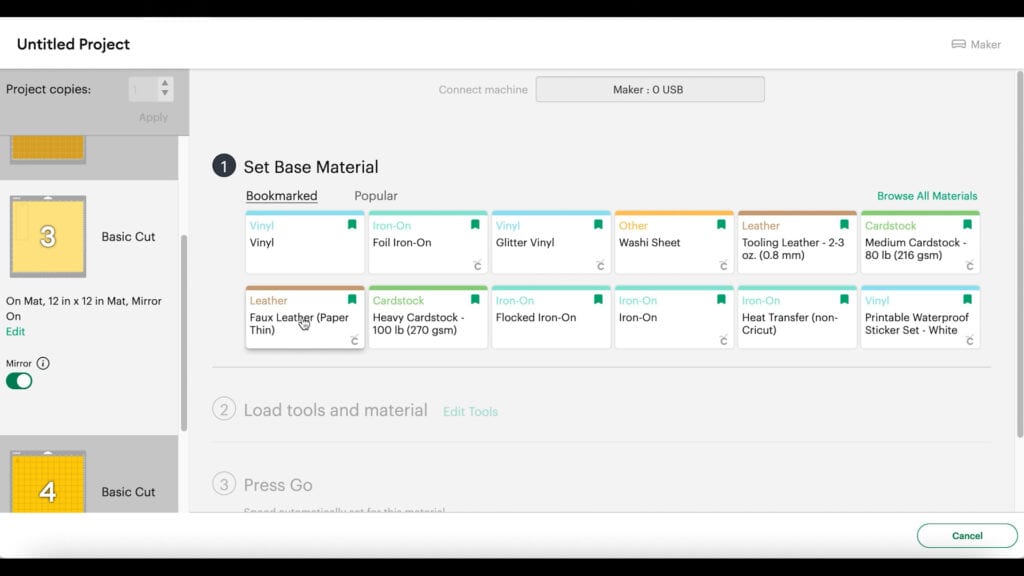
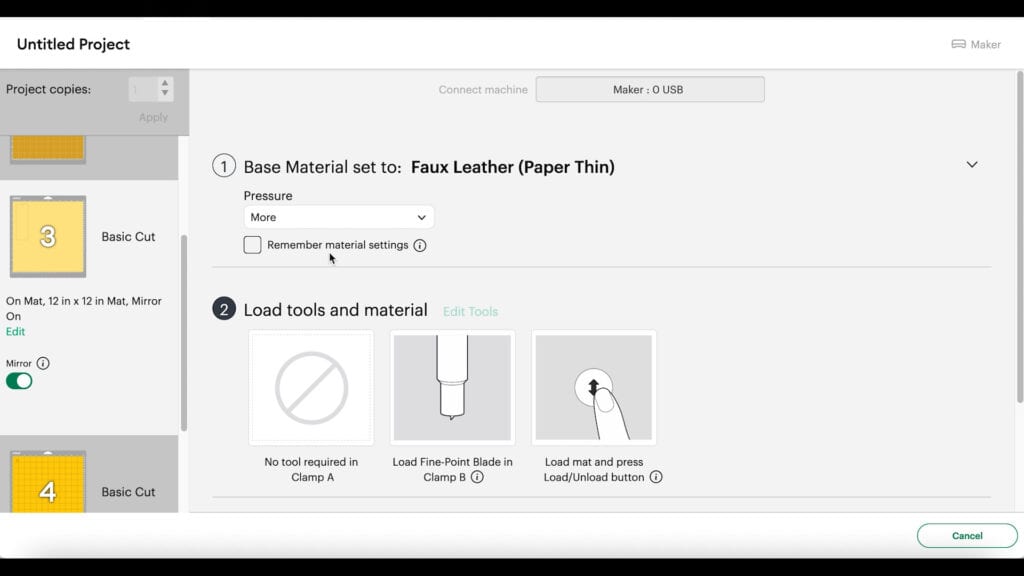
When the material selection screen loads, click on the faux leather mat and then select the Faux Leather (Paper Thin) setting.
If you don’t have that setting bookmarked as a favorite like I do, you can click on Browse All Materials and search for it. (If you are using the Explore Air 2, you’ll need to turn your dial to Custom before you can find that setting in search.)
Then choose “More” from the dropdown Pressure menu.
You’ll cut the heat transfer vinyl layers from the manufacturer’s recommended cut settings for the type of heat transfer vinyl you are using.
💡TIP! Press heat transfer vinyl to the back of your faux leather before cutting if you want to have a pop of color and add structure to the back of your bookmark.
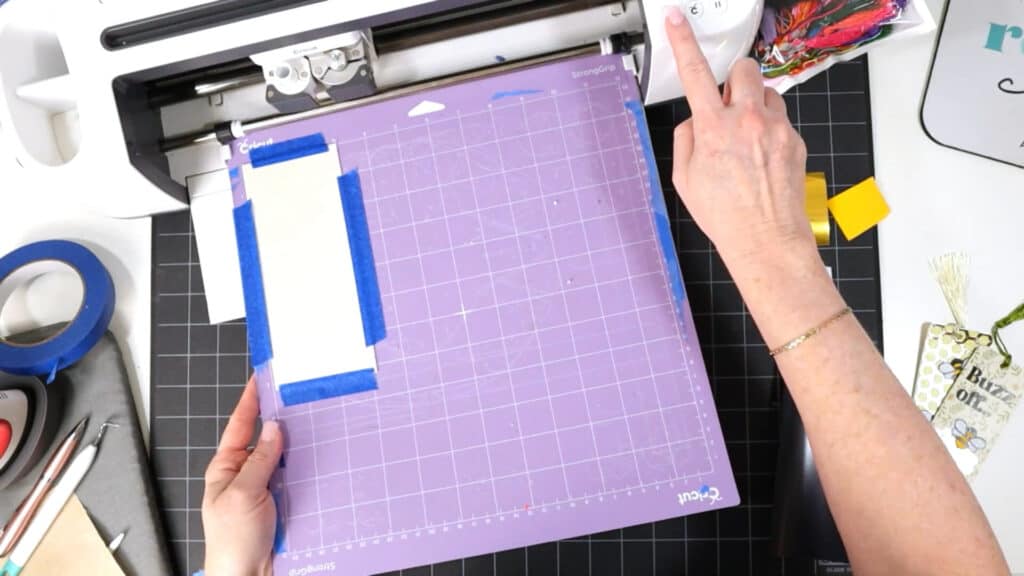
Step 3: Cut your faux leather mat first. To do that, place your faux leather pretty side down (heat transfer vinyl side up, if you did that step) on a sticky purple strong grip mat.
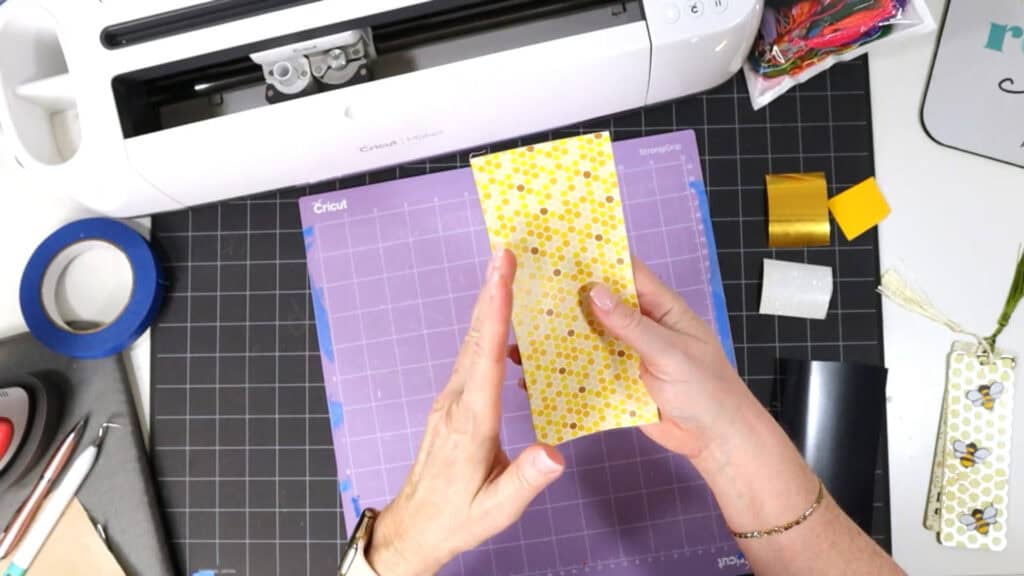

Place blue painter’s tape around all sides of the faux leather. Load the mat into the Cricut and begin the cut.
When the cut is complete, before unloading the mat, lift a small edge of the cut to ensure the cut went through. Repeat the cut if needed by pressing the cut button again.
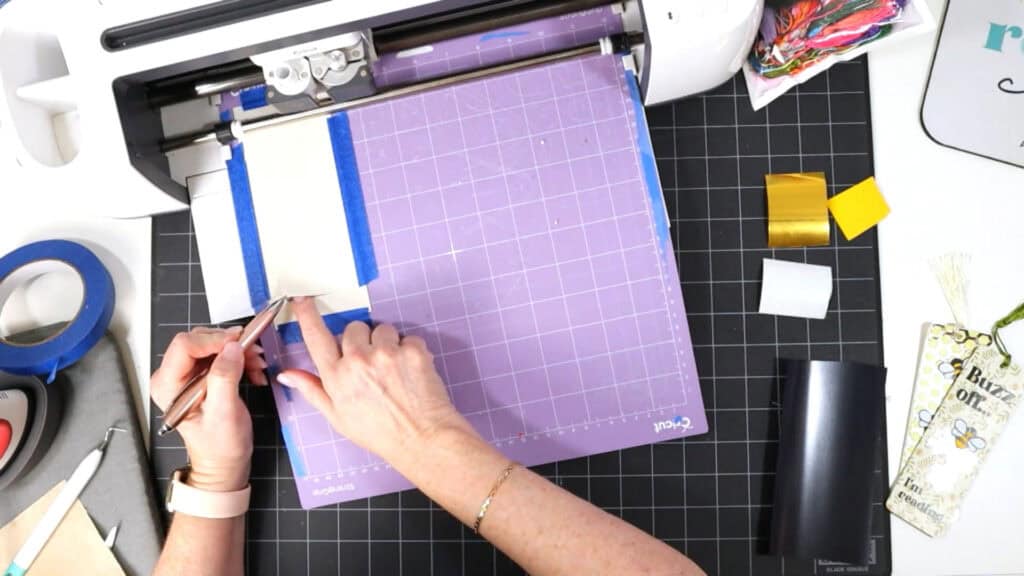
Once the bookmark is cut through, remove it from the mat. Use a sharp weeding tool to poke through the bookmark hole. If the hole didn’t cut all the way through, use small curved scissors to complete the cut.

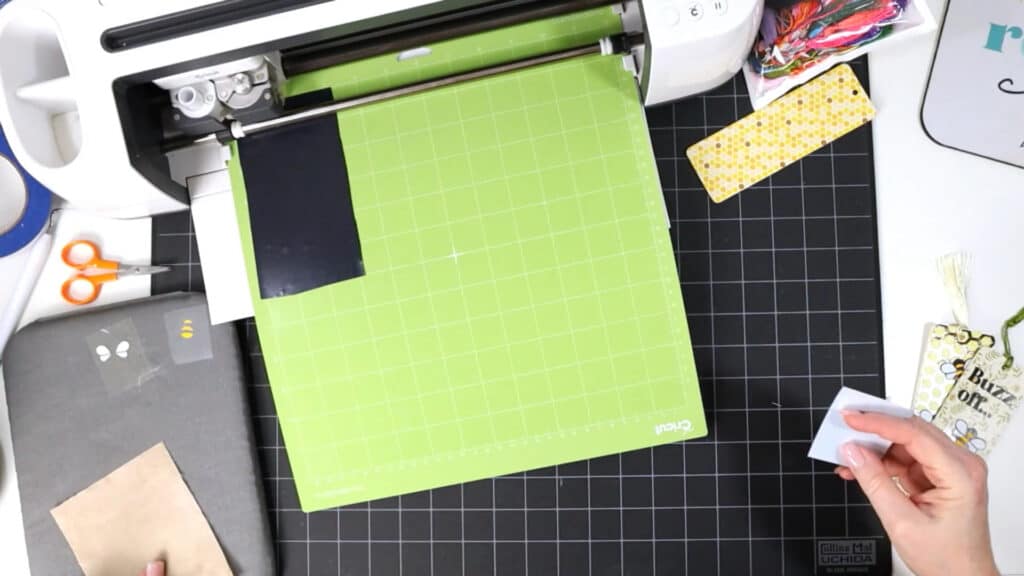
Return to Design Space and cut out all the heat transfer vinyl mats.
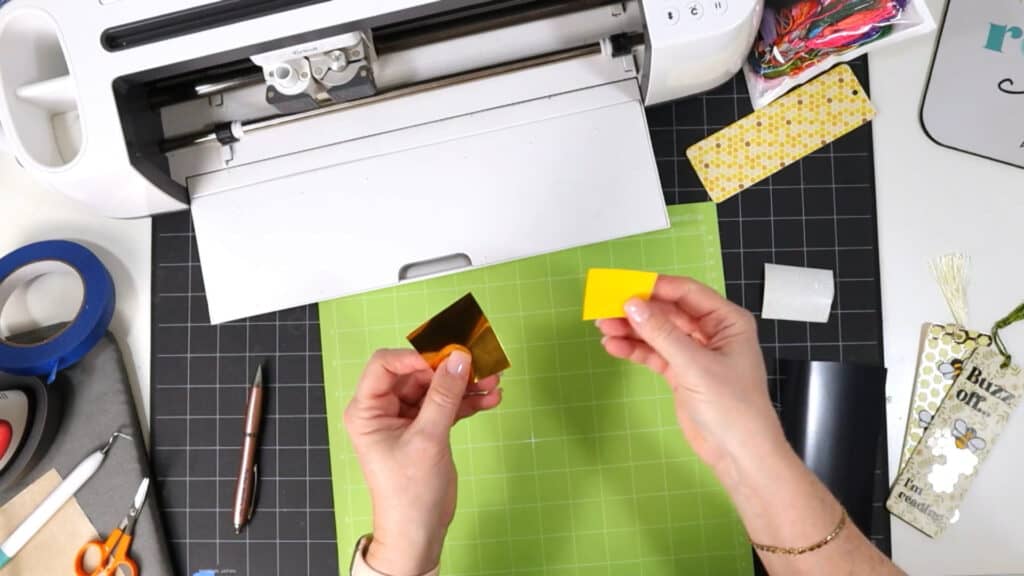
Weed away the excess vinyl and cut the shapes apart.
Step 4: Assemble the supplies you’ll need to press the bookmark.
You’ll need a heat press (I like the EasyPress Mini), a heat pressing pad and a cover sheet of some kind (I used a Teflon sheet trimmed to a smaller size).
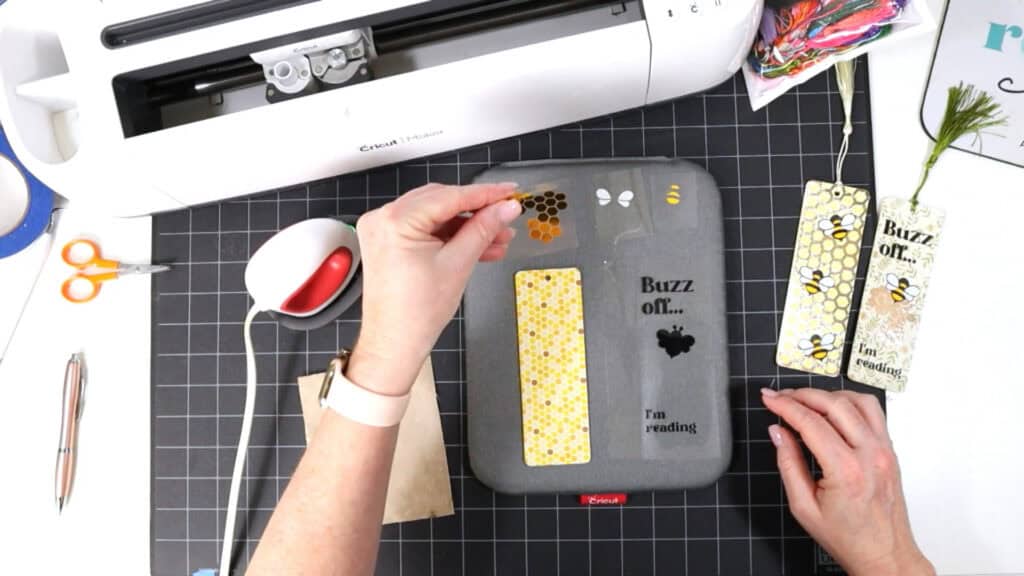
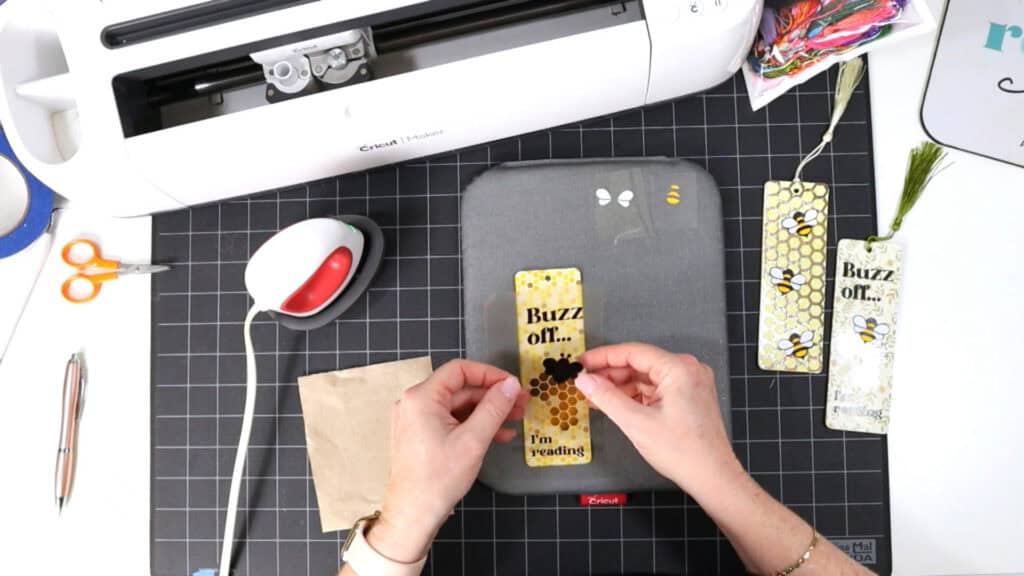
Time to press! Start by arranging all of the HTV layers on your heat pressing pad.
Refer to the Layering Guides for each design to see the order to press the layers in.
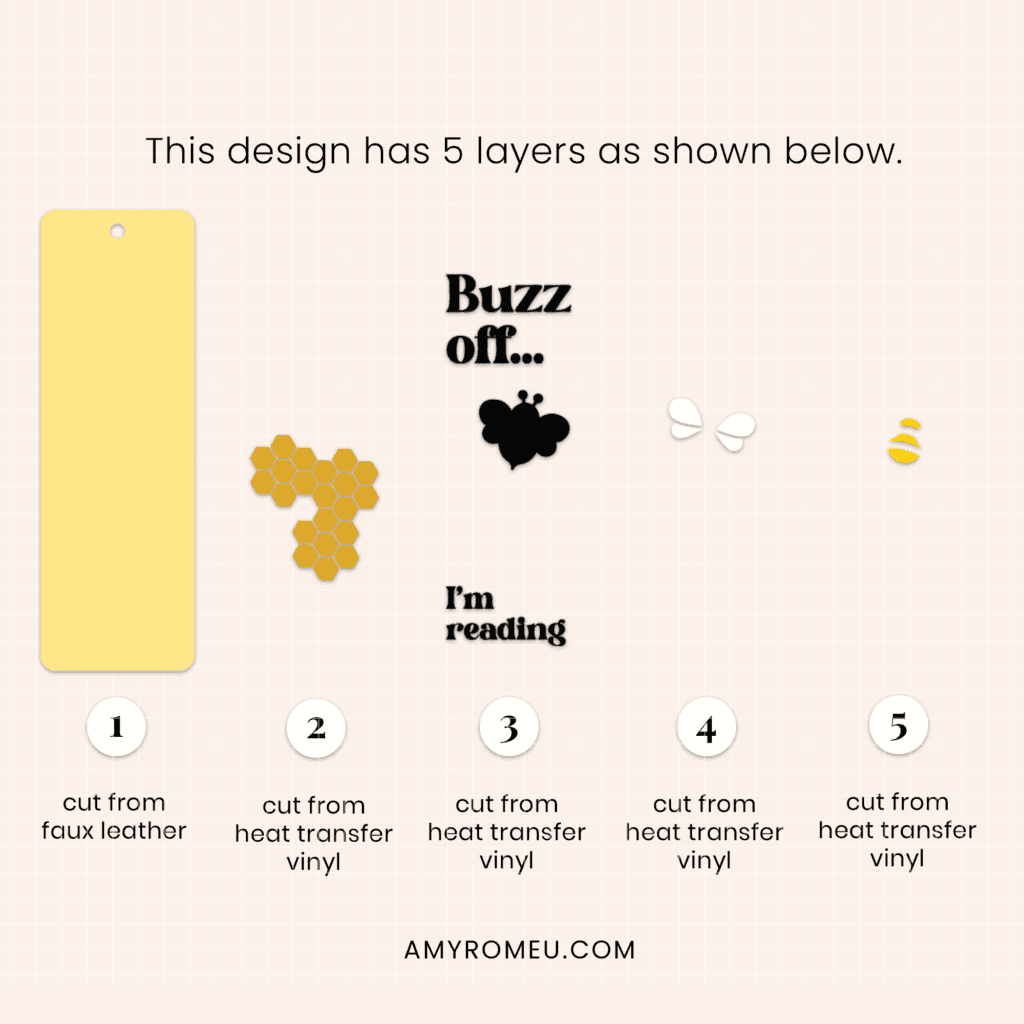

Start by placing the faux leather bookmark on your heat pressing pad. Then place the first heat transfer vinyl layer on top.
You may need to “dry fit” layers together to determine exactly where to place the first layer. You can see what I mean in the YouTube video for this project.
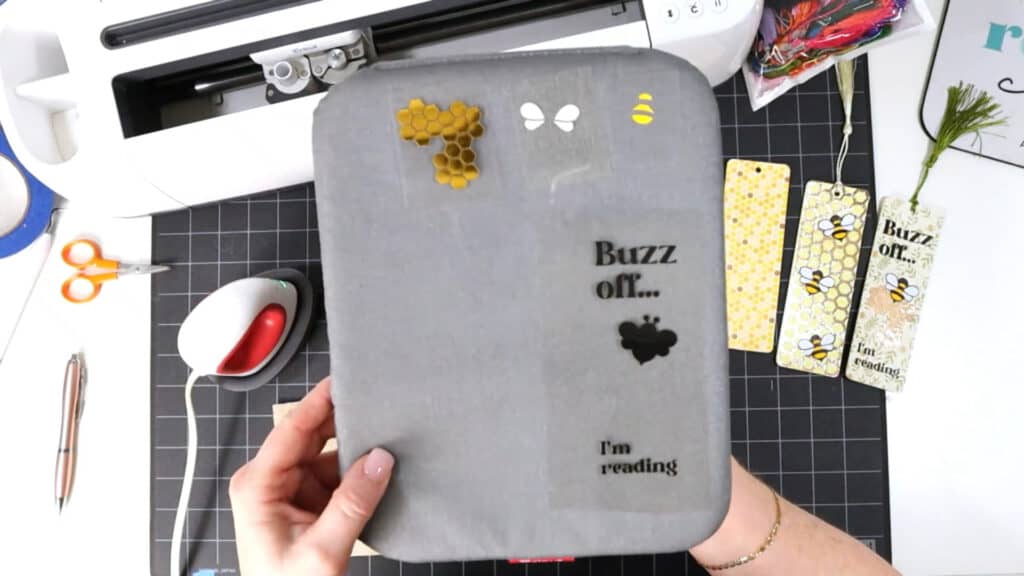
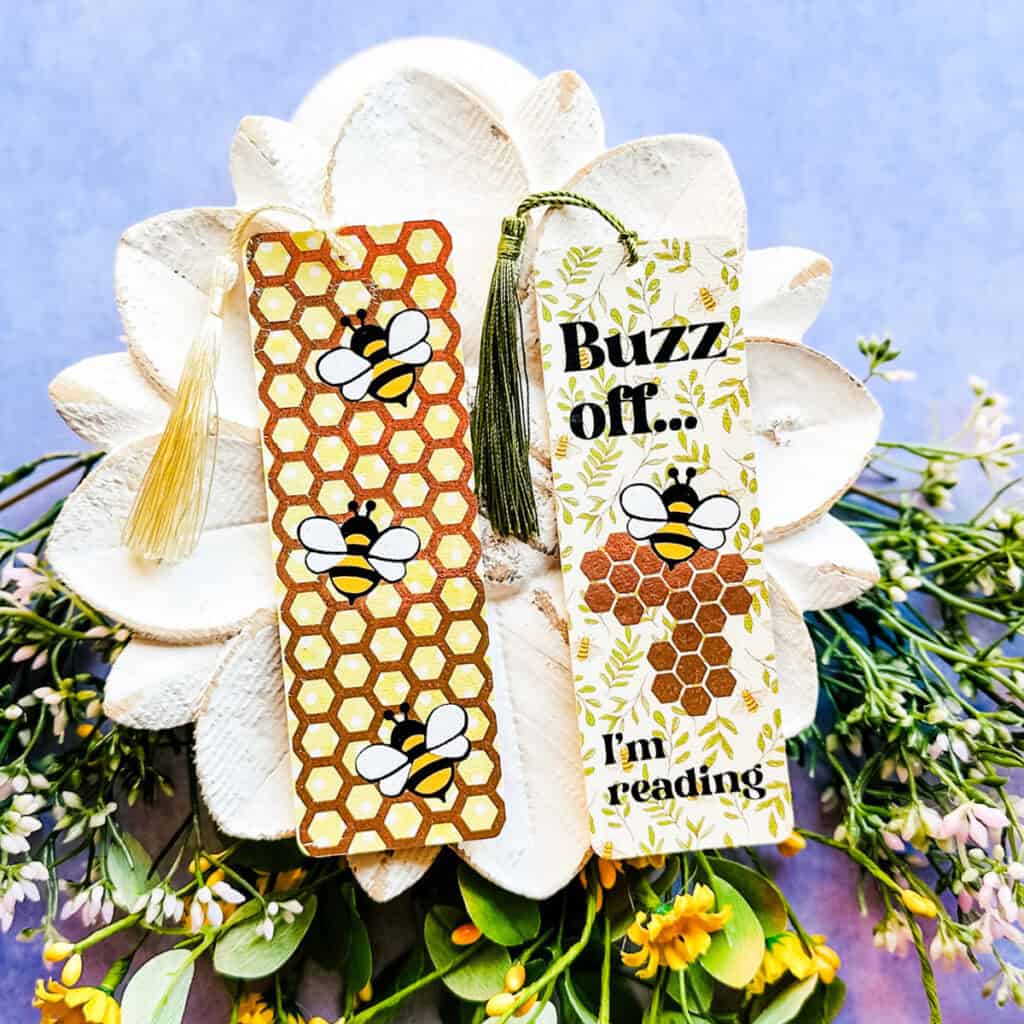
For example, in the Buzz Off bookmark design, the first layer that has to be pressed is the honeycomb layer. Then the black Buzz Off layer overlaps the honeycomb slightly.
But in order to determine exactly where to press the honeycomb layer so the Buzz Off text layer is properly aligned and centered on the entire bookmark, I layered the vinyl layers on top of each other (honeycomb on the bottom) on the bookmark without pressing first to make sure they were arranged correctly in relation to each other.
Then I peeled off the Buzz Off layer. With the honeycomb layer still on the bookmark, now I knew where to press.
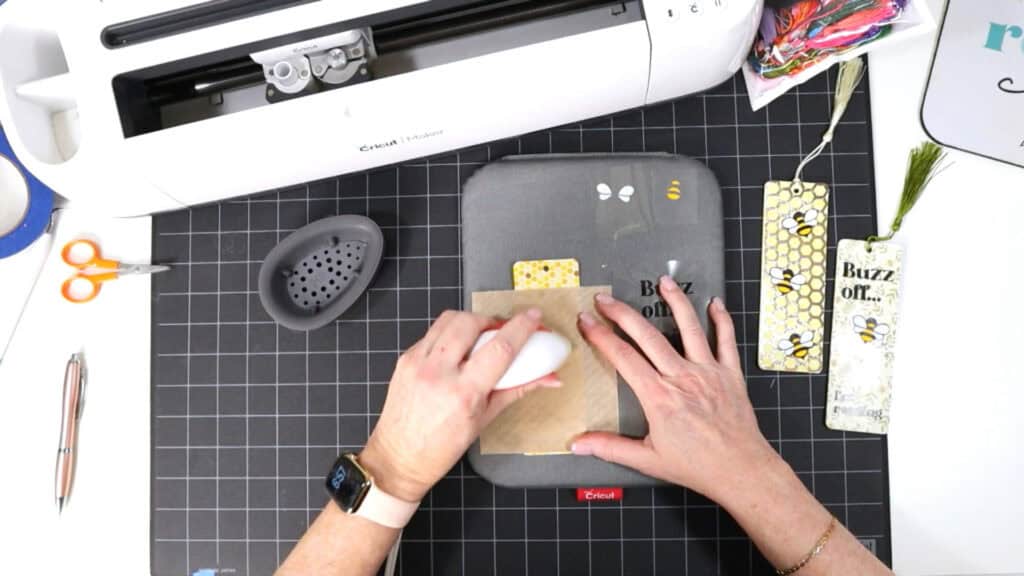
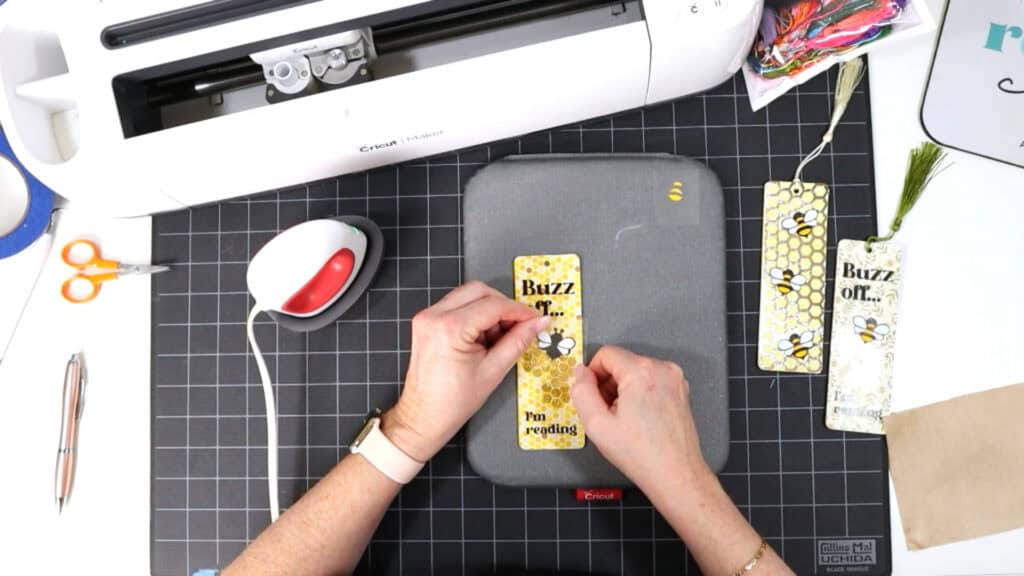
Cover with the Teflon sheet, butcher paper or parchment paper.
With an EasyPress Mini set to Low or a regular EasyPress set to 265 degrees, press the heat transfer vinyl onto the faux leather shape for about 7-10 seconds.
Slowly peel back the clear carrier sheet. If the vinyl lifts up, carefully place the carrier sheet back down and press again.
Then place the next layer down and repeat pressing.
Repeat pressing the next layer and all of the other layers in order.
When you have pressed all of the layers in order, place your warm bookmark underneath your heat pressing pad for a minute so it can cool flat.
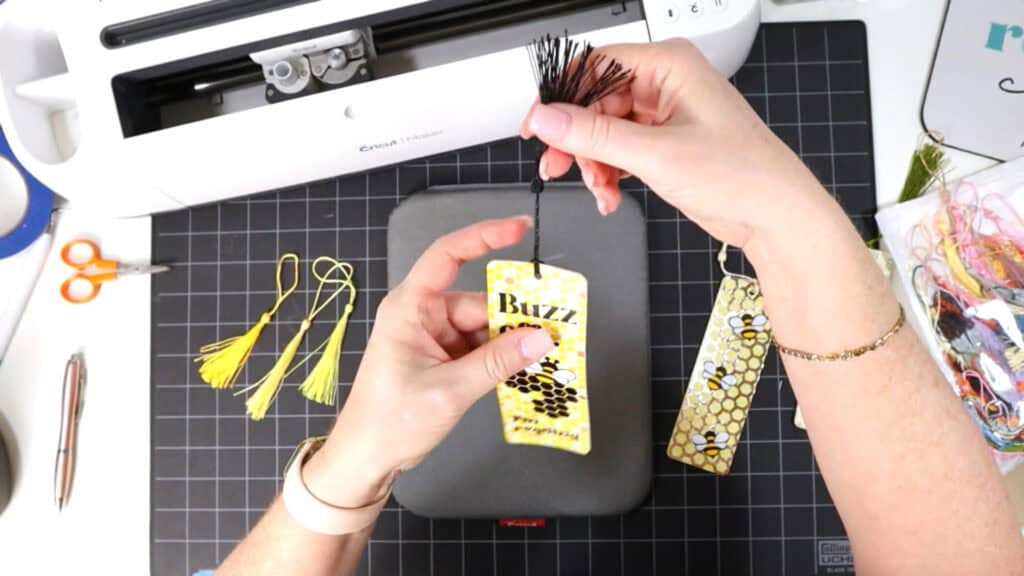
Step 5: Next attach the bookmark tassel. Start by taking the looped end of your tassel and pinching it smaller so you can push it through the bookmark hole from the front of the bookmark to the back.
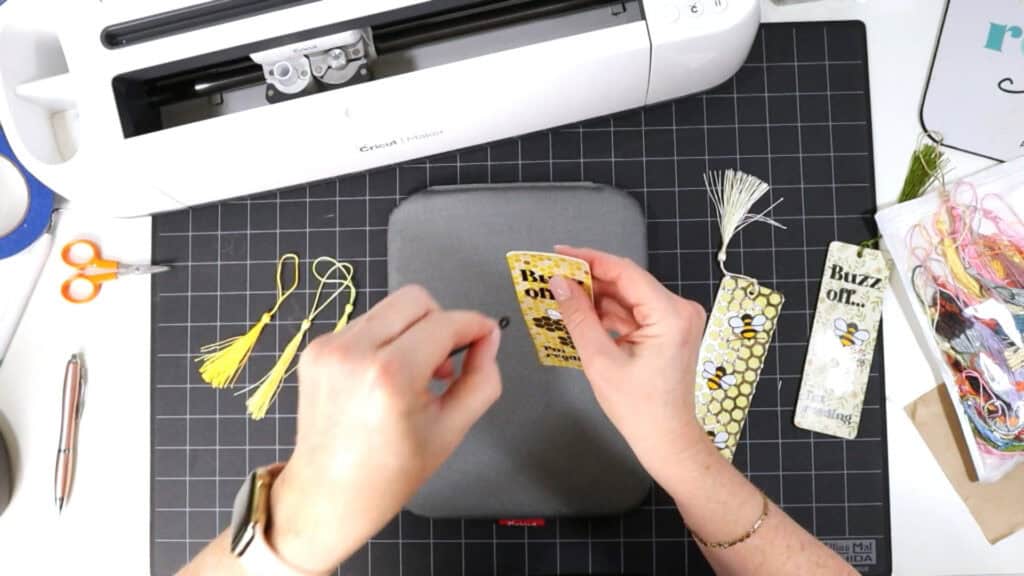
Then pull the loop in the back open and thread the tassel through. Pull tight.
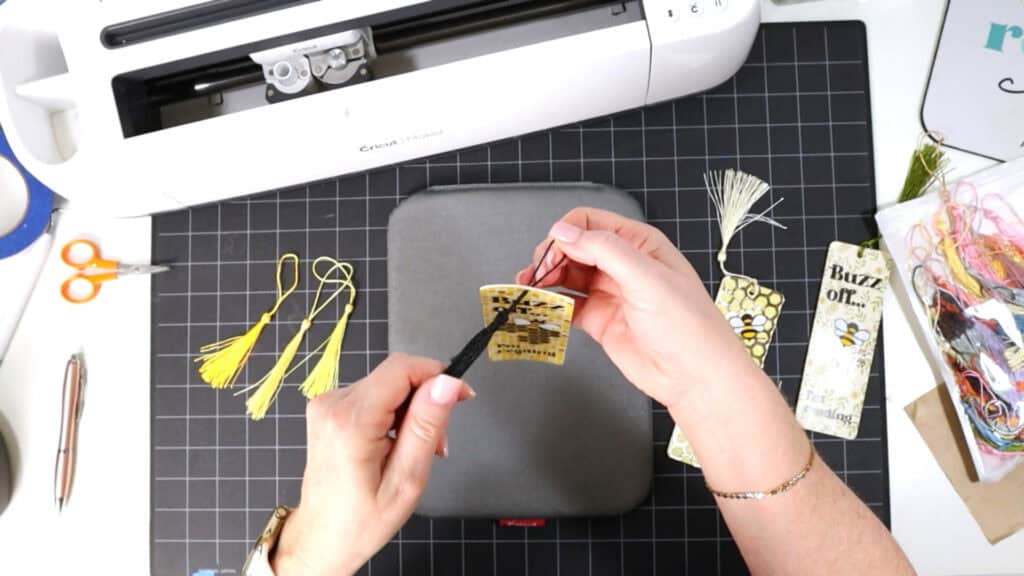
That’s it! Your Faux Leather Bee Bookmarks are complete. What design do you like better? Let me know in the comments!
Answers to your questions about making Faux Leather Bee Bookmarks with a Cricut
Q: Which Cricut machines will cut faux leather?
A: You can cut faux leather with any of the current Cricut machines because they all cut faux leather with the standard fine point blade included with each machine. For this project you can use the Cricut Maker, Cricut Maker 3, Cricut Explore 3, Cricut Explore Air 2, the Cricut Joy Xtra, or the Cricut Joy with the 12 inch long cutting mat.
Q: What do I need to press heat transfer vinyl onto faux leather?
A: To press heat transfer vinyl onto faux leather you’ll need a traditional heat press, Cricut EasyPress, or Cricut EasyPress Mini. An EasyPress Mini is best for pressing small HTV layers like the ones in this project.
Q: How do I get the SVG template for this project?
A: Get the SVG file from my SVG Shop here, or you can get it as part of 17 brand new Spring faux leather crafting projects in my Spring Fling Crafting Event VIP Pass.
Get the SVG in my Shop
Personal or Small Commercial Use Available
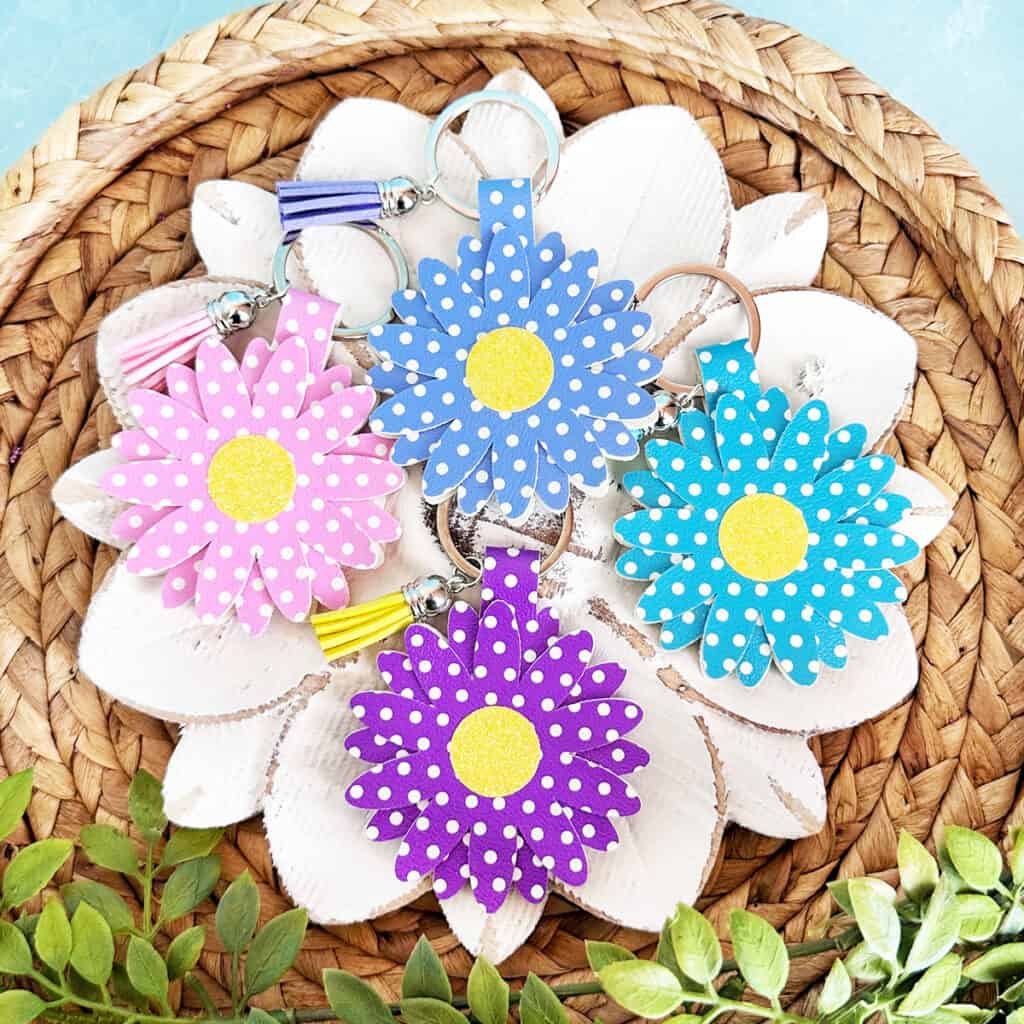
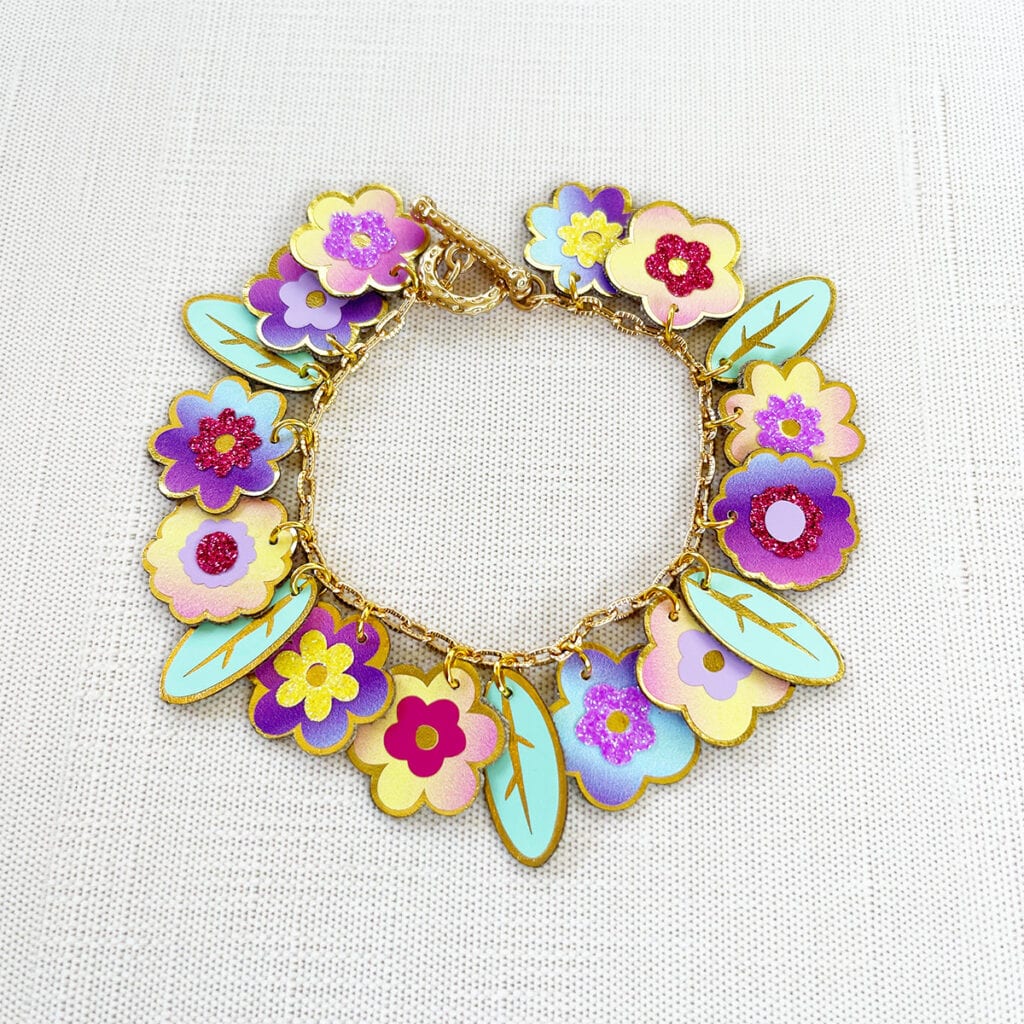
If you loved this project, you’ll love these projects too:
Will you make this project?
I would love to see what you have created! Please join my free faux leather crafting making Facebook group and share your creations with me and all of my crafting friends!
Until next time… and happy creating!

Want to remember this project? Save this tutorial to your favorite Pinterest board!
Want instant access to my Free Resource Library full of SVG files?
Just Enter your name and email Below!
By signing up, you’ll get instant access to my FREE SVG Library with hundreds of crafting SVG templates! You’ll also get my weekly newsletter full of crafting ideas, tutorials, and inspiration! Unsubscribe anytime.
This is perfect for some people that I have in mind. Thanks
Ooh these are great! They’ll be wonderful for graduation gifts!
Love the honeycomb! Looking forward to making these!
I think I already have everything I need to I’ve these a try!
These bee bookmarks are so cute!
Buzz Off… I’m Reading 😅 I love it! These are so cute!!
love bees and this book mark is adorable
These book marks are so BEE Utiful! Thank you Amy!!
These Bee bookmarks are so cute. Thanks for the file.
These bookmarks are adorable, I will be trying this today!
love the bees
Great project and right in time for my great-niece’s birthday. She has honey bees and is an avid reader. Now all I need to do is make a matching book cover sleeve with matching faux leather and she will have the set! Thank you, Amy, for another easy to follow, cute project.
These are so stinkin’ cute! I love bees and books so they are perfect!
These are adorable! I can’t wait to make them.
These are so perfect and any recipient will love them
These book marks are so cute! This would be a great project to do with Grand children.
Thanks Amy for the wonderful tutorial and the free svg.
I am a total bookworm 📖 I love making bookmarks!
What a fun project! Thanks, Amy!
Such a cute idea for a bookmark! I love the bees.
I made these bookmarks and I’m gifting them to my aunt who loves to say puns and reading. I can’t wait for her response.
Amy, I love these! They are adorable and perfect for spring! My daughters love to read and these would make great gifts. Thank you for the excellent step by step directions.
Perfect timing for this project. My grandson asked if we could make a bookmark during Spring Break. This will be fun!
I can’t wait to make these for the ladies in our book club
Book Marks are always a good thing to have around and great as gifts. I love the saying “Buzz… off I’m reading”
Thanks
Love it. 💕😍🤗Thank you 🤗
These are so cute and would make nice gifts, too!
These are just the cutest. I am into bees right now, so these are perfect.
love bookmarks and these are adorable
Fun design, I know a few readers who would love these!
Thanks 👍
Love it! Bees are all the buzz these days!
Cute!
Love the Bees!
Adorable bookmarks ❤️ 🐝
Love these! Everyone should need a bookmark!
Cute project.
Your blogs and instructions are so great and make your SVG so easy to understand. and the items you make are always so cute and usable. I love your site and look forward to learning from you. You are the faux leather queen Amy.
Cute Bees!
Love these! Getting ready to make a couple now for one of the teacher’s at my daughters school.
Very cute bookmarks!
These are so pretty
I can never have too many bookmarks.
Love this, can’t wait to make it.
I can not wait to make these bookmarks 🙂 Thanks Amy!
nice design
These are so adorable. I can’t wait to make them.
My classroom is decorated with bees! This could be a fun idea for a class gift! Thank you!!
These bee themed book marks are the cutest. Can’t wait to make!
I love the design and my kids love the bookmarks! Thanks for sharing.
Yep!…making these for sure!
Very cute! Another great video and project. Thank you Amy.
I think these bookmarks are so cute. Thank you for sharing.
Simple and cute!
My youngest daughter loves bees!
great tutorial, thanks