
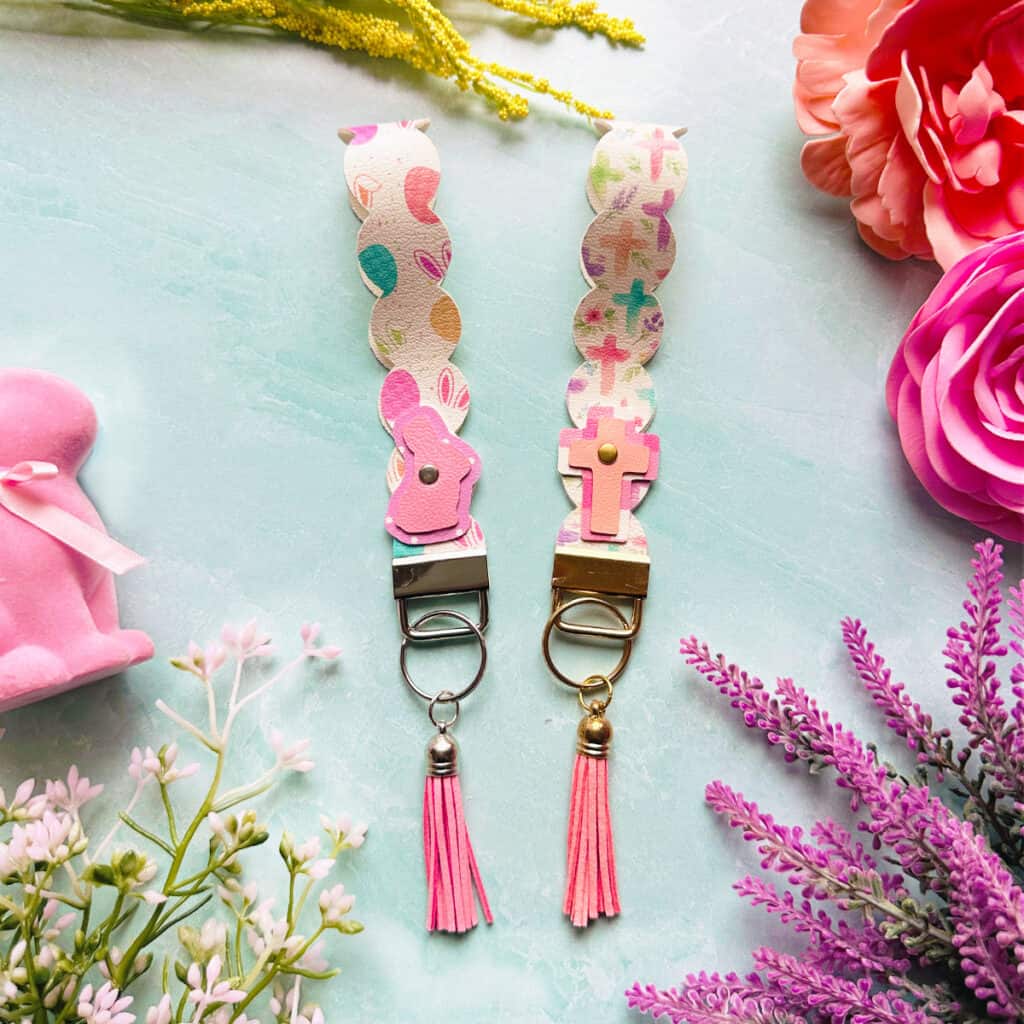
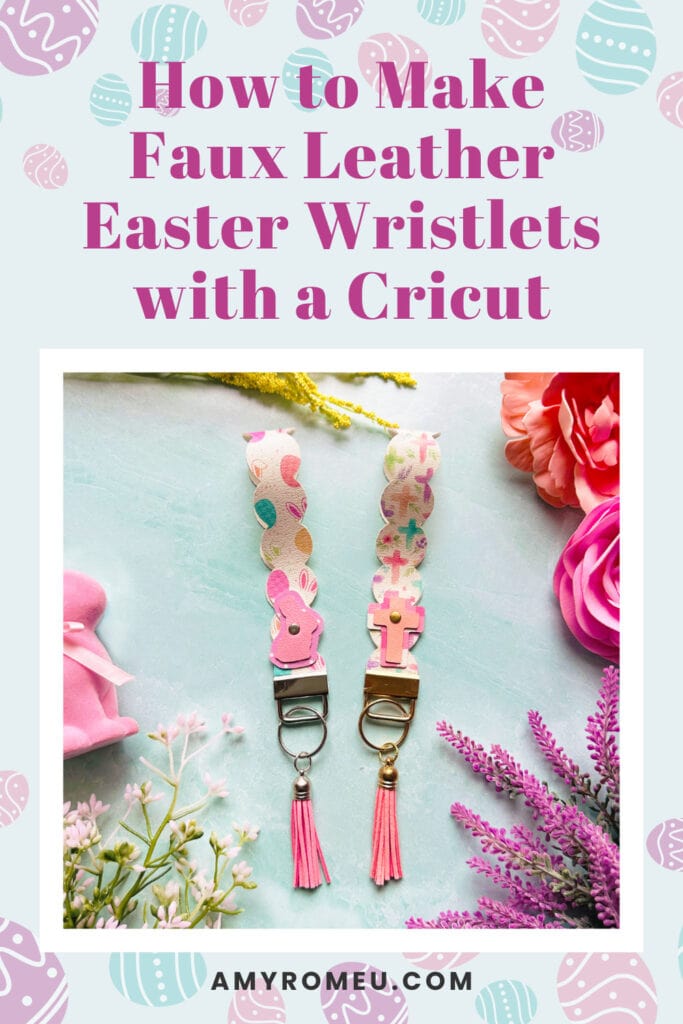
How to make Easter Faux Leather Wristlets with a Cricut
These sweet Easter Faux Leather Wristlets made with a Cricut are the perfect way to keep your keys handy during the Spring season!
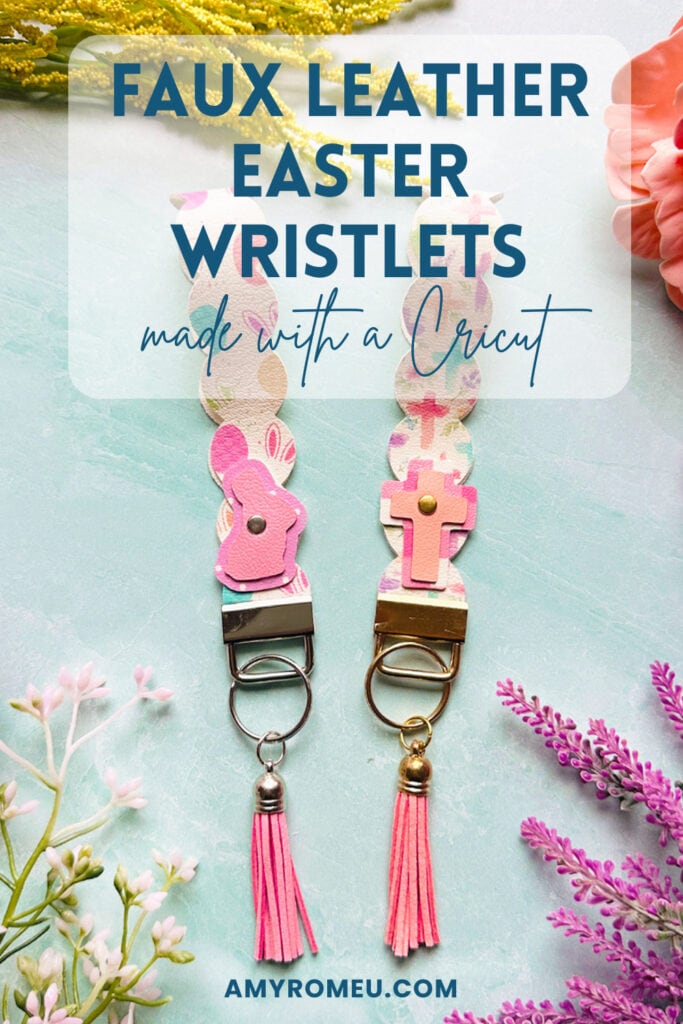
In this tutorial I’ll show you how to make them with 6mm rivets and wristlet hardware for a polished finish. The SVG file is available in my shop if you want to make this project!
Ready to get started? Let’s dive into the materials and steps!
Step 1: Get the SVG Template
Get the SVG in my Shop
Personal or Small Commercial Use Available
Step 2: Shop the Supplies
This page contains some affiliate links (which means if you make a purchase after clicking a link, I will earn a small commission at no additional cost to you). Read my full disclosure policy here.
Compatible Machines✅: Cricut Maker, Cricut Maker 3, Cricut Maker 4, Cricut Explore Air 2, Cricut Explore 3, Cricut Explore 4, Cricut Joy Xtra, Cricut Joy (with the 12 inch long mat)
Not Compatible Machines❌: none
Blade Used: Standard Fine Point Blade
Cut Setting Used✂️: Faux Leather (Paper Thin) with “More” pressure
- Faux Leather
- I used this Easter Egg print and this Cross print.
- I also used solid Peach, solid Light Pink, this Purple Polka Dot and this Pink Gingham print.
- For all of the prints I ordered 9×12 sheets, Regular Scale, Portrait Orientation.
- Other Project Supplies
- 6mm x 6mm Rivets (includes rivet tools) and a hammer
- 1 inch wristlet hardware with nylon jaw pliers
- 10mm Jump Rings
- Faux Suede Tassels
- Fabric Glue like Beacon Fabri-Tac
- Other Cricut Supplies
- Blue Painters Tape
- Small Curved Scissors
- Teflon Sheets
- Purple Strong Grip Mat
- Weeding Tool like a Pin Pen or like the one in the Cricut Basic Tool Set
- Cricut EasyPress Mini
- EasyPress Mat, 8×10 size
🛒 To shop many of these supplies below in my Amazon storefront, click here.
Step 3: Make the Project
Set Up Your Design
- Open a new canvas in Cricut Design Space.
- Upload the SVG file for the Easter Wristlet shapes to your canvas.
- Choose the version you’d like to make, the Cross or the Bunny.
- Ungroup the shapes and hide or delete the design you don’t want to cut.
Prepare to Cut
- Click Make It.
- Mirror your mat(s), since you’ll be cutting faux leather face down.
- Position your faux leather shapes apart on the mat if cutting from different prints.
- Choose the Faux Leather (Paper Thin) setting with More pressure.
Press HTV on Back of Faux Leather Before Cutting (optional)
- If desired, you can press HTV onto the back of the faux leather before cutting. This will add color and finish to the inside of the wristlet.
- To do this, cut a piece of heat transfer vinyl or foil iron-on just slightly smaller than the cut piece of faux leather.
- Place the faux leather and the HTV back to back and lay them flat, faux leather side down, on a heat pressing pad or other protective surface.
- Preheat an Easy Press to 265 degrees or set an Easy Press Mini to the Low setting.
- Cover the HTV with a Teflon sheet or cover sheet and press for about 10 seconds.
- Slowly peel away the clear vinyl cover sheet. If it peels easily, remove it. If not, re-press for another 5-10 seconds at a time.
- Place the warm faux leather under your heat pressing pad to cool for 1-2 minutes.
Cut the Faux Leather
- Place the faux leather pretty side down on a Strong Grip (purple) mat.
- Secure all edges with blue painter’s tape.
- Load the mat into your Cricut.
- Press the C button to begin cutting.
- When the cut is complete, without unloading the mat, use a sharp tool to gently lift the edge and check the cut.
- Repeat the cut if necessary by pressing the cut button again.
- Once the cut is complete, unload the mat and remove the shapes.
Prepare the Bunny or Cross
- Glue the bunny or cross shapes together so they don’t lift up on the wristlet.
- Glue the top bunny or cross shape to the bottom using fabric or craft glue. Then glue those two shapes to the wristlet shape. Be sure to line up the hole.
- Place the glued wristlet under a heavy book to dry for at least 30 minutes.
Attach the Rivet
- Push the 6mm rivet post through the wristlet and the bunny or cross shapes.
- Place the rivet cap onto the back of the post.
- Use rivet tools and a hammer to secure tightly.
📺You can watch a video tutorial that shows how to apply 6mm rivets to a similar wristlet project here.
Attach the Wristlet Hardware
- Fold the wristlet strap faux leather in half. Put the ends inside the jaws of the key fob hardware.
- Use rubber tipped pliers to clamp the jaws closed onto the ends of the faux leather strap.
- To attach an optional tassel, use flat nose pliers & a 10mm jump ring.
📺You can watch a video tutorial that shows how to attach the wristlet hardware to a similar wristlet project here.
Your Easter Wristlets are complete! Attach your keys, wallet, or keyfob to the keychain and enjoy your pretty & functional spring craft.
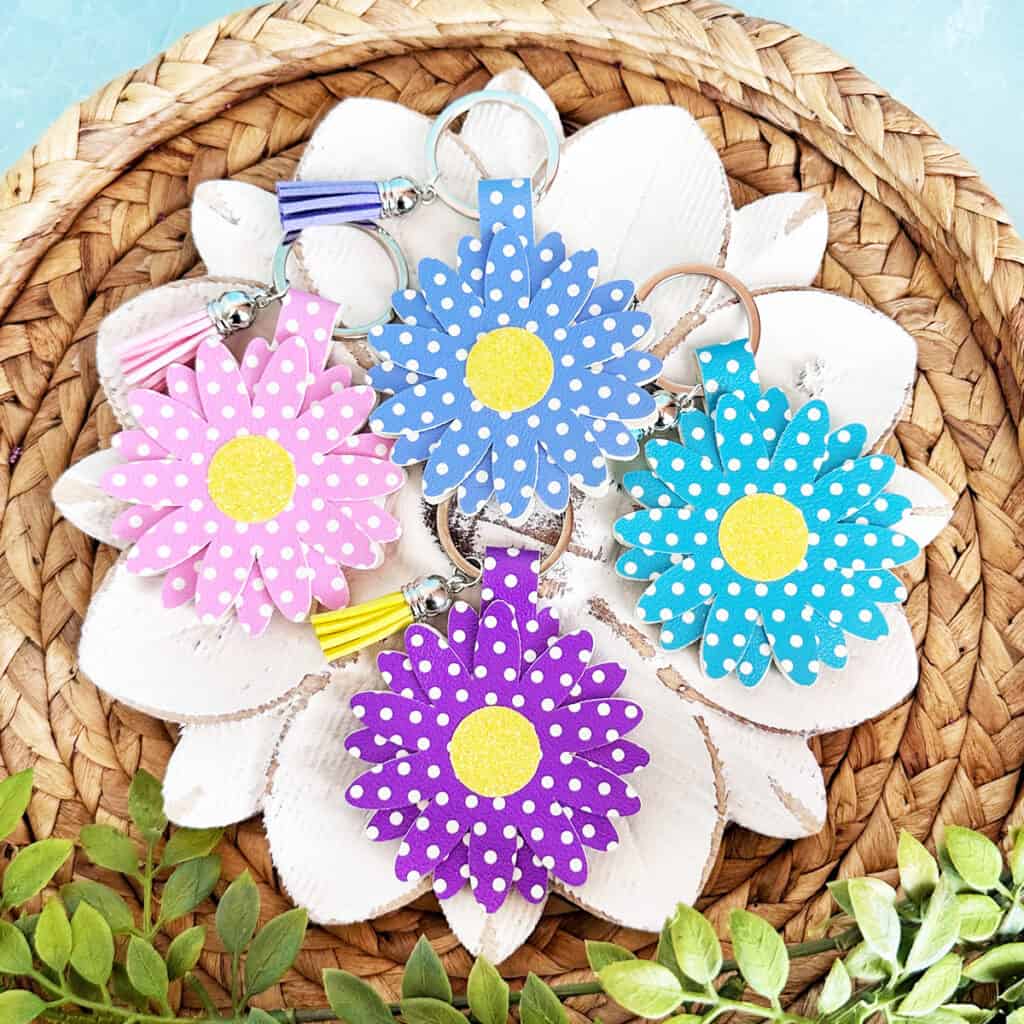
Answers to your questions about making Flower Cord Keepers
Q: Which Cricut machines will cut faux leather?
A: You can cut faux leather with any of the current Cricut machines because they all cut faux leather with the standard fine point blade included with each machine. For this project you can use the Cricut Maker, Cricut Maker 3, Cricut Maker 4, Cricut Explore 5, Cricut Explore 4, Cricut Explore 3, Cricut Explore Air 2, the Cricut Joy Xtra or the Cricut Joy (for this project you’ll need the 12 inch long Joy mat).
Q: What glue do I use with faux leather?
A: I generally use Beacon Fabri-Tac for gluing faux leather because it spreads thinly and evenly without clumps and it doesn’t absorb into the faux leather. It also cleans up easily with just a finger wipe or a paper towel. It dries nice and flat for a very smooth finish. You can also use Bearly Art Glue because the bottle has a narrow precision tip that allows you to place glue in very small areas.
Q: How do I get the SVG template for this project?
A: Get the SVG file from my SVG Shop here.
Get the SVG in my Shop
Personal or Small Commercial Use Available
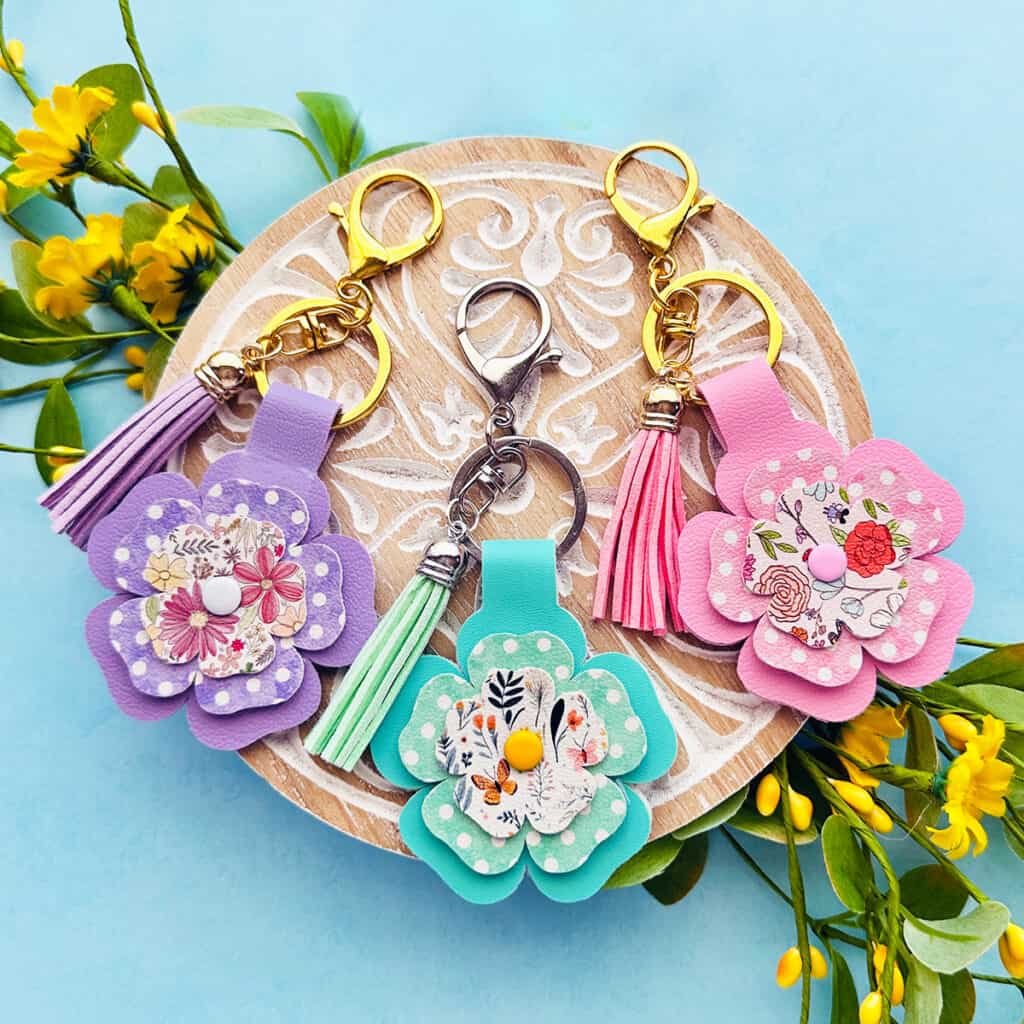
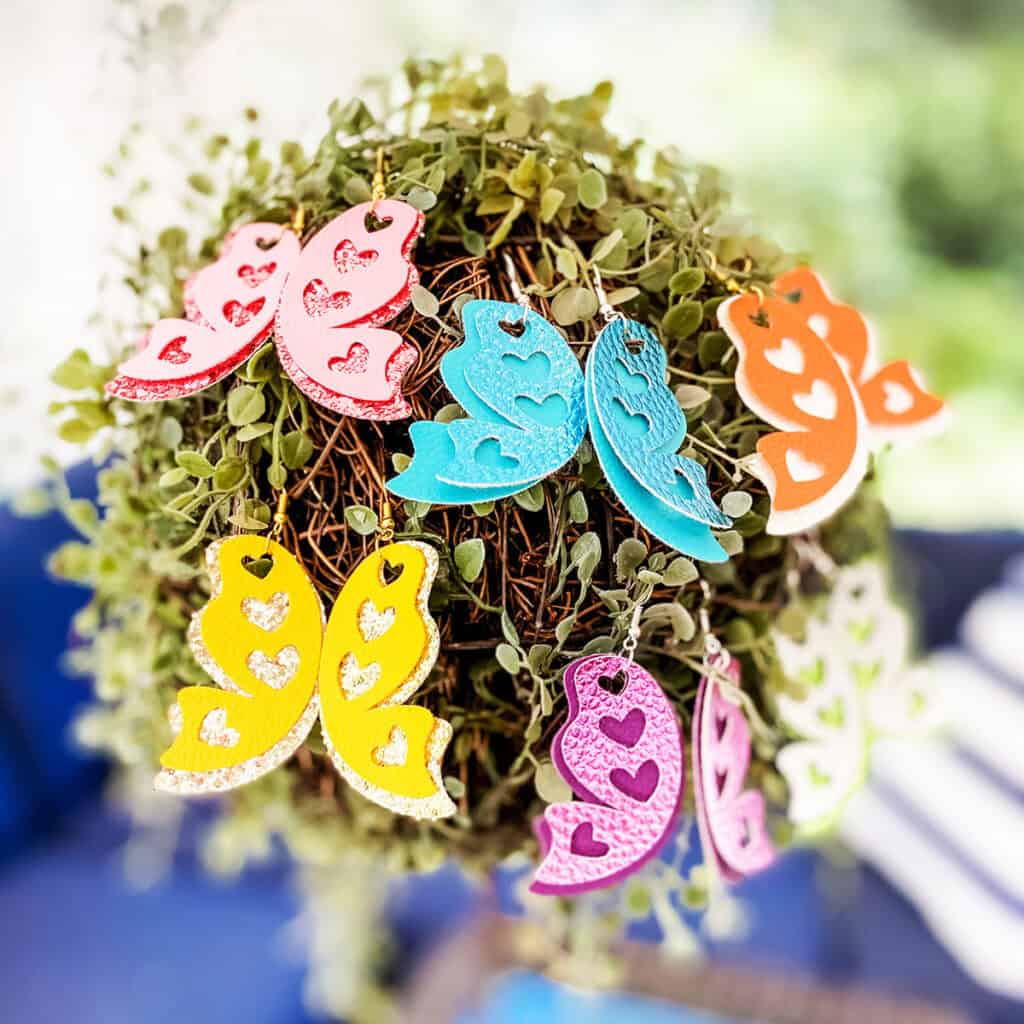
More Spring projects you’ll love
Also available in my SVG Shop
Share Your Work & Ask Questions
I would love to see what you have created! Please join my free faux leather crafting making Facebook group and share your creations with me and all of my crafting friends!
Until next time… and happy creating!

Pin this project to your favorite Pinterest board!
Want instant access to my Free Resource Library full of SVG files?
Just Enter your name and email Below!
By signing up, you’ll get instant access to my FREE SVG Library with hundreds of crafting SVG templates! You’ll also get my weekly newsletter full of crafting ideas, tutorials, and inspiration! Unsubscribe anytime.