
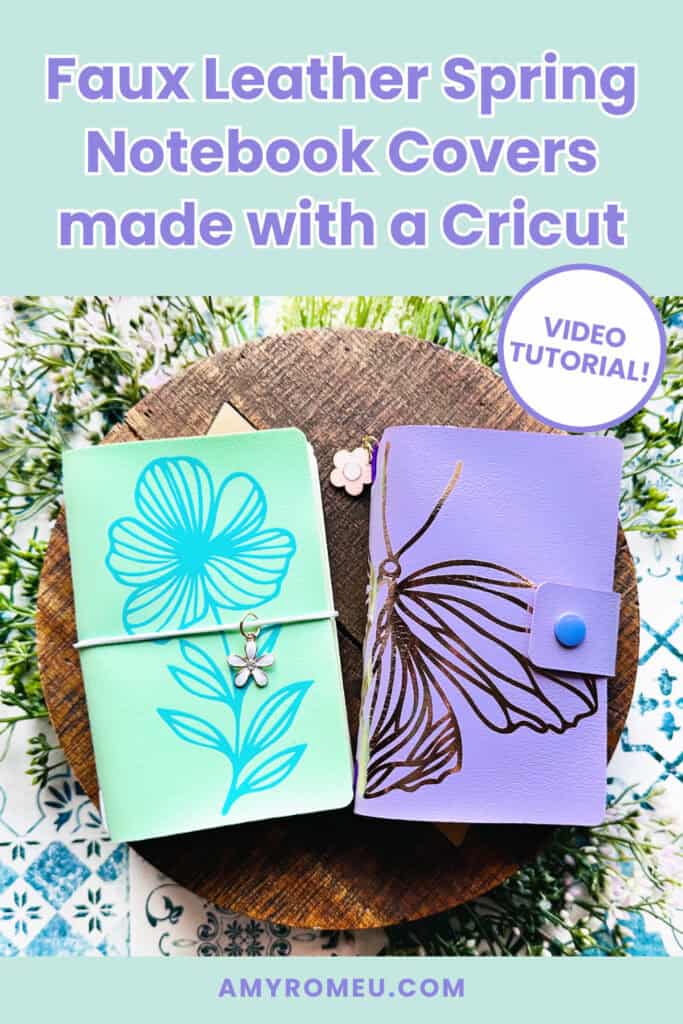
How to Make a Faux Leather Spring Notebook Cover with a Cricut
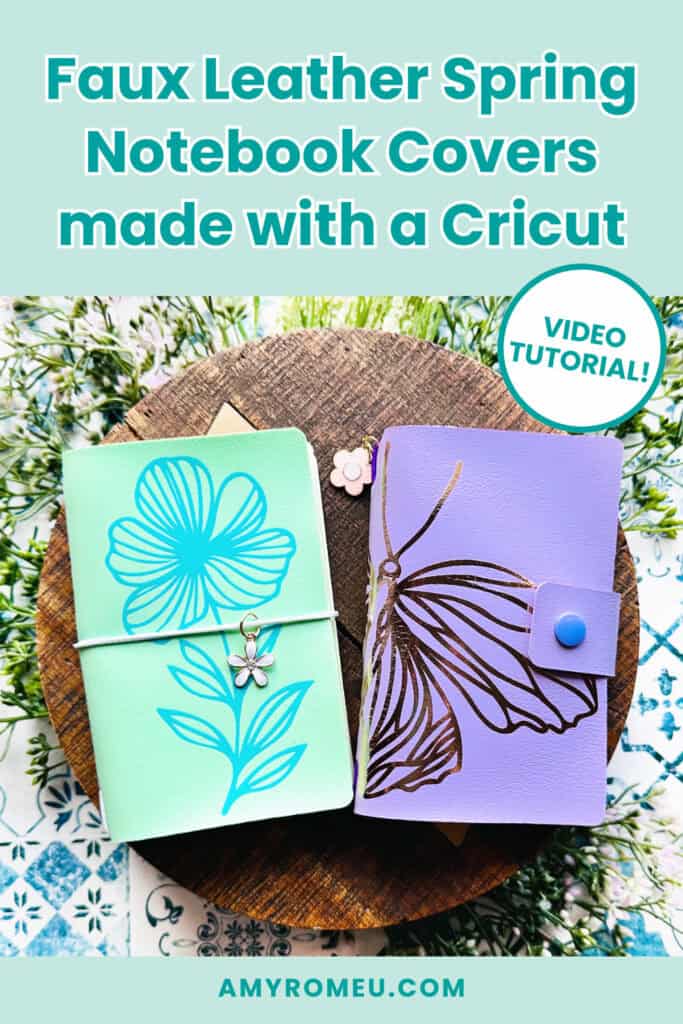
Learn how to make a Faux Leather Spring Notebook Cover with a Cricut
This project is Day 9 of The Spring Fling Crafting Event!
I’m Amy Romeu, and in this tutorial I’ll be showing you how to make a faux leather spring notebook cover with a Cricut.
Follow along with this written tutorial including all the materials, SVG files, and tips you need.
Ready to get started with this beginner friendly Spring Cricut craft tutorial?
Get the SVG in my Shop
Personal or Small Commercial Use Available
Let’s dive into the materials and steps!
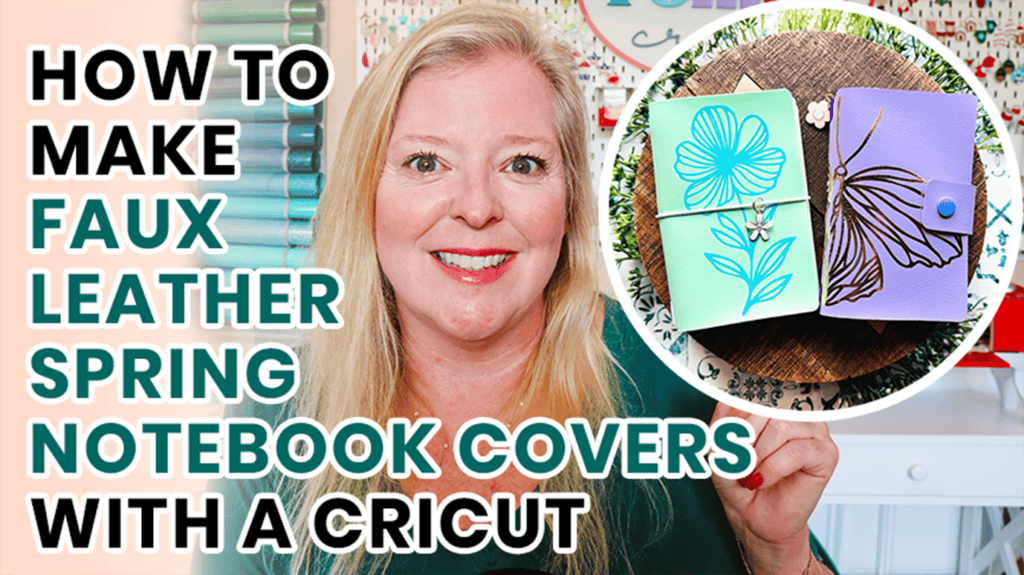
Want to watch a video tutorial instead? Check it out below!
See the full step by step video tutorial
Click the image below to watch the video on my YouTube channel, or click here.
How to make a Faux Leather Spring Notebook Cover with a Cricut Step by Step
This page contains some affiliate links (which means if you make a purchase after clicking a link, I will earn a small commission at no additional cost to you). Read my full disclosure policy here.
Materials you’ll need to make a Faux Leather Spring Notebook Cover with a Cricut
🛒 To shop many of these supplies below in my Amazon storefront, click here. 🛒
Compatible Machines✅: Cricut Maker, Cricut Maker 3, Cricut Maker 4, Cricut Explore Air 2, Cricut Explore 3, Cricut Explore 4, Cricut Joy Xtra
Not Compatible Machines❌: Cricut Joy
Blade Used: Standard Fine Point Blade
Cut Setting Used✂️: Faux Leather (Paper Thin) with “More” pressure
- Faux Leather
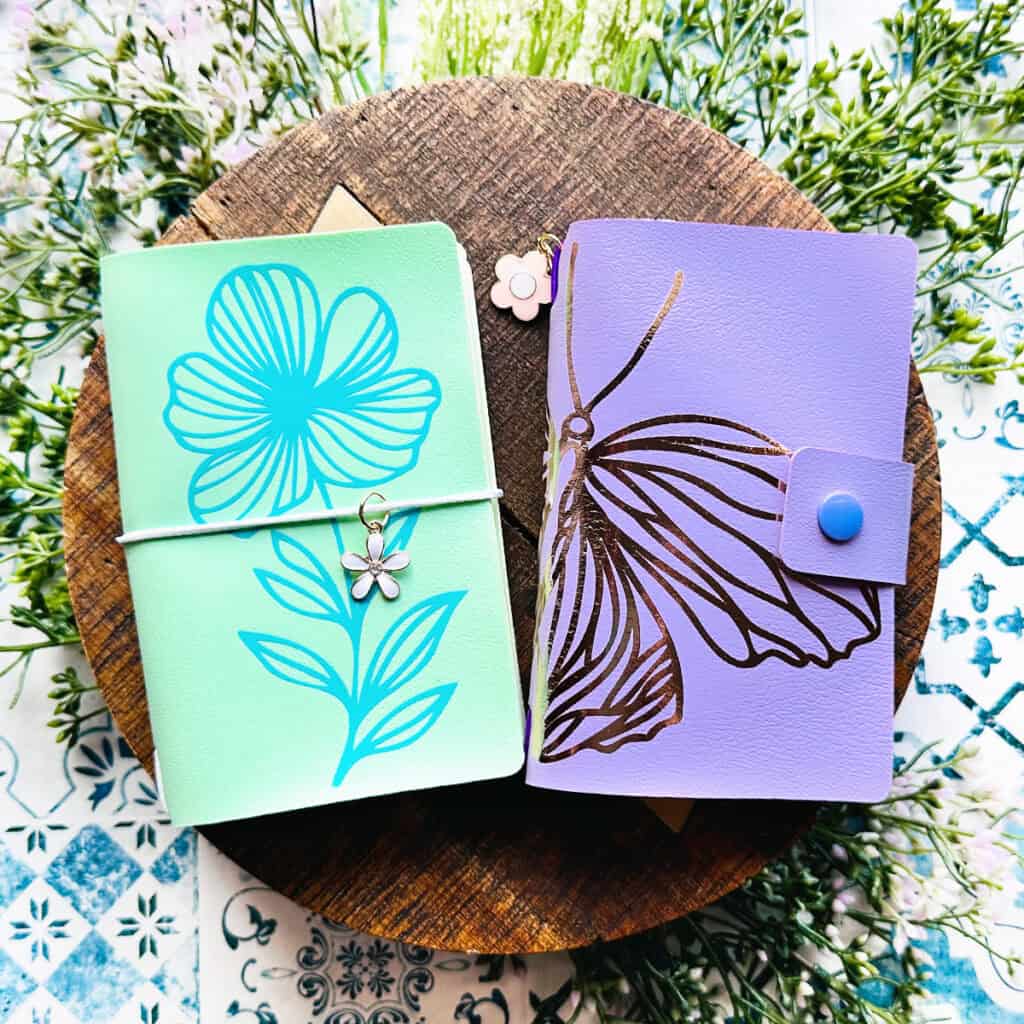
- I used Lavender Mist and Mint Chip solid faux leathers from this collection of solid faux leathers.
- Heat Transfer Vinyl
- Whatever you want to use! I used Siser Easyweed in Retro Mint and Cricut Foil Iron-On in Rose Gold.
- Other Project Supplies
- Other Cricut Supplies
- Purple Strong Grip Mat
- Weeding Tool like a Pin Pen or like the one in the Cricut Basic Tool Set
- Cricut EasyPress Mini
- EasyPress Mat, 8×10 size
- The SVG template for this project is available in my shop here or inside the Spring Fling Crafting Event VIP Pass.
Get the SVG in my Shop
Personal or Small Commercial Use Available
Step by Step Instructions
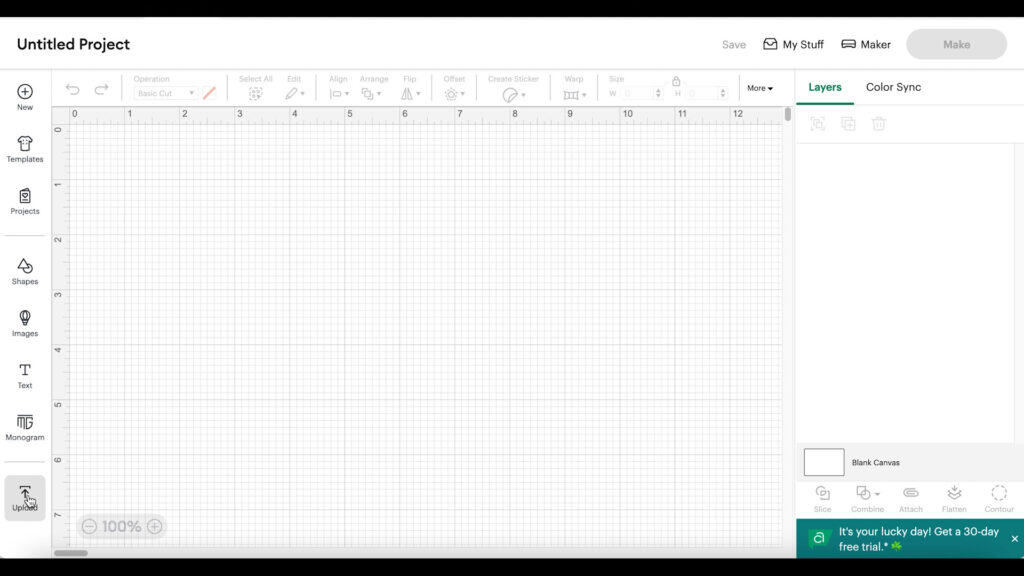
Step 1
Starting with a blank canvas in Cricut Design Space, click on Upload, then Upload Image.
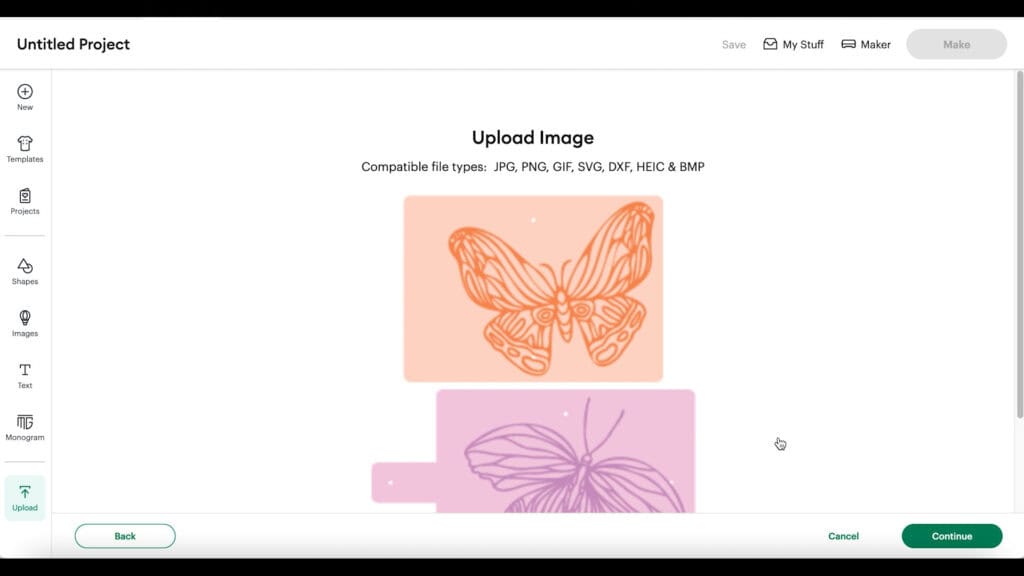
Browse to where the ALREADY UNZIPPED SVG files for this project are saved on your device.
There are two SVGs, one with two butterfly/moth designs and one with two flower/leaves themed designs. You can mix and match any HTV design with any cover design.
Click on one of the two SVG files for this project to select it and follow the prompts to upload it.
The designs will load on the canvas. Don’t make any changes to the sizes of the notebook shape or it won’t fit the 3.5×5.5 inch notebook inserts.
If desired, return to the upload menu and upload the other two designs.

In this tutorial I’ll make one tab front design and one elastic closure design, but you can delete the shapes you don’t want to make and just leave one notebook cover and one cover design on your canvas.
Click the MAKE IT button.
STEP 2
Click on the mat on the left hand side and toggle the Mirror toggle ON for both mats. That’s because faux leather and heat transfer vinyl always cut in reverse.
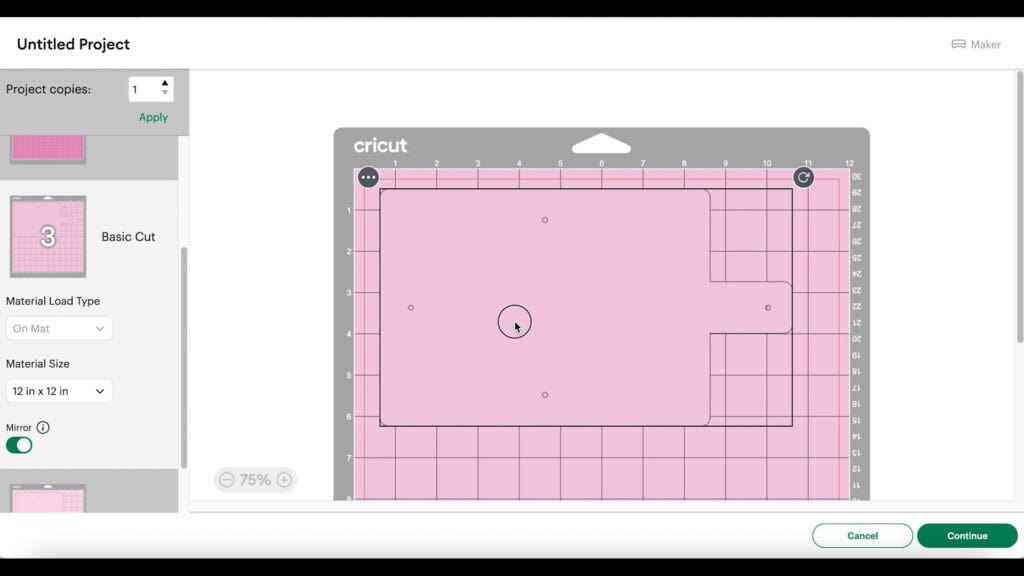
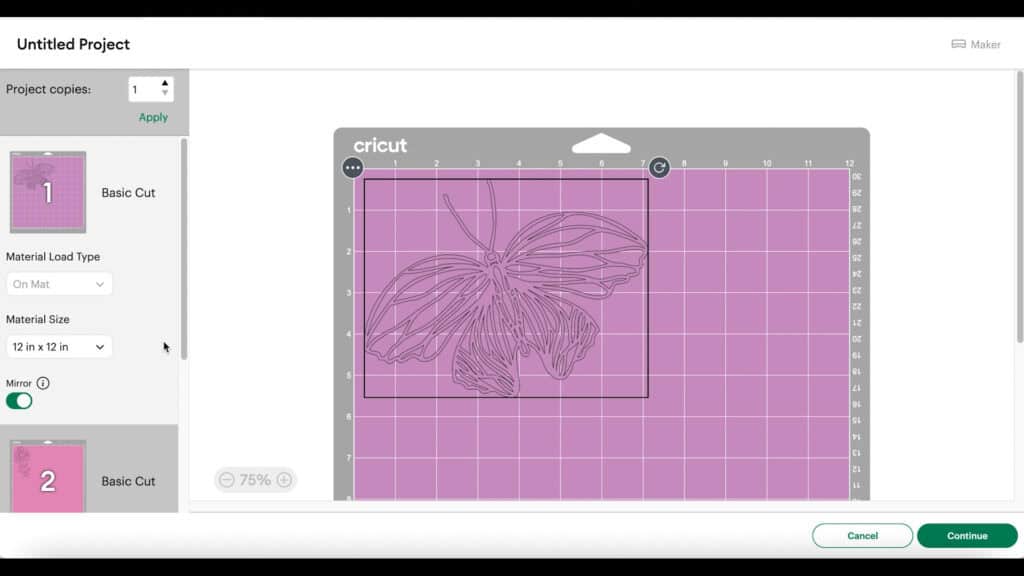
After both mats are mirrored, drag the shapes apart from the edges a bit.
For the tab closure shape, you may need to rotate the shape on your canvas if your faux leather has a print going in a certain direction and you want the print to cut in a particular way for your notebook cover.
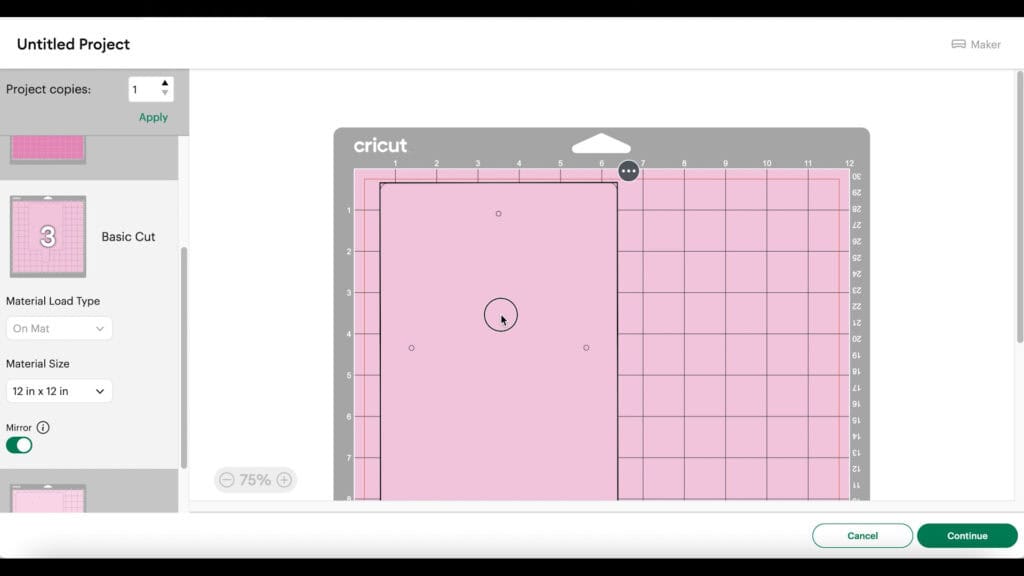
Make a note of where you’ll need to place your faux leather on your mat so the notebook shape will cut completely.
Click the CONTINUE button.
When the material selection screen loads, click on the faux leather mat and then select the Faux Leather (Paper Thin) setting.
If you don’t have that setting bookmarked as a favorite like I do, you can click on Browse All Materials and search for it. (If you are using the Explore Air 2, you’ll need to turn your dial to Custom before you can find that setting in search.)
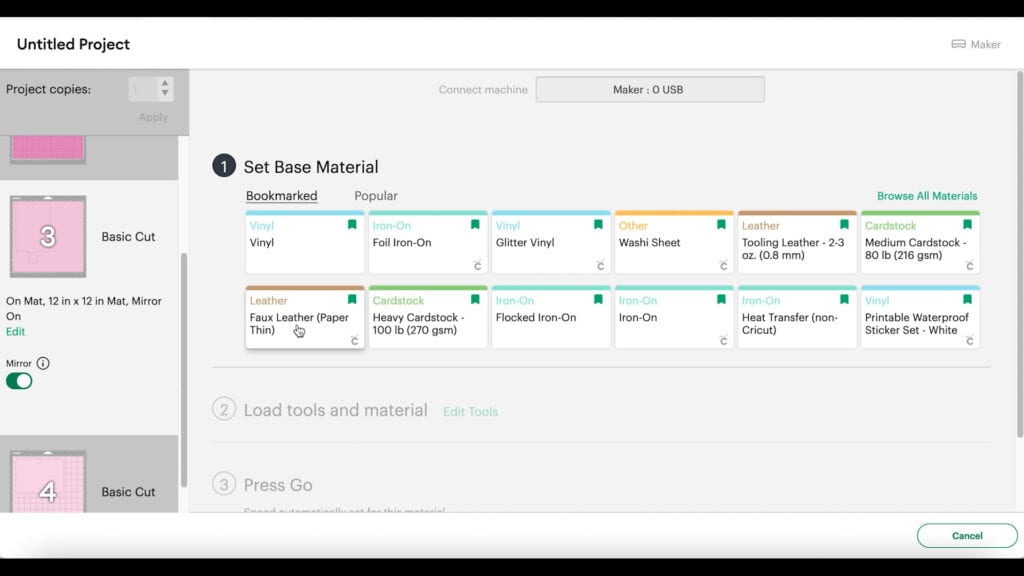
Then choose “More” from the dropdown Pressure menu.
Step 3 (optional)
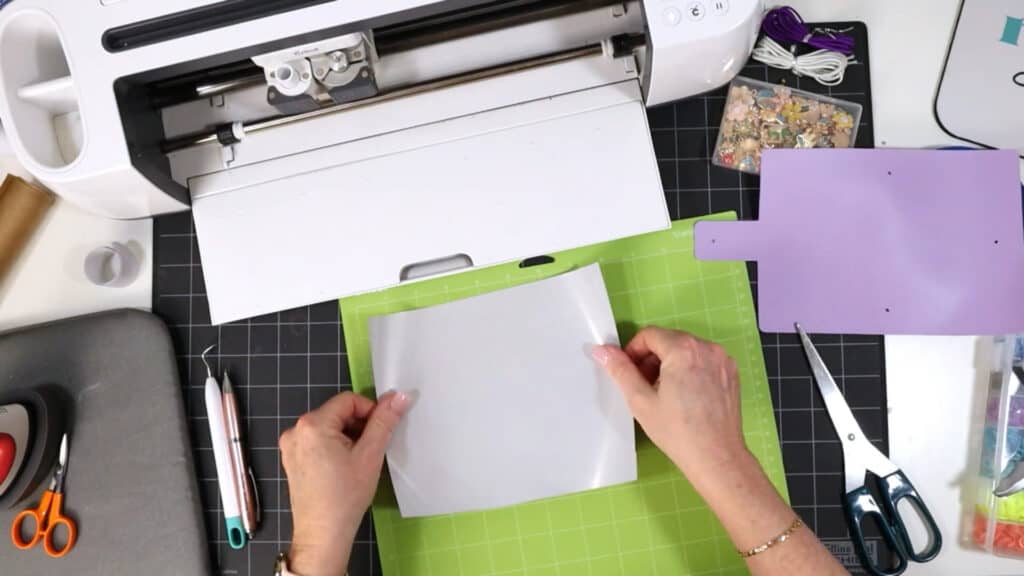
Press heat transfer vinyl to the back of your faux leather before cutting if you want to have a pop of color inside the notebook cover.
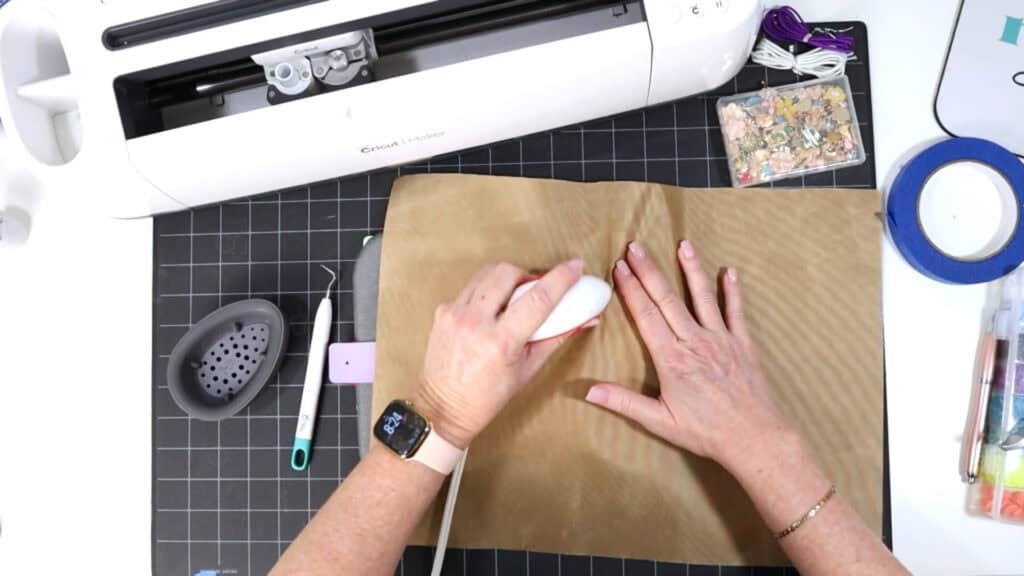
To press heat transfer vinyl onto the back of the faux leather, cut a piece of each material so that they are the same size. Place them back to back on a heat pressing pad.
Then cover with a Teflon sheet, butcher paper or parchment paper.
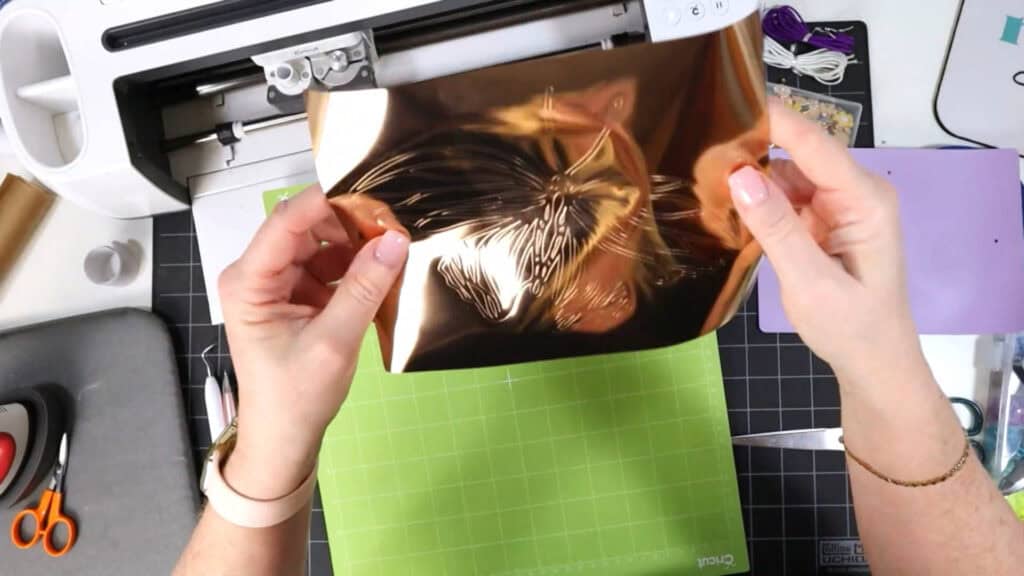
Set a large EasyPress to 265 degrees for 15 seconds. Press the heat transfer vinyl all over and let it cool for about a minute.
Then carefully peel the clear carrier sheet. Let the warm sheet cool flat under something like your heat pressing pad for a few minutes before you cut it.
Step 4
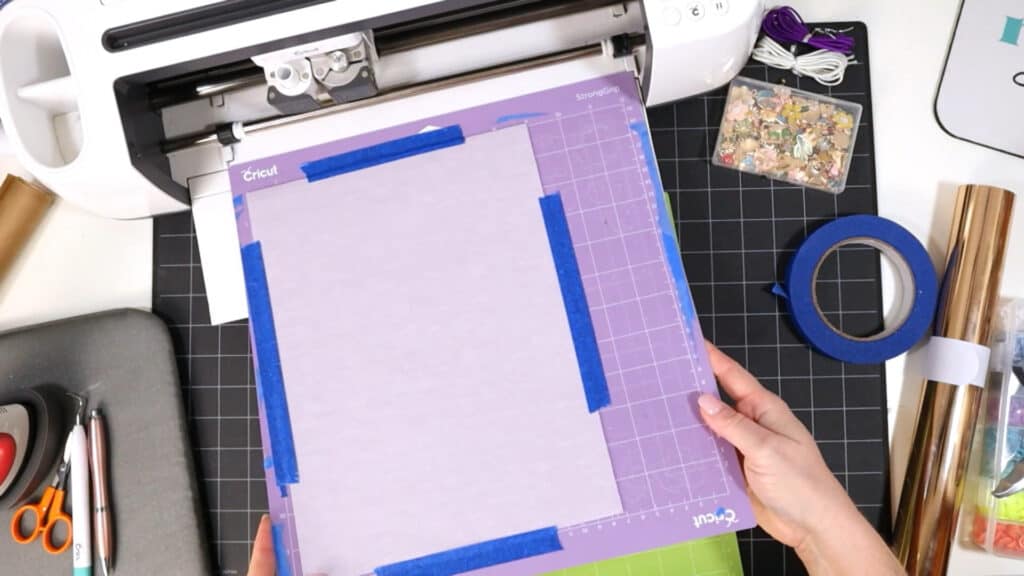
Cut your faux leather mat. To do that, place your faux leather pretty side down (heat transfer vinyl side up, if you did that step) on the area of the mat the notebook cover will cut from.
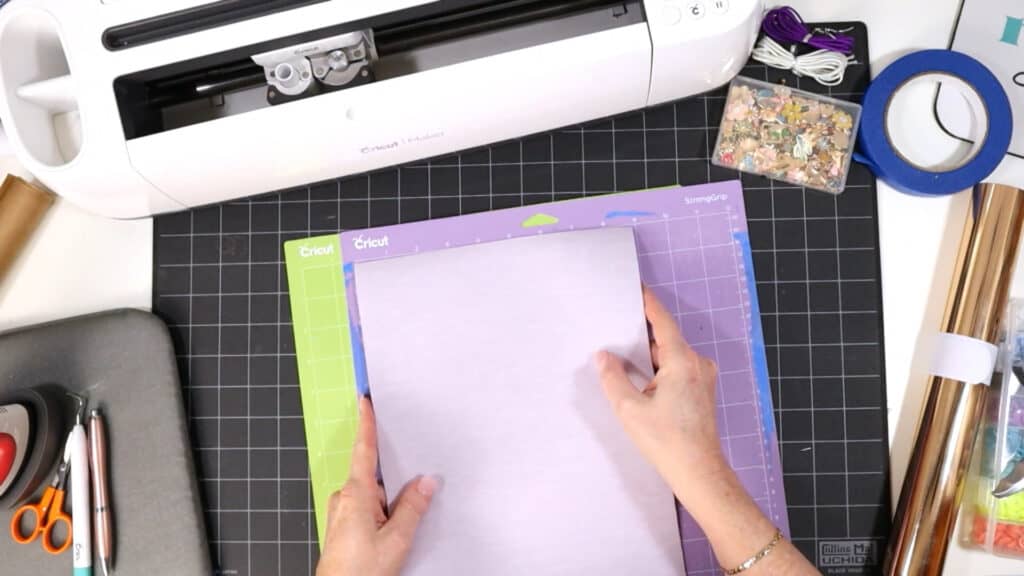
Place blue painter’s tape around all sides of the faux leather. Load the mat into the Cricut and begin the cut.
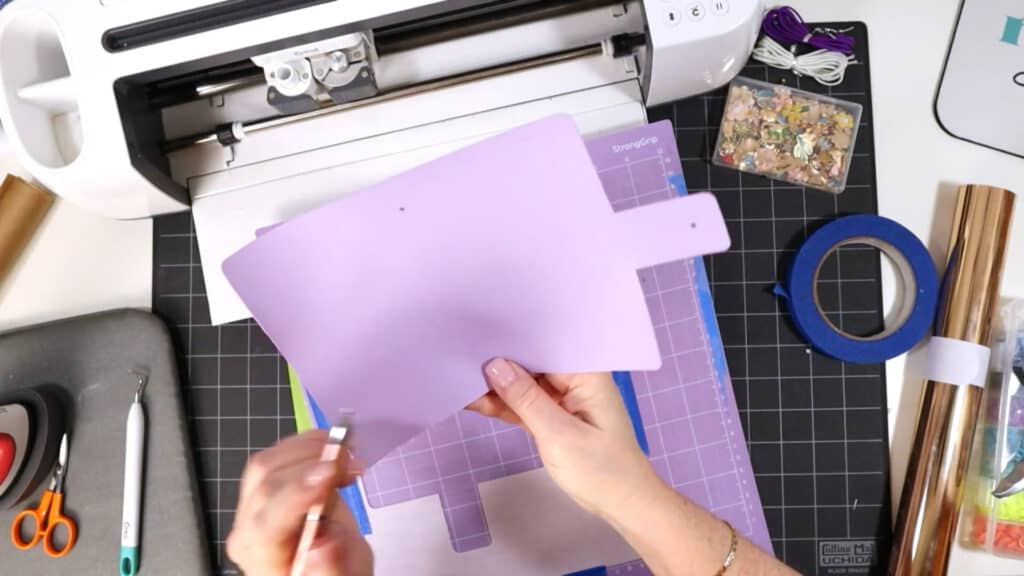
When the cut is complete, before unloading the mat, lift a small edge of the cut to ensure the cut went through. Repeat the cut if needed by pressing the cut button again.
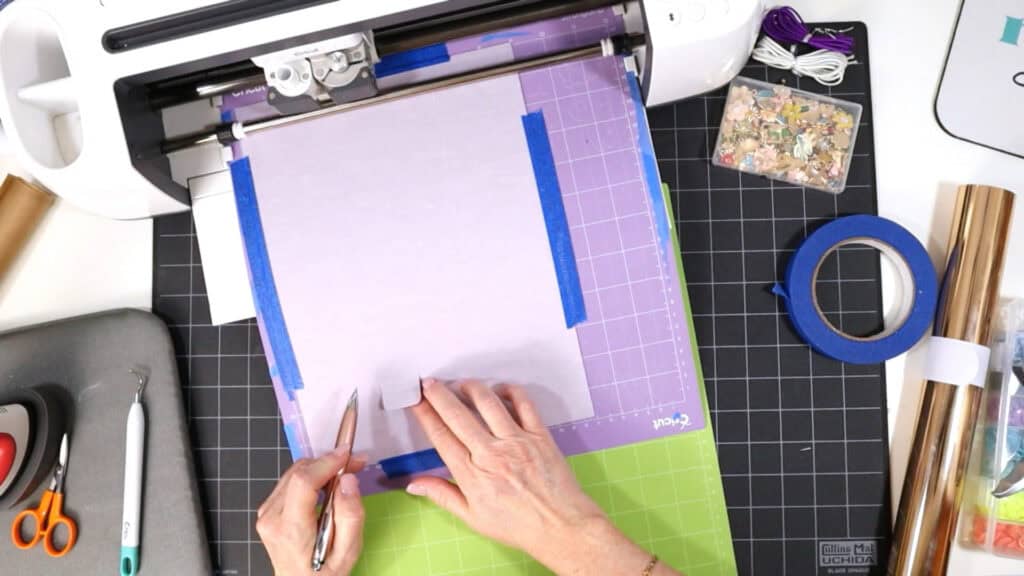
Once the shapes are cut through, remove the shape from the mat. Use a sharp weeding tool to poke through the holes in the notebook cover.
Return to Design Space and cut the heat transfer vinyl mat using the manufacturer’s recommended cut setting for your brand and type of vinyl.
Remove the vinyl from the mat and weed away the excess.
Step 5
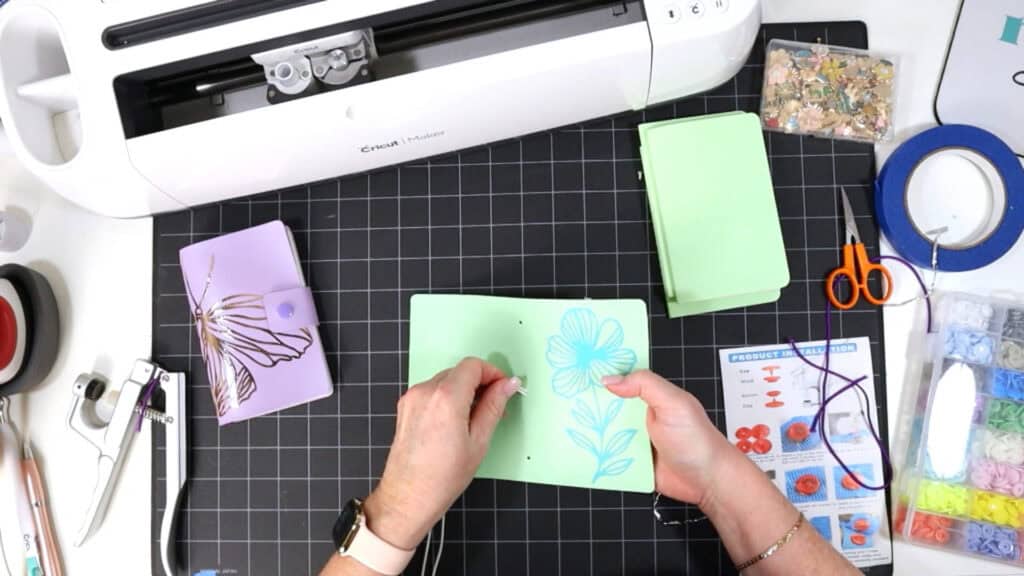
Now it’s time to press the heat transfer vinyl design onto the front of the faux leather notebook cover.
Place your faux leather notebook cover shape on a heat pressing pad. Preheat an EasyPress Mini to the Low setting or a regular EasyPress to 265 degrees.
Place the heat transfer design on top of the notebook cover.
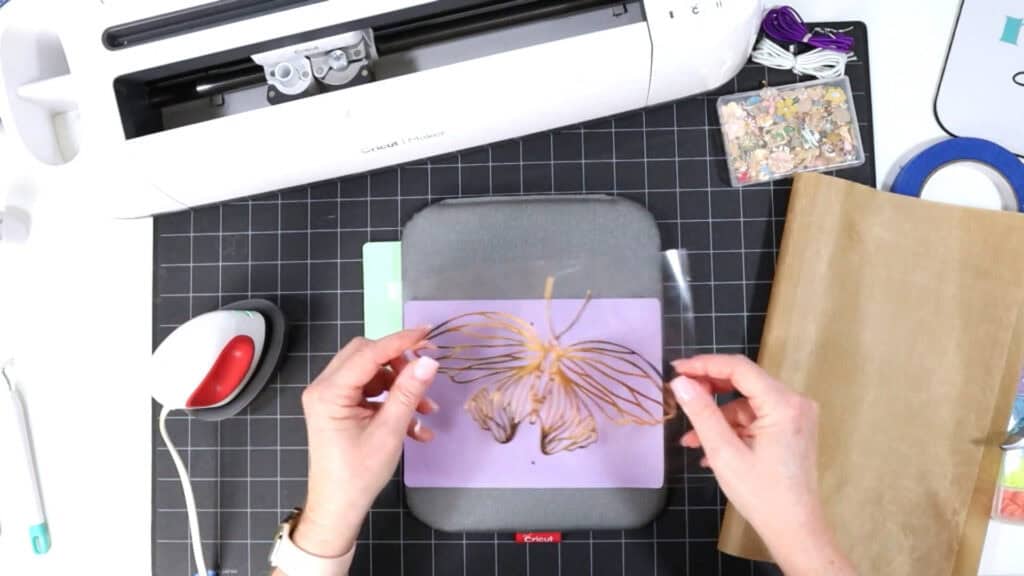
Be sure to check which side is the front of the notebook and make a test fold of the cover with the design resting on top before you press to be sure you like how the final design placement will look.
Then cover with a Teflon sheet, butcher paper, or parchment paper and press for about 10 seconds all over.
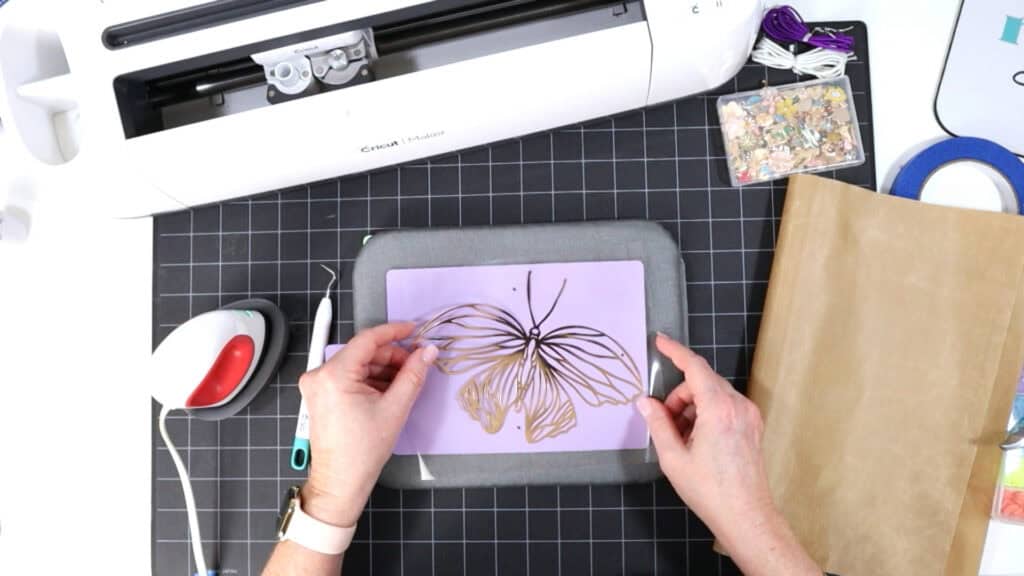
Slowly peel away the clear carrier sheet. If the vinyl lifts up, place the carrier sheet back down and press again.
Place the warm pressed notebook cover under your heat pressing pad for a minute so it can cool flat.
Step 6
It’s time to attach the Size 20 Kam Snaps to the notebook cover if you are making the snap closure version. If you are making the elastic closure version, skip ahead to Step 8.
Refer to the Kam Snap directions guide included with your Kam Snap set. I’ve also included a copy in your download folder.
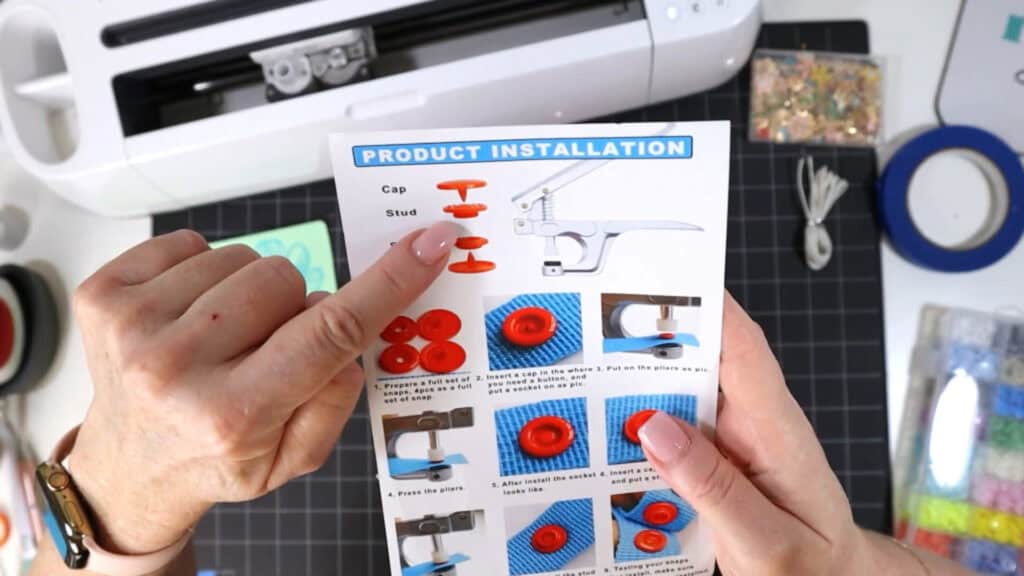
Look for the four elements you need and take them out of the Kam Snap box.
Lay them on your work surface in the order shown on the guide: 1 Cap, 1 Stud, 1 Socket, 1 Cap.
The tab of the notebook will have a CAP on the outside and a STUD on the inside.
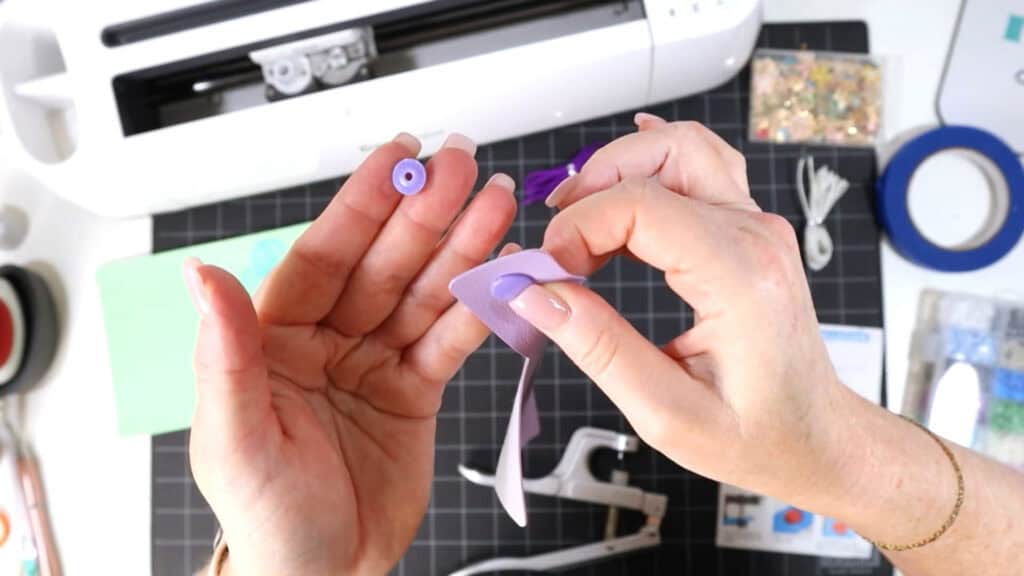
The base of the notebook will have a CAP on the inside and a SOCKET on the outside.
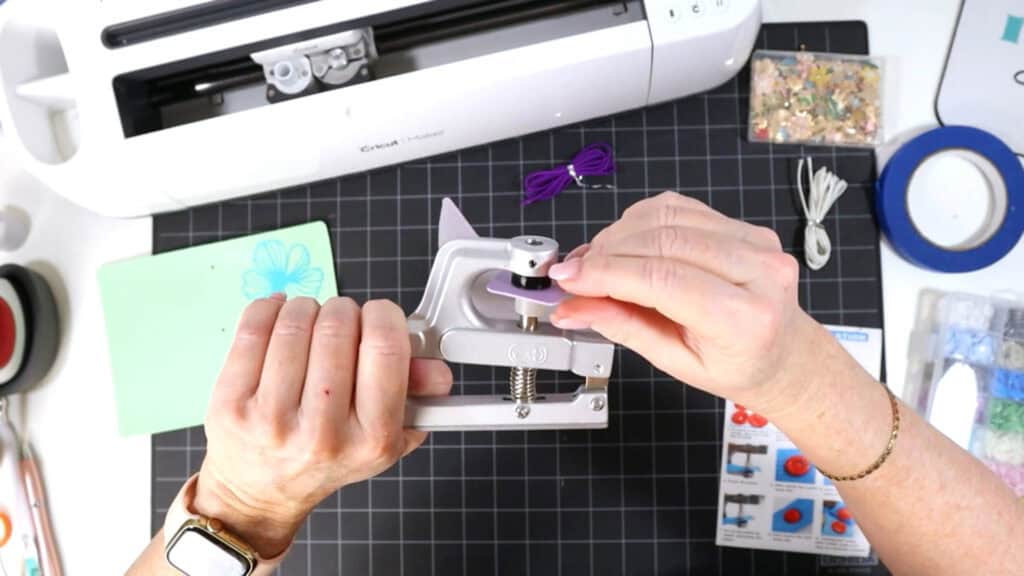
Use Kam snap pliers to press down and secure the snaps on both parts of the notebook. Watch the video tutorial for this project to see this process in action.
Step 7
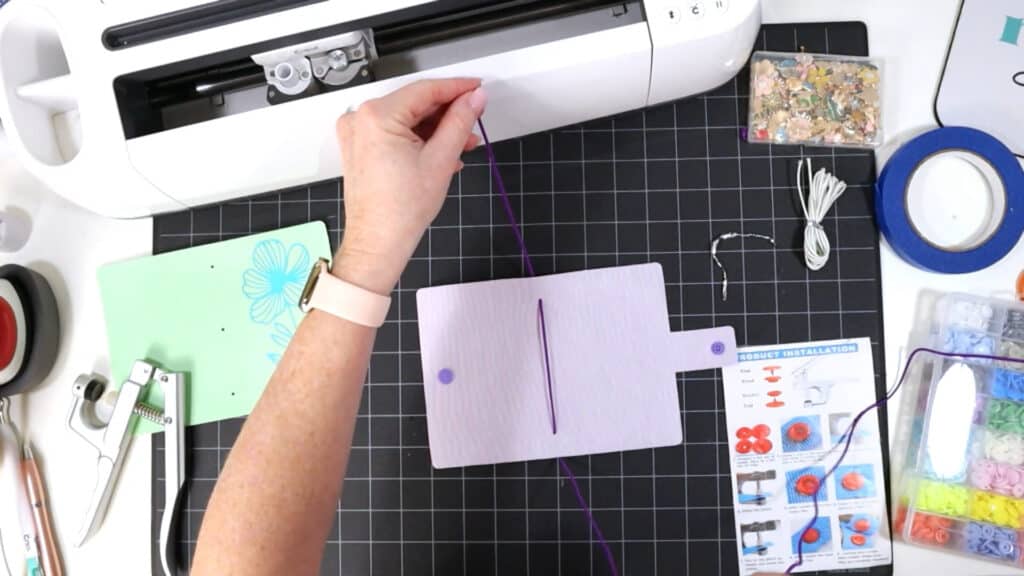
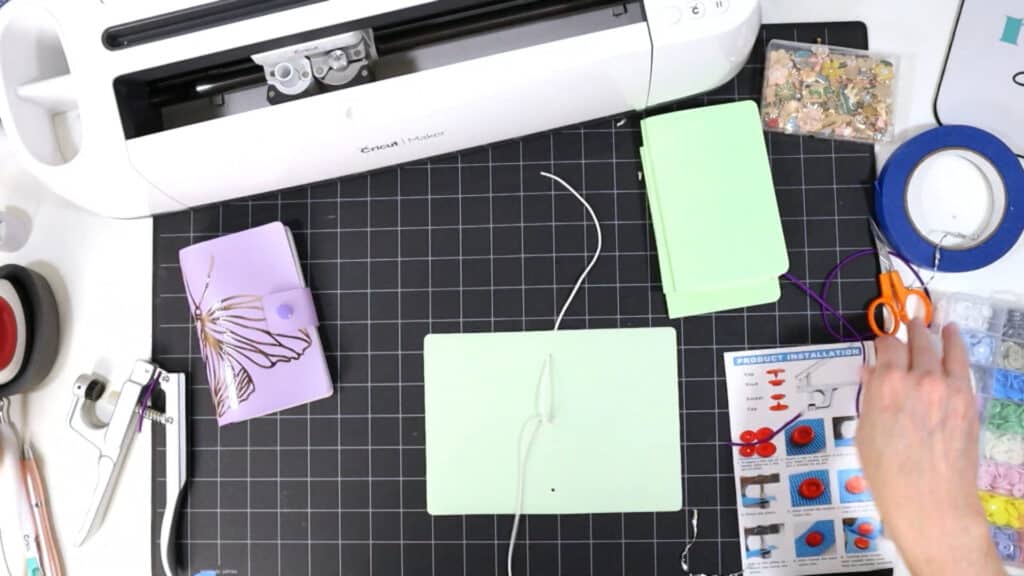
Cut a 16 inch piece of 2mm elastic cord and thread it up and down through the vertical holes down the center of the notebook cover. The cord should come out of the cover through the back of the holes.
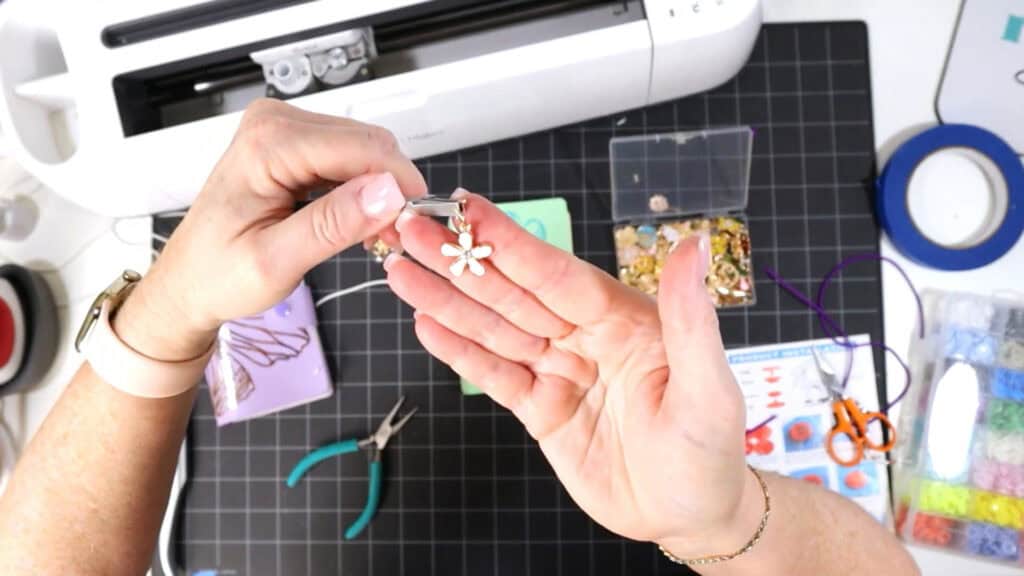
If you want to add a charm to the top spine of your notebook, you can slide a charm on a jump ring on the top elastic before you fold it over into the center of the notebook.
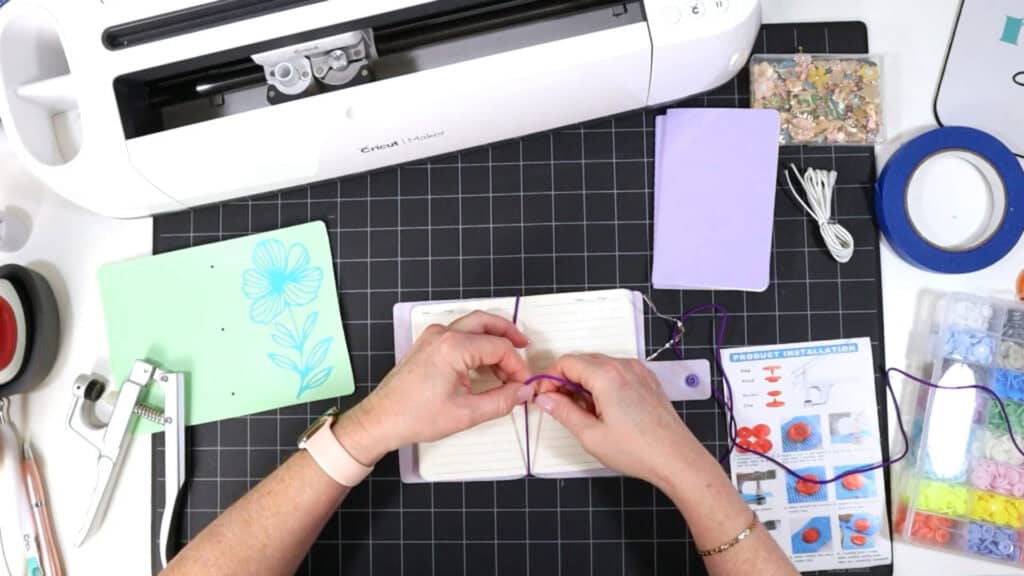
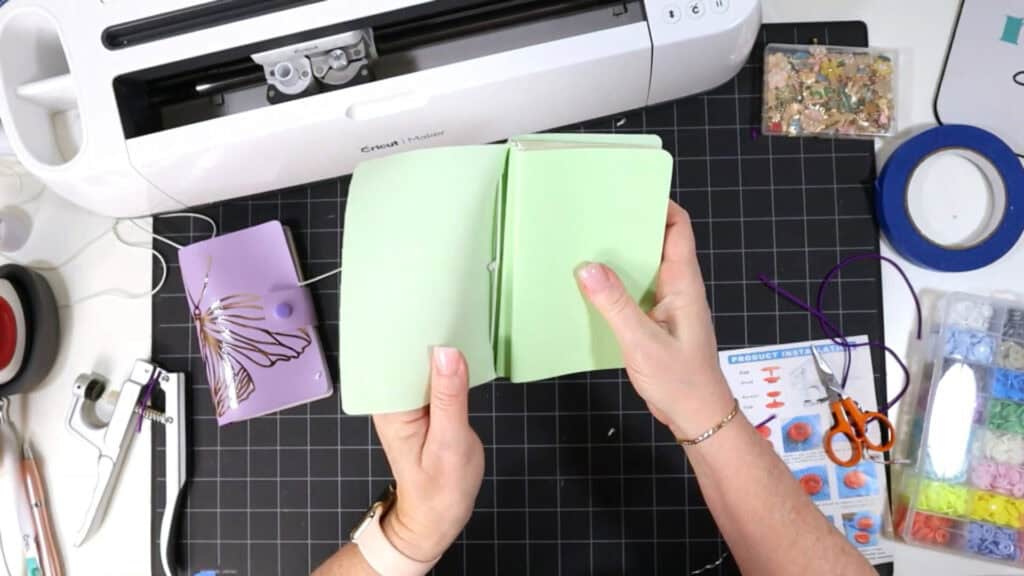
Turn the cover over and place a notebook inside the cover. Tie the cords together in the center of the notebook.
If desired, you can add one to two more notebooks. To do this, tie a 12 inch piece of elastic around the front and back of the first notebook.
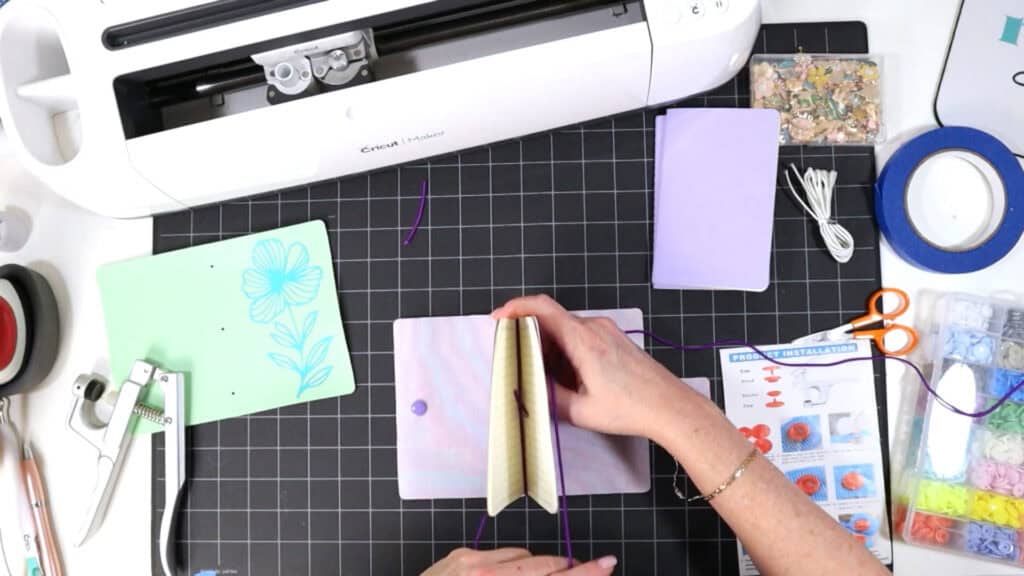
Slide a notebook under the front elastic loop and another under the back elastic loop.
Close up the notebook and snap the cover closed.
Step 8
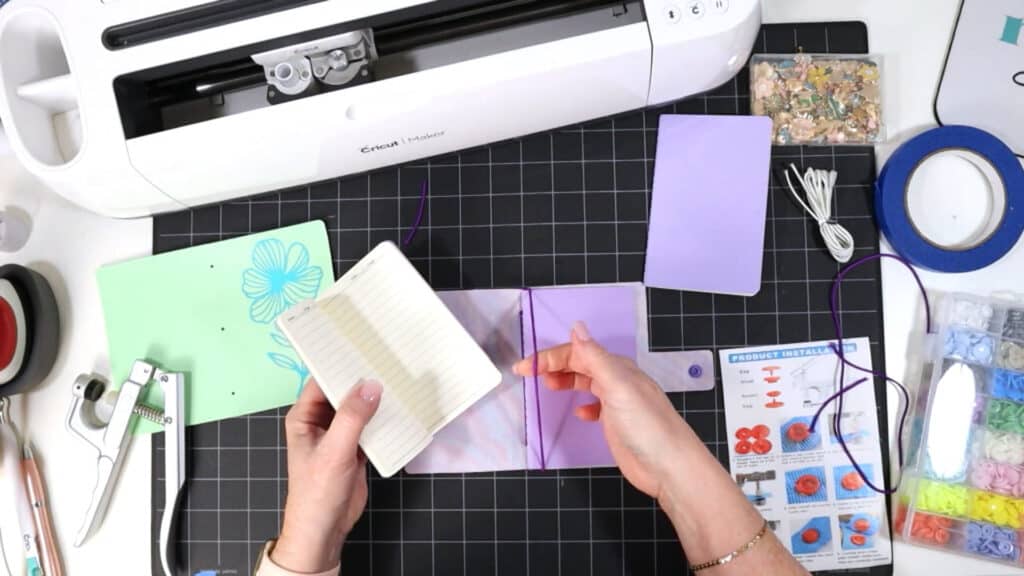
If you are making the elastic loop version – cut a 30 inch piece of elastic. Fold it in half and push the ends through the center notebook hole from the outside.
Leave a loop outside the notebook that will slide over the cover – you want it not too loose and not too tight.
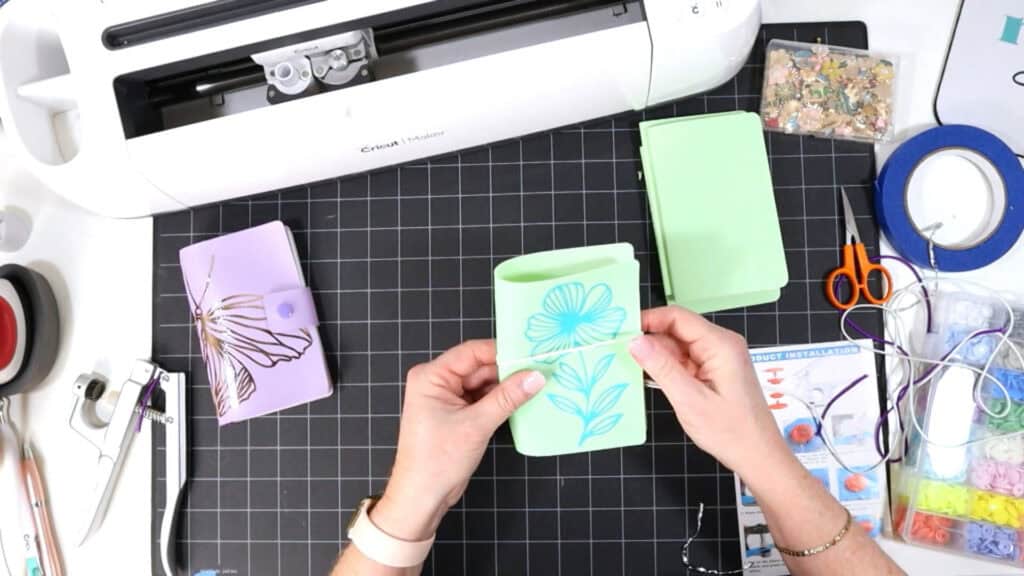
When the loop is sized right, tie a knot inside the notebook cover at the center.
Then add notebooks inside following the directions in Step 7.

If desired, add a charm to your elastic with a 10mm jump ring and jewelry making pliers.
That’s it! Your Faux Leather Spring Notebook Cover is complete!
Which design will you use to make your Faux Leather Spring Notebook Cover? Let me know in the comments!
Answers to your questions about making a Faux Leather Spring Notebook Cover with a Cricut
Q: Which Cricut machines will cut faux leather?
A: You can cut faux leather with any of the current Cricut machines because they all cut faux leather with the standard fine point blade included with each machine. For this project you can use the Cricut Maker, Cricut Maker 3, Cricut Explore 3, Cricut Explore Air 2, or the Cricut Joy Xtra. This project is too large for the Cricut Joy.
Q: What do I need to press heat transfer vinyl onto faux leather?
A: To press heat transfer vinyl onto faux leather you’ll need a traditional heat press, Cricut EasyPress, or Cricut EasyPress Mini. I used a Cricut EasyPress Mini for this project because it’s great with pressing small projects like earrings, keychains, and accessories.
Q: How do I get the SVG template for this project?
A: Get the SVG file from my SVG Shop here, or you can get it as part of 17 brand new Spring faux leather crafting projects in my Spring Fling Crafting Event VIP Pass.
Get the SVG in my Shop
Personal or Small Commercial Use Available
If you loved this project, you’ll love these projects too:
Will you make this project?
I would love to see what you have created! Please join my free faux leather crafting making Facebook group and share your creations with me and all of my crafting friends!
Until next time… and happy creating!

Want to remember this project? Save this tutorial to your favorite Pinterest board!
Want instant access to my Free Resource Library full of SVG files?
Just Enter your name and email Below!
By signing up, you’ll get instant access to my FREE SVG Library with hundreds of crafting SVG templates! You’ll also get my weekly newsletter full of crafting ideas, tutorials, and inspiration! Unsubscribe anytime.
This is perfect to keep in my purse!
Two lovely designs
Very nice, would be nice to give away for gifts.
Love these notebooks!
This project is super useful. I really like it!
the lavender and the gold look so nice together.
So sad there is only one day left. I have loved every project.
Love these. The flower notebook might be perfect for Mother’s Day!
Super cute!
I love the designs you have selected for these notebook covers- The pretty pastel colors are awesome- Thank you for sharing Amy.
I’ve got all the materials to make these already. Can’t wait to get started! I am going to use them as journals while traveling. The hard part will be picking the colors and patterns to use. 😃❤️
Looks great
These are cute. I love the snap closure especially! Thank you for sharing.
very cute project
Making some of these this weekend. Thanks.
Amy thank you for all the cut and usable items! Beautiful.
I love these, Amy! They are super cute. Thank you!
I like the butterfly the best and thank you Amy!!!
I really love the snap closures and have all my supplies to make both of these.
I love these notebook covers ❣️
Perfect timing with these. I need to make one for someone. Now I just need to pick which one.
Can’t wait to make this journal cover!
These spring notebook covers are so cute. Not only are they so cute, but super easy to make.
This has been a great event! You have made each day’s design that much better than the day before. These notebook covers are such great little gifts as you can personalize them with initials, a photo (on printable vinyl) or any other item you want. Looking forward to seeing what tomorrow brings but also sad it is the last day. Thank you, Amy, for a wonderful event!
These would make sure cute gifts!
My granddaughter loves journaling. These will be perfect to place in her Easter basket.
I love these notebook covers! Such a nice idea for gifts! Thanks Amy!
I think I will make a bunch of these, they are a perfect gift!
Thanks Amy👍
I can hardly wait to make this. Waiting on my supplies from the supply list. Yay!
I love the notebook covers!
Love, love, love these! Thank you!
I love these, they will make great gifts and a fun personalized notebook for me to take to Bible studies.
Thanks for sharing. I love how I can buy some supplies and you give me many different projects I can make with them.
verry cute, thanks
Very nice Amy, I like how the butterfly wraps around the book.
I love these spring journal covers and the mint chip color is beautiful!! What a great project. Thank you for the wonderful step by step directions, they are so helpful.
Love these simple but useful journal covers
I can see making these notebook covers personalized as gifts. Thank you Amy.
Great Design really like the butterfly would love to have a way to attach or store my pen with the folder, just a thought.
Great size Love the foil very pretty!
These notebook covers are gorgeous. 😍✨ This whole series has been very well put together 👍👏
Thank you Amy!!🫶🧡💚
Super cute faux leather spring notebook covers, thank you for sharing
I really love what you did today. I will do one or both notebooks, Thank you so much for sharing it with us.
LOVE these notebook covers!
Love these. Fantastic that you have two ways for closure. I haven’t bought the snap tools or snaps yet so will definitely make other. Thanks Amy!! 😊
Love the faux the leather notebook cover. I love that you included two option for closure. I don’t have the snaps or tools yet so will give the other a go. Thanks Amy 😊
I have been wanting to make these since the first time you presented them. I finally have all of the materials and cannot wait to make several of them!
I love these faux leather notebooks! Your tutorial was easy to follow and the written instructions with the pictures are amazing. I really like the SVG files. Thank you for sharing your techniques and knowledge!
I love the butterfly design on this project!
I love this notebook cover ❤️
Can’t wait to make these for my family. I’m so excited.
Love the butterflies.
Love these notebooks! They are so cute, and you make it a breeze to make.
These notebook covers are my favorite! They are such great gifts too!
These Spring designs and colors are lovely.
Love the covers! So decorative yet so practical! Great job as always Amy.
Great ideas for notebook covers! Thank you!
Beautiful! My favorite project so far.
Amy, your creations are truly inspiring! Your tutorials are so well-structured and easy to follow, making crafting accessible and enjoyable for everyone. I especially love how you bring unique ideas to life with such creativity and attention to detail. Thank you for sharing your passion and talent with the crafting community—it’s a joy to learn from you! Keep up the amazing work!
A very cute and useful design thanks