How to Make a Faux Leather Butterfly & Cowboy Boot Key Fob Wristlet
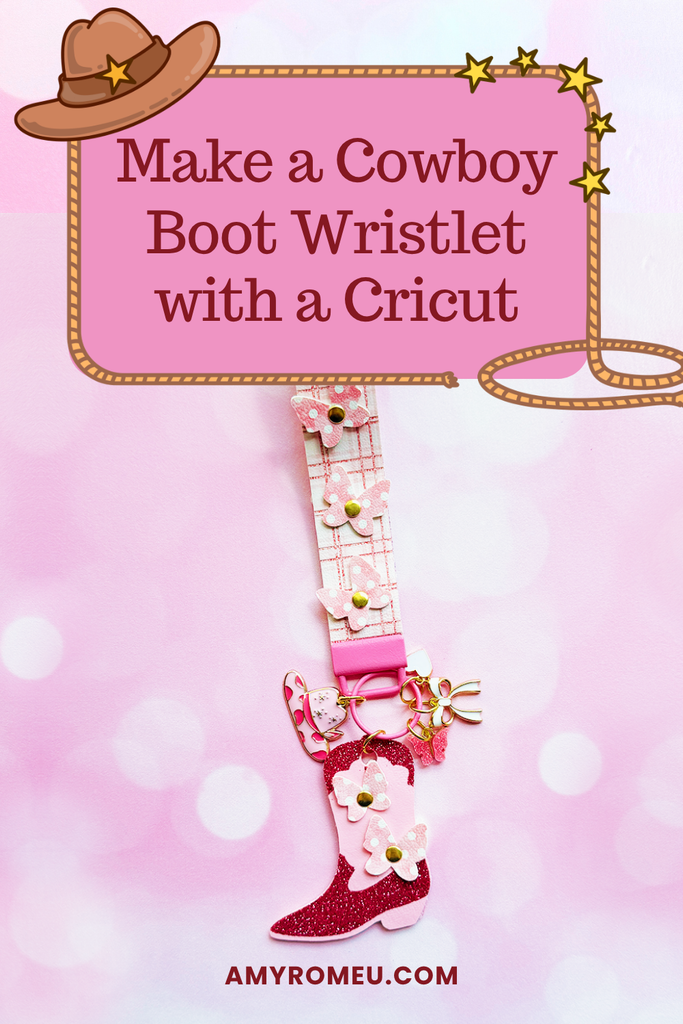
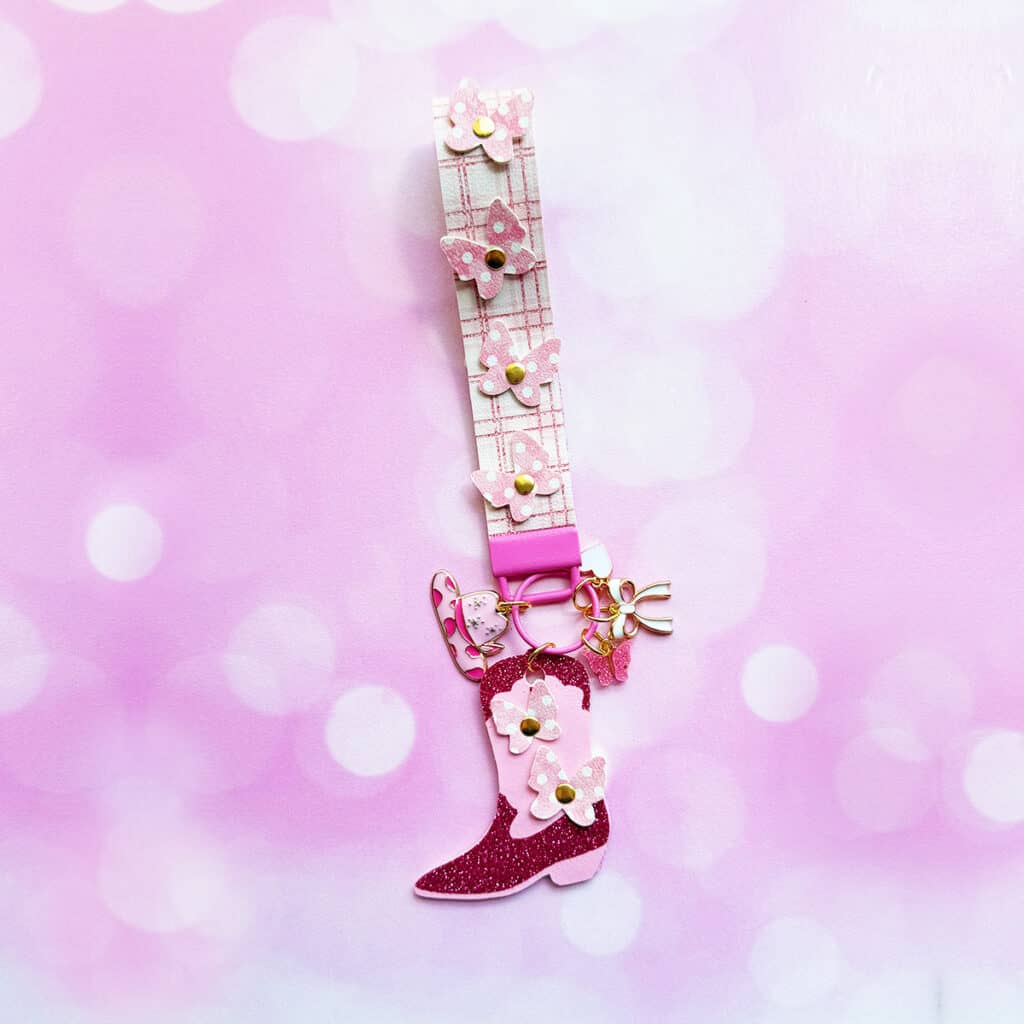
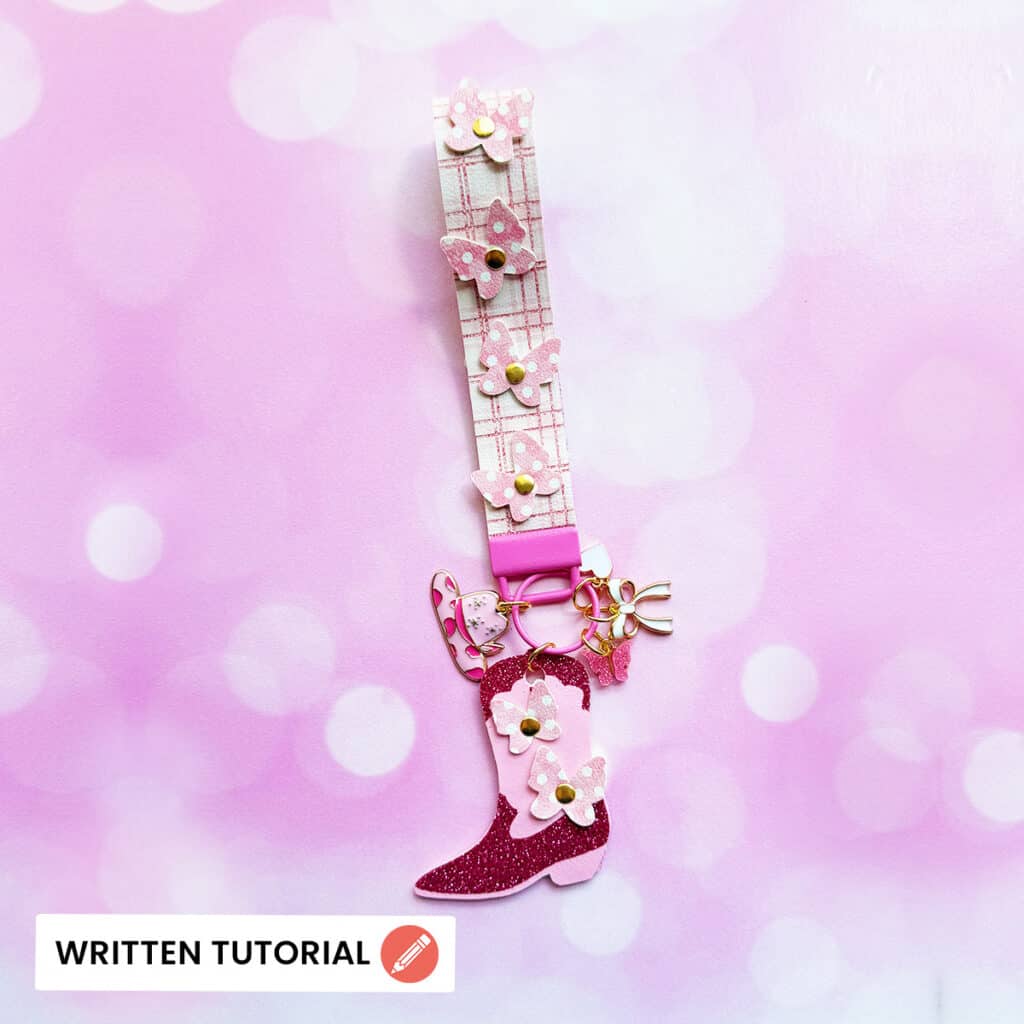
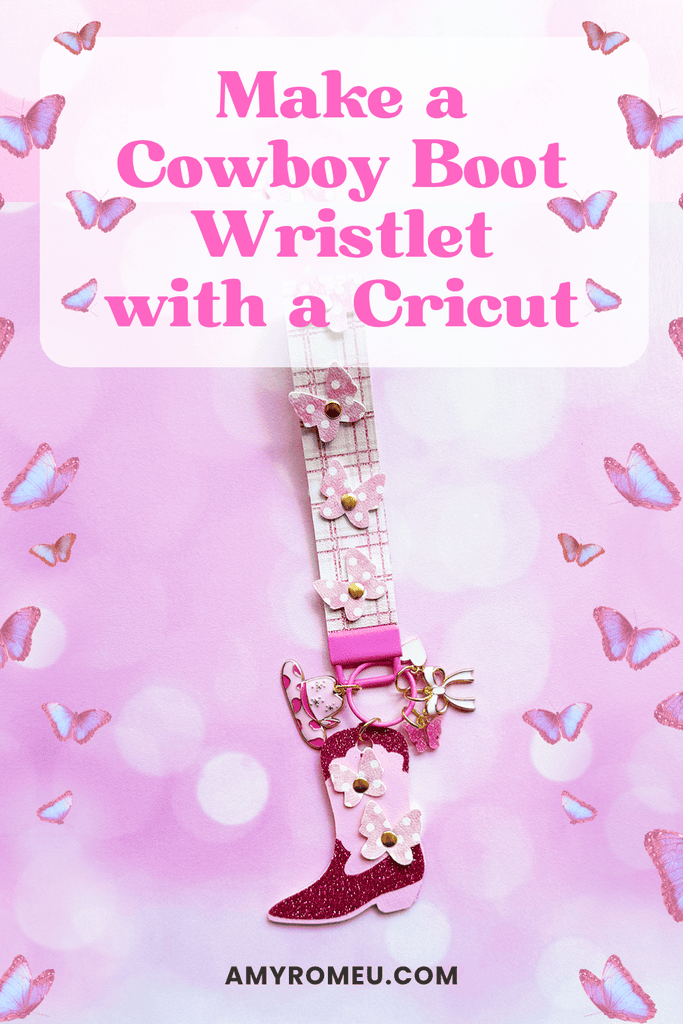
Learn how to make this Dolly Parton inspired Faux Leather Butterflies & Boot Key Fob Wristlet Keychain using faux leather, heat transfer vinyl, and your Cricut!
You can make this project with any of the Cricut Maker, Explore, or Joy machines with just the regular fine point blade.
Ready to get started with this fun faux leather Cricut craft tutorial?
Let’s dive into the materials and steps!
Step 1: Get the SVG Template
Want just the SVG? You can get it in my SVG shop for personal or small commercial use here.
CLUB PROJECT
Want the SVG + Full Video Tutorial?
This project (and hundreds more!) are available inside the Faux Leather Crafters Club!✂️
Join the Club to get the SVG file and a complete step-by-step video tutorial, plus a new faux leather project for your Cricut every week. Enjoy our Club community with over 750 happy members for plenty of inspiration to keep you crafting with confidence.
Step 2: Shop the Supplies
This page contains some affiliate links (which means if you make a purchase after clicking a link, I will earn a small commission at no additional cost to you). Read my full disclosure policy here.
Compatible Machines✅: Cricut Maker, Cricut Maker 3, Cricut Maker 4, Cricut Maker 5, Cricut Explore Air 2, Cricut Explore 3, Cricut Explore 4, Cricut Explore 5, Cricut Joy Xtra, Cricut Joy & Cricut Joy 2 (with the 12 inch long Joy mat)
Not Compatible Machines❌: none
Blade Used: Standard Fine Point Blade
Cut Setting Used✂️: Faux Leather (Paper Thin) with “More” pressure
- Faux Leather & Heat Transfer Vinyl
- Faux Leather of your choice. I used this plaid for the wristlet, this solid pink for the boot and this polka dot for the butterflies. I ordered 9×12 size, Portait orientation, and Regular Scale for the prints.
- Heat Transfer Vinyl of your choice. Siser Glitter HTV in Blush Pink for the pink wristlet.
- Other Supplies
- 6mm x 6mm rivets (these include the rivet tools)
- A hammer (I got my cute pink on Amazon here)
- Craft or fabric glue (like Beacon Fabri-Tac)
- 1 inch Wristlet Hardware with Nylon Jaw Pliers
- Cute cowboy charms – see the ones I got on Amazon here
- 10mm Jump Rings
- Blue Painters Tape
- Small Curved Scissors
- Flat Nose Jewelry Making Pliers – I use Wubbers Baby size Flat Nose and Wubbers Baby Size Chain Nose
- Weeding Tool like a Pin Pen or like the one in the Cricut Basic Tool Set
🛒 To shop many of these supplies in my Amazon storefront, click here. 🛒
Step 3: Make the Project
Set Up Your Design
- Open a new canvas in Cricut Design Space.
- Upload the SVG file for the Butterflies & Boot Key Fob Wristlet to your canvas.
Prepare to Cut
- Click Make It.
- Mirror your mats since you’ll be cutting the faux leather and heat transfer vinyl face down.
- For the faux leather mat, choose the Faux Leather (Paper Thin) material setting with More pressure for the faux leather mat.
- Trim a piece of faux leather just slightly larger than the size shown in the mat preview screen for the boot and wristlet shapes.
Cut the Faux Leather
- If desired, press heat transfer vinyl onto the back of the faux leather for the wristlet before you cut it so your wristlet can have a pop of color inside.
- Place the faux leather for the boot shapes pretty side down on a Strong Grip (purple) mat.
- Secure all edges with blue painter’s tape.
- Load the mat into your Cricut.
- Press the C button to begin cutting.
- When the cut is complete, without unloading the mat, use a sharp tool to gently lift the edge and check the cut.
- Repeat the cut if necessary by pressing the cut button again.
- Once the cut is complete, unload the mat and remove the shapes.
- Return to Design Space and cut out the faux leather butterflies.
Cut & Press the Heat Transfer Vinyl
- Cut the heat transfer vinyl using a green standard grip mat and the manufacturer’s recommended cut settings for your brand & type of HTV.
- Weed away the excess HTV.
- Preheat an Easy Press to 265 degrees or set an Easy Press Mini to the Low setting.
- Layer the boot vinyl onto the boot faux leather shape. Cover with a Teflon sheet or cover sheet and press for 5-7 seconds at a time.
- Remove the Teflon sheet and try to peel away the clear vinyl cover sheet. If the vinyl lifts up with the cover sheet, place it back down and press again.
- Now press the second boot.
- Place the pressed faux leather shapes underneath your heat pressing pad for a minute or two so they can cool flat.
Glue the Boot Charm
- Spread fabric glue or craft glue on the back of one of the boots. Press the other boot on top and line up the sides.
- Poke the holes in the boot with a weeding tool to clear out any glue before it dries.
- Place the glued boot charm under a heavy book for an hour to let the keychain dry flat.
Apply the Rivets
- Using 6mm rivets and a hammer, apply the butterflies to the boot charm front and back. Hammer the rivets closed.
- Repeat with adding butterflies to the wristlet.
Assemble the Wristlet
- Fold the faux leather strap in half. Put the ends inside the jaws of the key fob hardware.
- Use rubber tipped pliers to clamp the jaws closed onto the ends of the faux leather strap.
- Attach the boot charm to the wristlet with flat nose pliers & a 10mm jump ring.
- Add additional charms and a tassel if desired using more 10mm jump rings.
Your Faux Leather Dolly Parton inspired Key Fob Wristlet is complete!
Answers to your questions about making a Faux Leather Key Fob Wristlet with a Cricut
Q: Which Cricut machines will cut faux leather?
A: You can cut faux leather with any of the current Cricut machines because they all cut faux leather with the standard fine point blade included with each machine. For this project you can use any of the Cricut Explore series, Maker Series, or Cricut Joy Xtra, Cricut Joy or Cricut Joy 2 machines (for the Joy machines use the 12 inch long mat).
Q: What glue do I use with faux leather?
A: I like to use Beacon Fabri-Tac for gluing faux leather because it spreads thinly and evenly without clumps and it doesn’t absorb into the faux leather. It also cleans up easily with just a finger wipe or a paper towel. It dries nice and flat for a very smooth finish. However you can also use a good craft glue like Bearly Art Glue – however you will need to apply more than Beacon Fabri-Tac because Bearly Art Glue tends to absorb into the faux leather backing.
Q: How do I get the SVG template for this project?
A: You can get it from my SVG shop here, or get it along with hundreds of other faux leather SVG files inside my Faux Leather Crafters Club! Learn more about the Club here.
Get the SVG in my Shop
Personal or Small Commercial Use Available
More faux leather Cricut projects you’ll love
Want to remember this project? Save this tutorial to your favorite Pinterest board!
Want instant access to my Free Resource Library full of SVG files?
Just Enter your name and email Below!
By signing up, you’ll get instant access to my FREE SVG Library with hundreds of crafting SVG templates! You’ll also get my weekly newsletter full of crafting ideas, tutorials, and inspiration! Unsubscribe anytime.