DIY Cricut Faux Leather Cowboy Boot Wallet
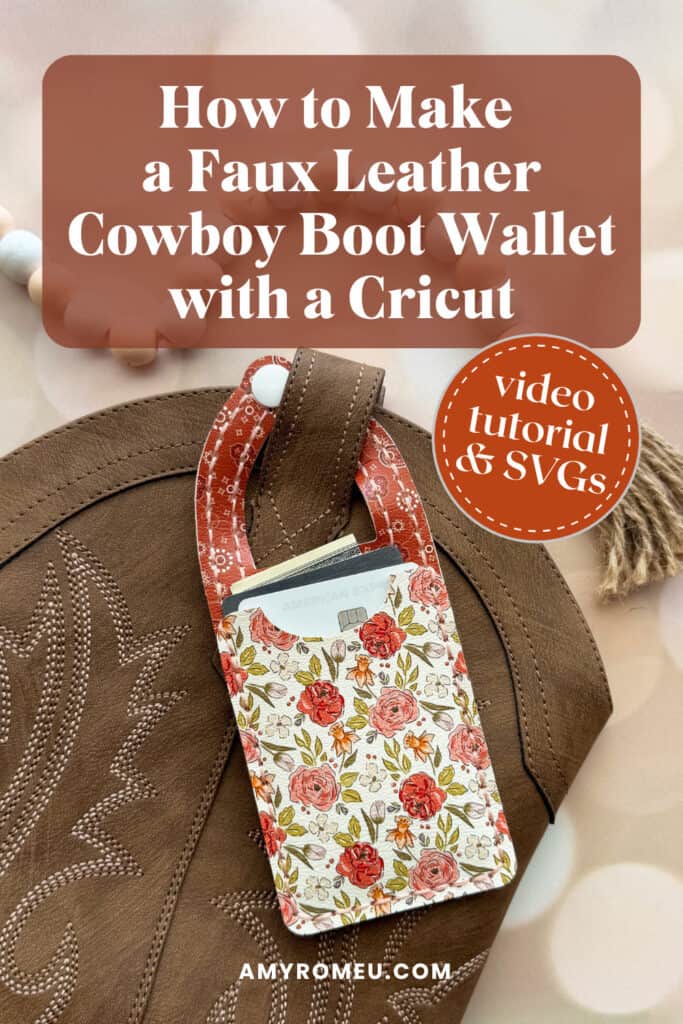
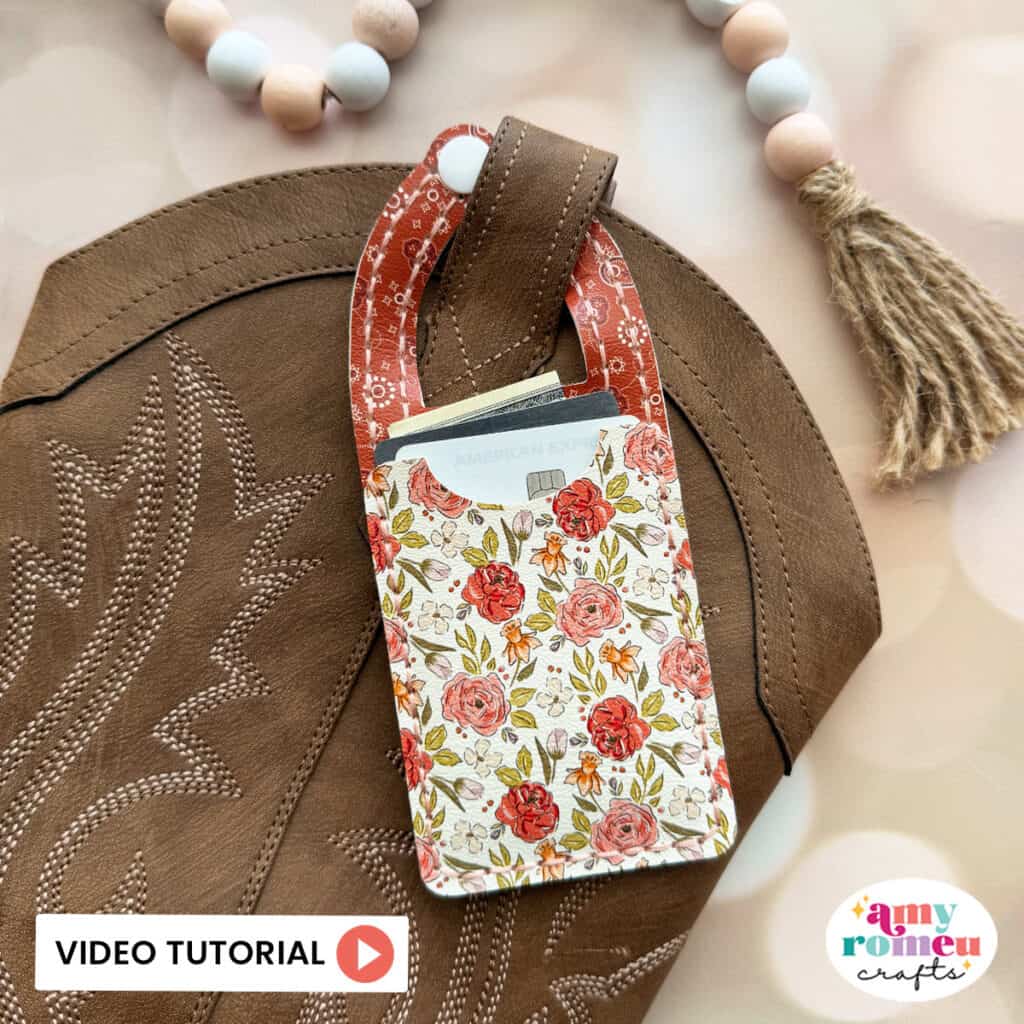
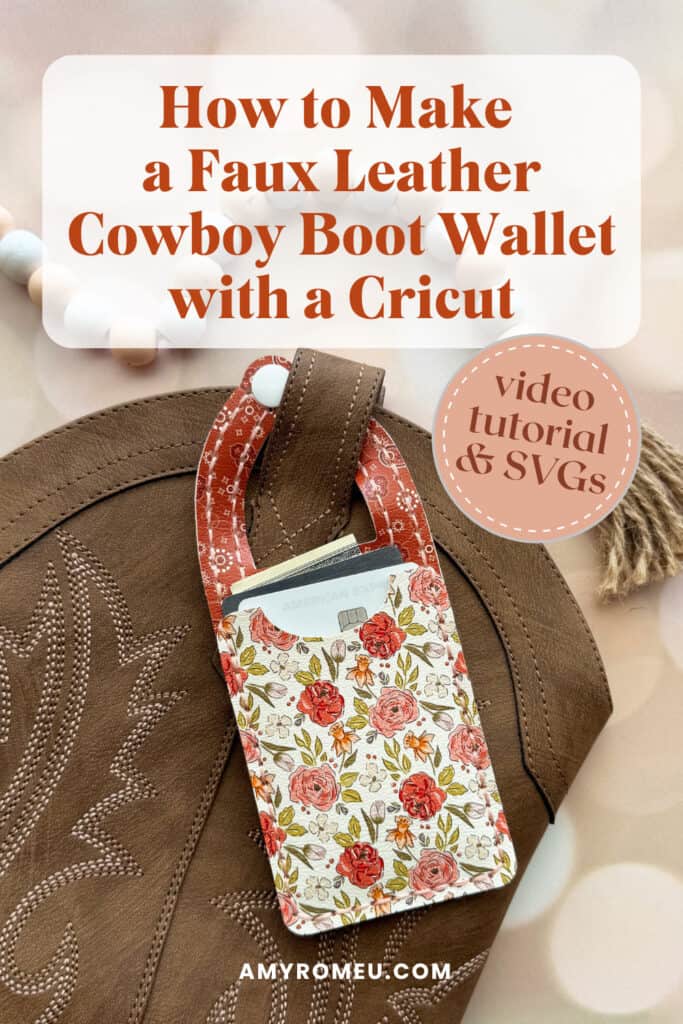
In this tutorial I’ll be showing you how to make a Cowboy Boot Wallet with faux leather and a Cricut.
This cowboy boot wallet is the perfect accessory for keeping your valuables safe inside your boot when you are out on the town!
If you have a Cricut, this is a super easy pattern to cut and stitch using embroidery floss or waxed thread.
I have the SVG file available for this project in my SVG shop, and I’ll show you how to make this DIY leather boot wallet step by step with your Cricut in the video tutorial linked below.
Ready to get started? Let’s dive in!
Step 1: Get the SVG Template
Get the SVG in my Shop
Personal or Small Commercial Use Available
Step 2: Shop the Supplies
This page contains some affiliate links (which means if you make a purchase after clicking a link, I will earn a small commission at no additional cost to you). Read my full disclosure policy here.
Compatible Machines✅: Cricut Maker, Cricut Maker 3, Cricut Maker 4, Cricut Explore Air 2, Cricut Explore 3, Cricut Explore 4, Cricut Explore 5, Cricut Joy Xtra, Cricut Joy, Cricut Joy 2
Not Compatible Machines❌: none
Blade Used: Standard Fine Point Blade
Cut Setting Used✂️: Faux Leather (Paper Thin) with “More” pressure
🛒 To shop many of the supplies below in my Amazon storefront, click here.
- Start with the SVG File in my Shop – or get it along with hundreds of other faux leather craft projects with complete tutorials inside my Faux Leather Crafters Club community.
- Faux Leather of your choice
- This floral faux leather
- This bandana print faux leather
- For both prints I ordered 9×12 sheets, Portrait Orientation, and Regular Scaling
- For more quality printed faux leathers from my favorite supplier, click here
- Other Supplies Used
- Purple Strong Grip cutting mat
- Blue Painter’s Tape
- Weeding Tool
- Small Curved Scissors
- Fabric Glue like Beacon Fabri-Tac
- Embroidery Floss
- Size 22 Embroidery Needles
- Size 20 EXTRA LONG Kam Snaps (extra long is necessary for two layers of faux leather) – get them on Amazon in White here or limited assorted colors here. For the full color spectrum of Size 20 Kam Snaps, check out the official Kam Snap website here
- Kam Snap Pliers
Step 3: Watch the Video Tutorial
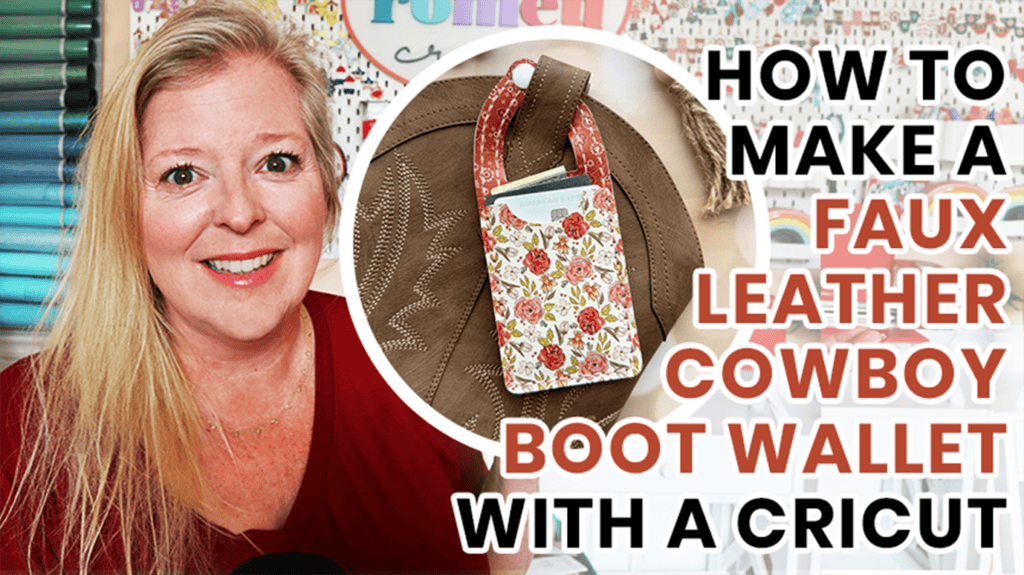
See the full step by step video tutorial
Click the image below to watch the video on my YouTube channel, or click here.
Step 4: Read the Step by Step Tutorial
- Upload the SVG to Cricut Design Space. If you want to make the no-sew version, use Contour to hide the small stitch holes, but leave the larger cam snap holes visible.
- Click Make It and mirror the design. Place the faux leather pretty side down on a purple StrongGrip mat and secure the edges with painter’s tape.
- Cut using the Faux Leather (Paper Thin) setting with More Pressure and the Fine-Point Blade. Before unloading the mat, check the stitch holes and repeat the cut if needed (repeating the cut is available on the Maker or Explore machines only).
- Use a weeding tool to poke out the stitch holes, trimming any stubborn spots with small curved scissors.
- Glue the two large wallet pieces together back to back, carefully lining up the stitch holes. Let the glue dry flat under a heavy book.
- Place the pocket on the front and stitch around the wallet with embroidery floss, going through every other hole. Go around a second time to fill in the remaining gaps.
- Tie the thread ends together inside the pocket and trim the excess.
- Attach Size 20 extra-long Kam Snaps to the holes at the ends of the strap.
- Thread the finished strap through the loop on your cowboy boot and snap it closed.
Answers to your questions about making a Faux Leather Cowboy Boot Wallet with a Cricut
Q: Which Cricut machines will cut faux leather?
A: You can cut faux leather with any of the current Cricut machines because they all cut faux leather with the standard fine point blade included with each machine. For this project you can use the Cricut Maker, Cricut Maker 3, Cricut Maker 4, Cricut Explore 5, Cricut Explore 4, Cricut Explore 3, Cricut Explore Air 2, the Cricut Joy Xtra, Cricut Joy or Cricut Joy 2 (with the 12 inch long Joy sized mat).
Q: How do you assemble this project?
A: This pattern is designed to be easily stitched using embroidery floss or waxed thread. You can also hide the holes in the pattern before cutting and use fabric glue. Watch the video tutorial on my YouTube channel to see how to do either version.
Q: How do I get the SVG template for this project?
A: Get the SVG file from my SVG Shop here or inside my Faux Leather Crafters Club – along with hundreds more faux leather crafting SVG files, step by step video tutorials, and a caring and friendly community of over 700+ crafters just like you – here.
Get the SVG in my Shop
Personal or Small Commercial Use Available
More projects you’ll love

Also available in my SVG Shop
Get More Faux Leather Projects like this one!
Come check out my crafting community called Faux Leather School and start making beautiful faux leather crafts with your Cricut! Step by step tutorials, popular patterns, tested SVG files, and a friendly community filled with other crafters just like you.
Until next time… and happy creating!

Pin this project to your favorite Pinterest board!
Want instant access to my Free Resource Library full of SVG files?
Just Enter your name and email Below!
By signing up, you’ll get instant access to my FREE SVG Library with hundreds of crafting SVG templates! You’ll also get my weekly newsletter full of crafting ideas, tutorials, and inspiration! Unsubscribe anytime.