
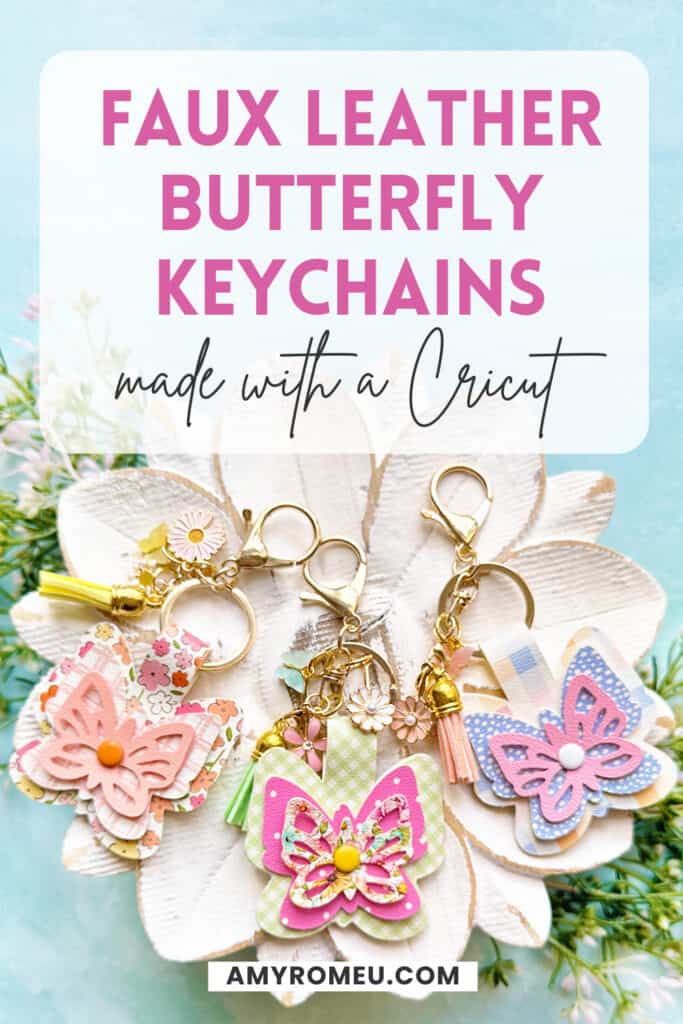
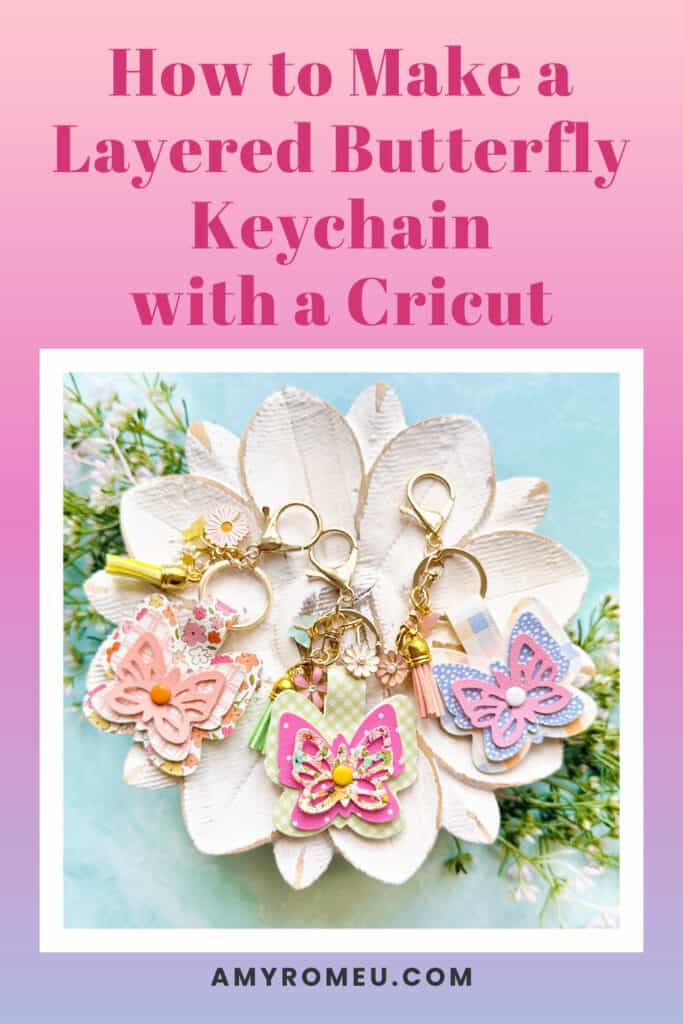
How to Make a Layered Butterfly Faux Leather Keychain with a Cricut
Learn how to make these Layered Butterfly Keychains using faux leather and your Cricut!
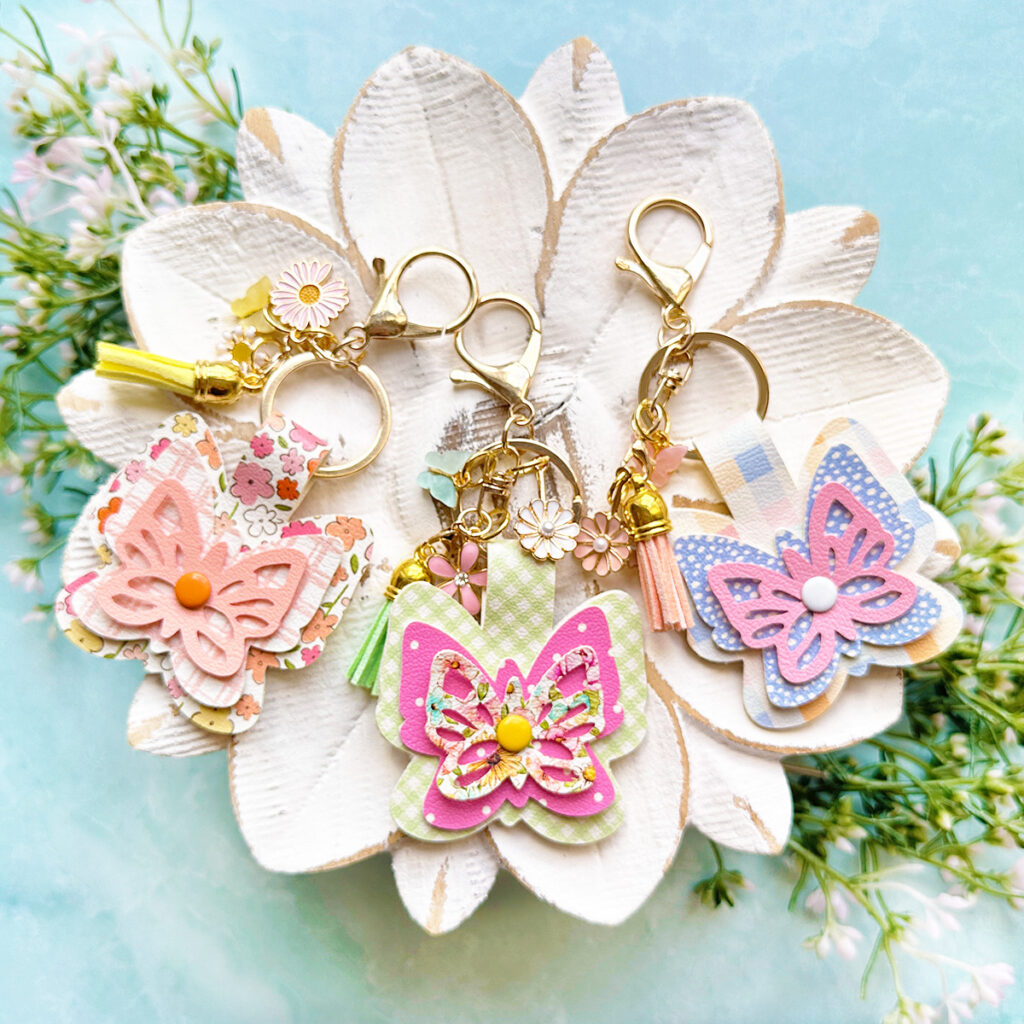
I’ll be showing you how to make these pretty layered butterfly keychains faux leather and a Cricut. They are double sided and the wings lift up a little to create dimension, making these the perfect accessory for your keys, handbag, or backpack this Spring.
The SVG file is available in my shop if you want to make this project!
Ready to get started with this beginner friendly Spring Cricut craft tutorial? Let’s dive into the materials and steps!
Let’s dive into the materials and steps!
Step 1: Get the SVG Template
Get the SVG in my Shop
Personal or Small Commercial Use Available
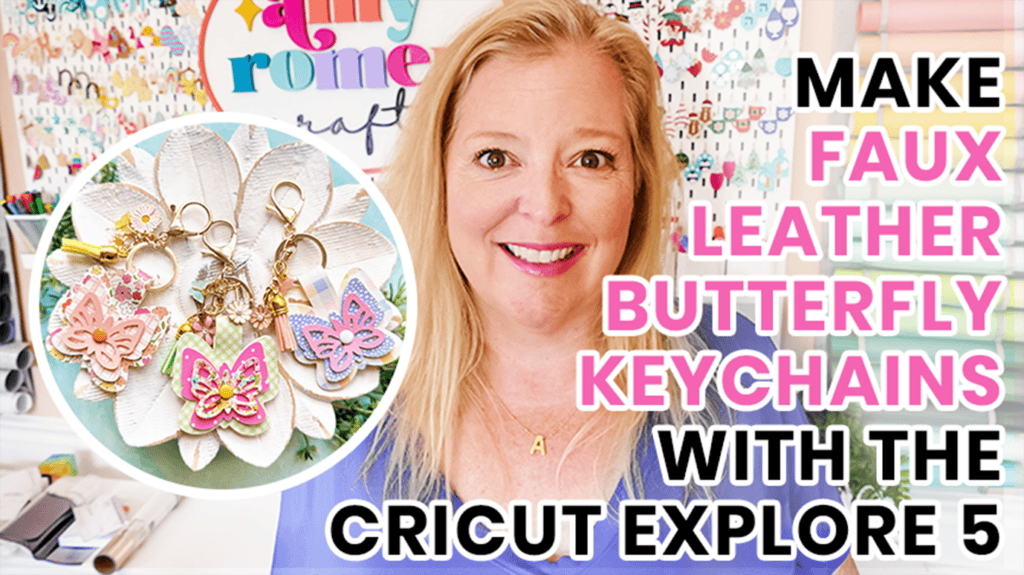
Want to watch a video tutorial instead? Check it out below!
See the full step by step video tutorial
Click the image below to watch the video on my YouTube channel, or click here.
Step 2: Shop the Supplies
This page contains some affiliate links (which means if you make a purchase after clicking a link, I will earn a small commission at no additional cost to you). Read my full disclosure policy here.
Compatible Machines✅: Cricut Maker, Cricut Maker 3, Cricut Maker 4, Cricut Explore Air 2, Cricut Explore 3, Cricut Explore 4, Cricut Joy Xtra, Cricut Joy (with the 12 inch long mat). I used the Cricut Explore 5.
Blade Used: Standard Fine Point Blade
Cut Setting Used✂️: Faux Leather (Paper Thin) with “More” pressure
- Faux Leather
- I bought 9×12 inch size, Portrait Orientation, Regular Scaling for all prints below.
- Left Keychain, top to bottom:
- Middle Keychain, top to bottom:
- Right Keychain, top to bottom:
- Other Project Supplies
- Craft or fabric glue like Beacon Fabri-Tac)
- 8mm enamel rivets or and hammer (or craft or fabric glue like Beacon Fabri-Tac)
- Large Lobster Claw Clasp Keychains or these with the clasp for hanging charms and tassels
- Spring Charms like these Flower Charms or these Flower Charms – also these Butterfly Charms (these Butterfly Charms are pretty, too!)
- Jewelry Making Pliers (Baby Wubbers Chain Nose and Baby Wubbers Flat Nose are my favorites)
- 10mm Jump Rings
- Faux Suede Tassels
- Blue Painters Tape
- Small Curved Scissors
- Other Cricut Supplies
- Purple Strong Grip Mat
- Weeding Tool like a Pin Pen or like the one in the Cricut Basic Tool Set
🛒 To shop many of these supplies below in my Amazon storefront, click here. 🛒
Step 3: Make the Project
Set Up Your Design
- Open a new canvas in Cricut Design Space.
- Upload the Layered Butterfly Keychain SVG file to your canvas.
- Select all the shapes and make them the same color if you want to cut all of the faux leather shapes at the same time on the same mat.
Prepare to Cut
- Click Make It.
- Mirror your mat since you’ll be cutting the faux leather face down.
- Drag the each pair of shapes to different areas of your mat to make it easier to cut the shapes from different pieces of faux leather.
- Choose the Faux Leather (Paper Thin) material setting with More pressure for the faux leather mat.
- Trim three pieces of faux leather to sizes just larger than the sizes shown in the mat preview screen for each pair.
Cut the Faux Leather
- Place the faux leathers pretty side down on a Strong Grip (purple) mat.
- Secure all edges with blue painter’s tape.
- Load the mat into your Cricut.
- Press the C button to begin cutting.
- When the cut is complete, without unloading the mat, use a sharp tool to gently lift the edge and check the cut.
- Repeat the cut if necessary by pressing the cut button again.
- Once the cut is complete, unload the mat and remove the shape.
- Use a sharp weeding tool to poke through the holes in the butterfly cutout shape and also the rivet holes in the center of each shape.
Glue the Keychain Base
- Thread the largest faux leather shape through the keyring.
- Apply fabric or craft glue to the back side of one of the butterfly shapes.
- Fold over the top butterfly and press the two butterfly sides together all over with your fingers.
- Then place the glued shape underneath a heavy book for at least an hour to dry flat. This will help you achieve a tight and almost seamless, edge.
Attach the Butterfly Layers
- When the keychain base is dry, attach the top two layers of butterflies on both sides using an 8mm enamel center rivet.
- To do this, push the rivet post through the smallest butterfly, then the medium one, then through the base. Flip the keychain over and put the medium butterfly on the post, then the small one. Cover with a rivet cap and squeeze closed.
- Use your rivet tools and hammer to secure the rivet into in place.
- Place the rivet on top of the strike plate on your worksurface. Then use the rounded end of the rivet tool to place over the rivet and hammer the flat side 6-8 times.
IMPORTANT TIP: Be sure the butterfly layers are arranged in a pleasing way on both sides of the keychain – you won’t be able to adjust the layers after you hammer down the rivet.
Attach Charms & a Tassel (optional)
- Attach a faux suede tassel and/or charms using 10mm jump rings if desired.
That’s it! Your Layered Butterfly Faux Leather Keychain is complete! Here’s another look at three different layered butterfly faux leather keychains all made with this SVG template.
Which one do you like best? Let me know in the comments!
Answers to your questions about making a Layered Butterfly Faux Leather Keychain with a Cricut
Q: Which Cricut machines will cut faux leather?
A: You can cut faux leather with any of the current Cricut machines because they all cut faux leather with the standard fine point blade included with each machine. For this project you can use the Cricut Maker, Cricut Maker 3, Cricut Explore 3, Cricut Explore Air 2, the Cricut Joy Xtra, or the Cricut Joy with the 12 inch long Joy sized mat.
Q: What glue do I use with faux leather?
A: I like to use Beacon Fabri-Tac for gluing faux leather because it spreads thinly and evenly without clumps and it doesn’t absorb into the faux leather. It also cleans up easily with just a finger wipe or a paper towel. It dries nice and flat for a very smooth finish. However you can also use a good craft glue like Bearly Art Glue – however you will need to apply more than Beacon Fabri-Tac because Bearly Art Glue tends to absorb into the faux leather backing.
Q: How do I get the SVG template for this project?
A: Get the SVG file from my SVG Shop here.
Get the SVG in my Shop
Personal or Small Commercial Use Available
Will you make this project?
I would love to see what you have created! Please join my free faux leather crafting making Facebook group and share your creations with me and all of my crafting friends!
Until next time… and happy creating!

Want to remember this project? Save this tutorial to your favorite Pinterest board!
Want instant access to my Free Resource Library full of SVG files?
Just Enter your name and email Below!
By signing up, you’ll get instant access to my FREE SVG Library with hundreds of crafting SVG templates! You’ll also get my weekly newsletter full of crafting ideas, tutorials, and inspiration! Unsubscribe anytime.