
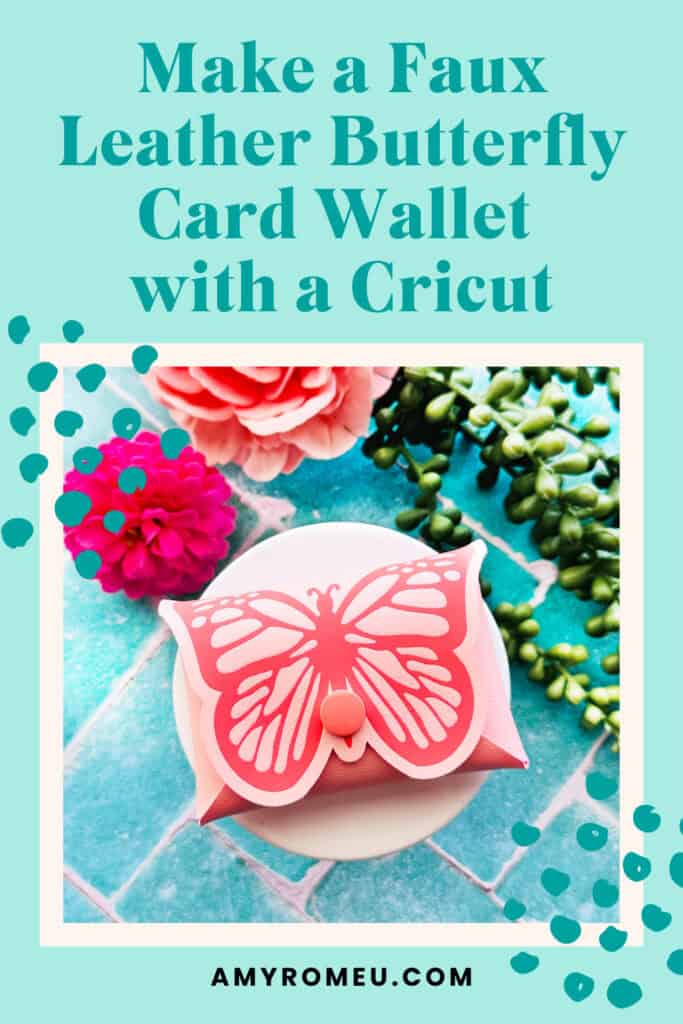
How to Make a Butterfly Faux Leather Card Wallet with a Cricut
Learn how to make a Butterfly Faux Leather Card Wallet with a Cricut
This project is Day 4 of The Spring Fling Crafting Event!
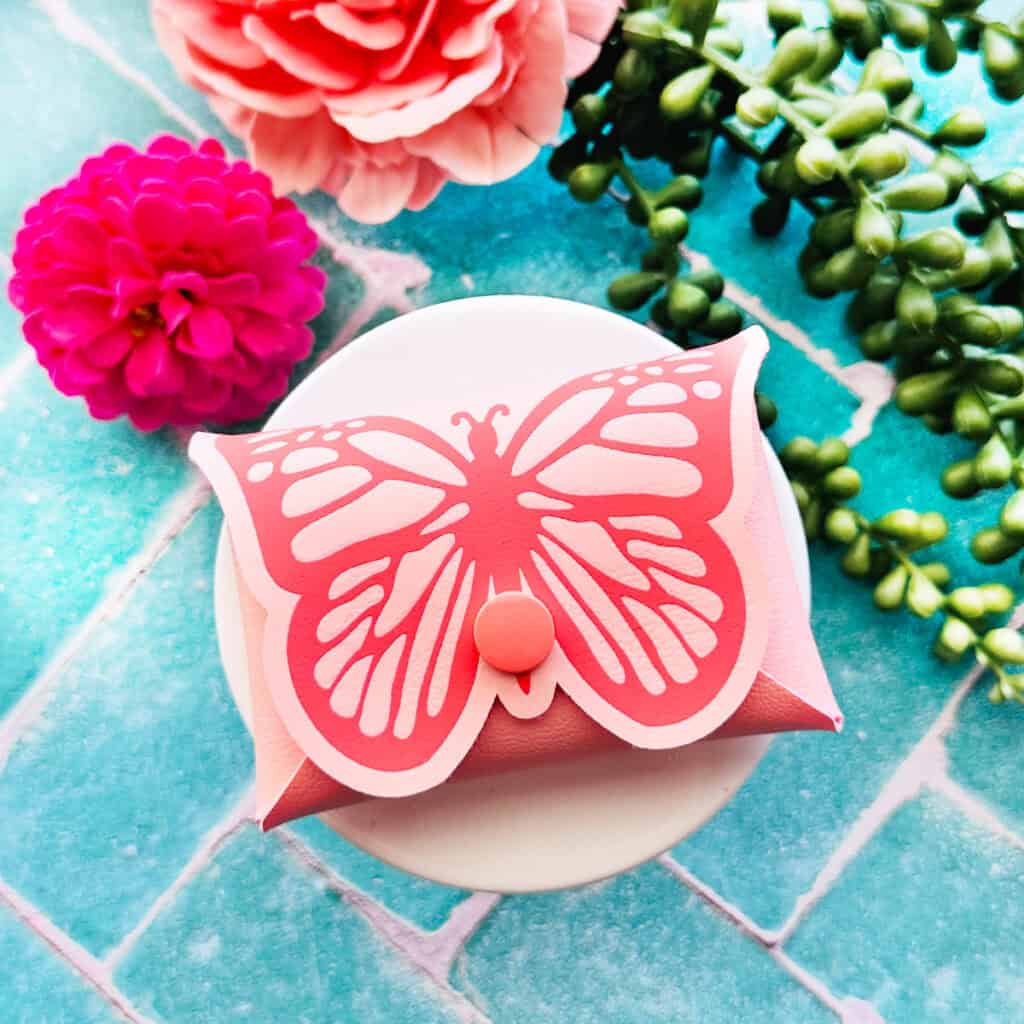
I’m Amy Romeu, and in this tutorial I’ll be showing you how to make a butterfly faux leather card wallet with a Cricut, a great spring accessory for carrying your cards, cash, coins, or other small items.
Follow along with this written tutorial including all the materials, SVG files, and tips you need.
Ready to get started with this beginner friendly Spring Cricut craft tutorial?
Get the SVG in my Shop
Personal or Small Commercial Use Available
Let’s dive into the materials and steps!
Want to watch a video tutorial instead? Check it out below!
See the full step by step video tutorial
Click the image below to watch the video on my YouTube channel, or click here.
How to make a Butterfly Faux Leather Card Wallet with a Cricut Step by Step
This page contains some affiliate links (which means if you make a purchase after clicking a link, I will earn a small commission at no additional cost to you). Read my full disclosure policy here.
Materials you’ll need to make a Butterfly Faux Leather Card Wallet with a Cricut
🛒 To shop many of these supplies below in my Amazon storefront, click here. 🛒
Compatible Machines✅: Cricut Maker, Cricut Maker 3, Cricut Maker 4, Cricut Explore Air 2, Cricut Explore 3, Cricut Explore 4, Cricut Joy Xtra
Not Compatible Machines❌: Cricut Joy
Blade Used: Standard Fine Point Blade
Cut Setting Used✂️: Faux Leather (Paper Thin) with “More” pressure
- Faux Leather
- I used Peach solid faux leather from this collection of solid faux leathers.
- Heat Transfer Vinyl
- I used Siser Easyweed in the color Hibiscus.
- Other Project Supplies
- Kam Snaps, Size 20, Extra Long – available on Amazon in limited colors here or on the Kam Snap website here
- Kam Snap Pliers
- Teflon Sheets
- Blue Painters Tape
- Small Curved Scissors
- Other Cricut Supplies
- Purple Strong Grip Mat
- Weeding Tool like a Pin Pen or like the one in the Cricut Basic Tool Set
- Cricut EasyPress Mini
- EasyPress Mat, 8×10 size
- The SVG template for this project is available in my shop here or inside the Spring Fling Crafting Event VIP Pass.
Get the SVG in my Shop
Personal or Small Commercial Use Available
Step by Step Instructions
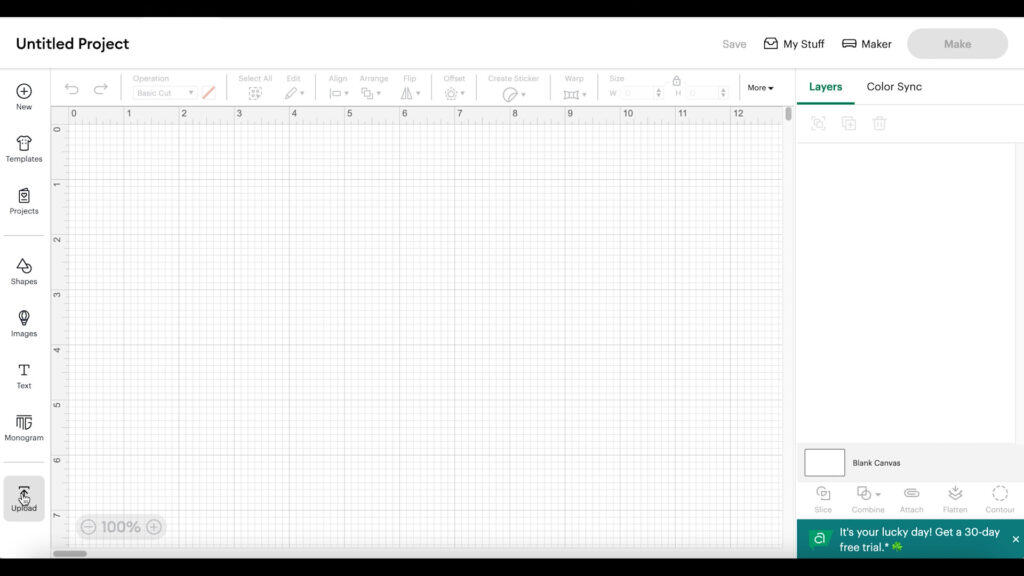
Step 1: Starting with a blank canvas in Cricut Design Space, click on Upload, then Upload Image.
Browse to where the ALREADY UNZIPPED SVG file for this project is saved on your device.
Click on the SVG to select it and follow the prompts to upload it.
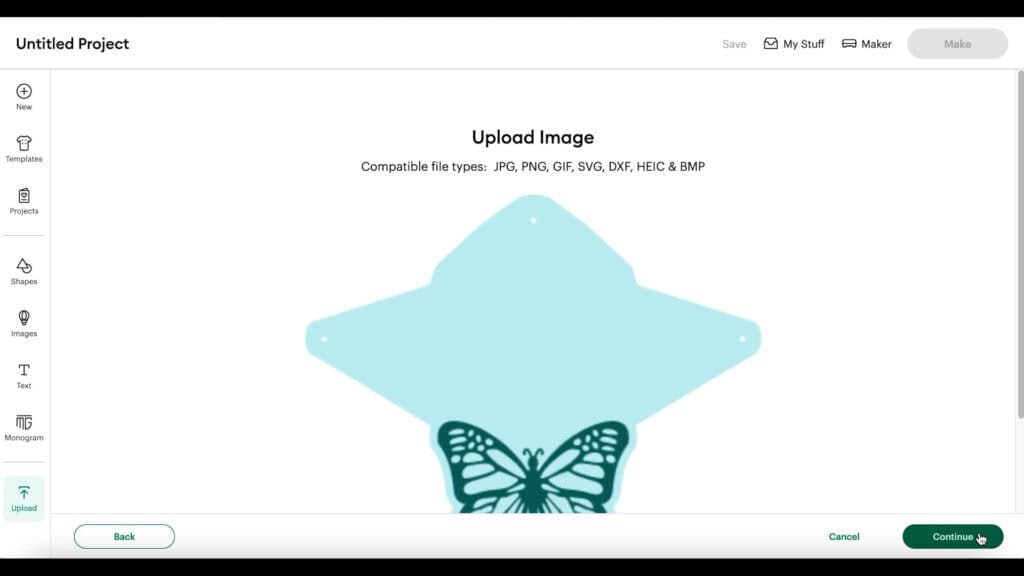
The design will load on the canvas. Don’t make any changes to the sizes of the shapes or else your wallet won’t fit a standard credit card.
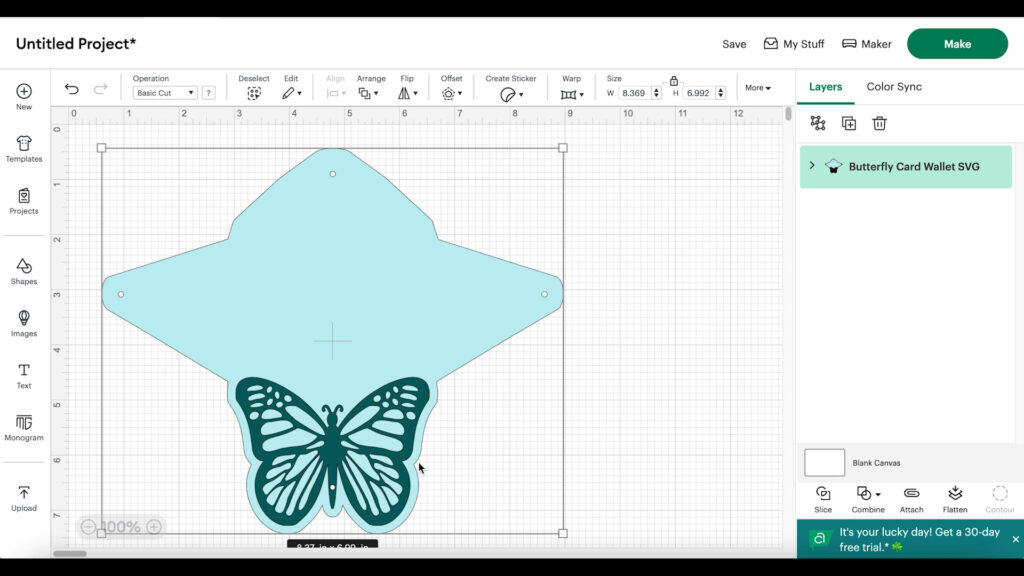
The back wallet shape will cut from faux leather and the butterfly shape will cut from heat transfer vinyl.
Click the MAKE IT button.
STEP 2: Click on the mat on the left hand side and toggle the Mirror toggle ON. Do that for the second mat, too. That’s because faux leather and heat transfer vinyl always cut in reverse.
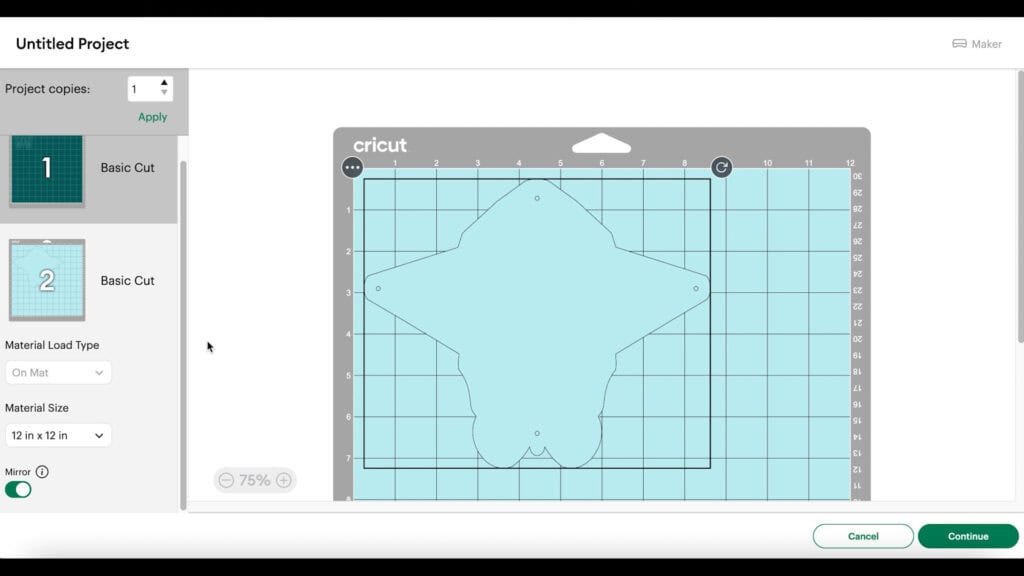
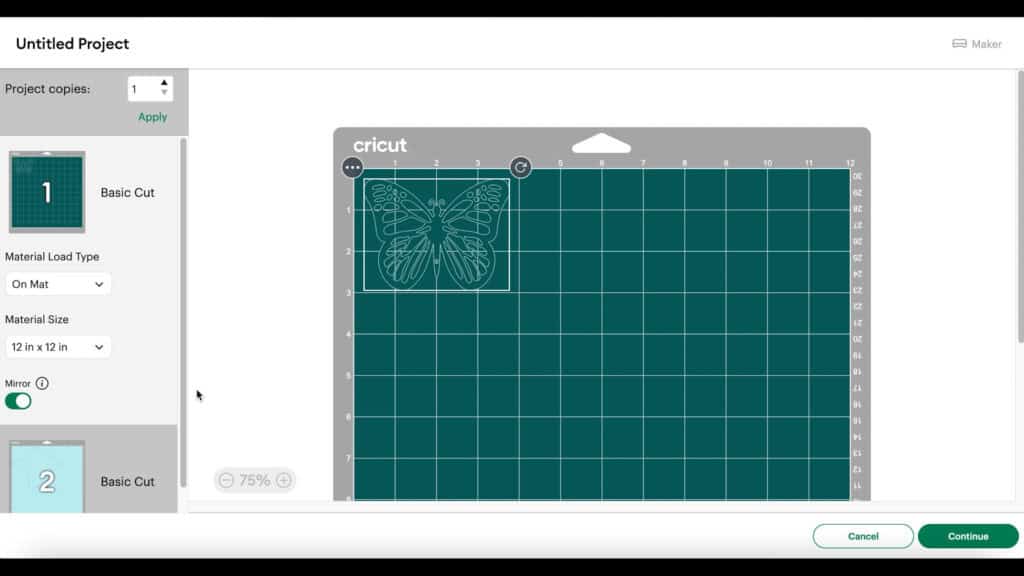
After both mats are mirrored, drag the shapes apart from the edges a bit.
Make a note of where you’ll need to place your faux leather on your mat so the wallet shape will cut completely.
Click the CONTINUE button.
When the material selection screen loads, click on the faux leather mat and then select the Faux Leather (Paper Thin) setting.
If you don’t have that setting bookmarked as a favorite like I do, you can click on Browse All Materials and search for it. (If you are using the Explore Air 2, you’ll need to turn your dial to Custom before you can find that setting in search.)
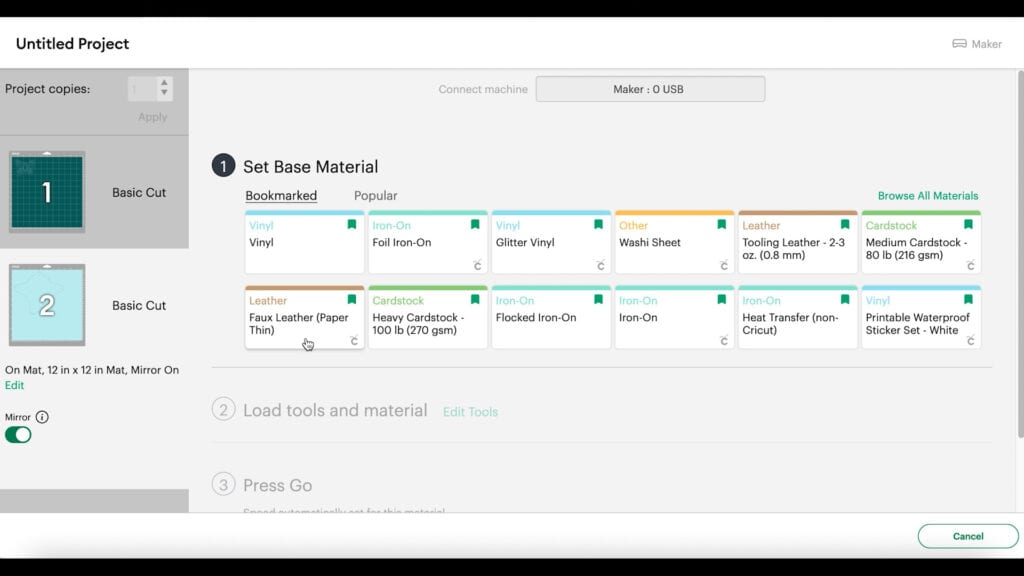
Then choose “More” from the dropdown Pressure menu.
Step 3 (optional): Press heat transfer vinyl to the back of your faux leather before cutting if you want to have a pop of color inside the basket or handle.
To press heat transfer vinyl onto the back of the faux leather, cut a piece of each material so that they are the same size. Place them back to back on a heat pressing pad.
Then cover with a Teflon sheet, butcher paper or parchment paper.
Set a large EasyPress to 265 degrees for 15 seconds. Press the heat transfer vinyl all over and let it cool for about a minute.
Then carefully peel the clear carrier sheet. Let the warm sheet cool flat under something like your heat pressing pad for a few minutes before you cut it.
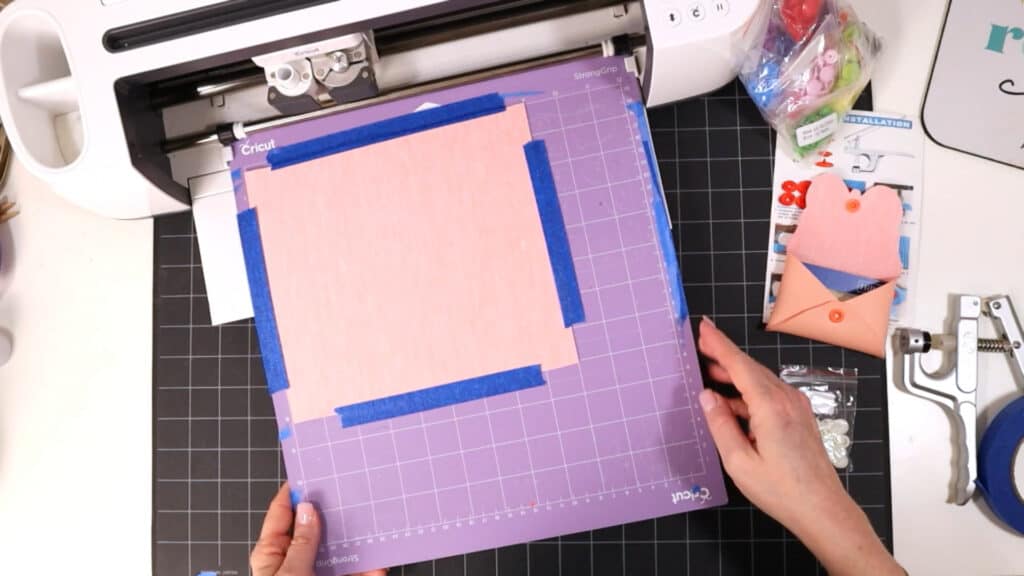
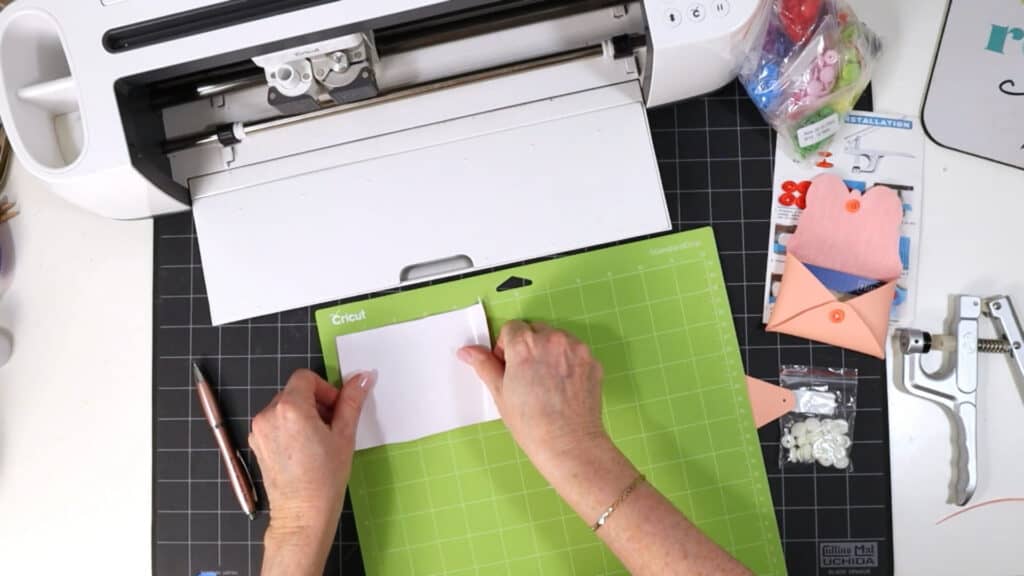
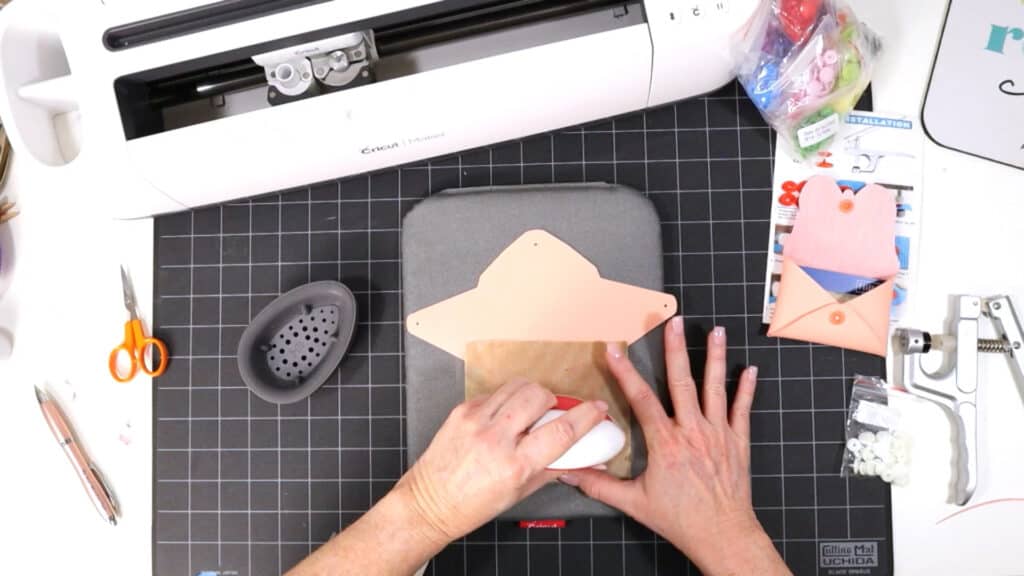
Step 4: Cut your faux leather mat. To do that, place your faux leather pretty side down (heat transfer vinyl side up, if you did that step) on the area of the mat the wallet shape will cut from.
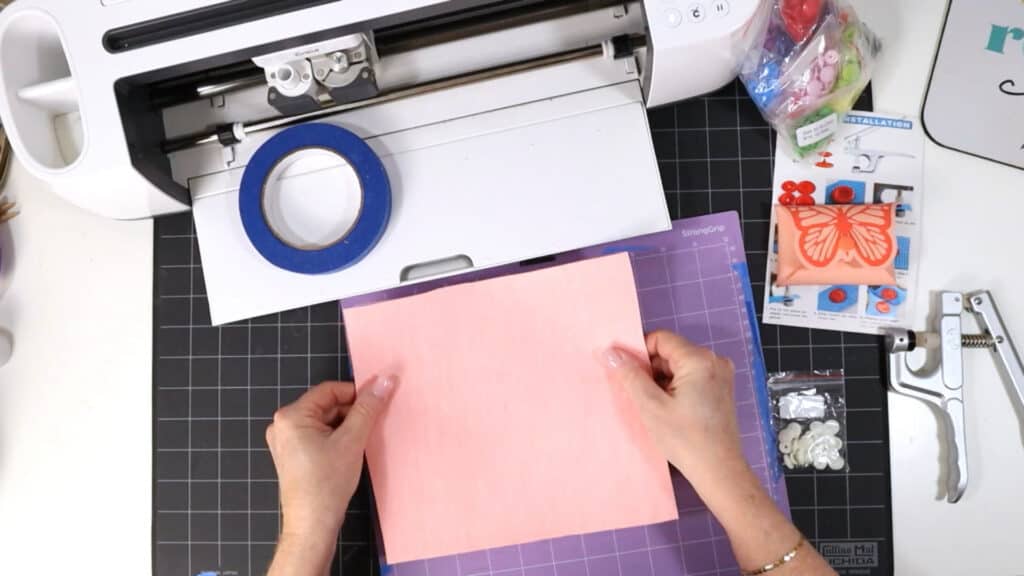
Place blue painter’s tape around all sides of the faux leather. Load the mat into the Cricut and begin the cut.
When the cut is complete, before unloading the mat, lift a small edge of the cut to ensure the cut went through. Repeat the cut if needed by pressing the cut button again.
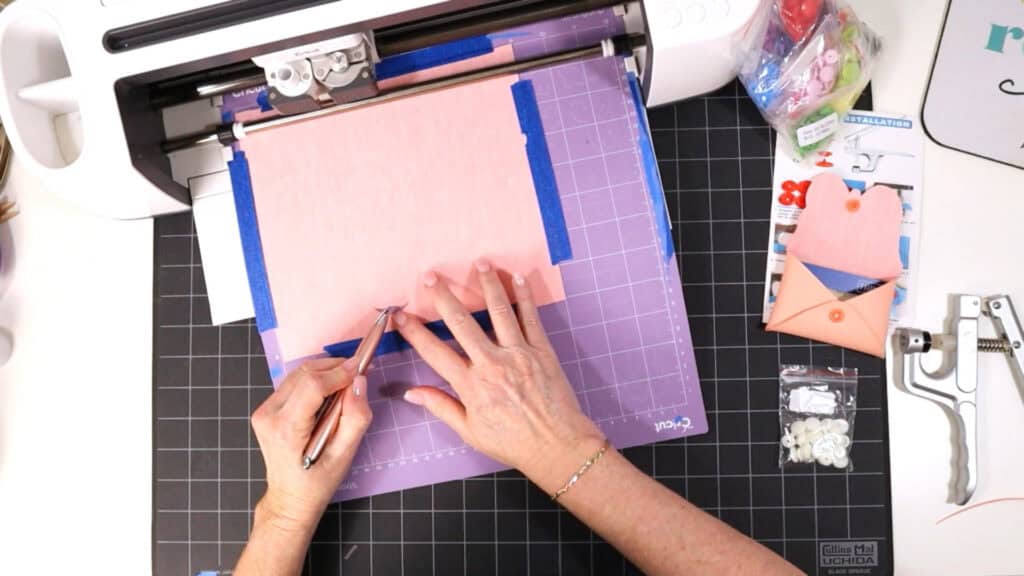
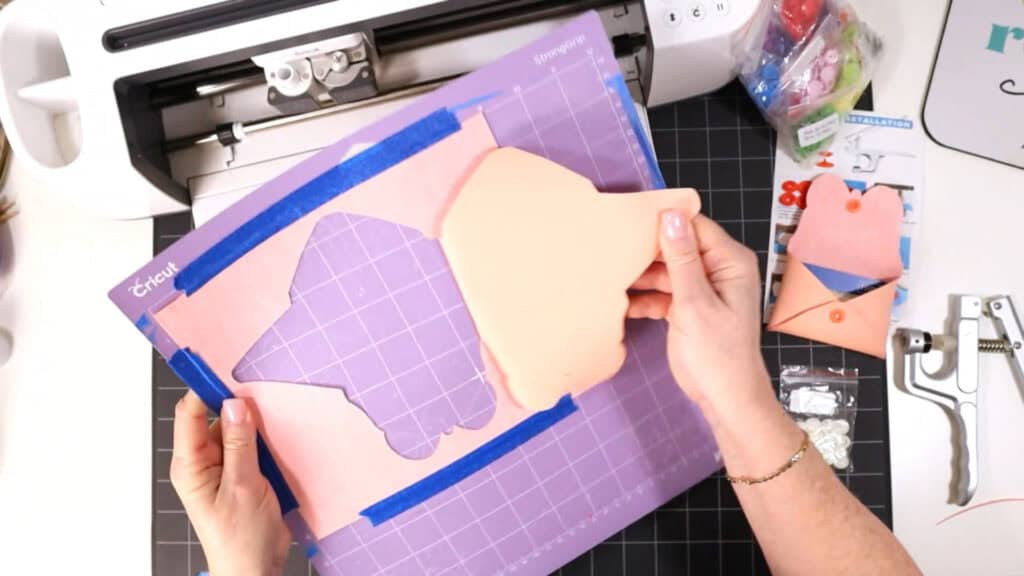
Once the shapes are cut through, remove the shapes from the mat. Use a sharp weeding tool to poke through the holes in the wallet.
Use small curved scissors to trim any areas of the faux leather cut as needed.
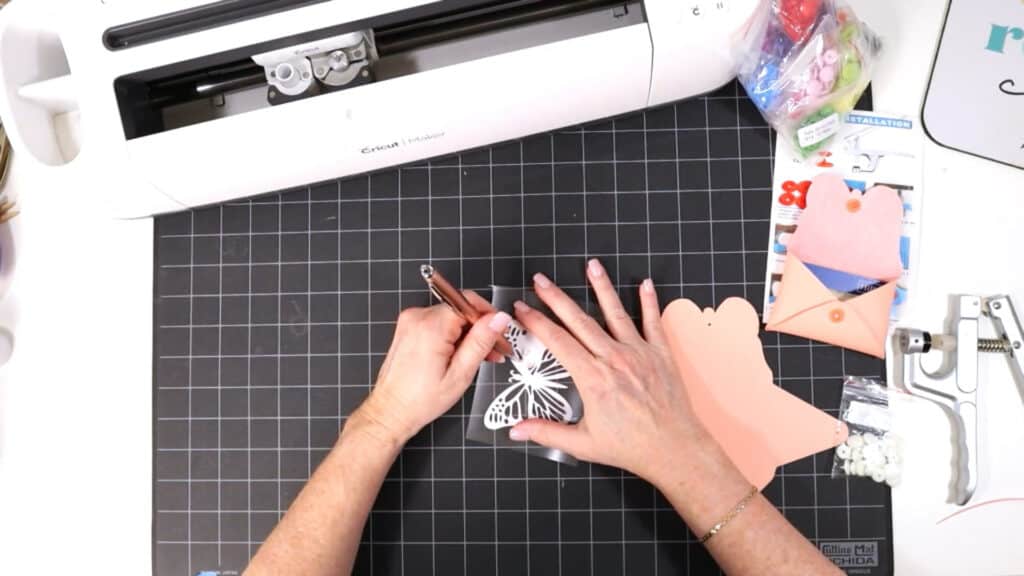
Return to Design Space and cut the heat transfer vinyl mat using the manufacturer’s recommended cut setting for your brand and type of vinyl.
Remove the vinyl from the mat and weed away the excess.
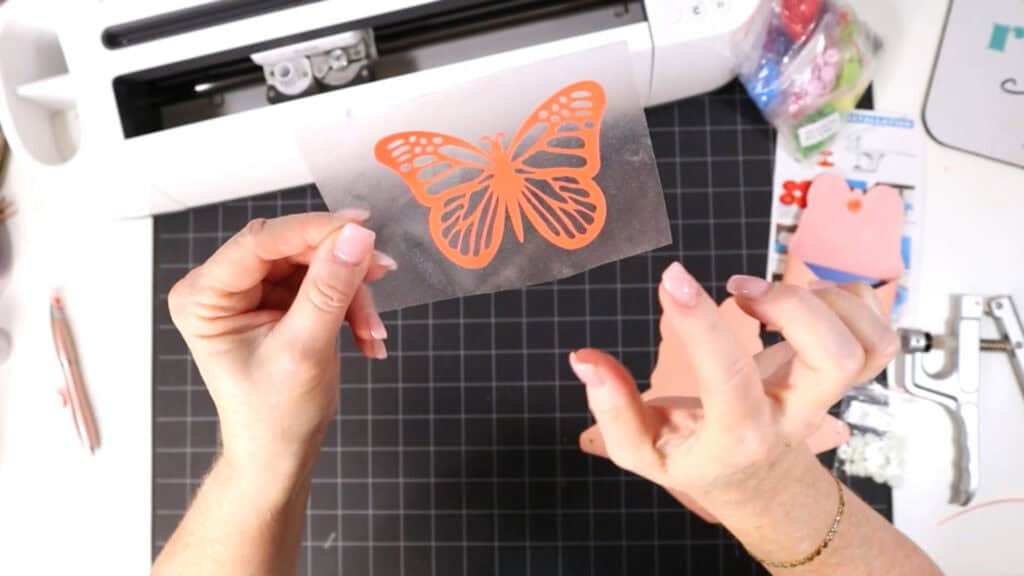
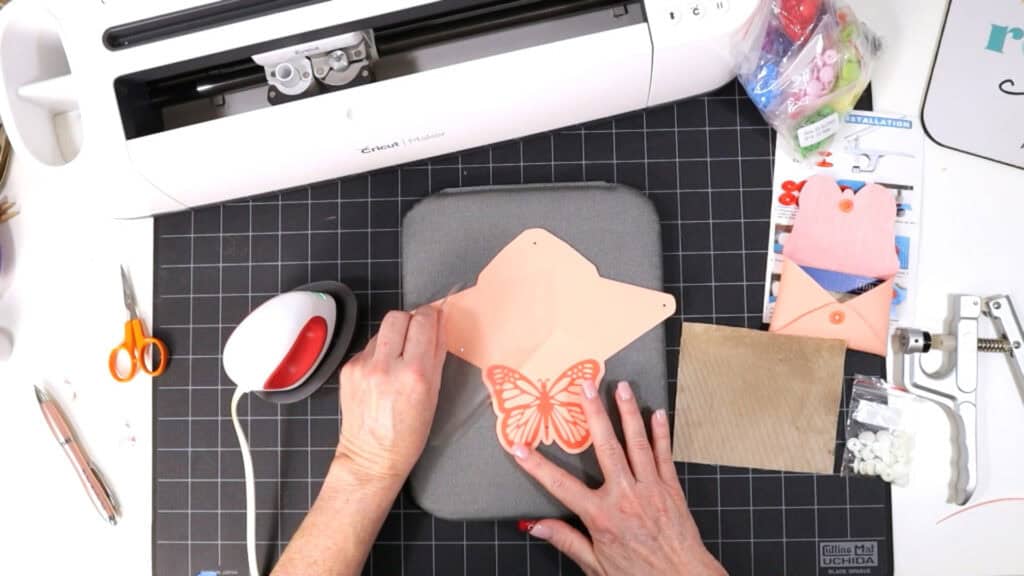
Step 5: Now it’s time to press the heat transfer vinyl butterfly onto the front of the faux leather wallet.
Place your faux leather wallet shape on a heat pressing pad. Preheat an EasyPress Mini to the Low setting or a regular EasyPress to 265 degrees.
Place the butterfly shape on top of the wallet.
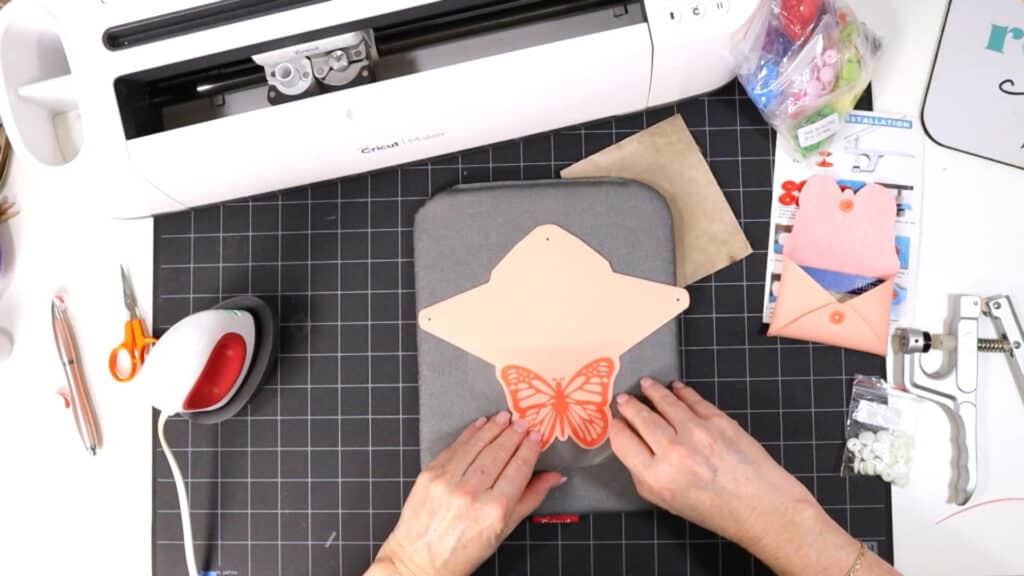
Then cover with a Teflon sheet, butcher paper, or parchment paper and press for about 10 seconds all over.
Slowly peel away the clear carrier sheet. If the vinyl lifts up, place the carrier sheet back down and press again.
Place the pressed wallet shape under your heat pressing pad for a minute so it can cool flat.
Step 6: It’s time to attach the Size 20 Extra Long Kam Snaps to the wallet. The Kam snaps need to be “Extra Long” because one snap needs to go through three layers of faux leather. See the Materials list above to find Extra Long Kam Snaps.
Refer to the Kam Snap directions guide included with your Kam Snap set. I’ve also included a copy in your download folder.
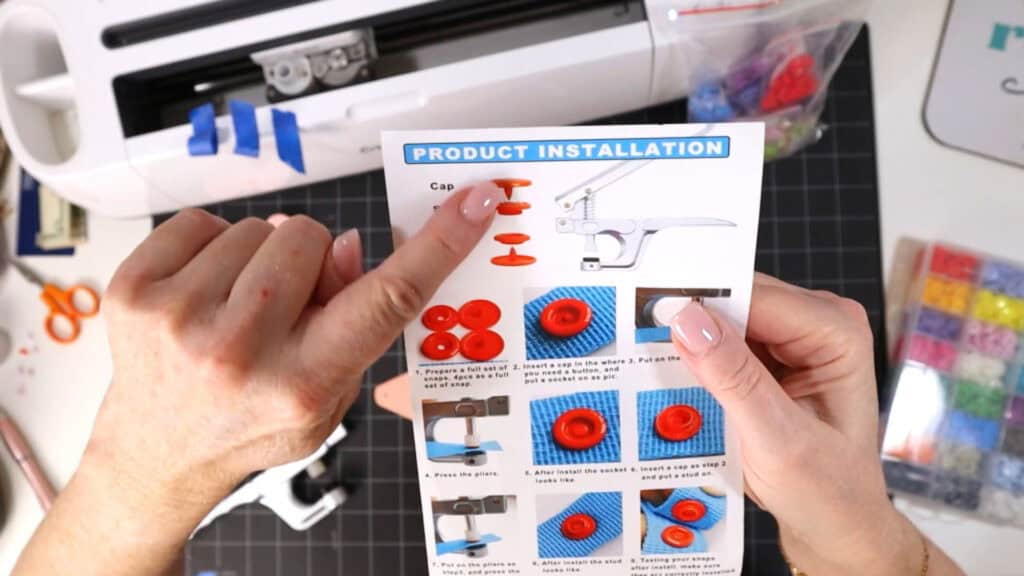
Look for the four elements you need and take them out of the Kam Snap box. Lay them on your work surface in the order shown on the guide: 1 Cap, 1 Stud, 1 Socket, 1 Cap.
The flap of the wallet will have a CAP on the outside and a STUD on the inside.
The base of the wallet will have AN EXTRA LONG CAP on the inside and a SOCKET on the outside.
Use Kam snap pliers to press down and secure the snap. Watch the video tutorial for this project to see this process in action.
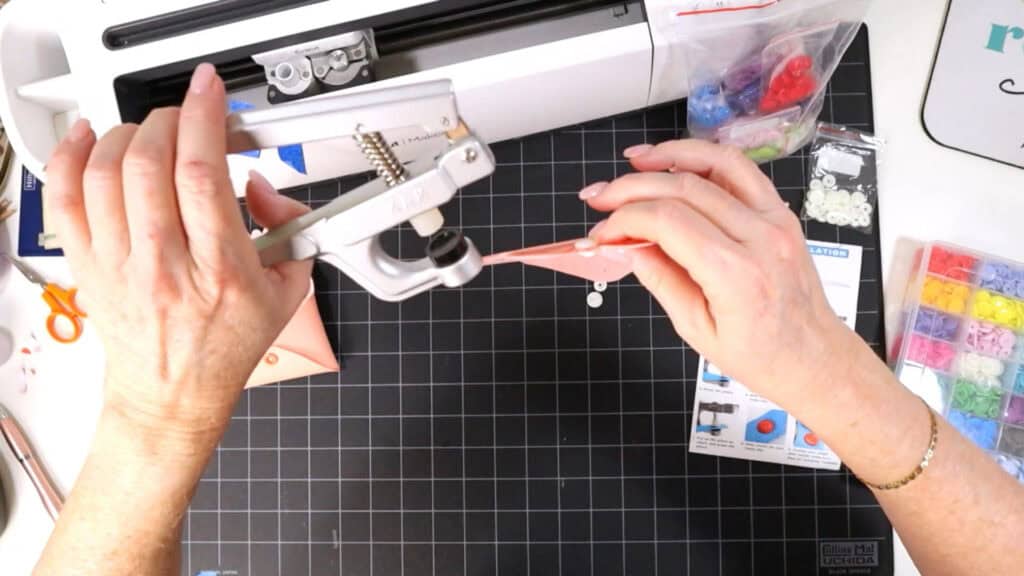
Once the KamSnap on the flap is secure, fold the three wallet flaps in (the two sides first, then the bottom flap) and place an Extra Long KamSnap CAP up through all three holes from the inside.
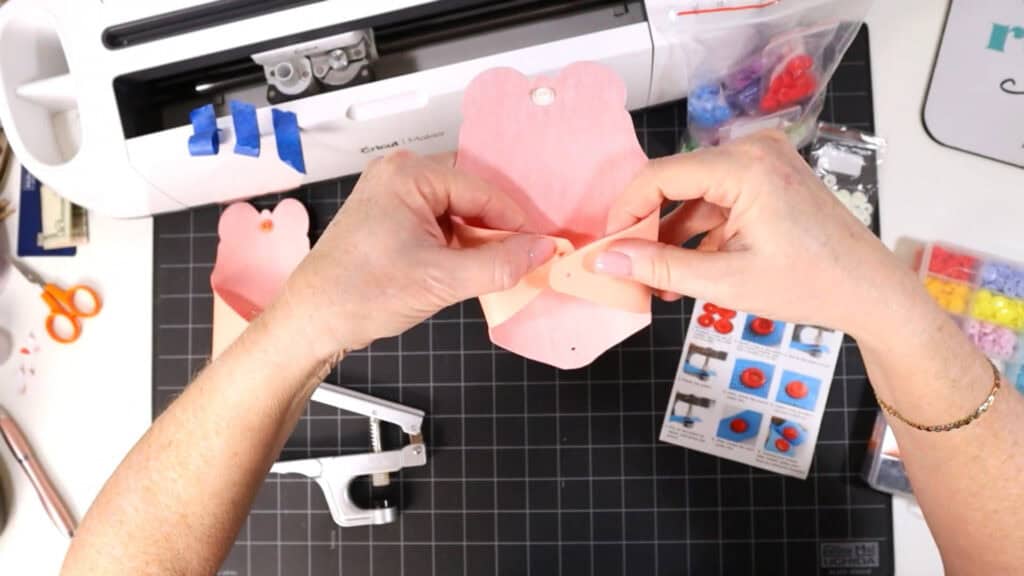
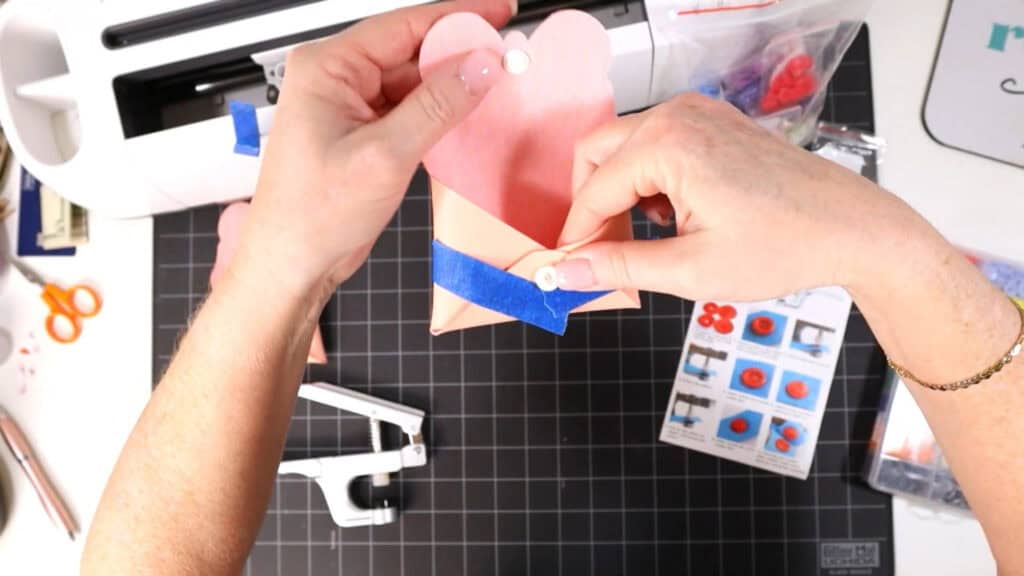
Temporarily secure the flaps in place using blue painters tape.
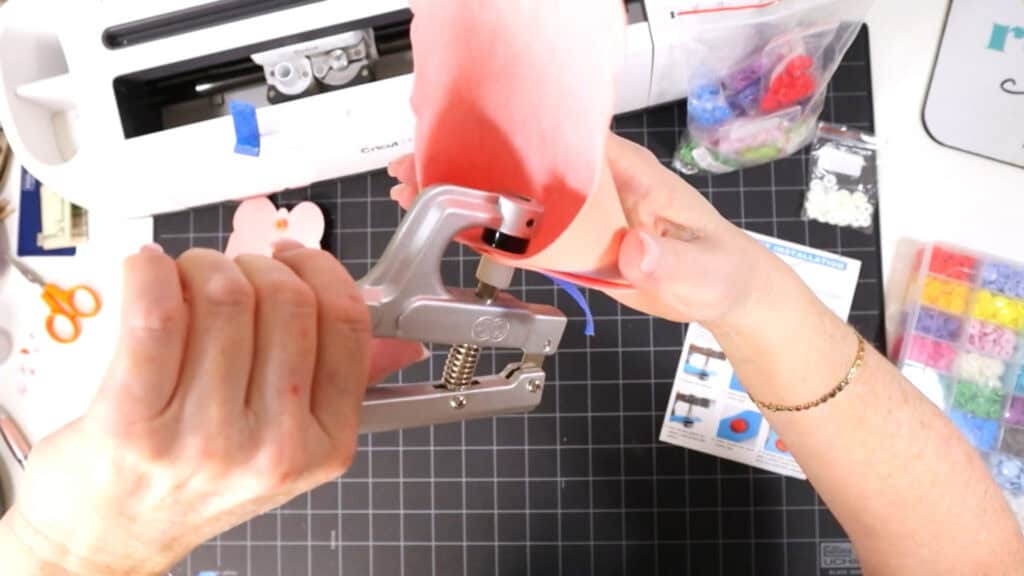
Place a SOCKET on the front of the wallet. Use your fingers to hold the cap and socket in place while you hold the pliers in the other hand.
Use the KamSnap pliers again to securely close the bottom snap on the wallet. (Remember, only an Extra Long KamSnap will go through all three layers of faux leather.)
Check that your wallet closes correctly and then remove your temporary blue painter’s tape.
That’s it! Your Butterfly Faux Leather Card Wallet is complete!
What color will you make your butterfly faux leather card wallet? Let me know in the comments!
Answers to your questions about making a Butterfly Faux Leather Card Wallet with a Cricut
Q: Which Cricut machines will cut faux leather?
A: You can cut faux leather with any of the current Cricut machines because they all cut faux leather with the standard fine point blade included with each machine. For this project you can use the Cricut Maker, Cricut Maker 3, Cricut Explore 3, Cricut Explore Air 2, or the Cricut Joy Xtra. This project is too large for the Cricut Joy.
Q: What do I need to press heat transfer vinyl onto faux leather?
A: To press heat transfer vinyl onto faux leather you’ll need a traditional heat press, Cricut EasyPress, or Cricut EasyPress Mini. I used a Cricut EasyPress Mini for this project because it’s great with pressing small projects like earrings, keychains, and accessories.
Q: How do I get the SVG template for this project?
A: Get the SVG file from my SVG Shop here, or you can get it as part of 17 brand new Spring faux leather crafting projects in my Spring Fling Crafting Event VIP Pass.
Get the SVG in my Shop
Personal or Small Commercial Use Available
If you loved this project, you’ll love these projects too:
Will you make this project?
I would love to see what you have created! Please join my free faux leather crafting making Facebook group and share your creations with me and all of my crafting friends!
Until next time… and happy creating!

Want to remember this project? Save this tutorial to your favorite Pinterest board!
Want instant access to my Free Resource Library full of SVG files?
Just Enter your name and email Below!
By signing up, you’ll get instant access to my FREE SVG Library with hundreds of crafting SVG templates! You’ll also get my weekly newsletter full of crafting ideas, tutorials, and inspiration! Unsubscribe anytime.
The little snap is such a precious detail!
Can’t wait to make this
This is such a cute wallet. I can see pairing it with the wristlet.
So pretty! Love this!
Absolutely love all your designs. And absolutely love when you do these daily projects. I’m so sad I missed day one but I have got day two and onwards. Can’t wait to see what the next few projects are.
Such a lovely gift for someone
I need a new wallet, and these are so cute! Thank you!
Lovely pouch! pretty butterfly too! ^.^ ♥
I love this and can’t wait to try and make this. Thank you for sharing your beautiful designs
Very nice project. Something special!
Such a fun card wallet! Great job, Amy!
Very nice. Something very special.
This is beautiful Amy! Thank you
I’ve made your other wallets but the butterfly adornment makes this one much more special.
Beautiful project! I really want to make this for several of my female relatives and friends. Thanks, Amy!
Adding the gorgeous butterfly design on the front of this really elevates the project!!!
I love butterflies 🦋 I cannot wait to make this!!
Very Cute and fun! I can’t wait for the Monarch Butterflies to return! Thanks for another fun project.
This is so cute! I can see this for a gift card holder. and it won’t be a throw-away.
Thank you!
So cute just love it!!!
That is an adorable project, and looking at the photos I think it is very doable to make! Now getting some snaps, LOL!!
Thanks for sharing👍
These are too cute
This is just the cutest project ever!
Thanks Amy. This looks great as this will be my first project with faux leather!
These card wallets are a snap to make and with a butterfly HTV design on them, I just can’t wait to make a few!
I love making these wallets. Thank you Amy for all the fun ideas.
Can’t wait to make the Butterfly card wallet. I love amazing the designs you create.
This is so cute! I look forward to doing several of these for Christmas! I’m really enjoying these!
Thank you for sharing! It is a beautiful peach colored wallet. Love the butterfly.
I love these little wallets. I plan to make them with my grandson for him to use as gifts. I hope to play with the design to make other shapes along with the butterfly one. Thanks again for sharing!
this is so adorable! I love this and can’t wait to make some for gifts!
Very nice, you have the best faux leather 🙂
This was fun to make and such a cute and pretty design.
Very fun
Thank you ! You come up with the cutest projects!
I love butterflies! Thank You!!
My nieces are gonna love getting this sweet wallet in their Easter baskets!
I love it! This will be perfect to carry in my purse ❤️
Very cute. I am going to have to try this’
So cute…can’t wait to make this.
Love this design. You come up with so many cute projects.
So very cute love the Pink!
I really love the cute card wallets that you design, and the spring butterfly is beautiful!
such a cute card wallet. springtime butterfly
Another cute wallet! I love the tip about the tape. This would be a perfect addition to an Easter basket!
I can’t wait for my join request to be approved. I’m excited to share my Day 4 project 😊
I love making these.
Love the butterfly card wallet. All of the Spring Fling creations are really cute.
Simply beautiful Amy, I love this! Thank you for the very detailed step by step directions. I love the colors you chose to use for this project.
This little wallet could be used for many things…I’m excited to find new ways to use it.
This fun butterfly card holder for spring
Made your other card wallet version and definitely making this one. Perfect for Mother’s day gifts for our ladies luncheon group.
My Aunt is going to love this!!
Beautiful butterfly!
Love the beautiful butterfly credit card wallet. You always design the cutest projects.
Such a cute wallet. My granddaughters are going to want me to make them each one when they see them. 🙂
These is so fun. Perfect for an Easter basket.
I love this little wallet and I’m gonna make a few in different colors for my mom who love all things butterfly. Thanks for this design.
Do you add glue to the base? I don’t know if I am not pulling it tight enough, or I missed a step.
So cute and beautiful!
I can’t wait till I can make this for my nieces. So cute thank you