Easy Wood & Resin Earrings DIY
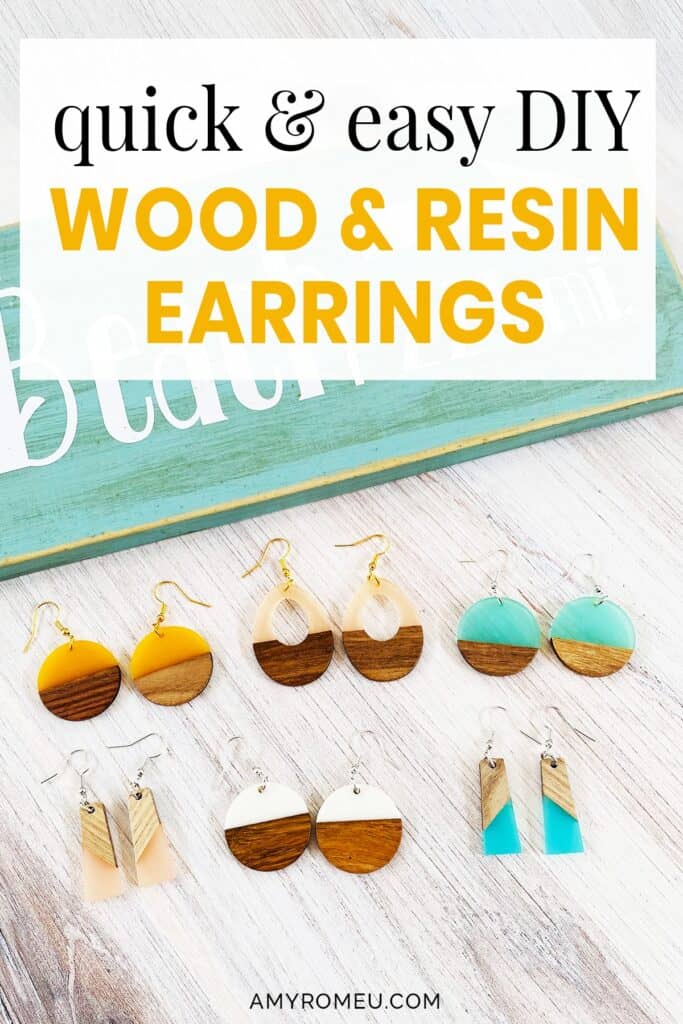
How to Make Easy Wood & Resin Earrings in Minutes
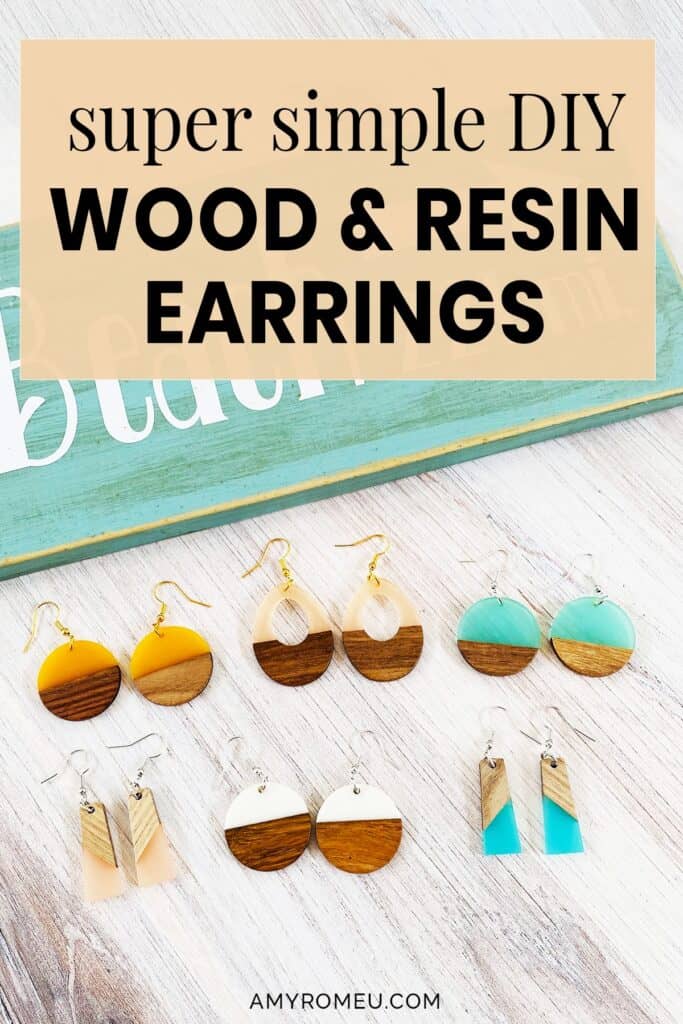
Have the trendy and lightweight Wood & Resin earrings caught your eye like they have mine? These Wood & Resin earrings are so popular, trendy, and lightweight – perfect for summer. If you make DIY jewelry and you want to add Wood & Resin Earrings to your shop but you worry about the hassle of mixing and pouring resin, believe me, I can relate! I’ve been putting off trying DIY wood and resin earrings for that very reason.
However, everything changed when I stumbled across so many wood and resin earring blanks. I’ll show you how easy it is to make these trendy and colorful wood earrings in just 3 easy steps. I’ve seen these exact Wood & Resin Earrings selling on Etsy for up to $15, so if you are in need of some trendy and popular, easy to make earrings in your shop or to sell at your next craft fair, keep reading!
Before we get started, I just wanted to mention (if you’re new here) I’m a Cricut jewelry making expert, and I love to share my original jewelry patterns with other crafters and jewelry makers. So I’m glad you are here!
Want to see all of my earring & jewelry tutorials? CLICK HERE
This post contains some affiliate links (which means if you make a purchase after clicking a link, I will earn a small commission at no additional cost to you). Read my full disclosure policy here.
Easy Wood & Resin Earrings DIY – Materials List
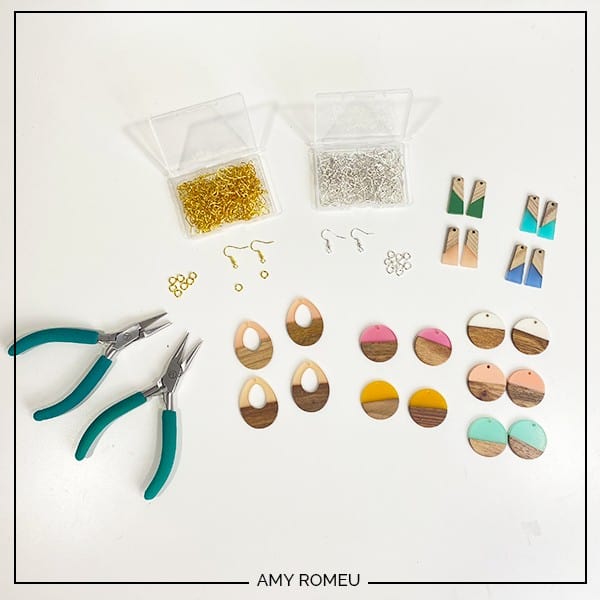
The list of supplies for this project is short and sweet. You only need the following materials:
- Wood & Resin earring blanks. I bought these, these, and these from Amazon. Iw as surprised by how many pretty wood and resin earring blanks are on Amazon – I can’t wait to try these and these.
- Earring hooks – Gold finish hooks here and silver finish hooks here, both from Amazon. The ball ear wire hooks are here.
- Two pairs of flat nose pliers – My favorites are Wubbers brand in the “Baby” size. The pliers I use daily are the Baby Wubbers Chain Nose Pliers and the Baby Wubbers Flat Nose Pliers.
Easy Wood & Resin Earrings – PROJECT INSTRUCTIONS
STEP 1 – Turn the Earring Hook
To make these trendy wood and resin earrings, all you need are earring hooks, small jump rings, and two pairs of flat nose pliers.
The first step is to turn the bottom loops on the fishhook earrings 90 degrees so the earrings will hang correctly. See the photo below to see what direction the earring hooks will need to be in.
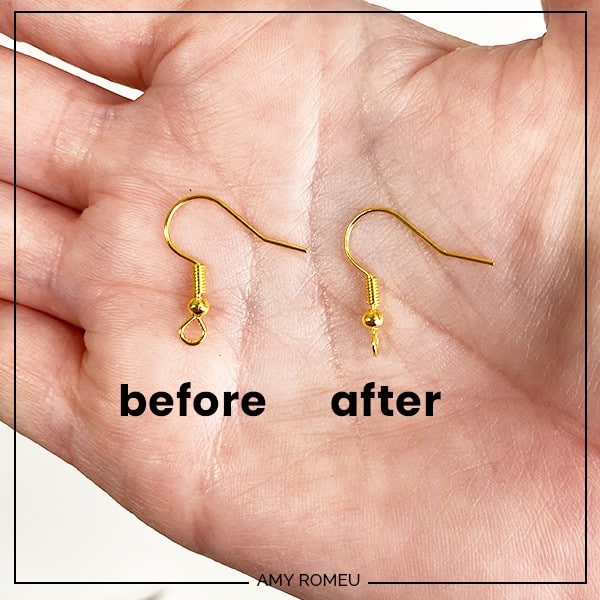
To turn the earring hook, grip the bottom loop firmly with flat nose pliers. Then hold the earring hook between your thumb and forefinger to keep it from turning or twisting. Then twist the pliers 90 degrees to turn the earring loop.
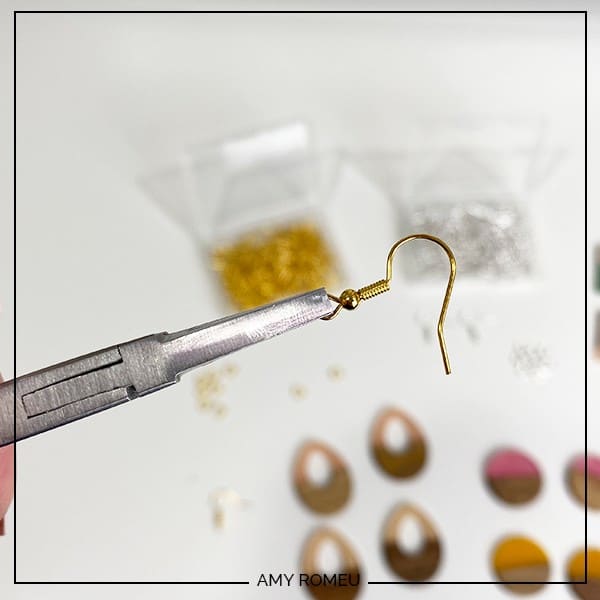
For more instructions about this process, visit my post about how to make earrings hang straight here.
STEP 2 – Open a Jump Ring
Using two pairs of flat nose pliers, open a 6mm jump ring.
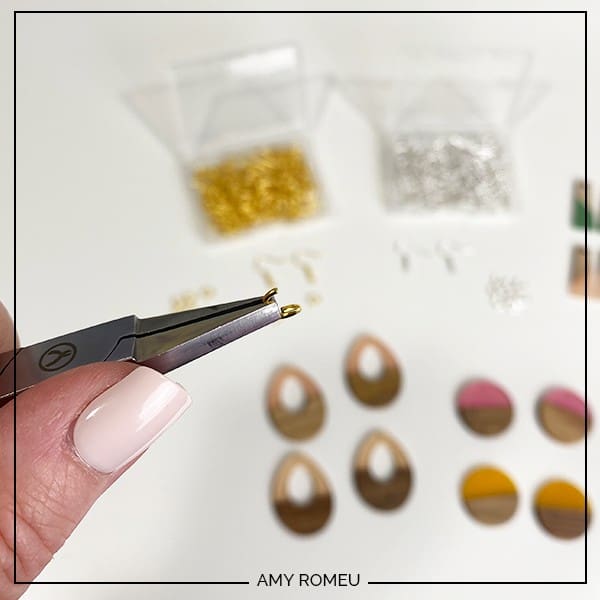
STEP 3 – Connect & Close Earrings
Slide the wood and resin earring blank onto the jump ring. Then add the earring hook, being sure the hook is facing the right direction. Then use two pair of flat nose pliers to close the jump ring again.
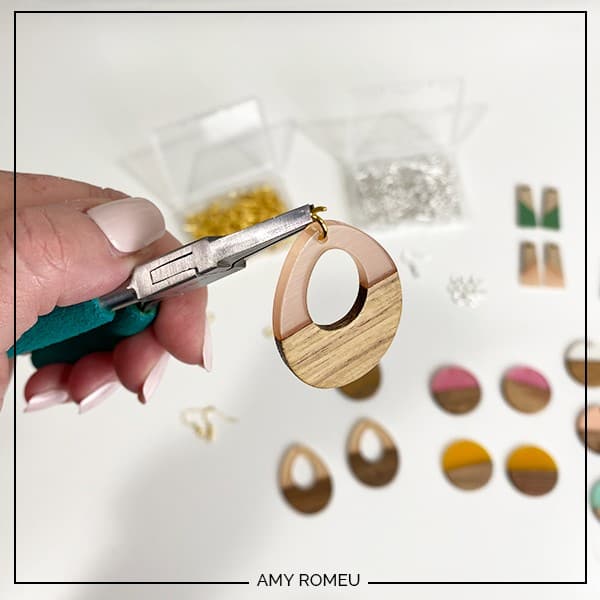
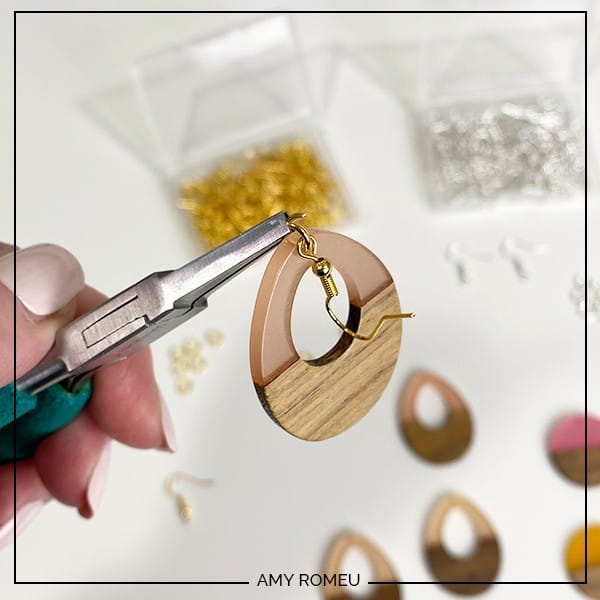
That’s it!
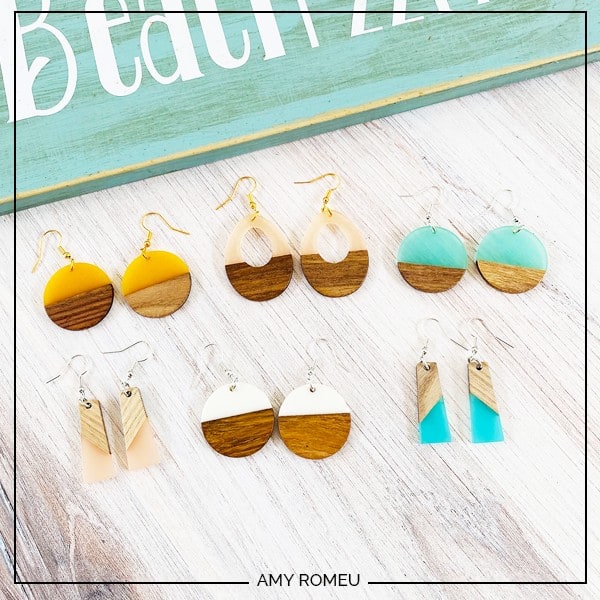
Aren’t these Wood & Resin Earrings summery and fashionable? If you do make this project, I would love to see your earrings. Please share a photo of them in the comments, or tag me on Instagram: @amyromeucreative
Want to see all of my Cricut earring & jewelry tutorials? CLICK HERE

Want to remember this? Post this WOOD & RESIN EARRINGS DIY project to your favorite Pinterest board!


Now Amy, as usual you know I’m loving these.