Photo Keychain with a Faux Leather Initial Charm
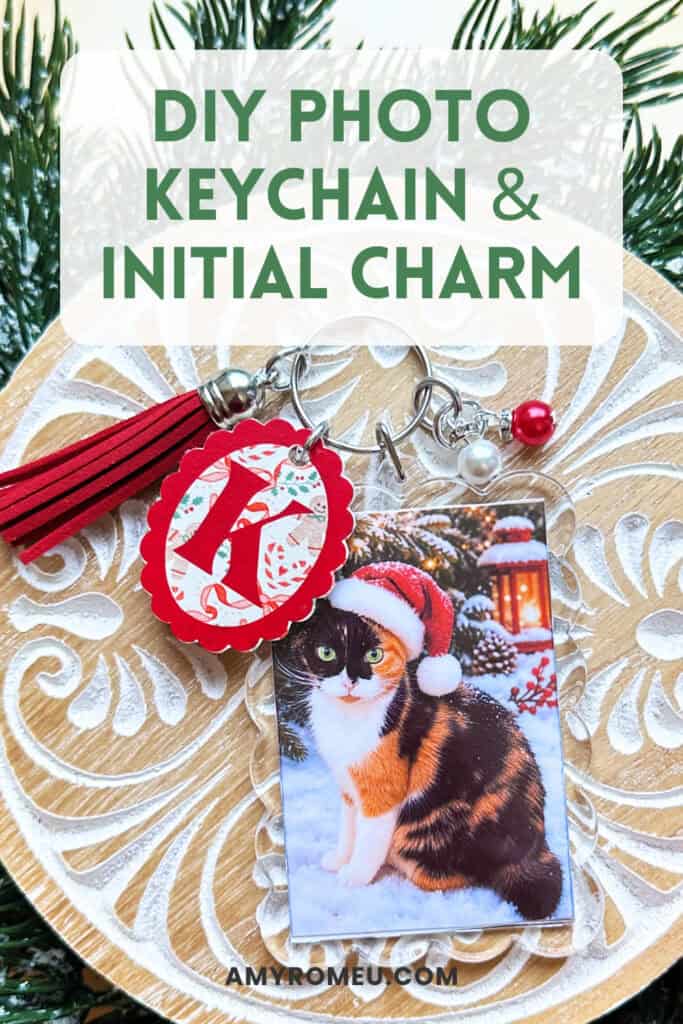
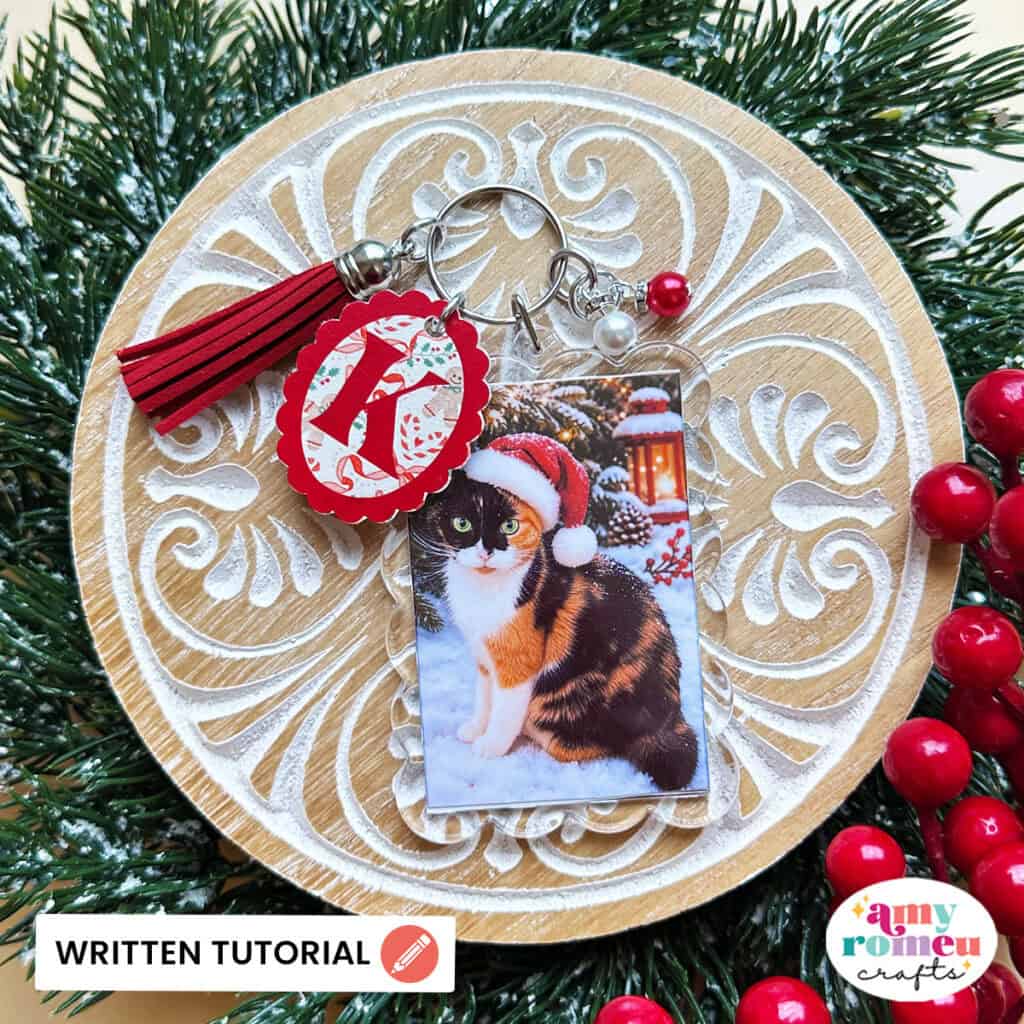
In this tutorial I’ll be showing you how to make a Photo Keychain with a Faux Leather Initial Charm with a Cricut.
This personalized keychain is the perfect holiday gift or stocking stuffer! Add a photo and customize this project even more with a faux leather initial charm.
I used my portable wireless printer to print the photo, and then faux leather and heat transfer vinyl to create the initial charm. But you can cut any photo to fit your acrylic photo keychain blank, too.
I have the full alphabet of oval initial charms in my SVG shop, ready to cut with a Cricut or other cutting machine.
Ready to get started? Let’s dive in!
Step 1: Get the SVG Template
Get the SVG in my Shop
Personal or Small Commercial Use Available
Step 2: Shop the Supplies
This page contains some affiliate links (which means if you make a purchase after clicking a link, I will earn a small commission at no additional cost to you). Read my full disclosure policy here.
Compatible Machines✅: Cricut Maker, Cricut Maker 3, Cricut Maker 4, Cricut Explore Air 2, Cricut Explore 3, Cricut Explore 4, Cricut Explore 5, Cricut Joy Xtra, Cricut Joy, Cricut Joy 2
Not Compatible Machines❌: none
Blade Used: Standard Fine Point Blade
Cut Setting Used✂️: Faux Leather (Paper Thin) with “More” pressure
- Faux Leather & Heat Transfer Vinyl
- Faux Leather of your choice – I used this print from The Polka Dotted Peach. I ordered 9×12 inch size, Portrait orientation, and Regular scale.
- Heat transfer vinyl of your choice – I used Siser Easyweed in Red
- Other Supplies Used
- Any acrylic photo keychain of your choice. If you want a keychain that fits the 2×3 inch photos from the wireless printer, make sure the keychain listing shows that it holds a 2×3 inch photo. You can always trim your photos, too.
- I used these Scalloped Acrylic Photo Keychains
- These rectangular Acrylic Photo Keychains also fit x3 inch photos
- Optional – Portable wireless photo printer for 2×3 inch photos – I used this one and I love it!
- Assorted Charms – I used these colored pearls
- Tassels
- 10mm Jump Rings
- Flat Nose Jewelry Pliers
- EasyPress Mini or EasyPress
- EasyPress Pad
- Purple Strong Grip cutting mat
- Green Standard Grip cutting mat
- Blue Painter’s Tape
- Weeding Tool
- Small Curved Scissors
- Any acrylic photo keychain of your choice. If you want a keychain that fits the 2×3 inch photos from the wireless printer, make sure the keychain listing shows that it holds a 2×3 inch photo. You can always trim your photos, too.
🛒 To shop many of these supplies below in my Amazon storefront, click here.
Step 3: Make the Project
Prepare Your Photo Keychain
- Print photos using a photo printer or trim photos to the size that will fit your acrylic photo keychain – I used the Liene Pearl K100 2×3″ Photo Printer and it’s SO fun!
- Open the front of the acrylic photo keychain. The scalloped one opens by placing a sharp tool into a small hole near the top of the photo area on one side. The rectangle one opens by placing a sharp tool where the two halves meet at the bottom of the frame.
- Place your photos back to back. Trim them again just slightly as needed.
- Place the keychain parts back together.
Set Up Your Design
- Open a new canvas in Cricut Design Space.
- Upload the Initial Charm SVG file to your canvas.
- Ungroup the designs and delete the letters you don’t want to use. Keep the initial you want to make, including the faux leather front and back layers and the HTV letter layer.
- The faux leather layers and HTV layer are already sized and ready to cut. No resizing is necessary.
Prepare to Cut
- Click Make It.
- Mirror both mats, since you’ll be cutting the faux leather and heat transfer vinyl face down.
- Move the shapes slightly away from the edges of the mat in the mat preview screen.
- Choose the Faux Leather (Paper Thin) material setting with More pressure for the faux leather mat.
- Choose the manufacturer’s recommended cut setting for the type and brand of heat transfer vinyl you are using. I use the Everyday Iron-On setting with Default pressure for Siser EasyWeed HTV.
- Trim a piece of faux leather to a size just larger than the size shown in the mat preview screen.
Cut the Faux Leather
- Place the faux leather pretty side down on a Strong Grip (purple) mat. If your faux leather has a directional pattern, check the direction before placing it on the mat.
- Secure all edges with blue painter’s tape.
- Load the mat into your Cricut. Press the C button to begin cutting.
- When the cut is complete, without unloading the mat, use a sharp tool to gently lift an edge and check the cut.
- Repeat the cut if necessary by pressing the cut button again.
- Once the cut is complete, unload the mat and remove both faux leather initial charm shapes.
- Use a sharp weeding tool to poke out the small holes at the top of the charms. Trim any small areas that didn’t cut completely with detail scissors.
Cut the Heat Transfer Vinyl
- Place your heat transfer vinyl shiny side down on a Standard Grip (green) mat.
- Load the mat and cut the HTV letter layer using the appropriate material setting.
- Remove the HTV from the mat and weed away the excess vinyl. Be sure to remove the vinyl from the inside of the letter and any areas that should remain open in the design.
Press the HTV onto the Initial Charm
- Preheat an EasyPress to 265°F or set an EasyPress Mini to the Low setting.
- Place the front faux leather initial charm shapes pretty side up on a heat pressing pad.
- Position a HTV letter layer onto one of the faux leather charms. Use the small hole at the top of the charm to help align the HTV design.
- Cover the HTV and faux leather with a Teflon sheet, butcher paper, or parchment paper.
- Press for about 10 seconds.
- Carefully peel away the clear HTV carrier sheet. If the vinyl lifts up, replace the carrier sheet, cover, and press again for another 5-10 seconds.
- Press the second side of the charm.
- Place the warm charm halves under your heat pressing pad for about a minute to cool flat.
Glue the Faux Leather Initial Charm Together
- Turn over one of the faux leather initial charm shapes so the back is facing up.
- Apply a thin, even layer of fabric glue or craft glue to the back of the charm. I like Fabri-Tac or Bearly Art Glue for this step.
- Spread the glue close to the edges, but not all the way to the edges, since some glue may squeeze out when the layers are pressed together. Be sure to apply glue around the small hole at the top.
- Place the other faux leather charm shape on top, with the pretty side facing out, so the two layers are glued back to back.
- Carefully align the edges and press the layers together with your fingers.
- Wipe away any excess glue around the edges with a damp cloth or paper towel. Use a sharp weeding tool to clear any glue from the small hole at the top.
- Place the glued charm under a heavy book for at least one hour to help the layers bond together and create a neat, almost seamless edge.
- Check the charm after about 5 minutes and remove any excess glue that has squeezed out. Return it under the book for the remainder of the drying time.
Attach the Initial Charm to the Photo Keychain
- Once the glue has dried, use two pairs of flat nose jewelry pliers to open a 10mm jump ring by twisting the ends away from each other.
- Slide the jump ring through the small hole at the top of the faux leather initial charm.
- Attach the jump ring to the photo keychain hardware.
- Use your pliers to twist the jump ring closed securely.
Answers to your questions about making Photo Keychains with Initial Charms
Q: Which Cricut machines will cut faux leather?
A: You can cut faux leather with any of the current Cricut machines because they all cut faux leather with the standard fine point blade included with each machine. For this project you can use the Cricut Maker, Cricut Maker 3, Cricut Maker 4, Cricut Explore 5, Cricut Explore 4, Cricut Explore 3, Cricut Explore Air 2, the Cricut Joy Xtra, Cricut Joy or Cricut Joy 2.
Q: What do I need to press heat transfer vinyl onto faux leather?
A: To press heat transfer vinyl onto faux leather you’ll need a traditional heat press, Cricut EasyPress, or Cricut EasyPress Mini. I used a Cricut EasyPress Mini for this project because it’s great with pressing small projects like earrings, keychains, and accessories.
Q: How do I get the SVG template for this project?
A: Get the SVG file from my SVG Shop here.
Get the SVG in my Shop
Personal or Small Commercial Use Available
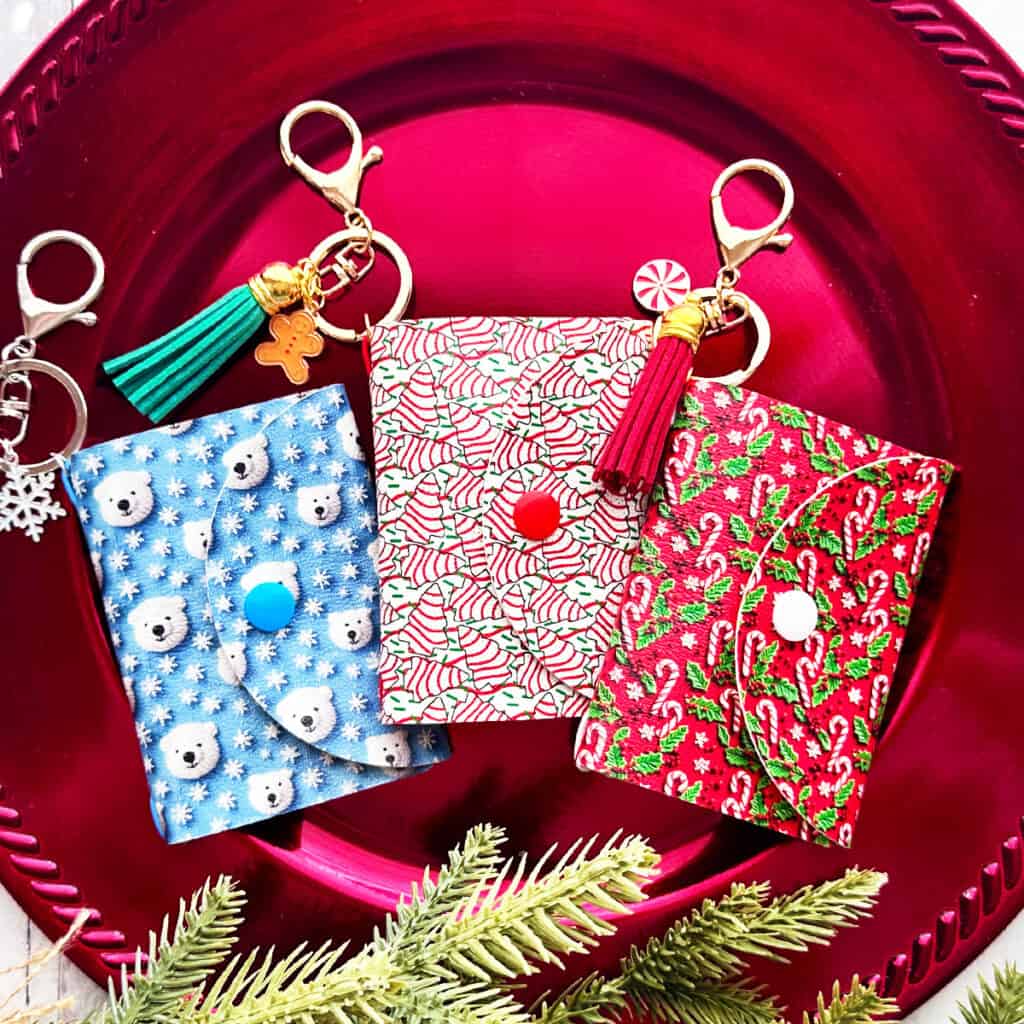
Also available in my SVG Shop
Until next time… and happy creating!
Pin this project to your favorite Pinterest board!
Want instant access to my Free Resource Library full of SVG files?
Just Enter your name and email Below!
By signing up, you’ll get instant access to my FREE SVG Library with hundreds of crafting SVG templates! You’ll also get my weekly newsletter full of crafting ideas, tutorials, and inspiration! Unsubscribe anytime.