
DIY Cricut Valentine’s Day Heart Charm Bracelet
DIY Cricut Valentine’s Day Faux Leather Heart Charm Bracelet
Valentine’s Day is around the corner, and it’s a perfect time to put my Cricut to work! There are so many cute Valentine’s Day Cricut crafts to make, from school valentine’s day cards and crafts, to other sweet and memorable gifts.
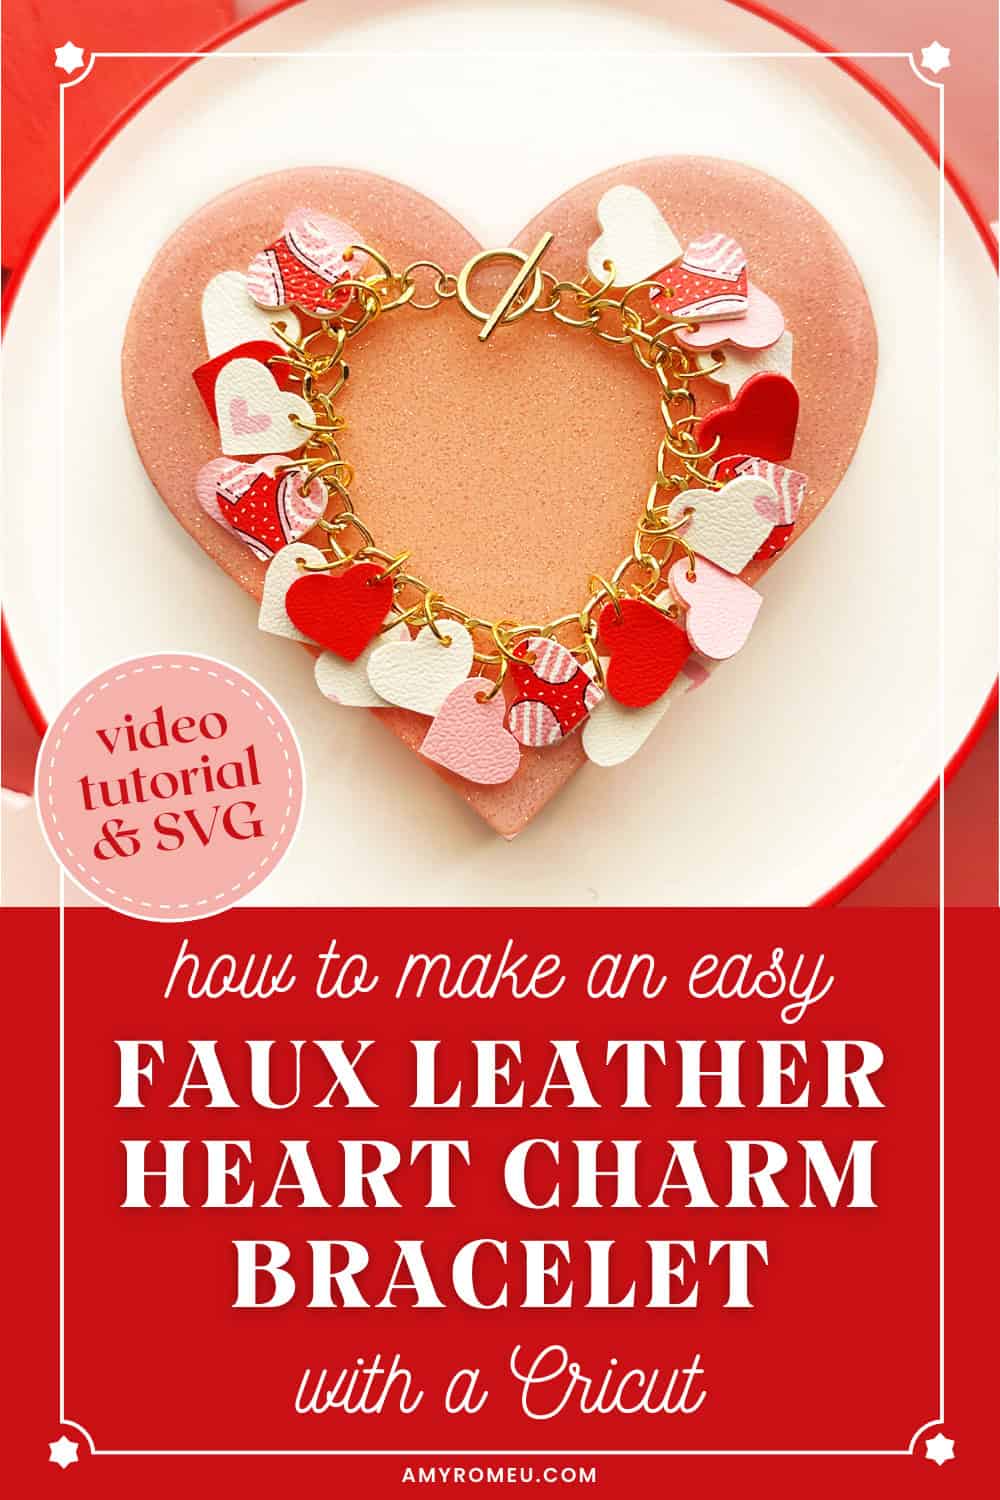
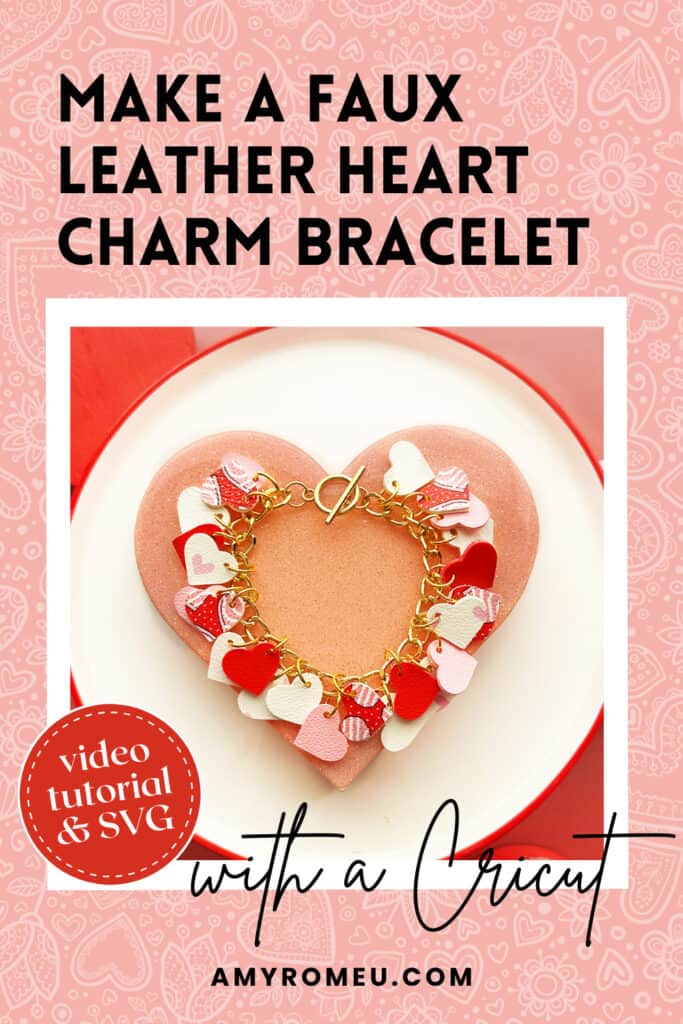
My favorite thing to do with my Cricut is make faux leather jewelry & accessories, so I’ve made a fun DIY heart charm bracelet for Valentine’s Day. It’s a fun and easy project that I’m excited to share with you.
The bracelet charms are all made from faux leather sheets. The hearts are cut and then glued together to make the charms double sided! The faux leather I use is so easy to cut with any of the current Cricut machines – don’t worry, I have all of the supplies linked in the Materials section below.
If you want to make this project yourself, I have the free SVG file to share with you! You’ll find out how to get my free SVG file for this project in the next section of this post.
Ready? Let’s get started!
Step 1: Get the SVG Template
Get the SVG emailed to you instantly!
Click the button below to enter your name and email address to get the SVG file for this project sent to you right away!
Step 2: Shop the Supplies
This page contains some affiliate links (which means if you make a purchase after clicking a link, I will earn a small commission at no additional cost to you). Read my full disclosure policy here.
Compatible Machines✅: Cricut Maker, Cricut Maker 3, Cricut Maker 4, Cricut Explore Air 2, Cricut Explore 3, Cricut Explore 4, Cricut Joy Xtra, Cricut Joy
Blade Used: Standard Fine Point Blade
Cut Setting Used✂️: Faux Leather (Paper Thin) with “More” pressure
- Faux Leather of your choice.
- I used solid sheets of Red, White and Pink, and this Heart Cake print and this Pink on White Heart Print.
- For the prints, I buy 9×12 inch size, Portrait Orientation, and Regular Scaling.
- Other Project Supplies
- Jewelry Making Pliers (Baby Wubbers Chain Nose and Baby Wubbers Flat Nose are my favorites)
- 10mm Jump Rings
- Bulk Chain like this one (textured) or this set of 4 spools in different metal finishes
- Toggle Clasps
- Charms (optional) like these white enamel hearts or these glitter enamel hearts
- 1/16″ Hole Punch (optional)
- Craft or fabric glue like Bearly Art Glue or Beacon Fabri-Tac
- Teflon Sheet
- Weeding Tool like a Pin Pen or like the one in the Cricut Basic Tool Set
- Blue Painters Tape
- Small Curved Scissors
- Purple Strong Grip Mat
🛒 To shop many of these supplies below in my Amazon storefront, click here.
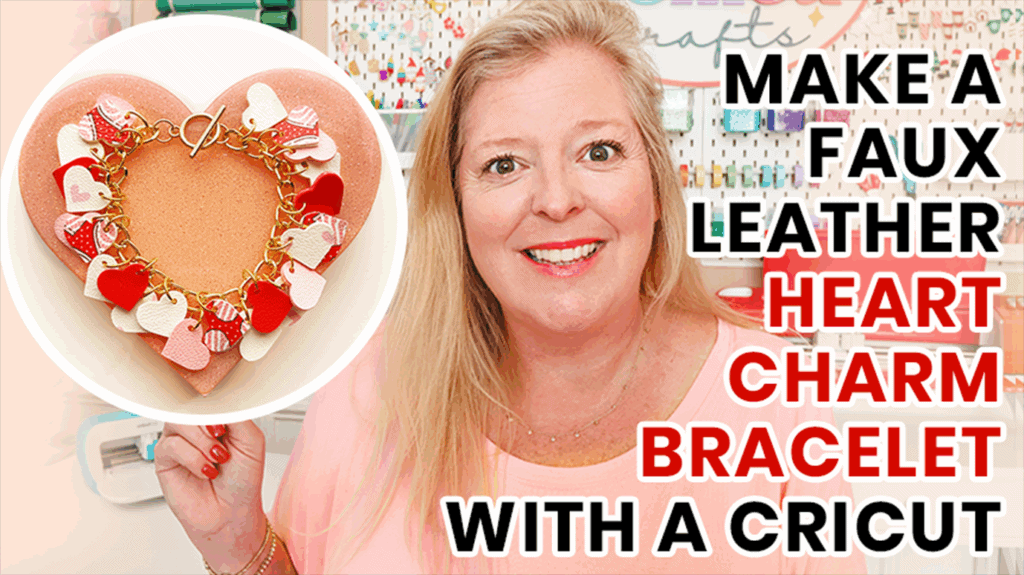
Step 3: Watch the Video Tutorial
See the full step by step video tutorial
Click the image below to watch the video on my YouTube channel, or click here.
Answers to your questions about making a Faux Leather Heart Charm Bracelet with a Cricut
Q: Which Cricut machines will cut faux leather?
A: You can cut faux leather with any of the current Cricut machines because they all cut faux leather with the standard fine point blade included with each machine. For this project you can use the Cricut Maker, Cricut Maker 3, Cricut Maker 4, Cricut Explore 4, Cricut Explore 3, Cricut Explore Air 2, the Cricut Joy Xtra, or the Cricut Joy (with a 12″ long mat).
Q: What glue is the best for gluing faux leather?
A: I like Beacon Fabri-Tac for gluing faux leather, but for this project I used Bearly Art Glue because the bottle has the fine tip nozzle which was helpful for applying glue in the small area around each charm. Whatever glue you use, be sure to press your glued pieces underneath a heavy book for at least an hour to get a solid bond and seamless edges.
Q: How do I get the SVG template for this project?
A: Get this free SVG file emailed to you instantly by entering your name and email address here.
Until next time… and happy creating!

Want to remember this? Post this CRICUT VALENTINE’S DAY HEART CHARM BRACELET project to your favorite Pinterest board!
This is the cutest thing I’ve seen made on the Cricut!
Thanks for sharing.
Thank you, Barb! That is so sweet of you to say! What do you like to craft?
I love how you put 2 hearts together then color the outer edge. I’ve been doing this with my earrings. I can’t stand a plain back.
I can’t wait to get some more faux leather to make this bracelet. Your designs are awesome!
Thank you so much, Donna! I really appreciate your kind words. I like to color the back of my earrings a lot too, I think it adds a little extra touch. 🙂 It’s great to hear you do this also. I hope you keep in touch and share your creations with me in the future, I’d love to see what you create.
Oh WOW!!!! That is a brilliant use of the Strong Grip Transfer Tape!!
I actually have different chunky glitter leather that I randomly found at our version of the dollar store (I live overseas) so I just might try this!!! Thank you!
Thanks for your comment, Emily! Yes, I love the trick of using transfer tape to protect the mat when cutting chunky glitter. Before I discovered this little tip, I was so frustrated with trying to pic a million glitter specks off of my purple mat! I’m so glad you found this tutorial helpful. Amy
Did register, and got my password to the library. When I click to download the svg file for the hearts, nothing happens. Don’t know what to do.
Hello, thank you for your question! Did you click on the blue words in the library underneath the design number? The blue words (the title of the design) is the link. When you click there, the SVG will automatically download. Hope that helps. Thank you.
Beautiful! Plan on making for my G-daughter! Thank you!!!