
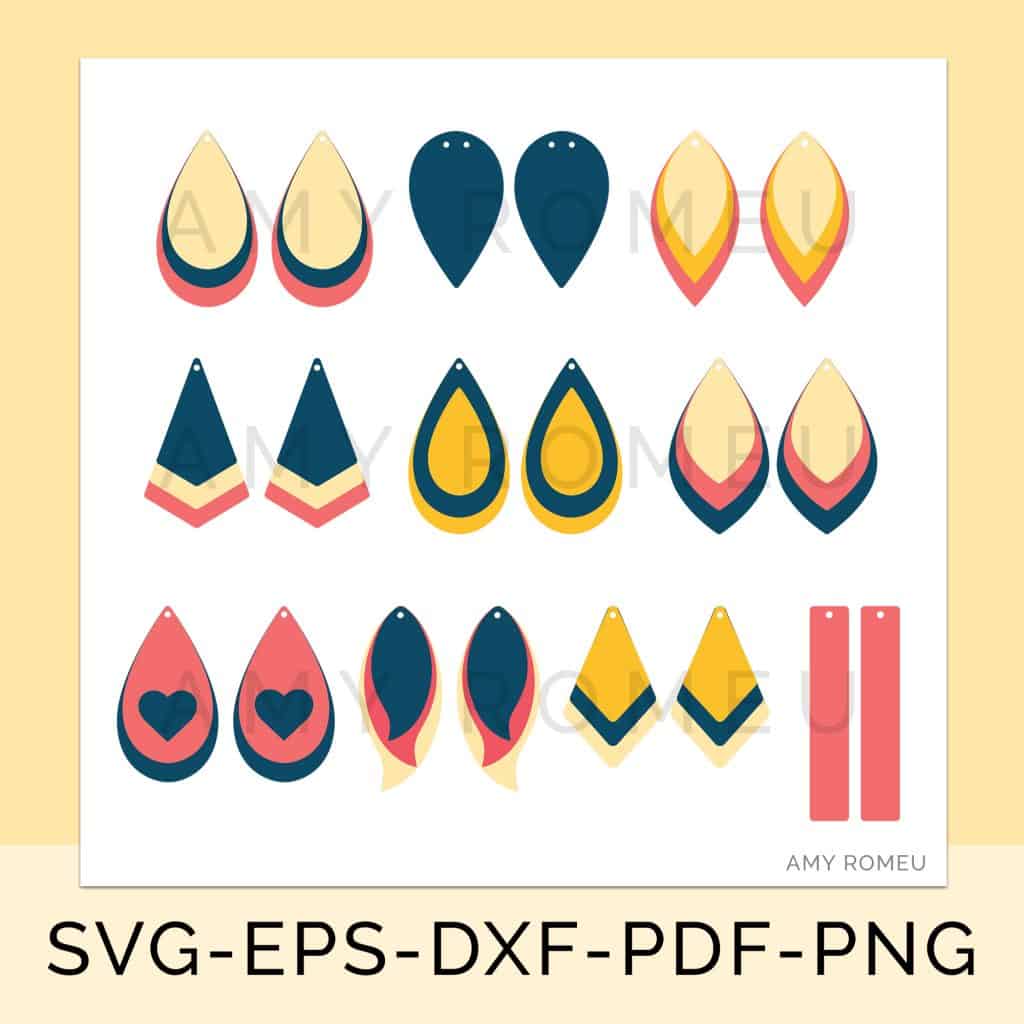
INSTRUCTIONS FOR USING THE “BEST SELLERS” EARRING SVG CUT FILE BUNDLE
DOWNLOADING AND UNZIPPING YOUR FILES
After you complete your purchase for this item from my shop, your digital file will be emailed to the email address you used at checkout. Please check the email address you used at checkout for the email containing your digital file. If you don’t see it within a few minutes after purchase, please check your Spam folder also. If you still don’t see it, please send an email to [email protected] and I’ll be happy to assist you. Be sure to include your name and order number in your message.
The bundle files are all contained within one zipped folder. The zipped folder will need to be unzipped before you can access the earring files within.
For more information about how to download and unzip your files, please click the link below:
IMPORTANT NOTE: These directions are for using these cut files to cut FAUX LEATHER only. Genuine leather is thicker and tougher than faux leather, which cuts more like a thick fabric. Genuine leather needs to be cut using different tools and techniques. Please note the directions and tips below do not apply to cutting genuine leather.
UPLOADING YOUR FILES TO CRICUT DESIGN SPACE
To use any of these earring designs in Cricut Design Space, you’ll need to navigate to where you downloaded your file. Your folder must be UNZIPPED before you can upload any cut files to Design Space.
FOR HELP DECIDING WHICH FILE TO UPLOAD – WITH OR WITHOUT EARRING HOLES – CLICK HERE TO GO TO THE SECTION BELOW ABOUT CUTTING EARRING HOLES.
Follow the steps below to upload the desired earring cut file to Design Space:
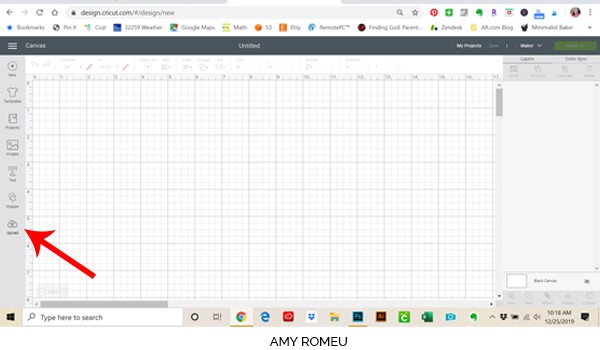
After you’ve unzipped the folder and made a note of the file location, open Cricut Design Space and choose Upload from the left hand side menu.
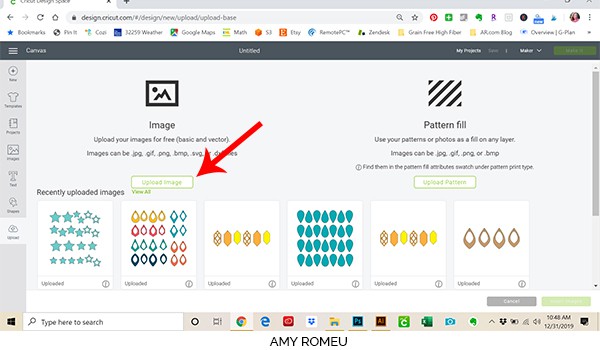
Click on the UPLOAD IMAGE button, then click BROWSE to locate your file.

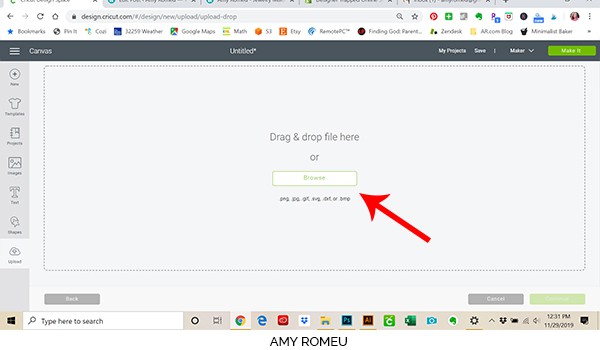
Navigate to where you’ve saved the already unzipped SVG file for this project. Double click on the SVG file to bring it into the upload screen in Design Space.
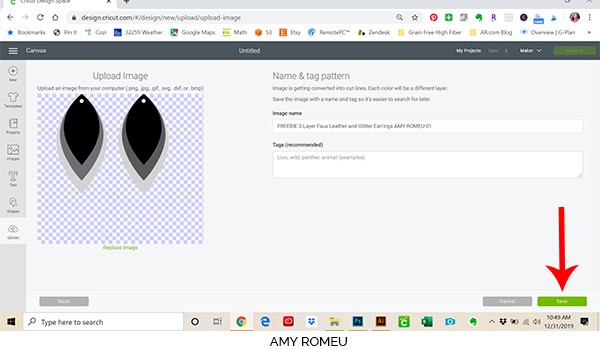
You’ll see a preview of the earring shapes for this project. Hit the green Save button.
After you’ve selected your file to upload, you’ll see it as the first item in your “recently uploaded designs” row.
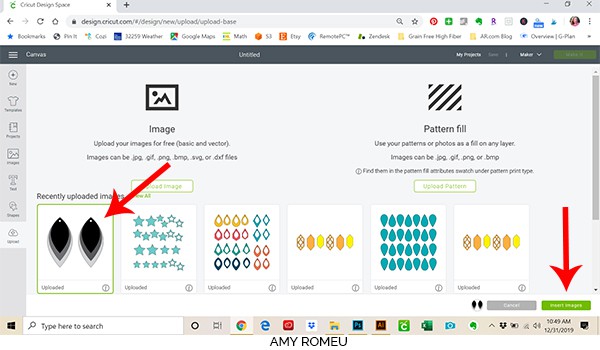
Click on it so it is outlined in green. Then click on the green “Insert Images” button in the bottom right corner.
CUTTING RECOMMENDATIONS
These earring cut files can be cut using the Cricut Maker or the Cricut Explore Air 2. They can also be cut using any cutting machine that can cut a thicker material like faux leather using SVG or DXF cut files.
My recommendations for cutting faux leather on the Cricut machines are as follows:
- Use the regular fine tip blade
- Use a sticky purple strong grip cutting mat
- Cut the faux leather material to a shape just larger than the earring shapes that are going to cut (as opposed to placing a very large piece of faux leather on the mat instead)
- Place the faux leather pretty side down on the mat.
- Tape the faux leather down to the mat on all sides with blue painter’s tape.
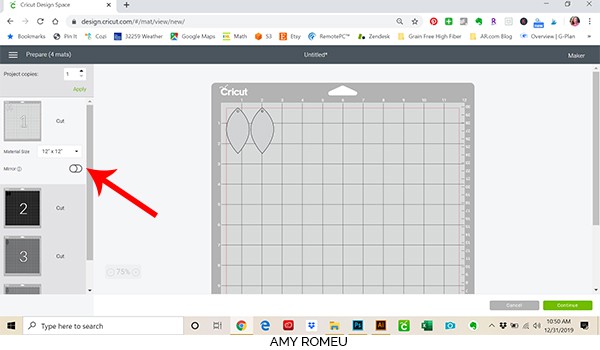
- Since the faux leather is going to be cut face down, you’ll want to MIRROR all earring shapes in Cricut Design Space from the mat preview screen before cutting. See image below. (Slide the MIRROR toggle to the right so it turns green)
- Select Faux Leather (Paper Thin) as your material. This setting automatically cuts two times (2X). Select MORE from the cut pressure drop down menu on the Material selection screen.
- Remember, if you want your Cricut to cut your shapes again, just press the C button before you unload your mat. It will cut the entire shape again twice, just like the first time.
EARRING HOLES – MACHINE CUT OR MANUAL?
I’ve included two files for each earring design – one with the earring hole shapes built in, and one without.
How do you know which one you want to use?
If you’ve made faux leather earrings before, you know there are lots of different kinds of faux leather, and some materials let the Cricut cut the earring holes better than others.
For example, the Cricut brand faux leather takes machine cutting of the holes beautifully. But the Cricut brand faux leather is thinner than most faux leathers you’ll encounter.
So my recommendation is to do some trial and error. As you go, you’ll learn what materials result in nice machine cut holes, and what materials you are better off punching the holes manually. This is why I’ve provided earring shapes with and without holes.
If you are new to cutting faux leather earrings, I would recommend trying the cut file with holes first. You can see how they cut, and if they don’t cut completely, you can finish trimming the hole with scissors. I my pointed weeding tool and 4″ curved Fiskars craft scissors for this task.
If your earring holes don’t cut cleanly with your cutting machine, don’t worry. You can use the partial hole as a guide and manually punch the hole with a hole punch. I use this 1/16″ Craft Hole Punch from Amazon to punch holes in my faux leather earrings.
If you choose to punch your earring holes manually instead, go with the SVG cut file without holes, and use a sharp tool or the 1/16″ Craft Hole Punch from Amazon to punch the holes.
WHAT I DO
You may wonder which method I prefer. I almost always use the cut file with holes, because even if the hole doesn’t cut cleanly and I end up punching it, the partially cut hole will serve as a guide so I know where to place the punch. This is especially helpful when making layered faux leather earrings, so the shapes all line up correctly.
Whichever method you prefer, I highly recommend having a small hole punch and small curved craft scissors in your jewelry tool box.